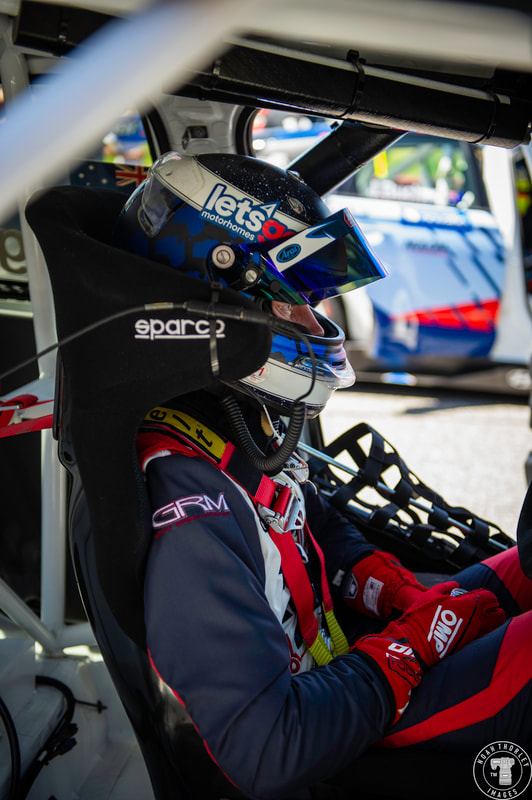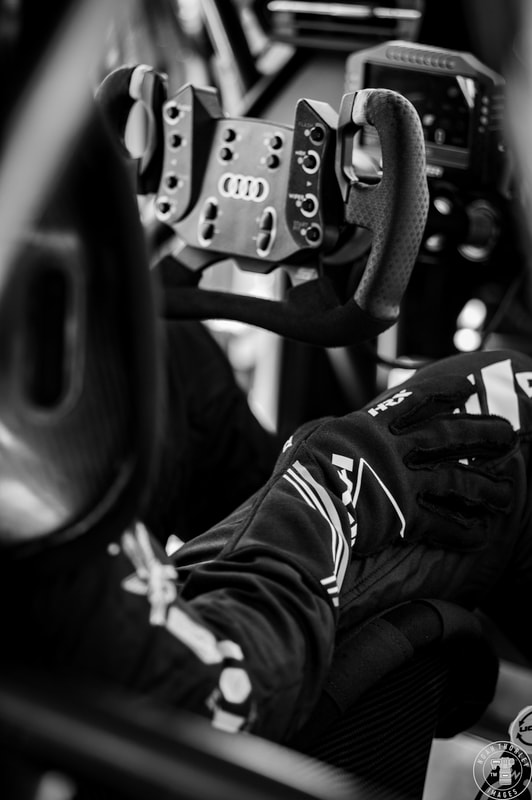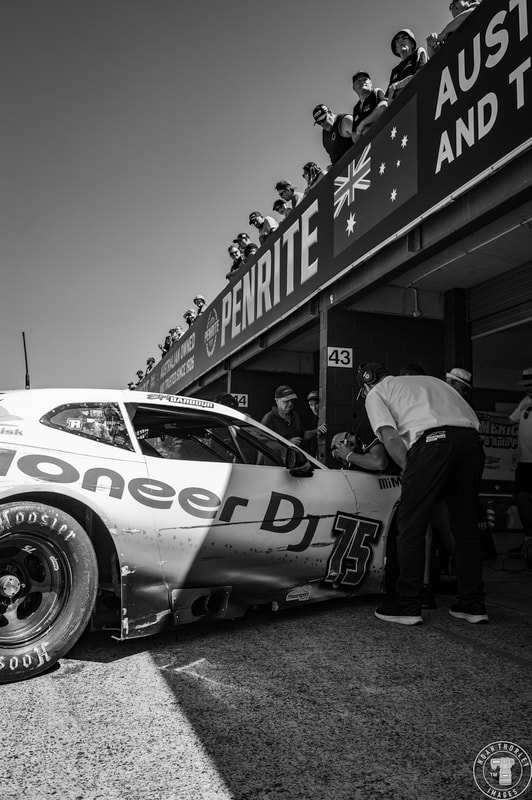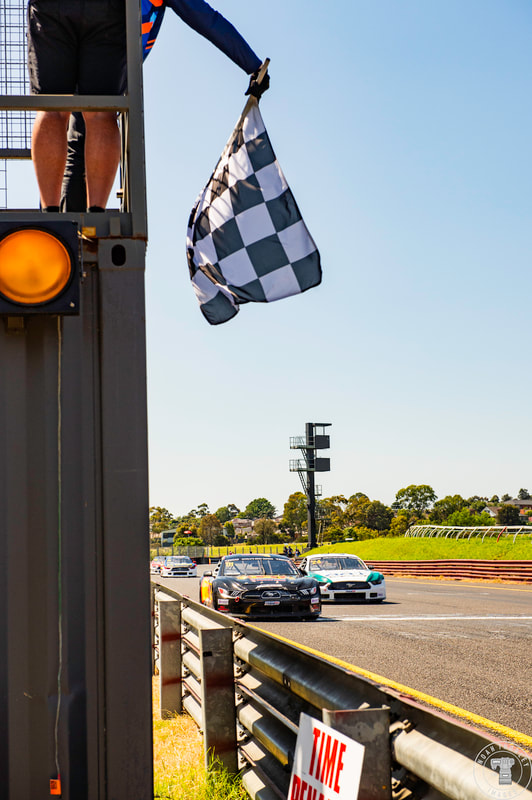
 As the clock towards World Time Attack Challenge ticks down, teams are busy preparing their cars, finalising new modifications and making trips to the dyno. In Victoria, the calm before the storm begins at Winton Raceway for the annual Aus Time Attack event. Not all who compete here will head to Sydney with the motorsport world watching, as there are five classes: Pro, Open, Clubsprint, Poduction Sprint and Supercar, with the latter two not part of the WTAC contest.    Many teams would arrive at Winton on the Friday, with some getting laps under their belts during the track’s weekly Friday Test and Tune. Giving teams a head start on car setup and extra practice laps to get used to the tight and unforgiving Winton circuit.    Clouds would roll in on Saturday, the first day of competition, and with rain on the radar, everyone would head out early to set a lap time. The Harrop Performance Toyota 86 would suffer engine troubles, with Heath Moore at the wheel, ending their weekend early. The front splitter on Tristian Cherry’s Hyundai i30N would come loose, and Grant Hill would have a big off at Turn 1 in his 180SX.   Rain would begin to fall during the third round of sessions and would continue for hours, soaking the track. Only a handful of drivers would venture back out, either to practice the track layout, or continue to gather data.    The Winefuelled GTR made plenty of passes and could be heard coming as Brian Bugh continually tapped the throttle in the sketchy conditions. The sounds of these cars are unlike anything else, their pops and bangs ricocheting off any wall or nearby buildings.    After a day essentially cut short by weather, Brad Sheils and the GT Evolution Mitsubishi Evo 7 was at the top of the Open Class and overall standings with a 1.22:128 lap. Reigning Aus Time Attack champions Got it Rex and Aleck Kazakovski were at the front of the Pro standings and second overall after a time of 1:22.817. Trent Grubel driving the DC Jap Subaru WRX STi had set a lap time of 1:24.124 placing him fifth overall and at the top of the Clubsprint class. After Day 1, Zi Ling Wang in a BMW M4 was at the top of Prodsprint class with a time of 1:29.136.    The sun was back out for the final day of Aus Time Attack action, giving everyone a proper full day of dry track conditions.   Not everyone would have a smooth day, as Zachery Yates in the Skevas Racing S13 would stop on track during the first Open class session of the day, dropping oil and ending the team's day before it really began. Simultaneously, Steve Sharp would stop on the front straight as the front brakes locked up on the Sharp Motorsport RX7. Thankfully, he would get the car going and continue on.    Laine Brandis would find the limit on a hot lap, dipping the left rear of the Autopro R32 Skyline into the gravel, spinning the car onto the wet grass, using the front diffuser as a shovel, that being his second big off of the weekend. In the final session of the day, Benny Tran’s Honda Integra would suffer engine issues with smoke billowing out from the rear, causing him to stop on track.   Despite ending the day up in smoke, Benny Tran took the top spot in the Open Class, with a 1:21.038 lap time. The GT Evolution Evo VII was driven to second and third in the class by Brad Shiels (1:22.128) and Darren Bishop (1:22.563) respectively.    Kiet Nguyen would be the fastest out of the three wide Supercar battle with a 1:32.682 in his Cayman GT4 RS. Zi Ling Wang’s 1:29.136 lap time would stand from Saturday as the quickest lap in the Prodsprint class. Jie Ren would grab second in the Max Euro GR Supra (1:29.491) as Josh Muggleton was two seconds behind in third (1:31.378) driving the V-Sport GR Yaris.    Michael Garland in one of the many GotitRex Subaru WRX’s would pip (1:24.041) Trent Grubel and DC Jap Automotive (1:24.124) in the final session to take the victory in the Clubsprint class. One second behind was Alex Michalsky in the Plazmaman Evo VI (1:25.147).    The reigning champs would win again as Aleck Kazakovski broke the event lap record with a 1:20.789 in the GotitRex WRX Sti. For context, the V8 Supercar lap record is a 1:19.706. Richard Perini in the Ginetta G55 took second in the Pro class (1:22.246) as Nunzio Gulino took third in the highly modified Evo X RS (1:24.317).    For most teams, it’s time to pack up and head home, and wait for the next track day, while others now hunker down once more for two more months of preparation for the biggest time attack event of the year, World Time Attack Challenge. Bonus Gallery                 
        
1 Comment
 I've mentioned before how Speedhunters is one of my main inspirations for pursuing motorsport and car culture photojournalism. One of the many articles that still remains with me is Paddy McGrath’s Tokyo Auto Salon coverage, where he stuck to a focal length of 50mm. That article was posted back in 2018 and since then I’ve been wanting to try the same.   Every time I go to an event however, even when I’m not shooting for a client, I take the day very seriously, trying my best to create the finest pictures to represent the motorsport meeting using the multiple lenses I have at my disposal. Sorting out my calendar this year, travelling to a multitude of new tracks, I knew that I would get the chance to challenge myself with this idea.   The lens I’ve picked is my Nikon 105mm Micro f/2.8. Although I don’t use this lens often, it’s a treat when I do, with macro capabilities and a wide aperture for a shallow depth of field or use in low light situations (yes, f/2.8 is wide ok!).   A focal length of 105mm might be a bit tight in the pits, but I was hoping it would come into its own when the cars got on track.    As it turned out, 105mm wasn’t ideal for shooting from the outside, and the cars would appear small when shooting infield. But, because I’m a Nikon photographer, I had plenty of gadgets in my many pockets.    Before I get into that, I think it's time to introduce Wahgunyah Speedway. The story of Wahgunyah Speedway began in 1951 with the formation of the Corowa Motor Sports Club. The very active club was involved in many forms of motorsport at the time, and in 1958 would make Wahgunyah Recreational Reserve home to their racetrack.    The Wahgunyah Hot Rod Track was opened on Easter Sunday 1958, a five corner circuit with the length of 5/8’s of a mile. After taking multiple forms, the current sand and clay banked speedway would emerge. With a length of 630 metres, Wahgunyah Speedway is one of the longest dirt speedways in Australia.
 In 2022, the Murray River peaked at 8.1 metres of water, flooding surrounding areas including causing substantial damage to Wahgunyah Speedway. After a mammoth effort from volunteers and the speedway’s team, racing would return to Wahgunyah in November 2023. The passion for speedway in the north of Victoria is immeasurable and clearly evident when you visit both Wahgunyah and Wangaratta.  Another example of this is how they share the speedway experience with the young next generation of fans. Kids would be given gift bags and be walked around the pits, meeting drivers, collecting stickers. A few kids would also be chosen to hand the chequered flag to the winners of the feature races which I though was a really cool idea.      For Wahgunyah Speedway's final event of the 2023-24 season, Production Sedans would join the AMCA State Challenge, Standard Saloons, Sports Sedans and Humpy Holdens. There would also be three Vintage Sprintcars that would join in.   Alright, back to the photography, because I had a few ideas including filters to try out. The first filter I had never used before, and it gave a frosty look to a third of the photo. The effect looked good for still pit photos, but it didn't really do anything for me when panning with it on track.     Not to worry, because I had a multi-prism filter that I would end up using quite a bit to repeat the subject across the frame. At first, it's quite tricky to use because the filter skews your vision, making it difficult to actually find what you were looking to take photos of. However, on track the original subject was actually clearer, probably because I was shooting from a further distance.   The last filter I would use gave a bold rainbow effect to any bright highlights from lights or the sun. This filter also has no name, and no thread, so it's quite mysterious, also meaning I'd have to hold it up to the lens and pan. By the end of the night, I was experimenting with having multiple lens filters on at the same time for some bonkers results.   When you take lots of photos with the same focal length, you learn to know where to place yourself in order to get the framing you want, without having to look through the viewfinder. By the end of the night at Wahgunyah, I was starting to know where to place myself when shooting at 105mm, meaning my night had been a success.   When you set yourself a challenge like this, it's so you get to take photos that you would have never visualised, whilst also allowing you to do some research and development for future photoshoots. And I've definitely got some ideas thanks to my time at Wahgunyah Speedway. Bonus Gallery   
  
         Welcome to Timmis Speedway, Mildura’s home for dirt racing. The speedway was first opened in September of 1964, and its wide and tall banking allows for some fantastic side by side racing. However, today there would be no racing, instead a demonstration of vintage and classic speedway racers, as they started their engines one more time.    This isn’t the first time I’ve planned to photograph a vintage speedway event. The event at Western Speedway last year was rained out as I was en route, and the meeting at Swan Hill was cancelled. Each year though, Timmis Speedway holds the final Victorian vintage meeting of the year, dubbed ‘Wind Back the Clock’, featuring all classes from midgets, sedans, heavy rods, Ace of Spades and Sprintcars.   Both previous events I had planned to go to had been Vintage Sprintcar only gatherings, meaning I made a beeline for anything with big tyres and even bigger wings.   First up was David Moore's beautiful Mopar flavoured 1979 Sprintcar powered by a 400hp Chrysler 318ci V8. During the car’s competitive career, it had journeyed to every speedway in South Australia, including a few in Victoria.
David picked up the car twelve years ago in a wrecked state of bits and pieces, along with three engines. Over the course of twelve months restored it to its current state and now each year, he travels at least five meetings in South Australia and a few additional vintage demonstrations interstate. I cut all the welds out and re-weld the whole chassis, and all the fiberglass panels, I’ve reskinned all them. Basically, what you see, I’ve renewed all of that. Some of it’s new material, some of it’s old material, done up.” - David Moore   Underneath, a new crown wheel and pinion has been given to the Winters quick change differential, and the bell housing has been made to fit a starter motor so they can drive away without need for a push. David drove the car for approximately seven years before handing over driving duties to George, who also owns a winged beast.   Historic race meetings are a good way to discover racing categories that you didn’t know existed. With a Holden 202 engine, this makes George Stell’s QLD 11 car a Limited Sprinter. George has had this 1982 Gearhart chassis for eight years now, after bringing the car down from Brisbane, and in that time has rebuilt the motor, the 3-speed synchromesh transmission and the Volvo differential. The car now also has a new front end after an incident at Murray Bridge.   When George hops into David's Sprintcar, his son Josh takes the reigns of the quick Limited Sprinter.    Let's talk about the rain, because before cars could take to the track, we got the first of three showers throughout the day. As I found shelter under some Sprintcar wings, officials and drivers waited for the rain to pass before letting the midgets and F500's on track. When the Sprintcars were let loose, the rain came down again and it was clear that the track had become too wet.    The track would be graded and when the rain stopped, Sprintcars and Super Modifieds with their big tyres would be let loose again to try and create a racing line. Jason Wilson and others would impressively slide down the embankment into the river that had formed at the bottom. The track was deemed too slick as more rain hit Mildura. A few of us tried to walk back up the slick banking, providing just as much entertainment as the Sprintcars. 
For the cars, it was mud rather than water that would be a problem, Mark Kuypers however didn't seem phased at all. His 1974 Supermodified (no relation to the Super Modifieds of Oswego Speedway) had been polished to perfection before the event, but now was the dirtiest racecar I've ever seen.   Mind you, Mark was sending the car that had been originally built in a shed back in Winchelsea, more sideways than anyone else dared, on the limit of grip.    Another car that was so clean you could eat off it was Michael Millers 1984 SA1 Pontiac Trans Am, built by Stevie Stewart and driven to multiple state title victories. Under the bonnet is a 350ci Chevrolet V8 making all the right noises.     After changing hands twice, former Super Sedan racer Peter Drew found the car and completely restored it back to its glory days. Peter Drew sadly passed away last year, but Michael Miller will continue the car's legacy. After the second dousing of rain, he was sent onto the track and I think we all lost count of how many laps he did, as he tried to create a racing groove in the thick mud.    As the Vintage and Classic Sedans hit the track, the third significant rain shower came down, and the event was deemed cancelled. The track had become too wet, everyone had grown a couple inches as mud gathered underneath our shoes, and with the cold temperatures, there was no way the track would dry out. The team at Timmis Speedway certainly gave it a cracking shot, but the rain was just too overwhelming.    Not even half the cars made it on track, and there were a few I was looking forward to seeing take on Timmis Speedway. The Ford Heavy Rod, Holden Speedcar and Noel Sharrock's Limited Sportsman were all cars that especially caught my eye. Still, it certainly wasn't a wasted trip to Mildura, as I got to witness track conditions that are very rare when it comes to speedway racing and got to gaze over some amazing vintage metal. I will certainly be back at a Vintage meeting when the 2024-25 season gets underway. Bonus Gallery    


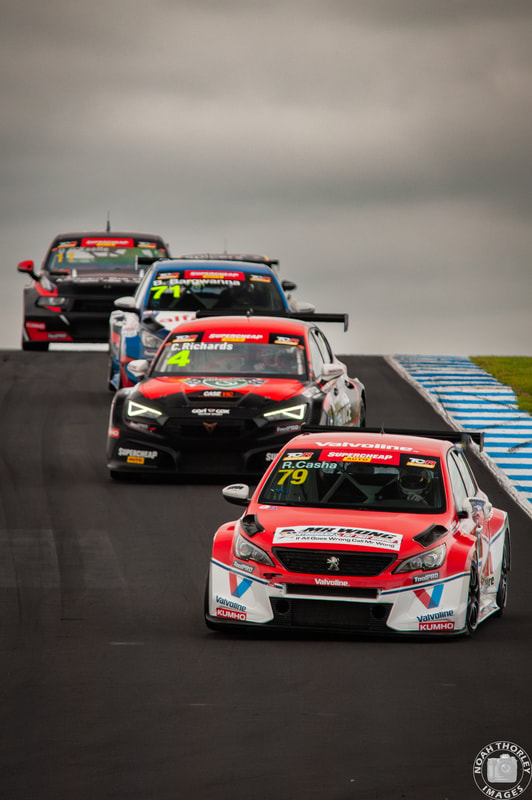
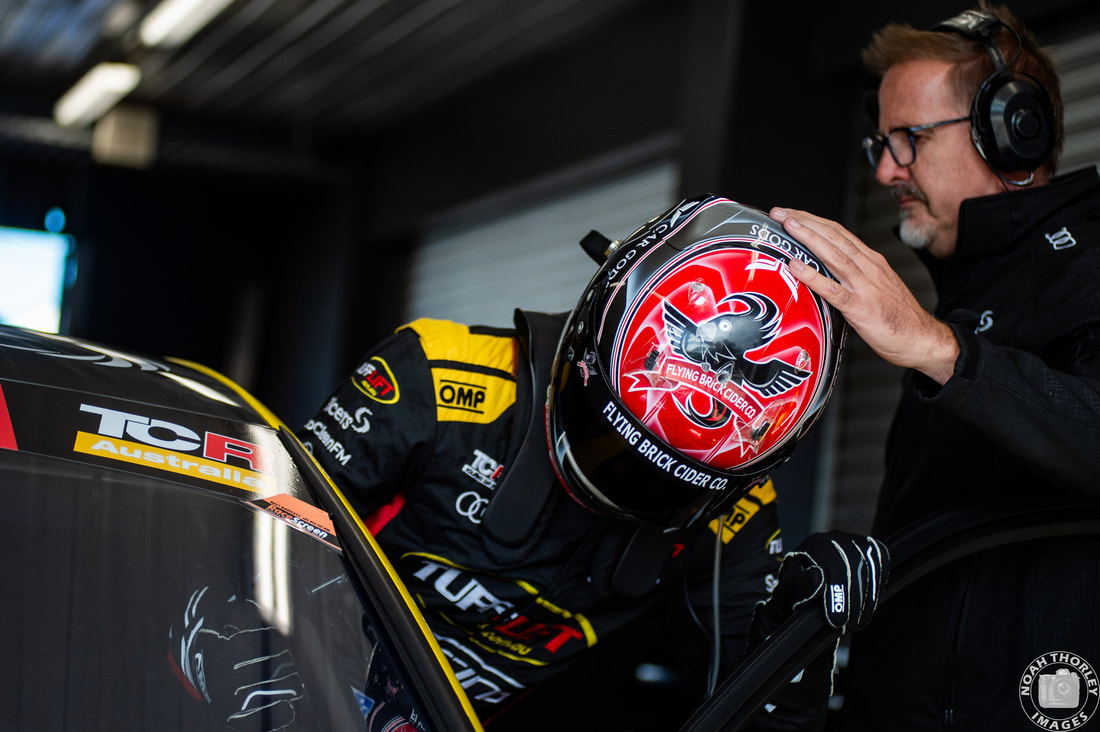
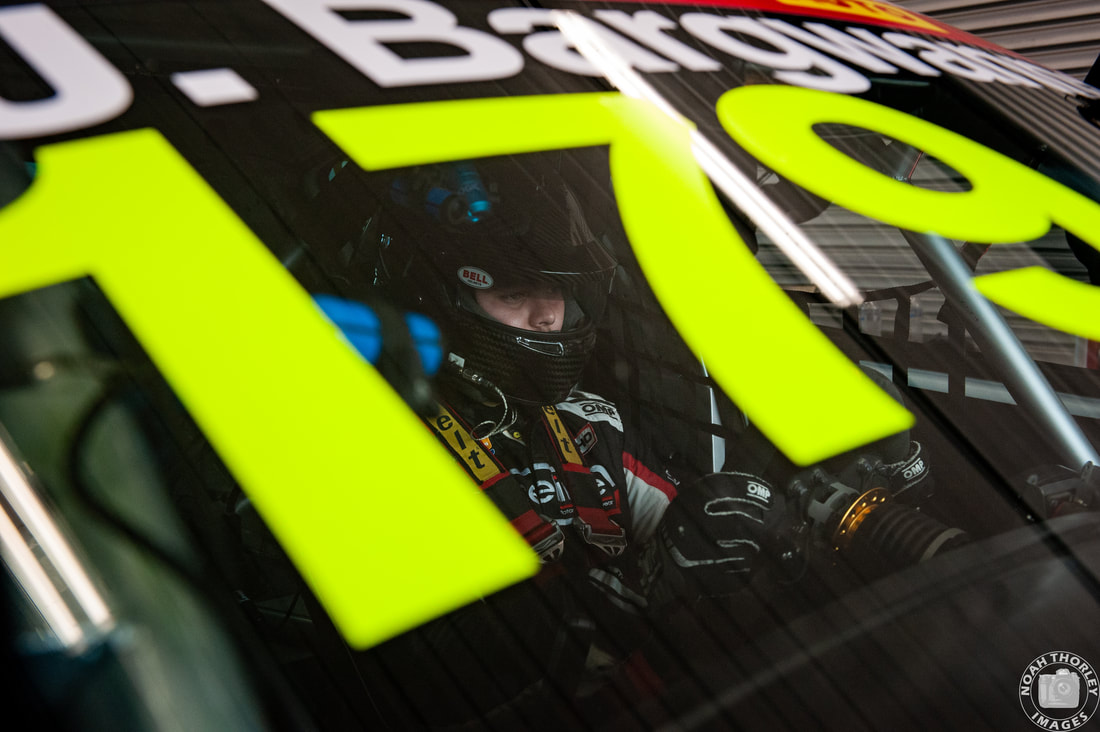
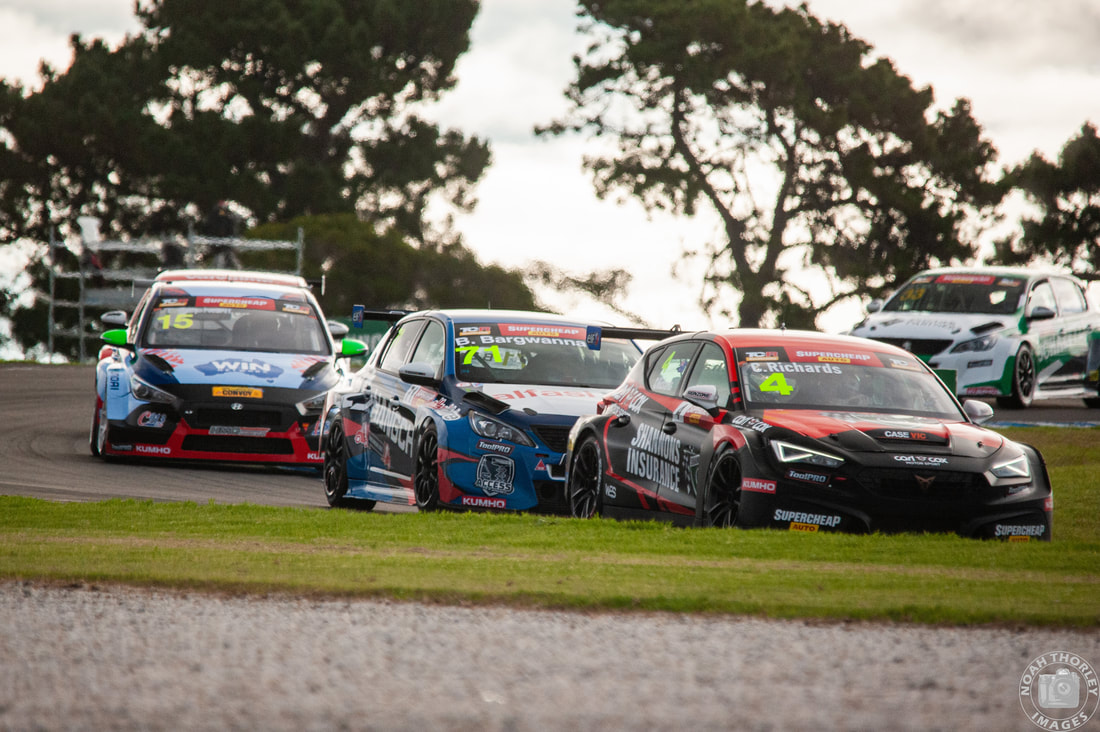
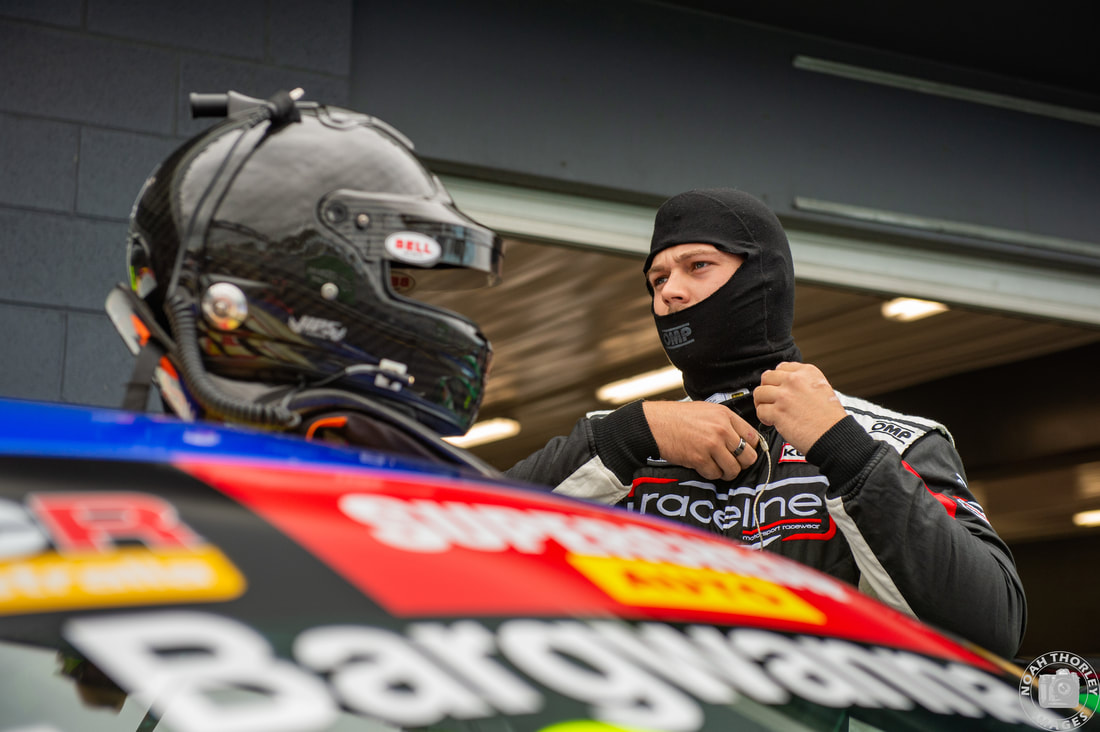
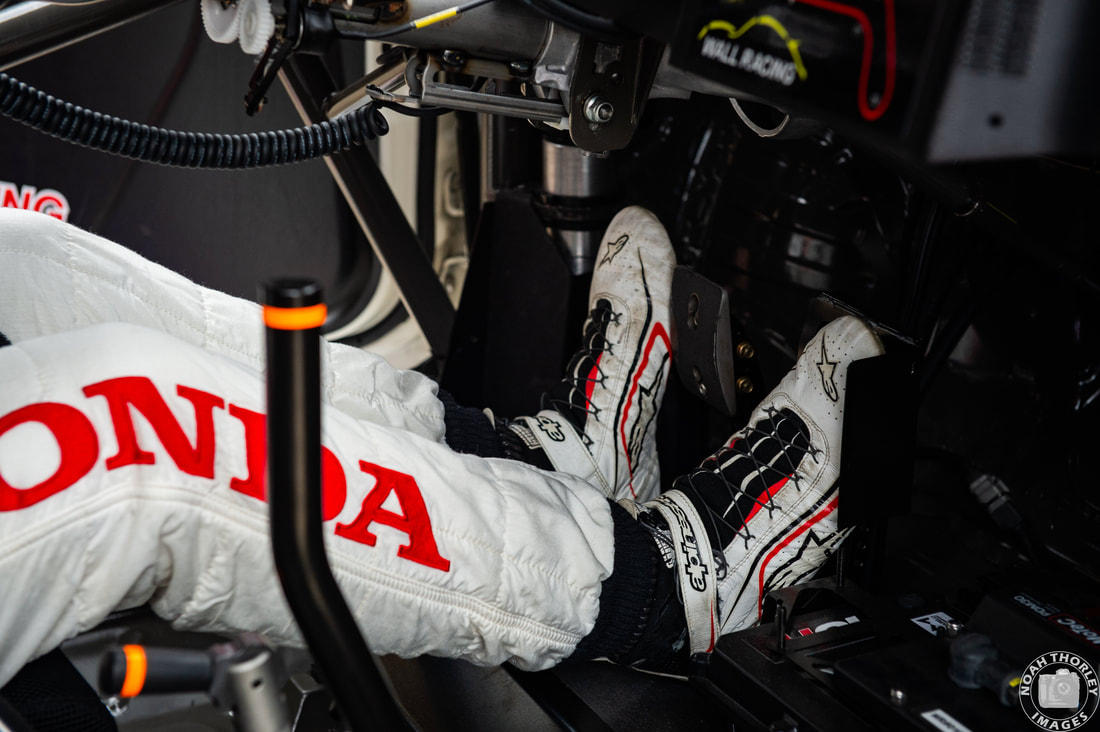
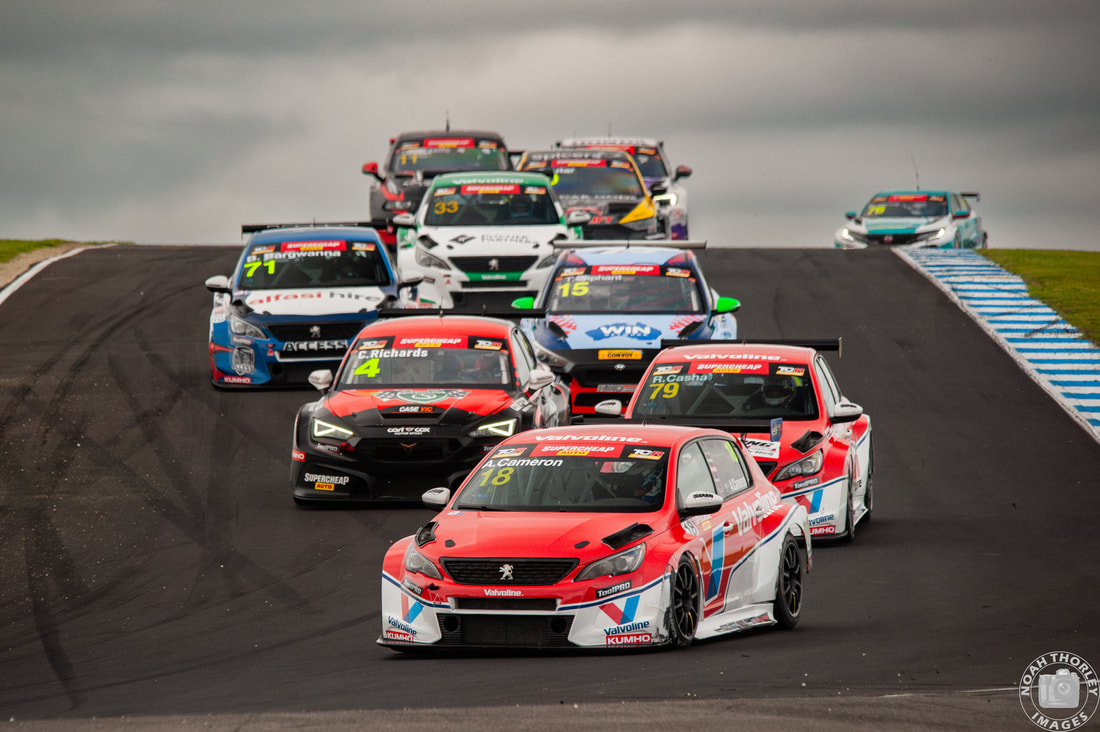
            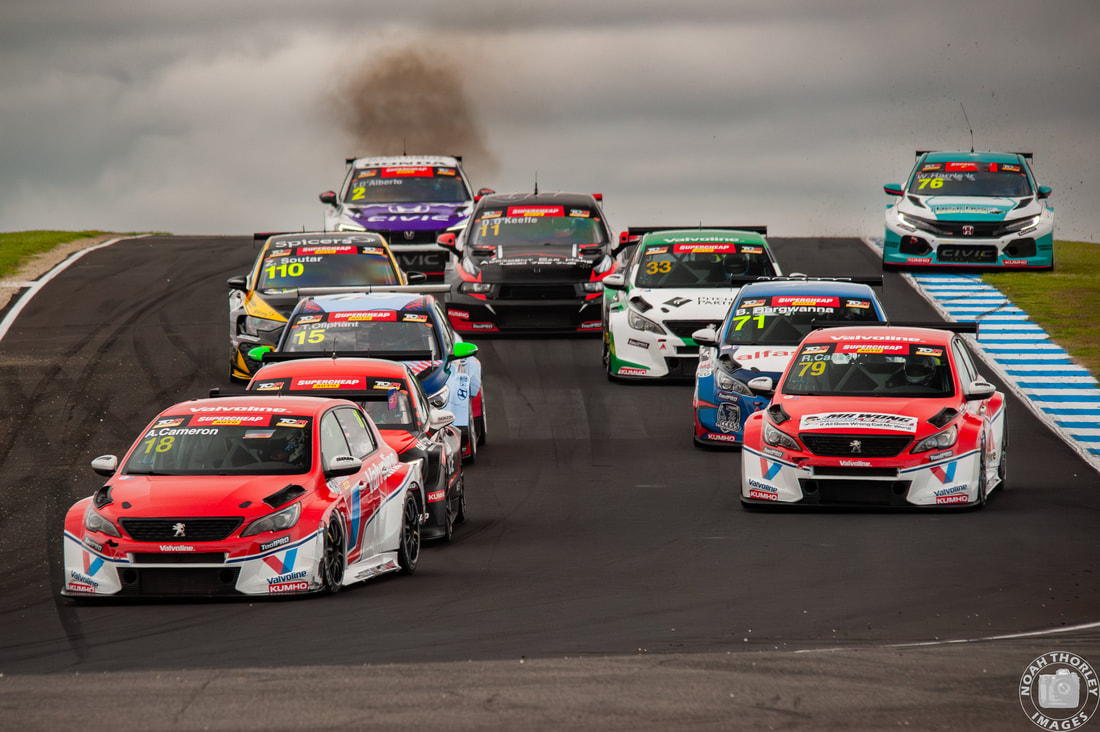 After the second round of the season at Symmons Plains, the top three in the championship were separated by a single point. Audi driver Zac Soutar led with 187 points after a consistent stint in Tasmania. Ben Bargwanna and Jordan Cox were tied for second on 186 points, both grabbing wins at Sandown. Reigning champion Josh Buchan was also not very far behind, 17 points down with Clay Richards one point behind him. 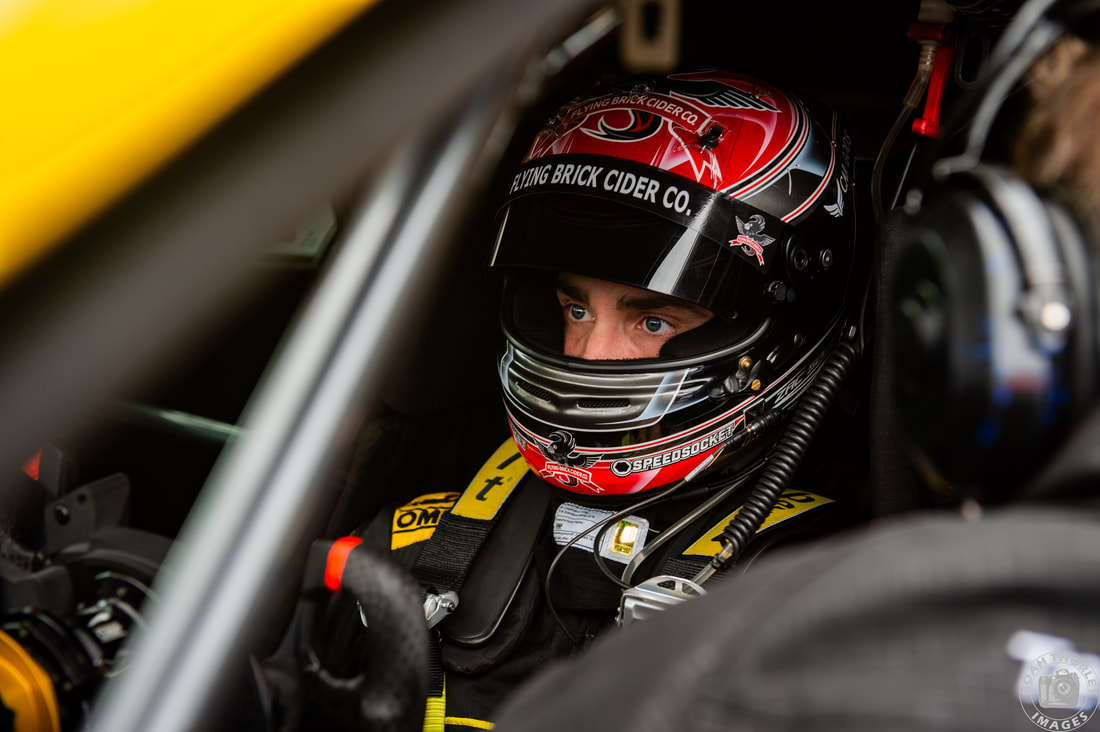 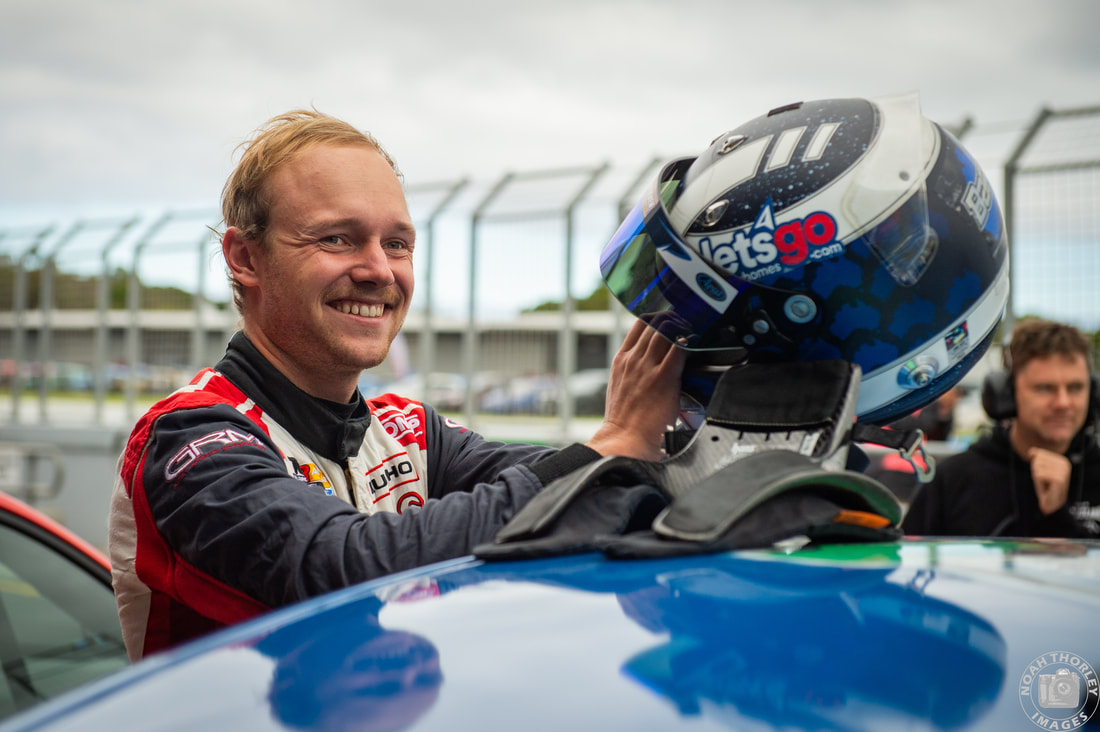 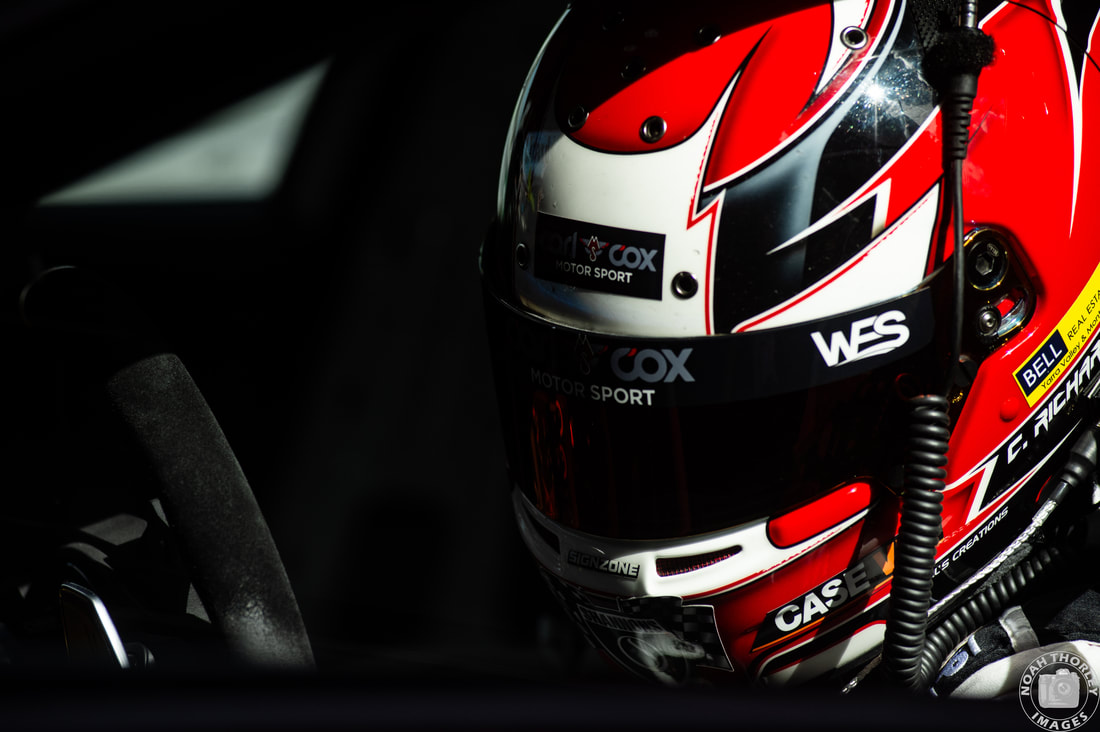 Yes, there had only been two rounds and six races so far, which is why the championship is so close, but no one had really stepped up as yet to be the man to beat. 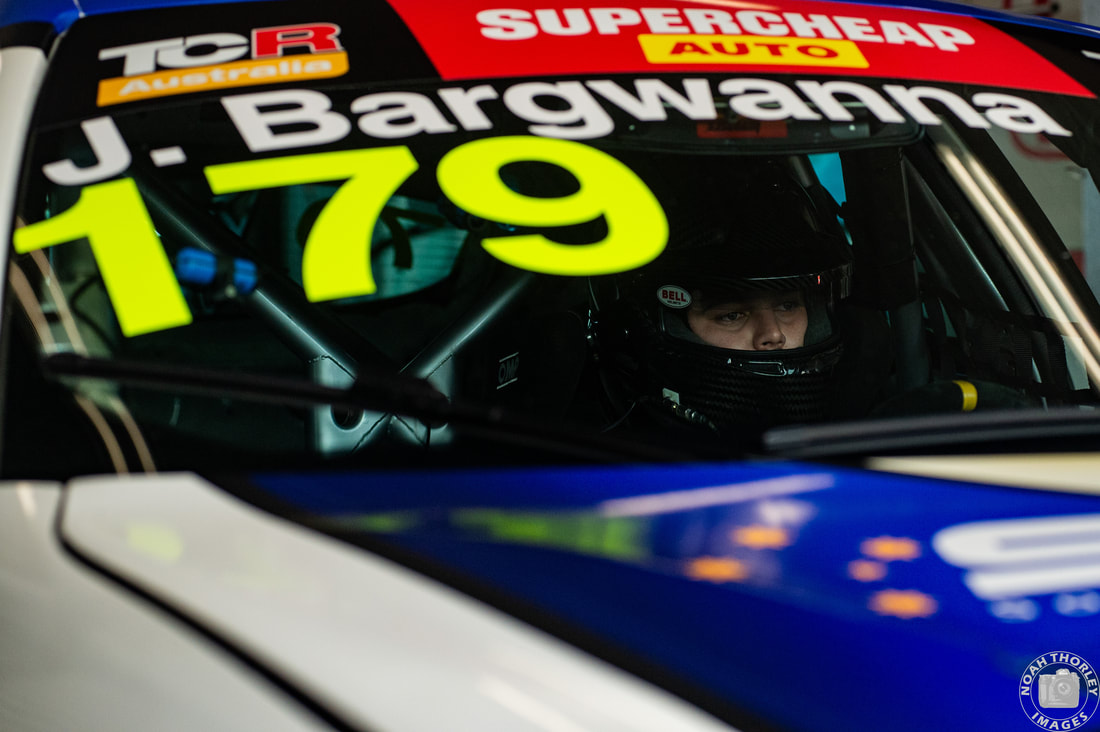 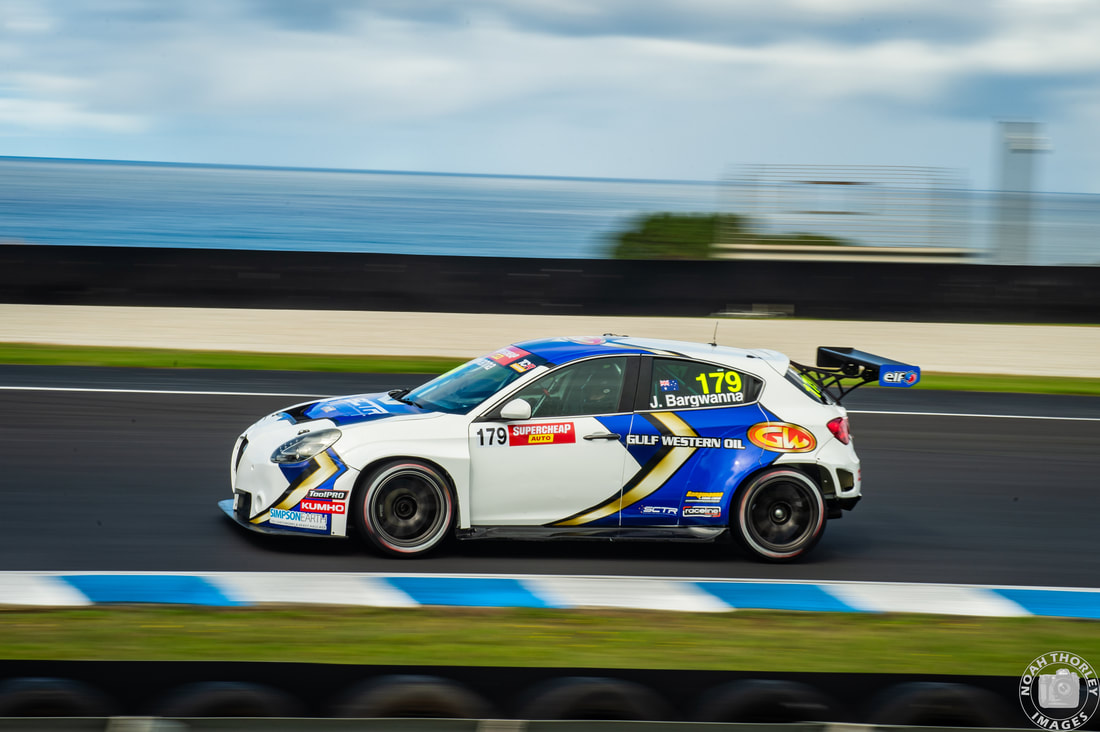 2023 V8 Touring Car champion Jude Bargwanna would join the TCR grid at Phillip Island in a pretty Alfa Romeo Giulietta. Unfortunately for Jude and the team, they would suffer turbo issues all weekend long, and were off the pace in each session, so Jude wasn’t able to show what he is made of. 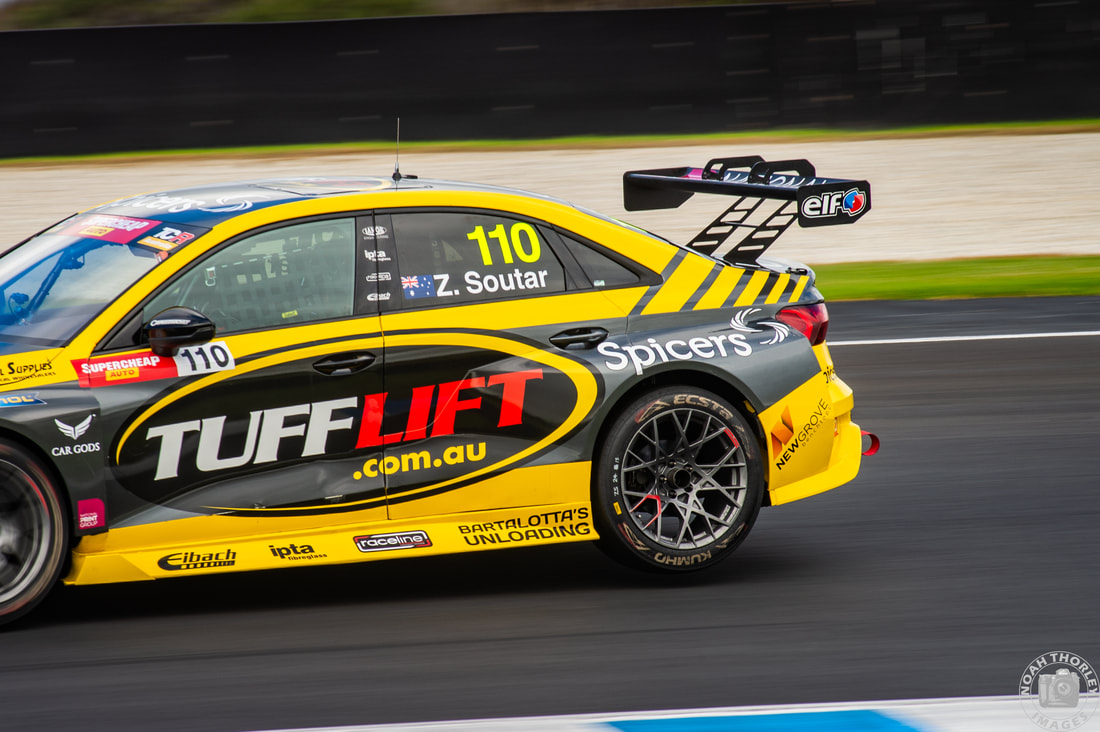 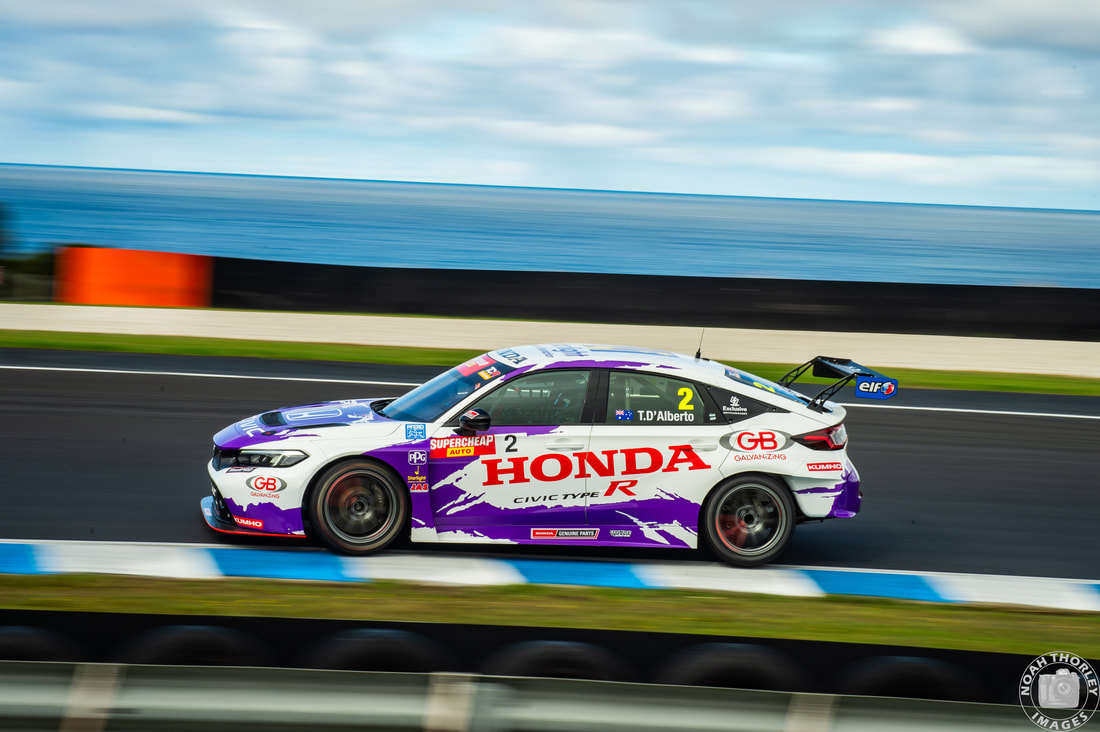 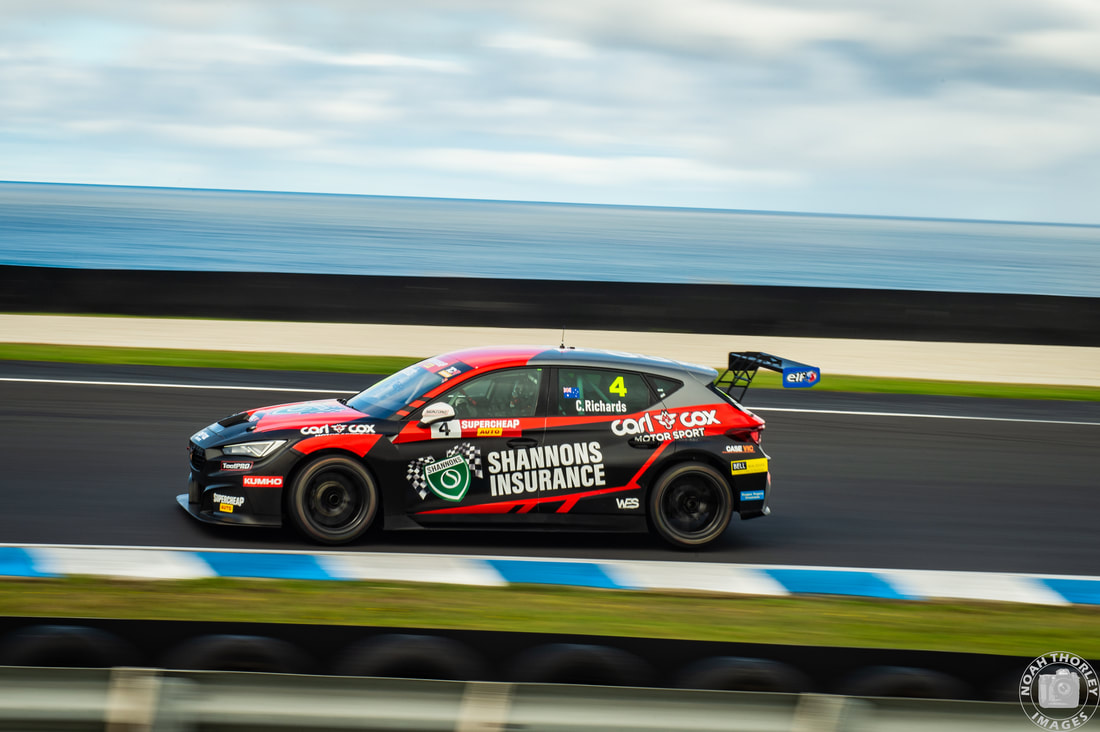 Championship leader Zac Soutar would set the pace (1:36.659) in Practice 1 on a dried as drivers lifted their rear wheels off the ground, particularly through Turn 6. Tony D’Alberto (1:36.726) would stay planted, six hundredths behind Soutar with Clay Richards (1:37.016) in third. 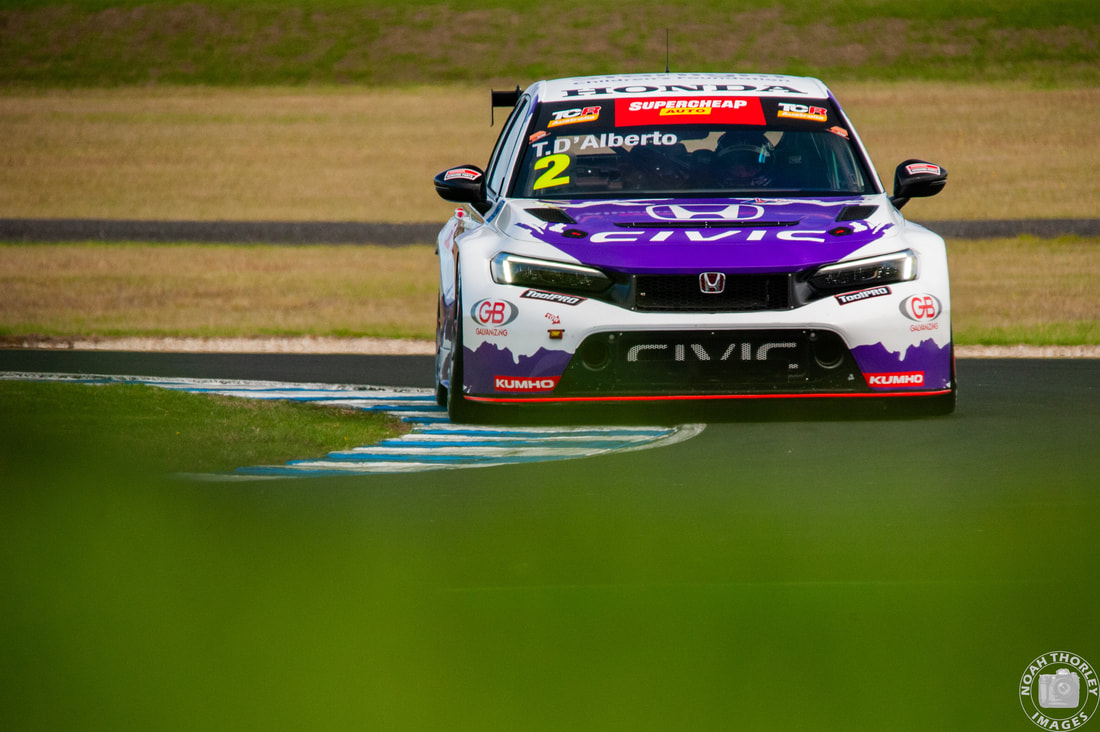 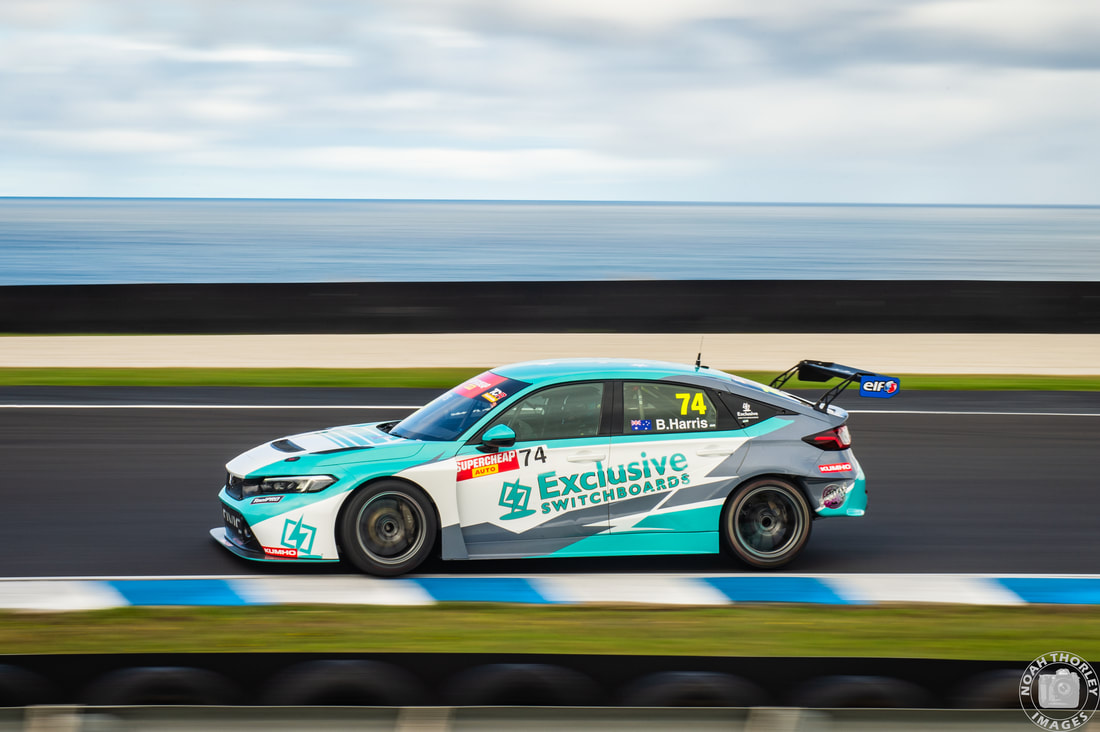 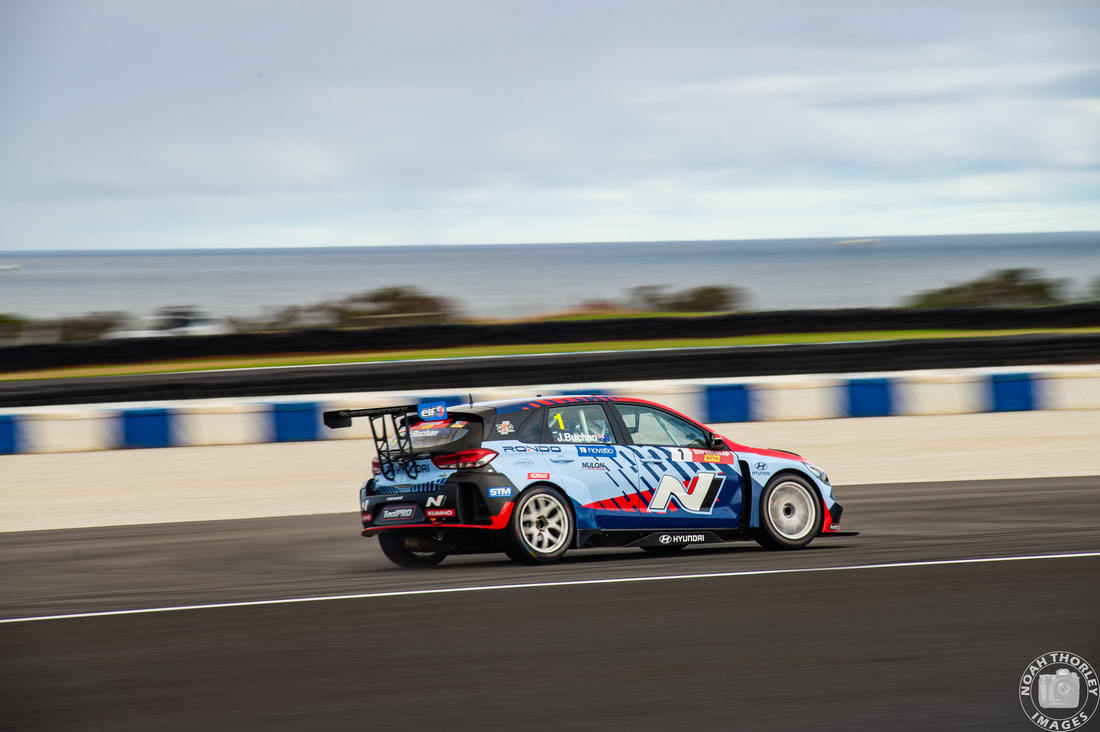 The two new Honda Civics would lock out the top two in Practice 2, with Tony D’Alberto (1:35.987) going one place better and teammate Brad Harris (1:36.312) three tenths behind. Josh Buchan (1:36.413) would slot into third, a further tenth off D’Alberto after locking up at Turn 1. 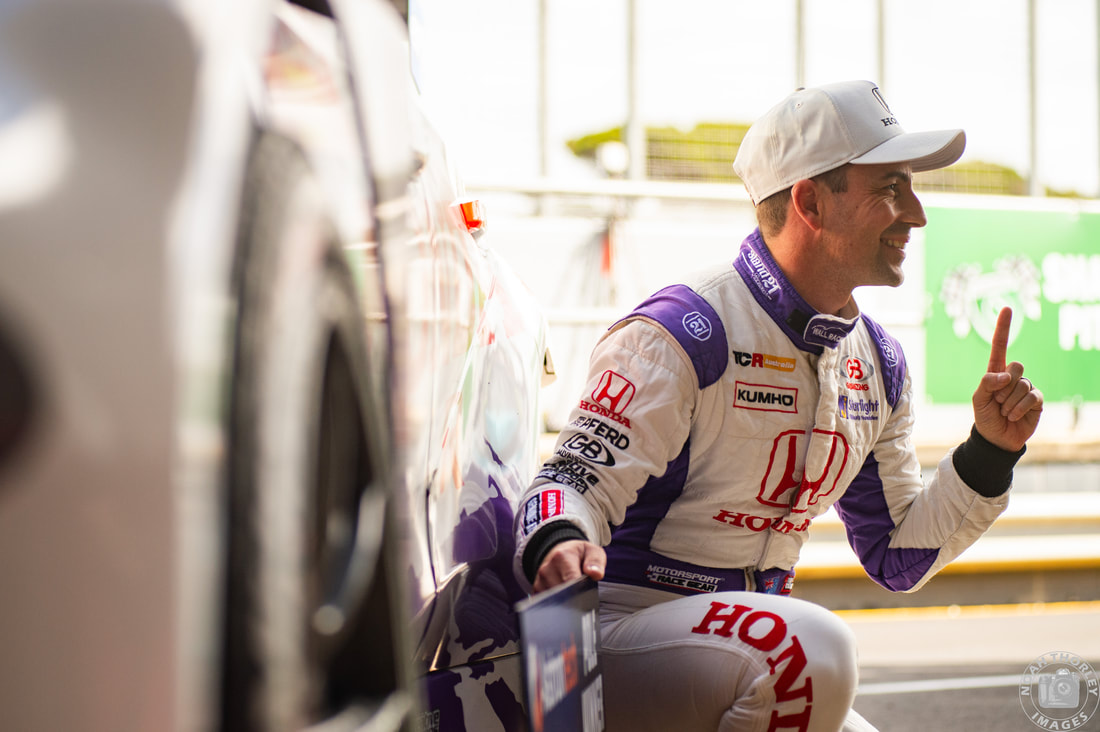 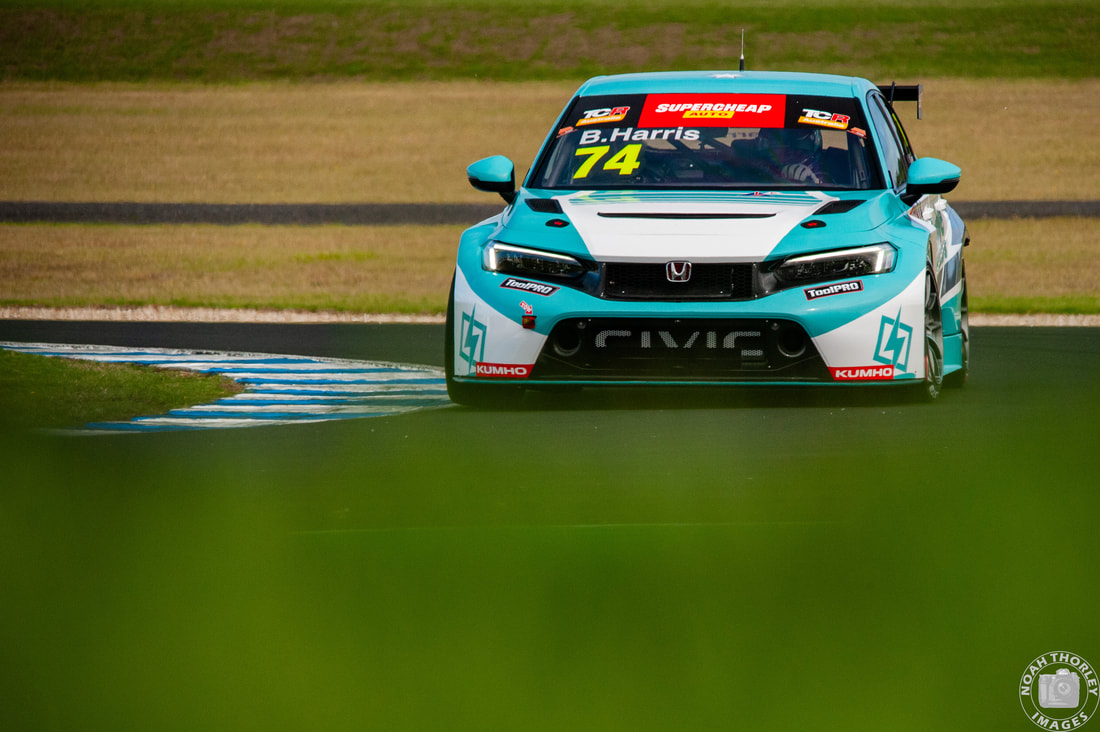 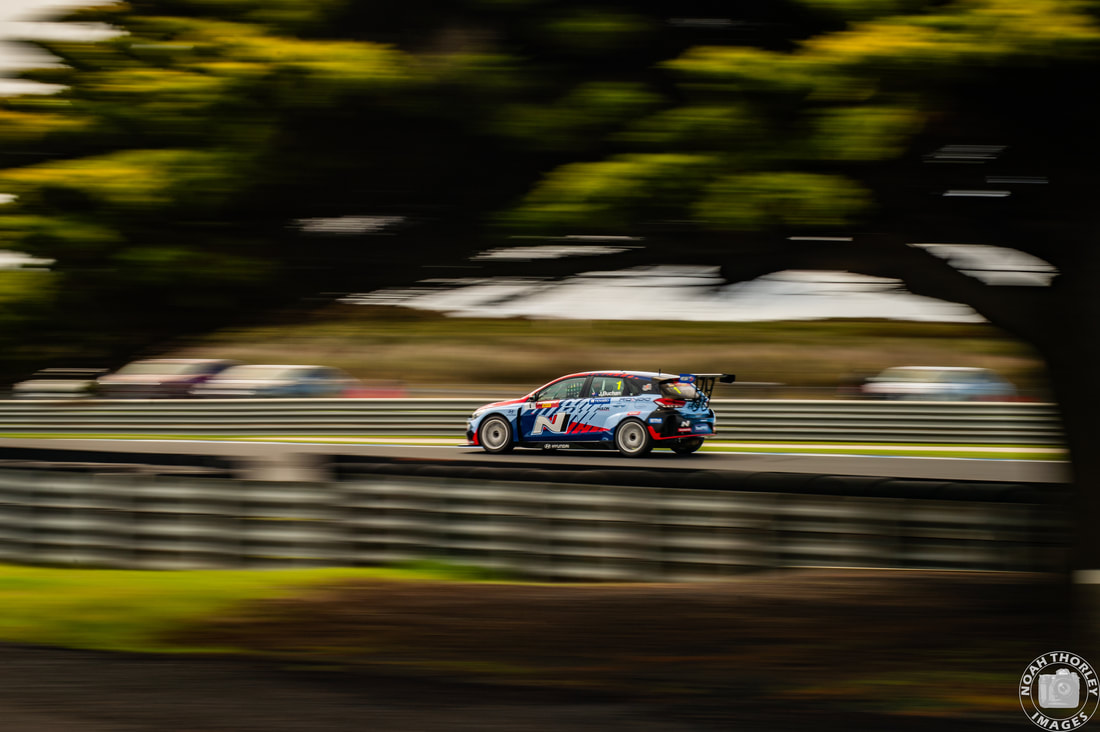 This trio would sweep the top three in Saturday morning's TCR qualifying, with D’Alberto (1:35.216) grabbing pole position by four tenths over Brad Harris (1:35.665) and five tenths ahead of Josh Buchan (1:35.717). 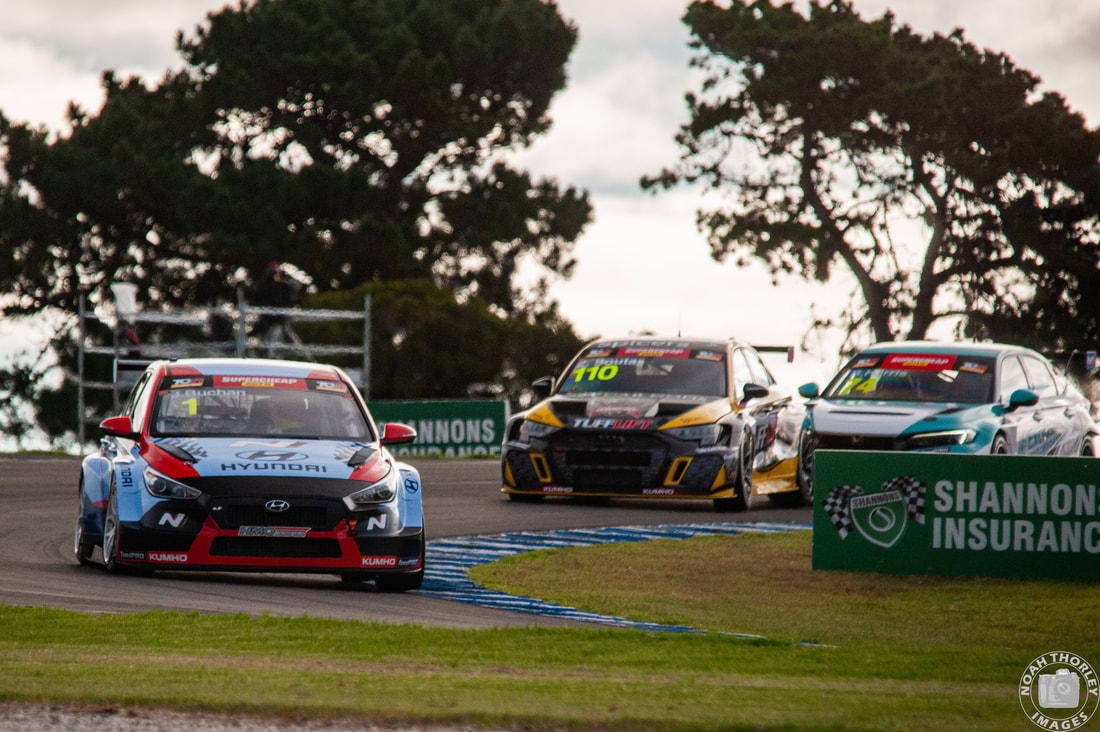 It wouldn’t take long for the top three to get even closer. On the first lap of Race 1, Brad Harris would nudge leader D’Alberto into Turn 4 as Buchan simultaneously saw an overtaking opportunity but would also run into the back of D’Alberto, sending him wide and to the back of the field. 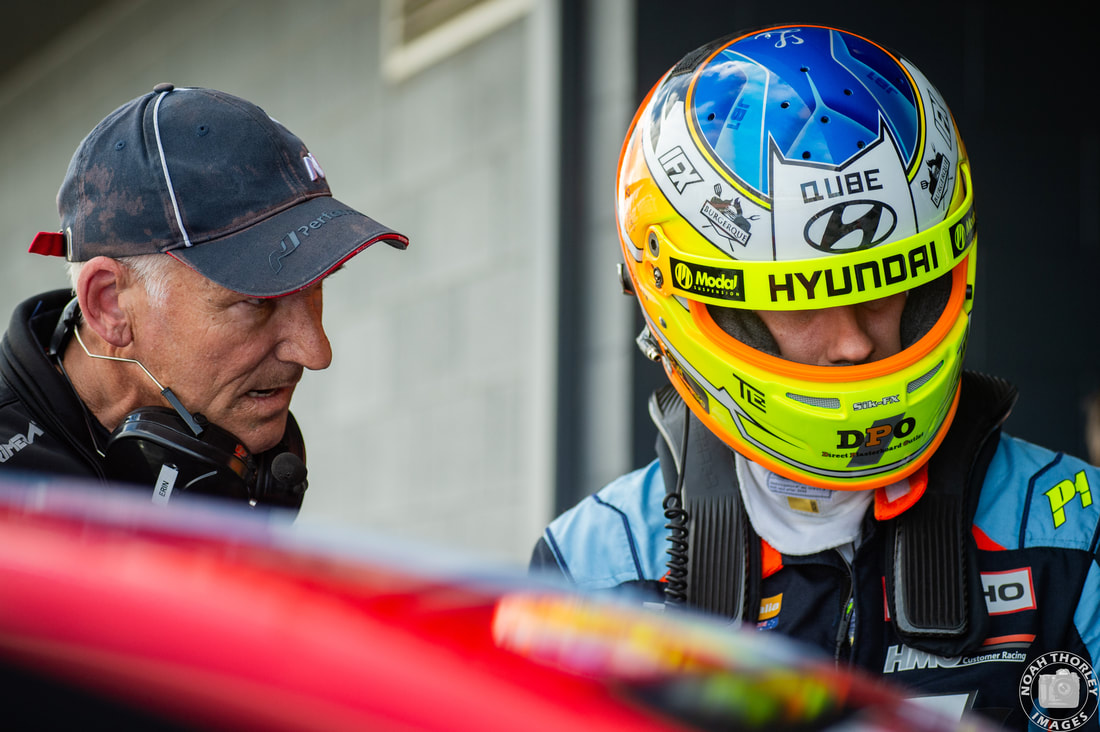 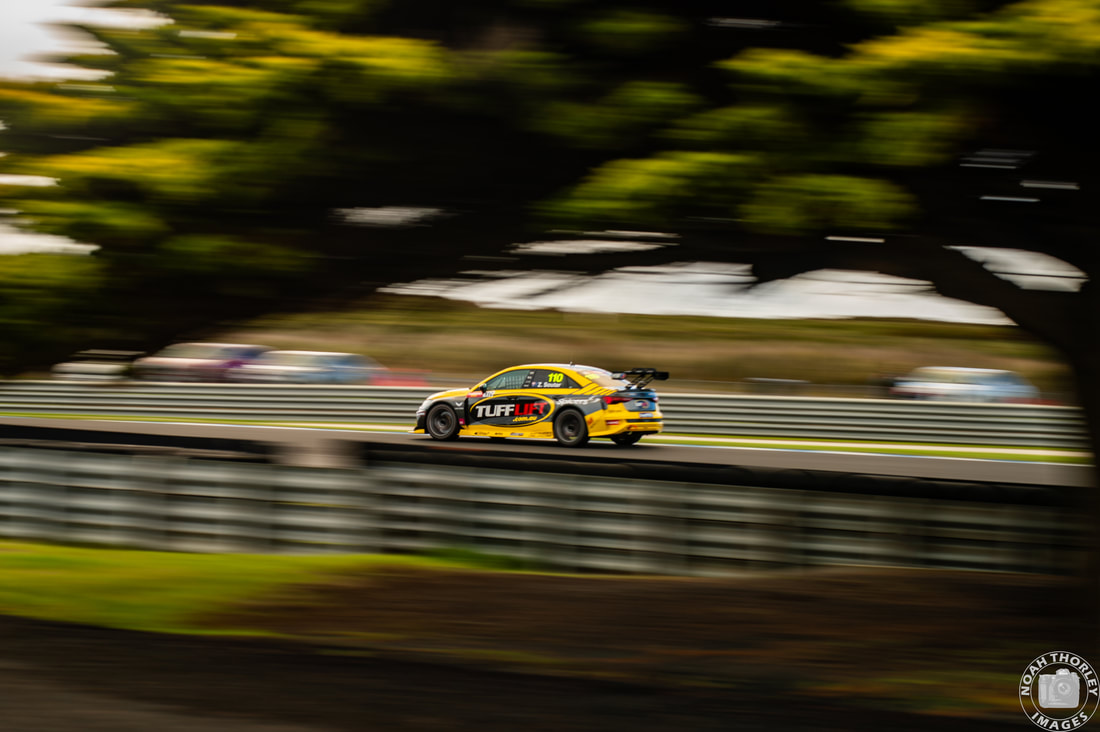 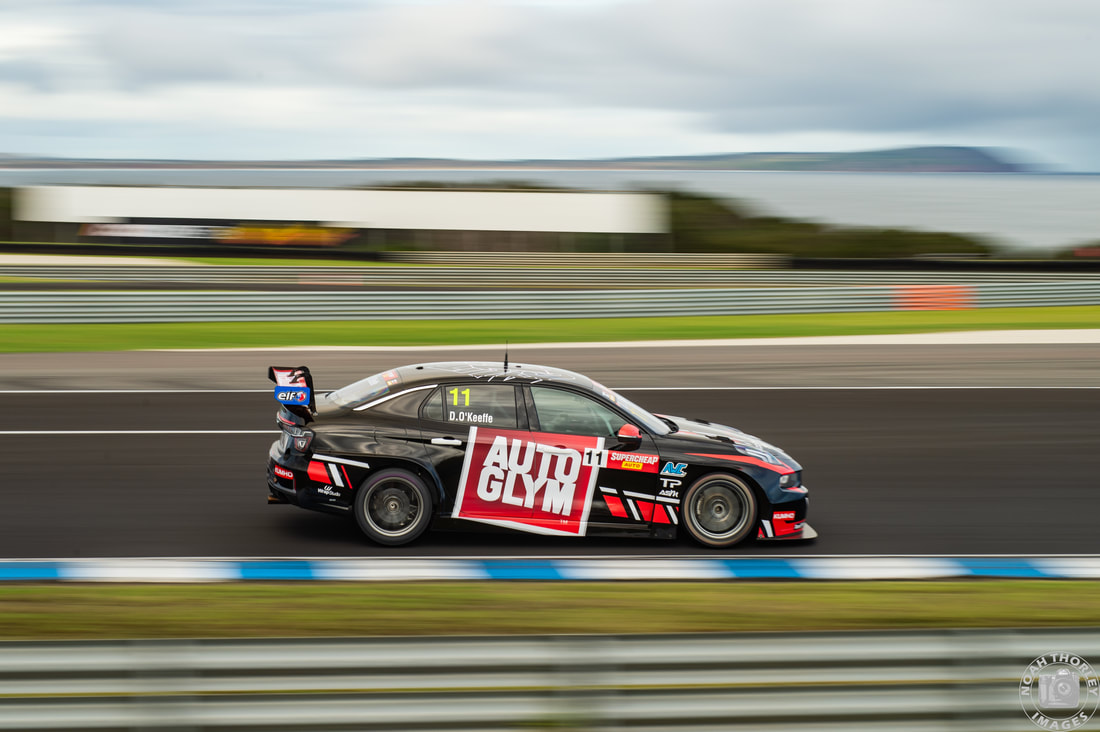 Although Brad Harris won the battle for second at MG corner against Zac Soutar, he was given a ten second penalty for the lap one incident, dropping him to ninth. Josh Buchan would take the victory and set a new race lap record, as Soutar grabbed second and Dylan O’Keefe finished third in the blacked out Lynk ‘N Co. 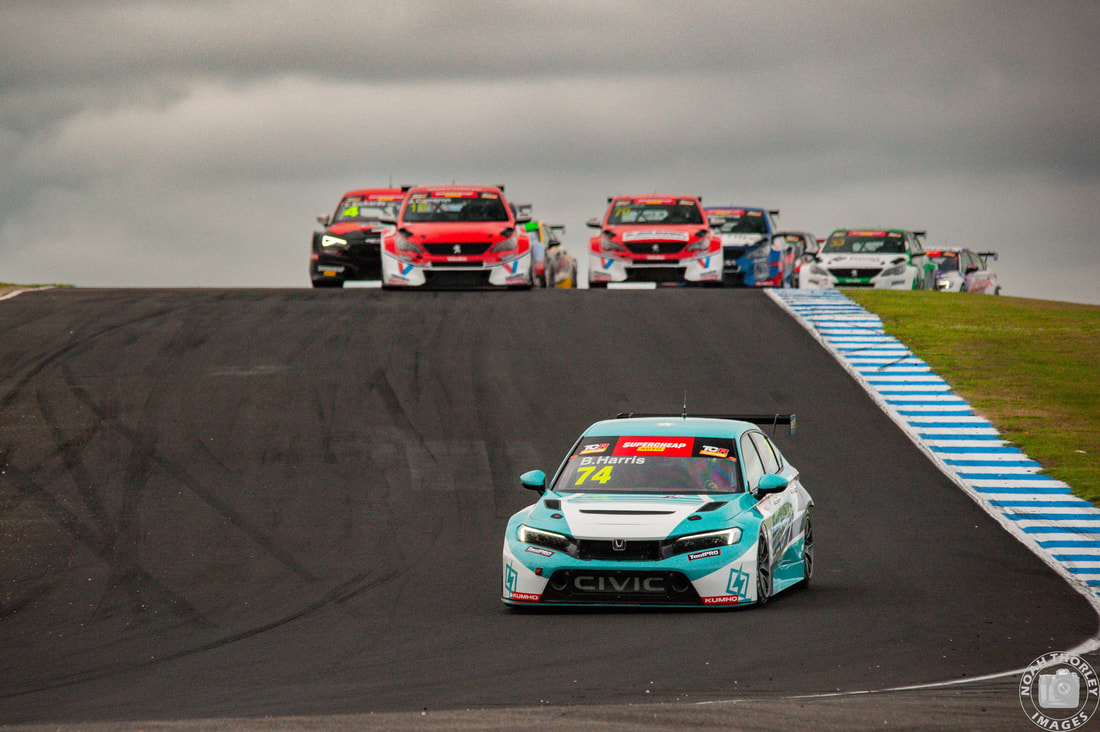 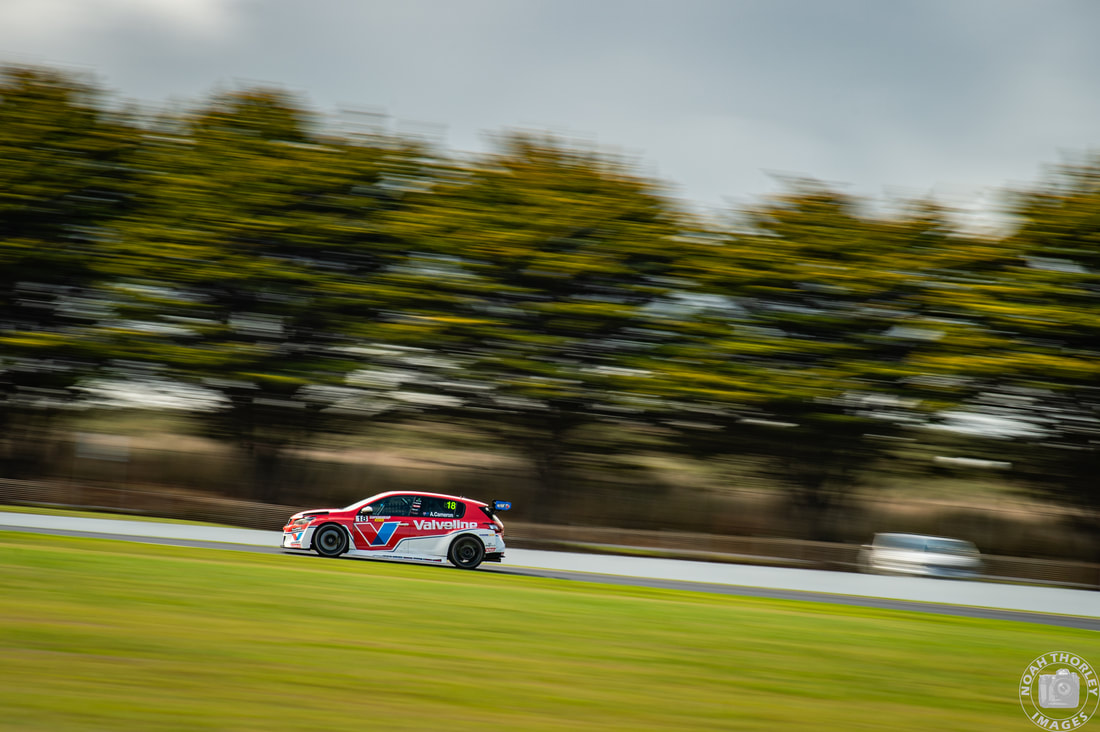 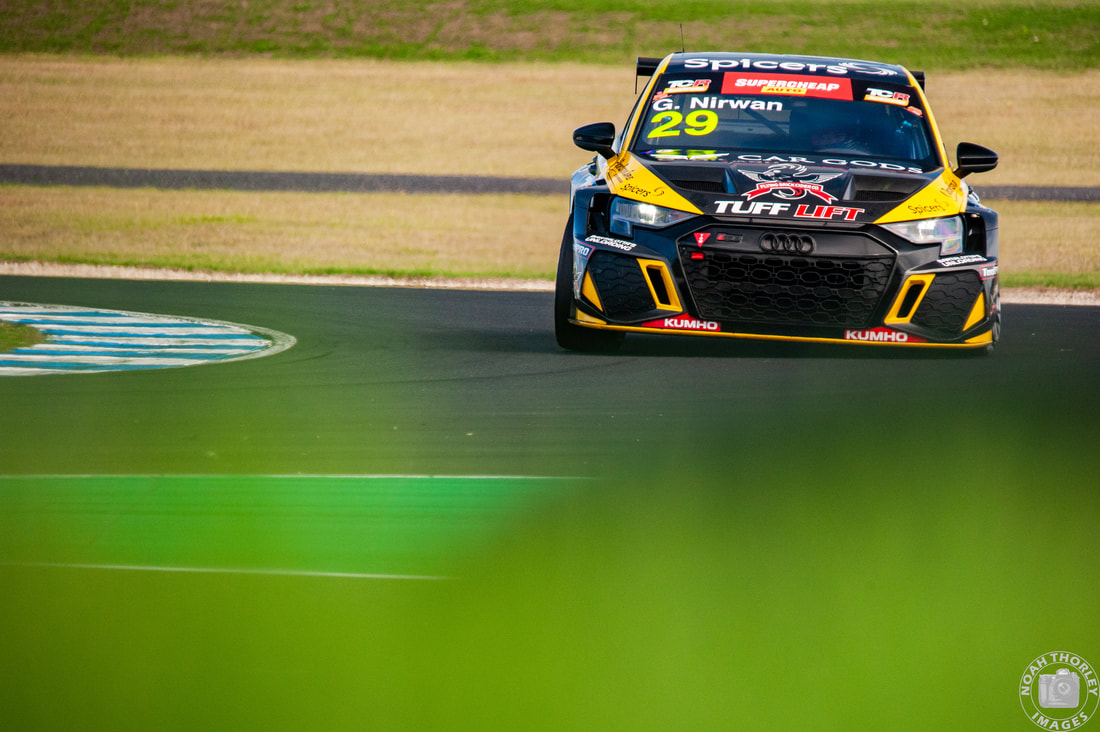 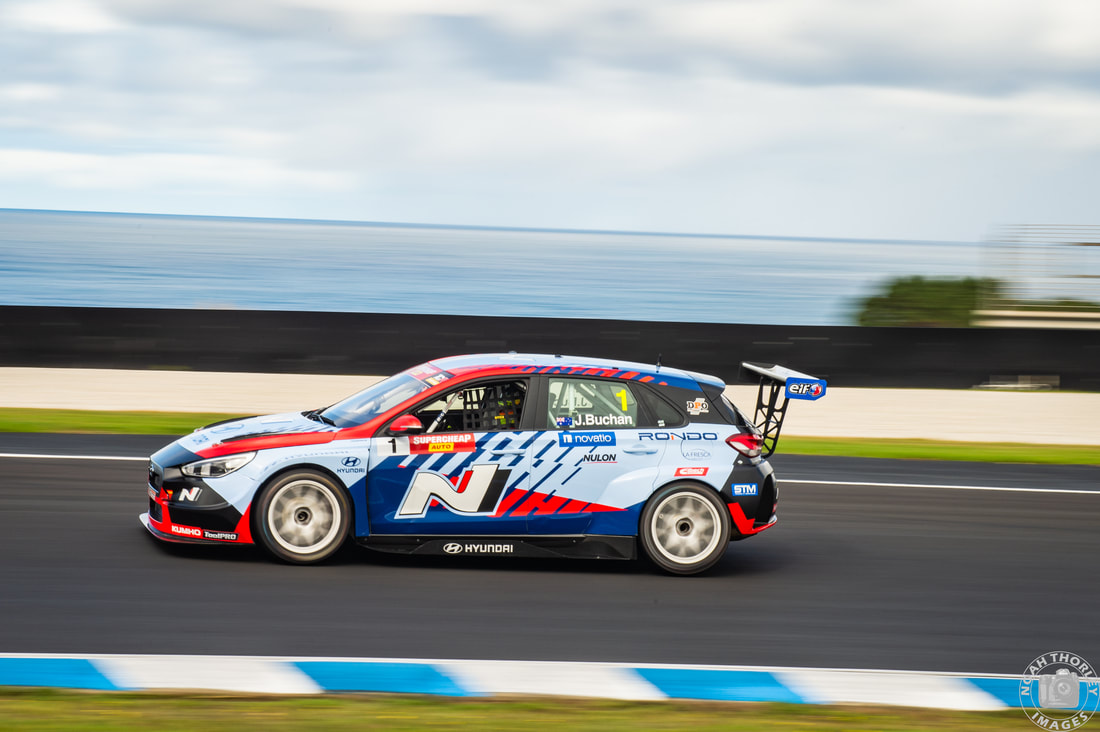 The Drama for Wall Racing would continue into the reverse grid Race 2, as Brad Harris was deemed to have jumped the start from position two as Will Harris pushed Aaron Cameron onto the grass before Turn 1. At the same corner, Glenn Nirwan and Josh Buchan got together forcing both cars to retire. Aaron Cameron and Will Harris would fight for position again through Lukey Heights, Harris’ manoeuvre earning him a five second penalty. 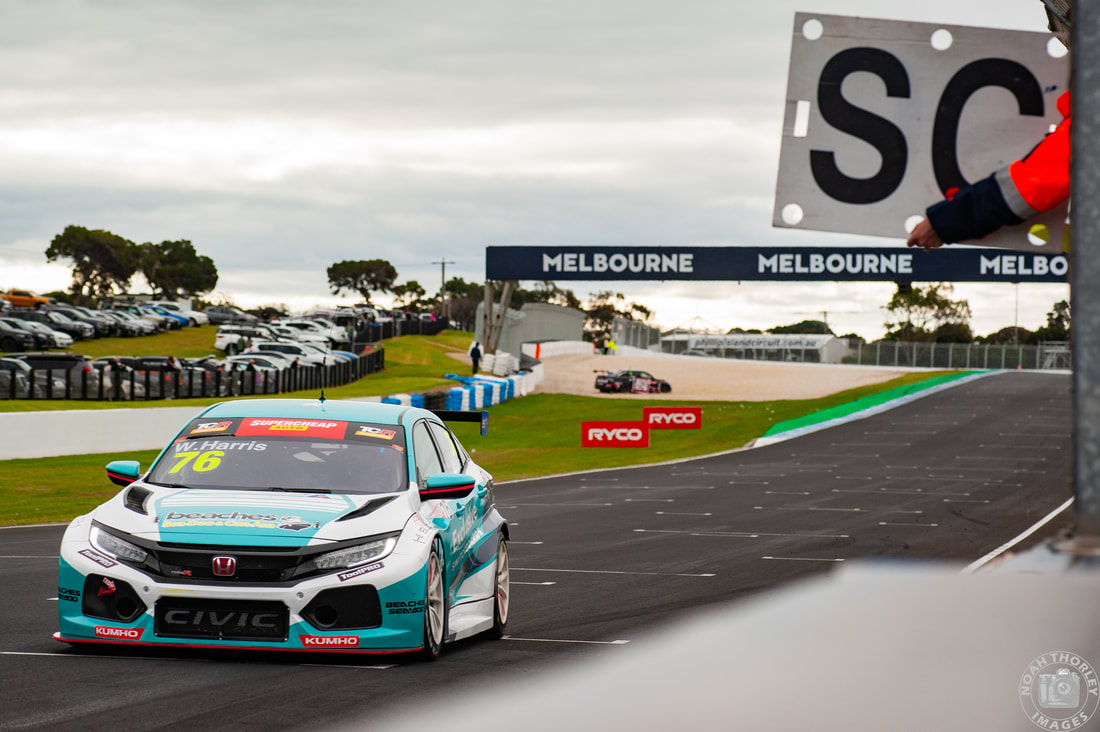 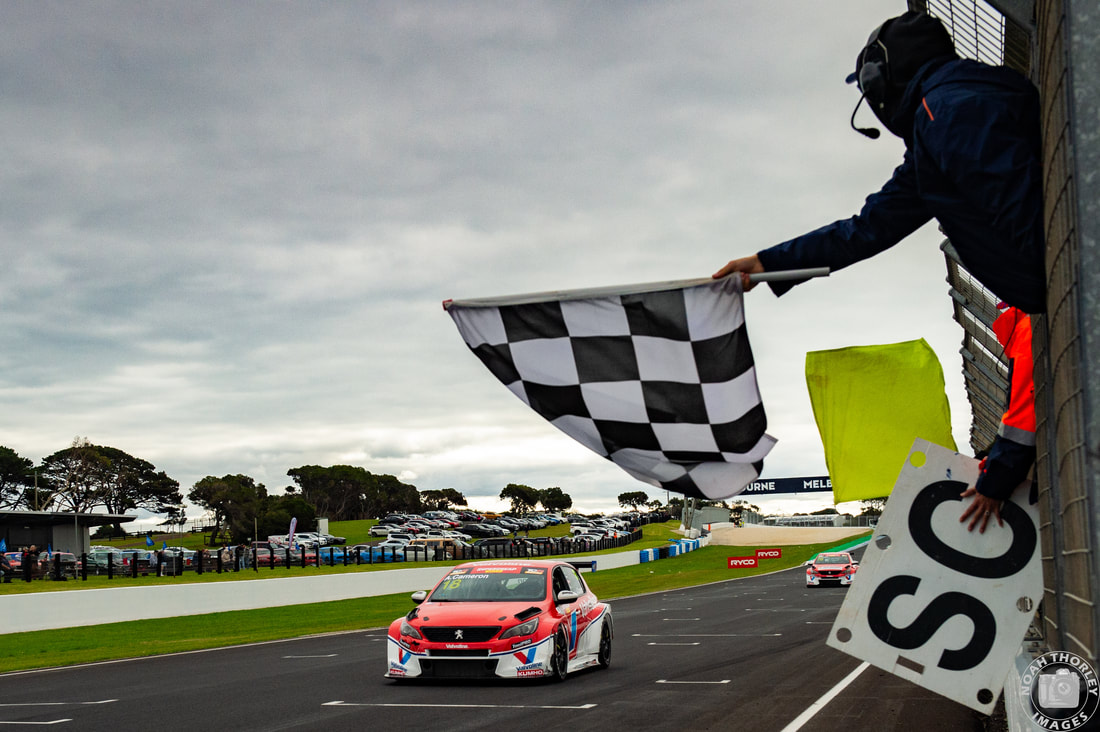 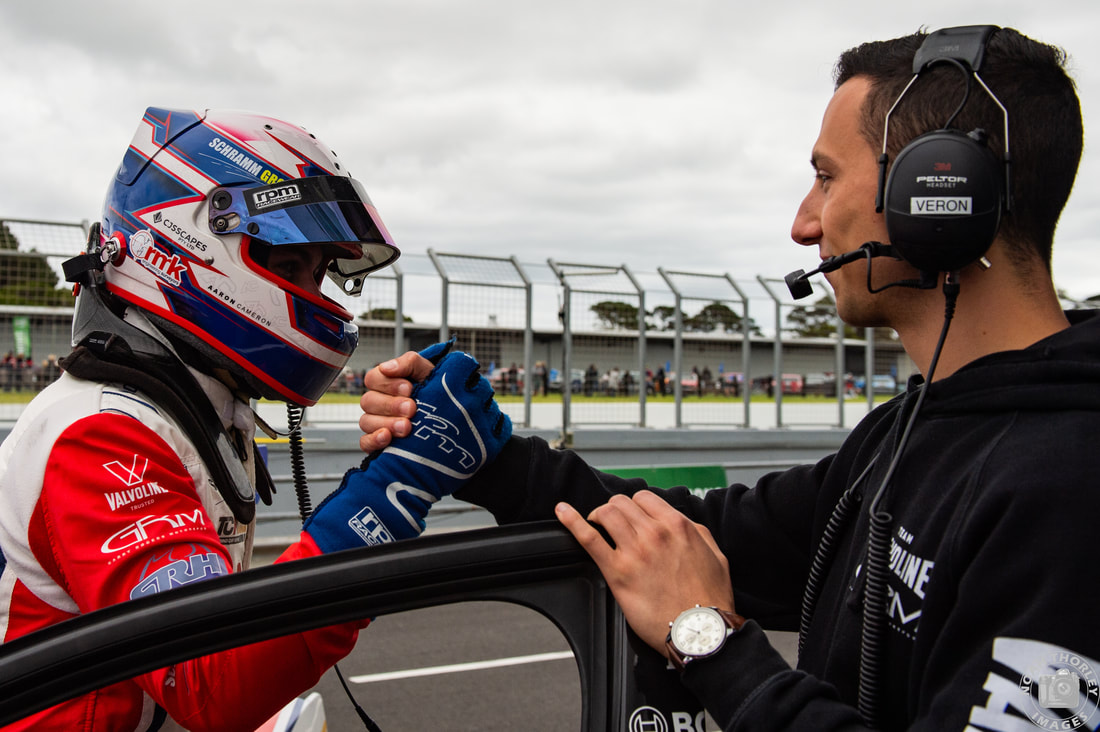 Brad Harris would be given a five second time penalty for jumping the start, and although he had a decent lead, Dylan O’Keefe would spin and get stuck in the gravel on the front stretch, bringing out the safety car. The race would finish under the safety car, and with the time penalties, would send both Brad and Will Harris far back down the order. However, after GRM celebrated a one-two finish, it turned out that Brad Harris hadn’t jumped the start at all, and was awarded the victory, followed by Aaron Cameron and Ryan Casha. 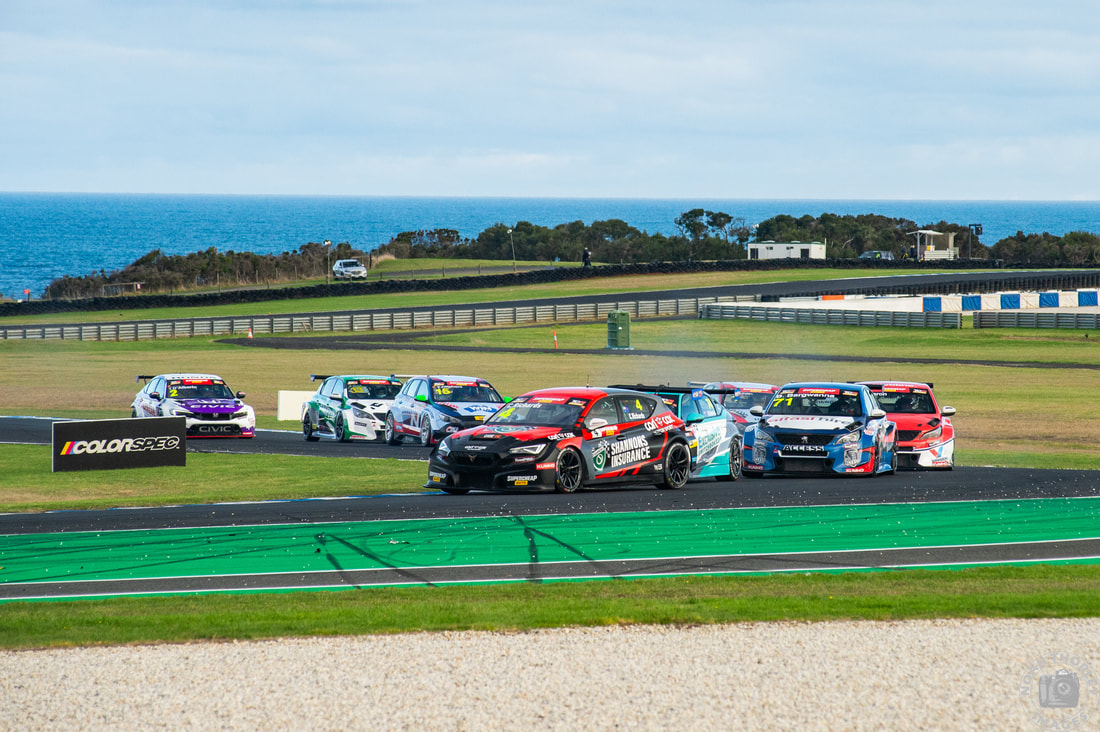 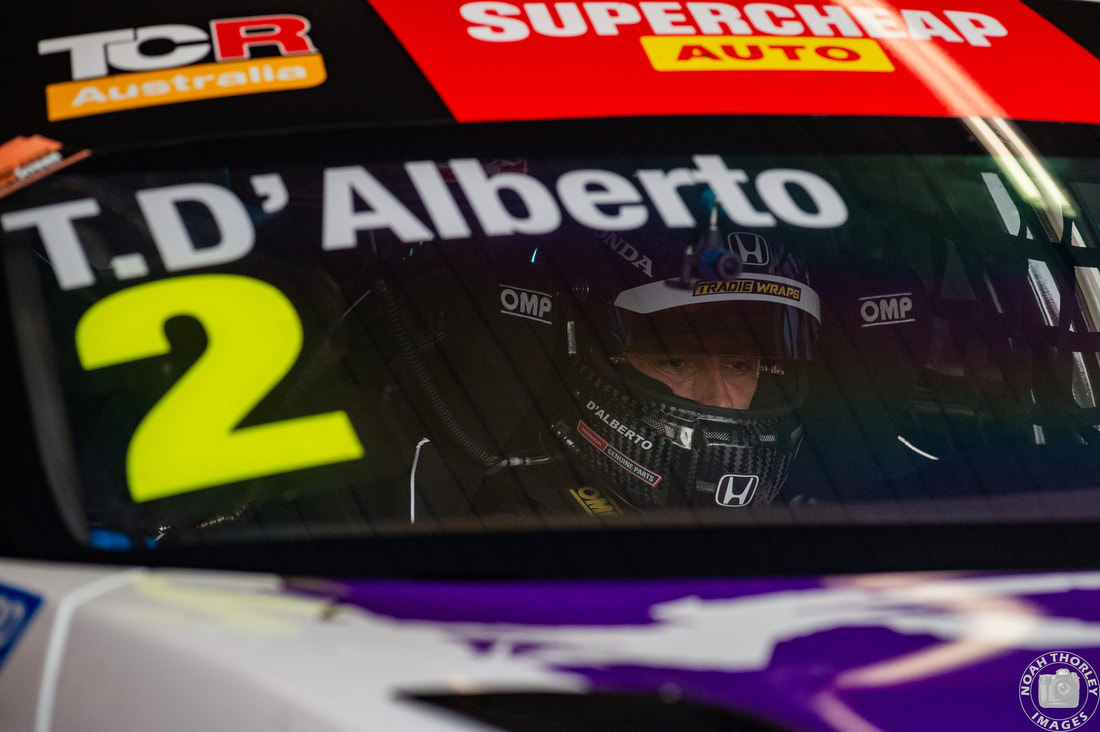 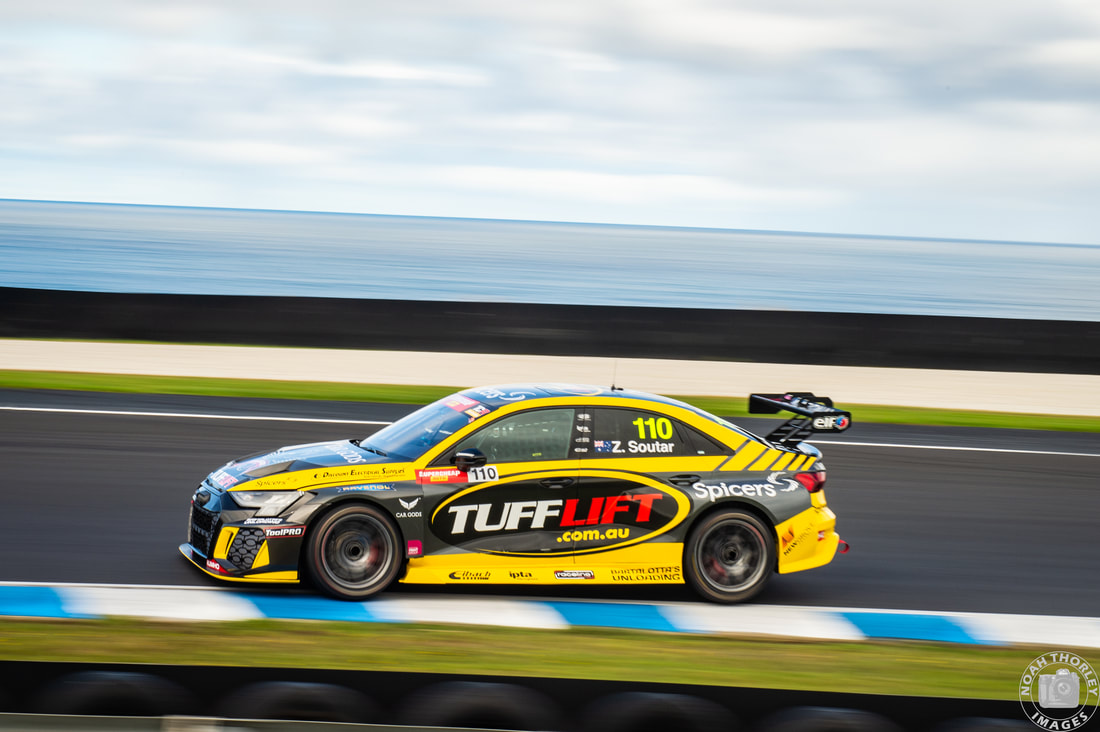 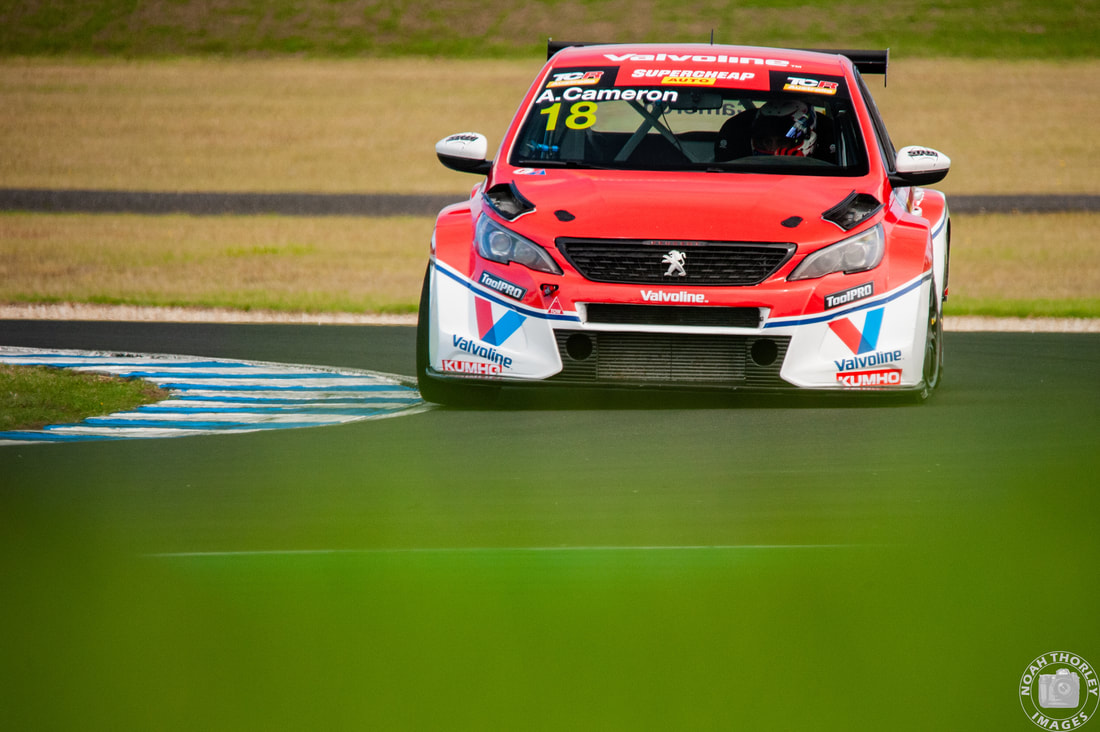 Brad Harris started on pole for Race 3 but was harassed by Clay Richards as they swapped for the lead multiple times early. Unfortunately, Richards began to drop through the field ending up fifth. Tony D’Alberto and Zac Soutar fought through the field after starting tenth and in the pitlane respectively, as Aaron Cameron suffered a mechanical failure, dropping him from a potential podium to tenth. 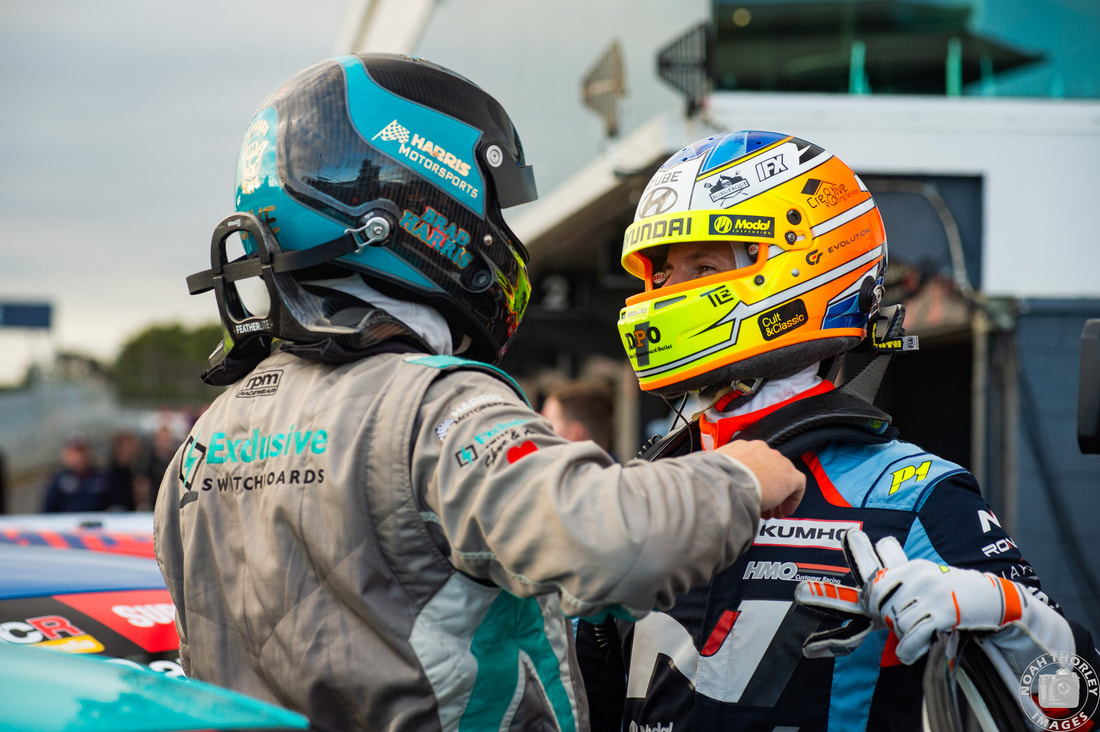 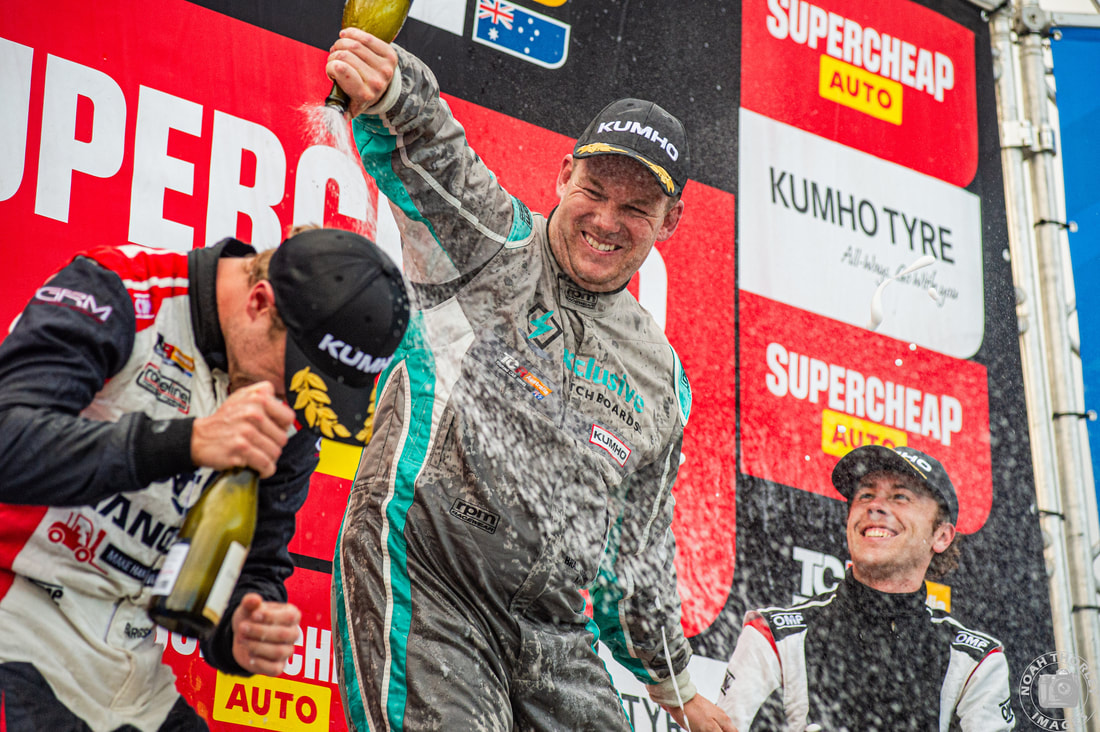 Brad Harris would grab his second win of the season and his first round win, with Ben Bargwanna finishing second and Josh Buchan in third. However, Clay Richard would join the top two on the podium as he scored the third most points during the Phillip Island round. Ben Bargwanna has regained the lead of the TCR championship, but by only seven points ahead of Zac Soutar as TCR Australia head to The Bend in South Australia. Bonus Gallery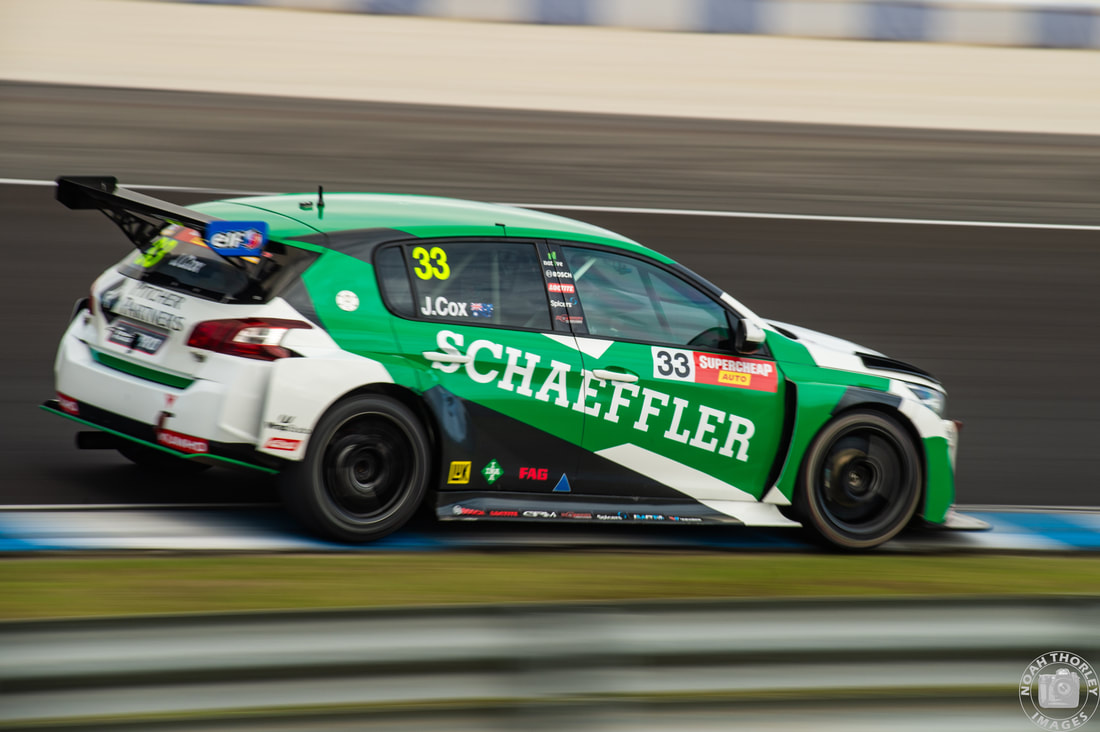 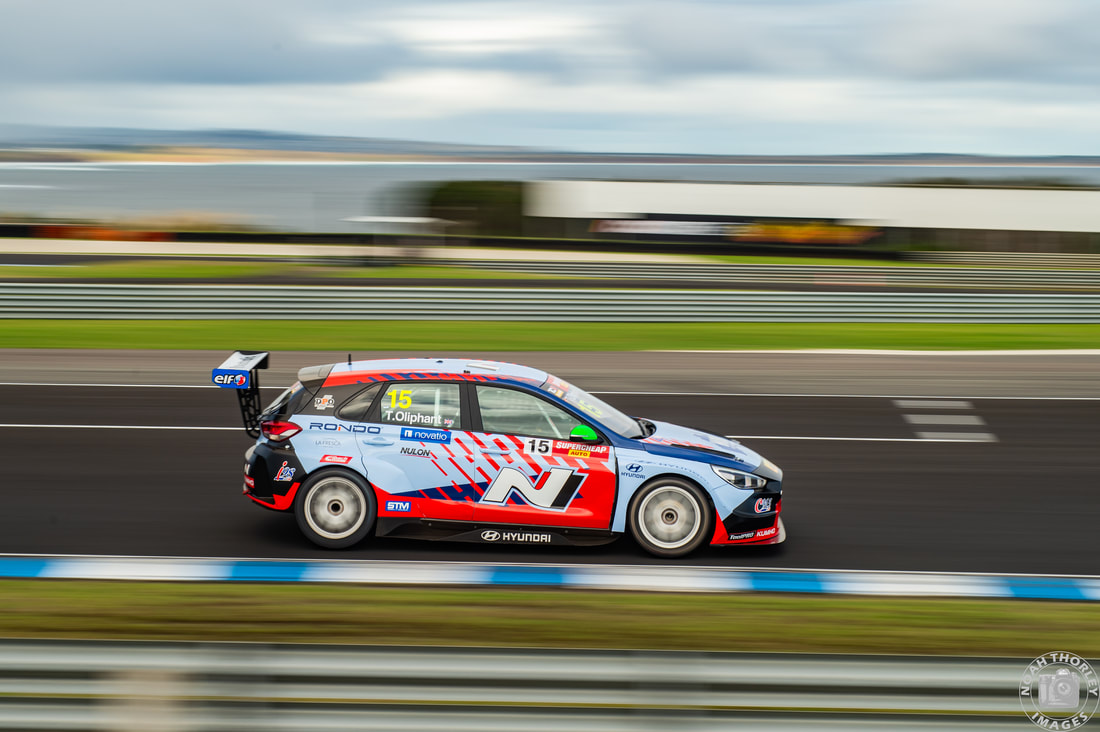 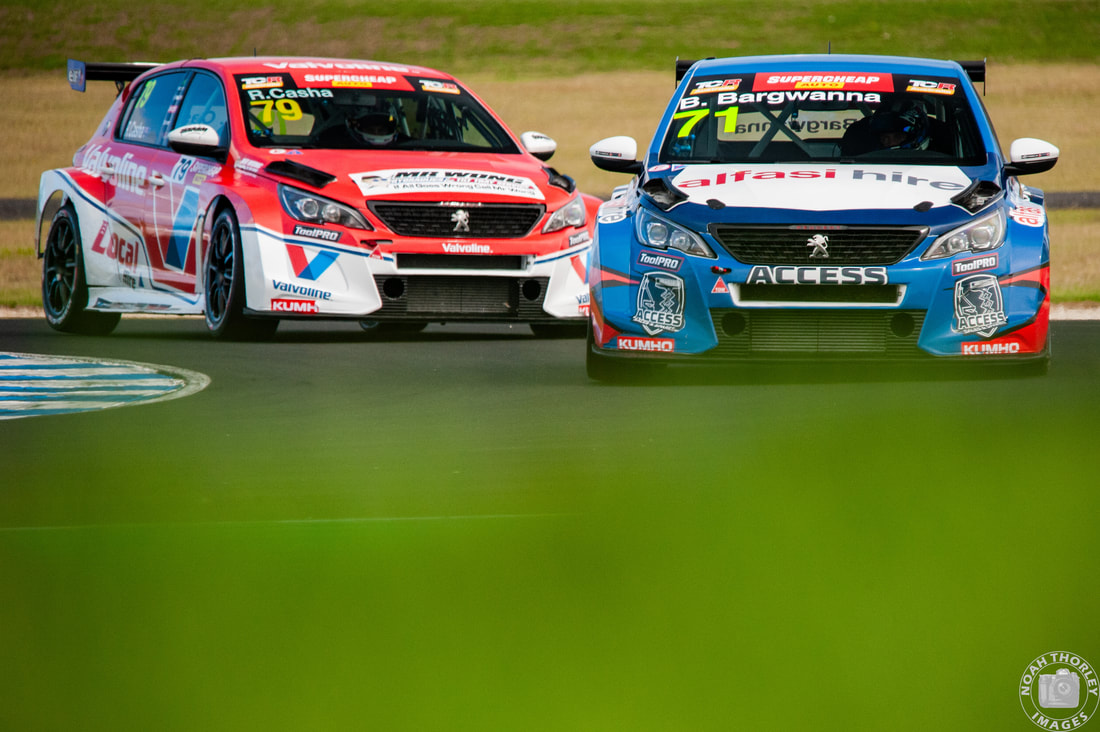 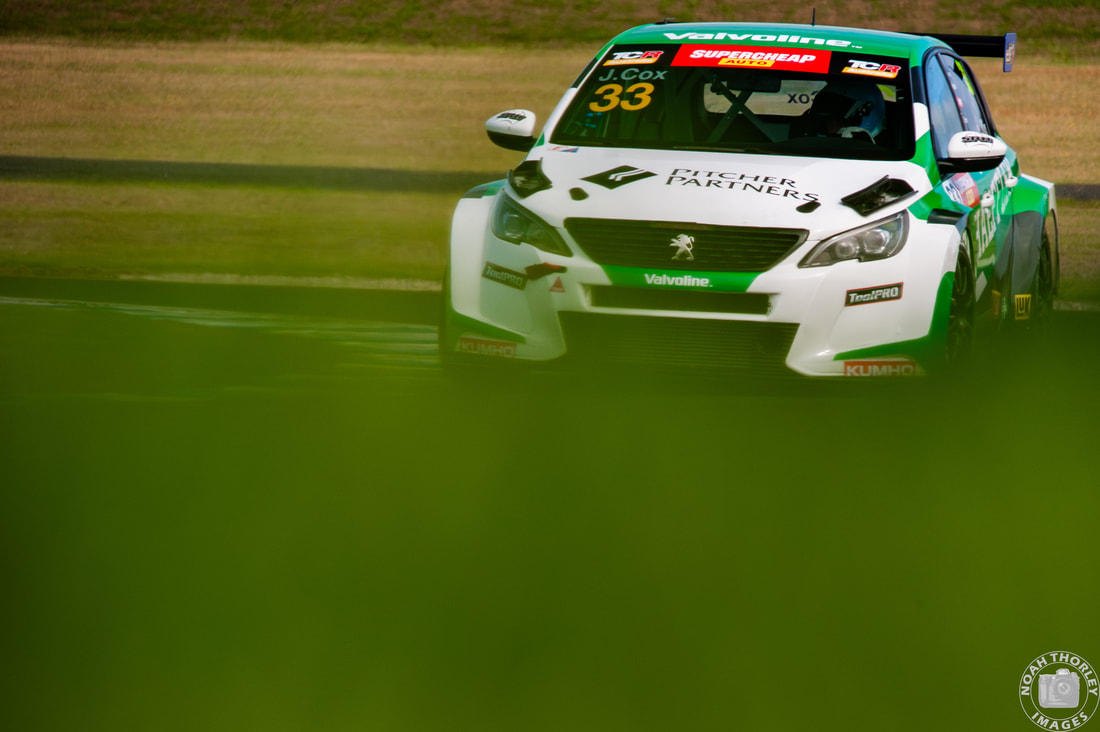
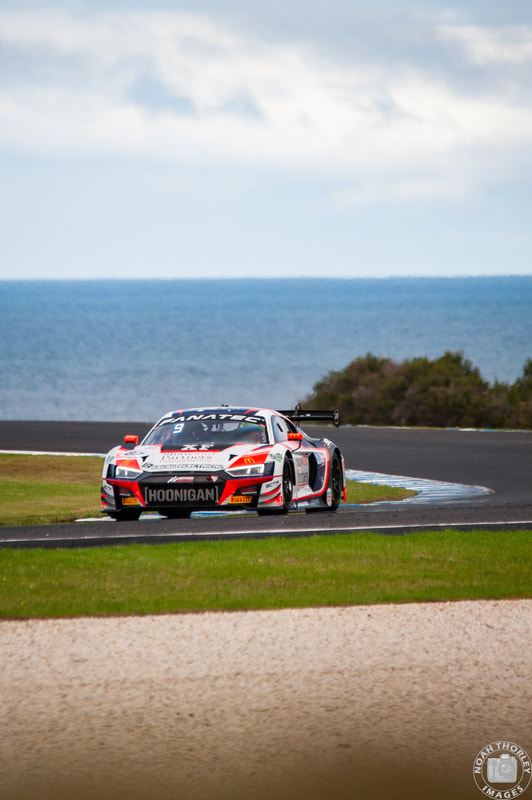
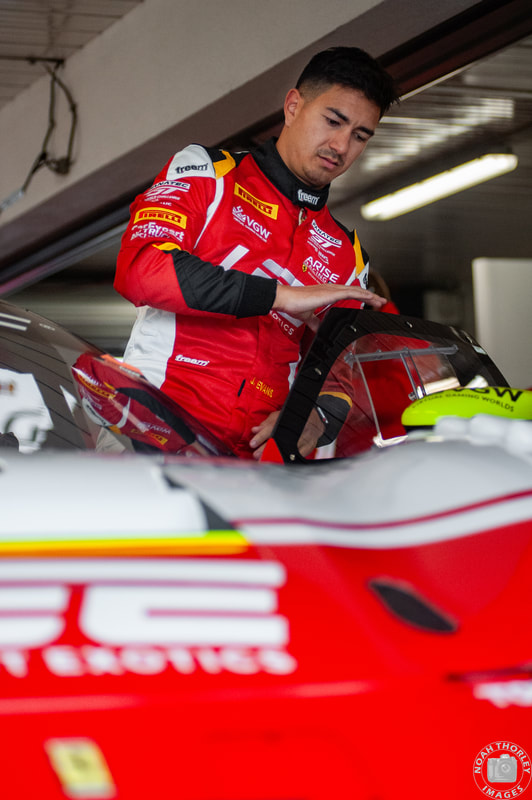
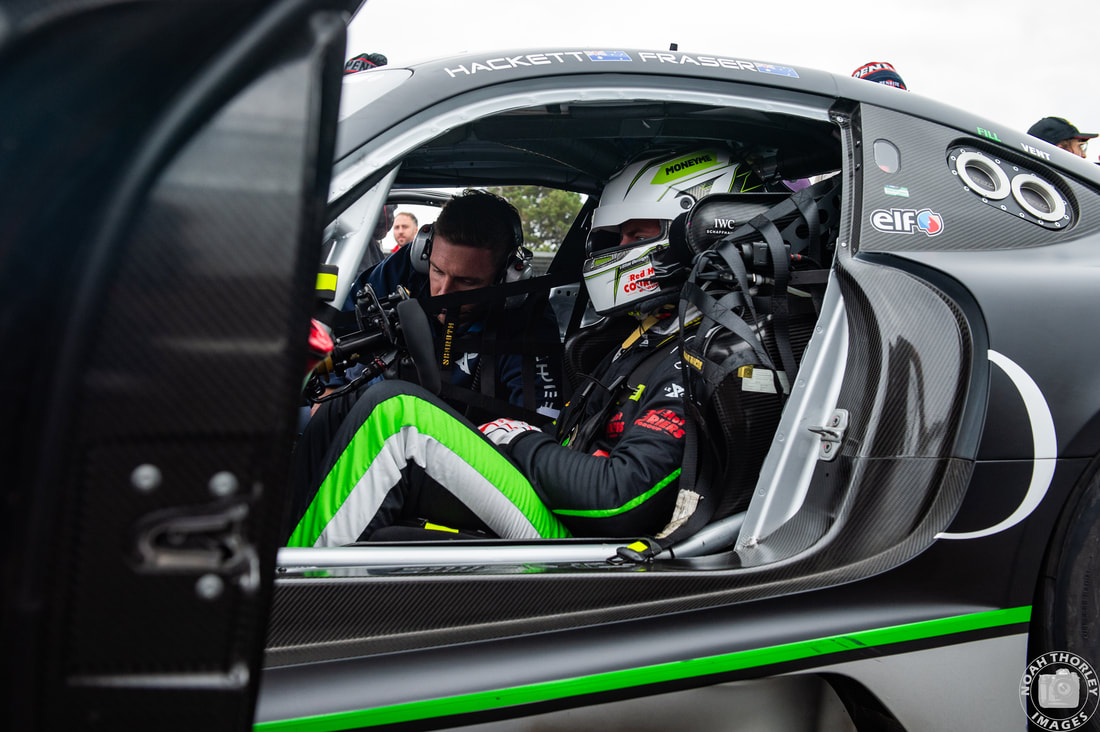
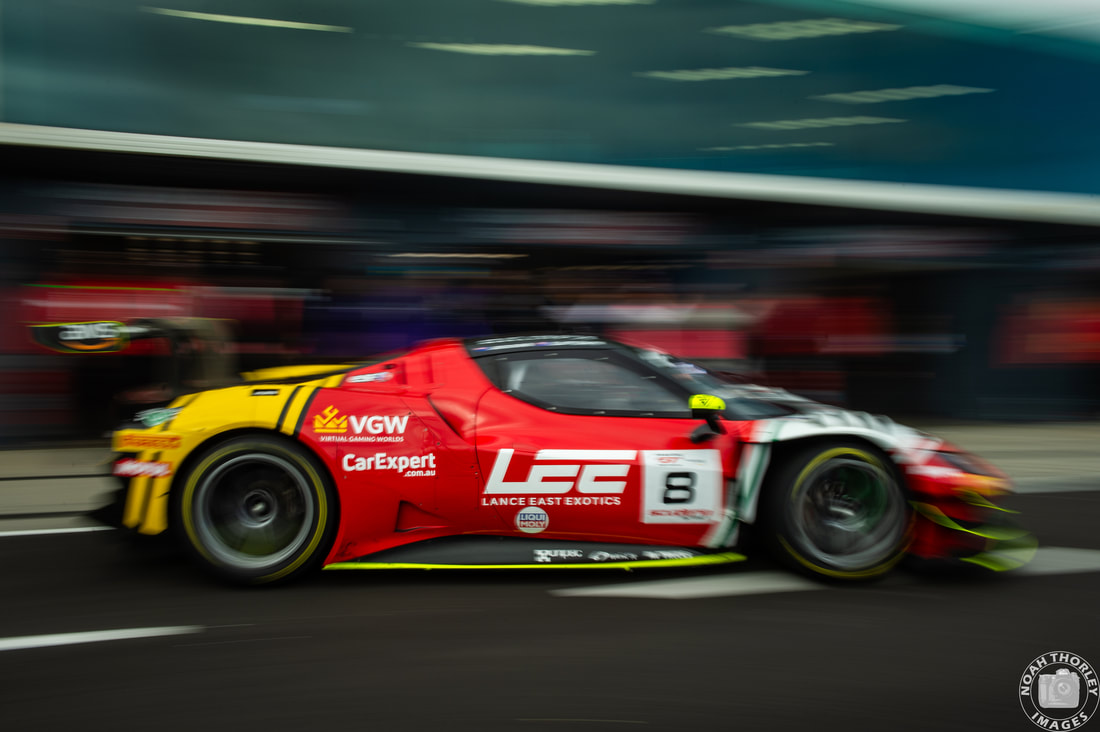
  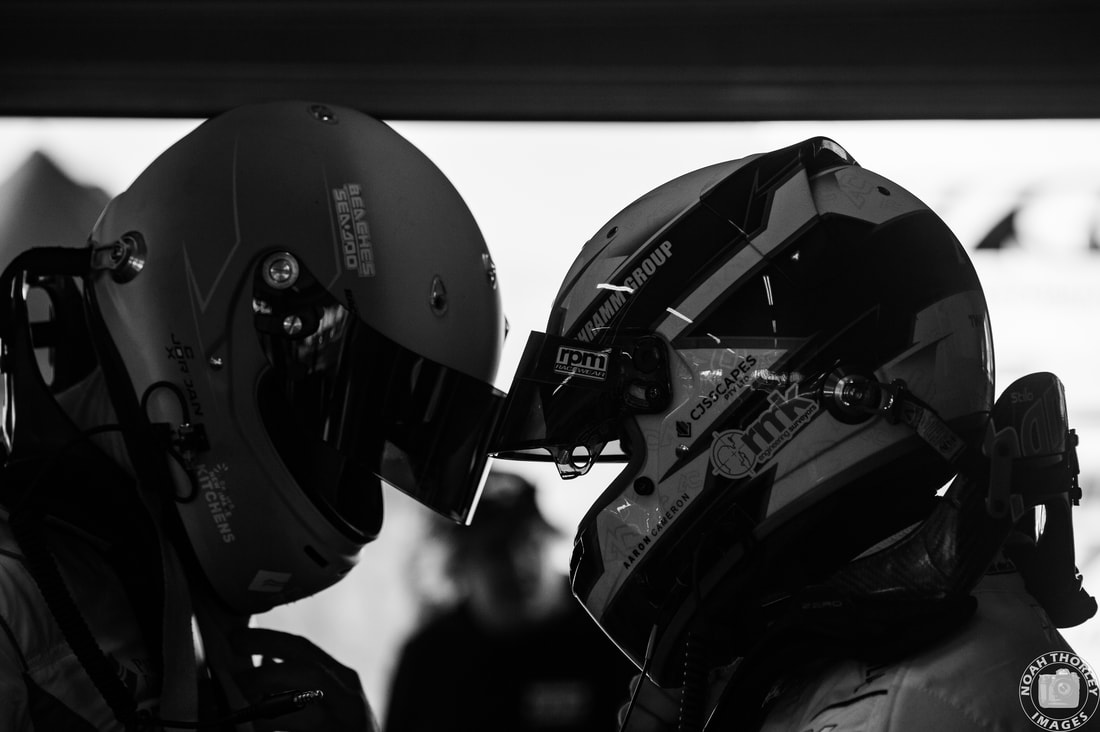      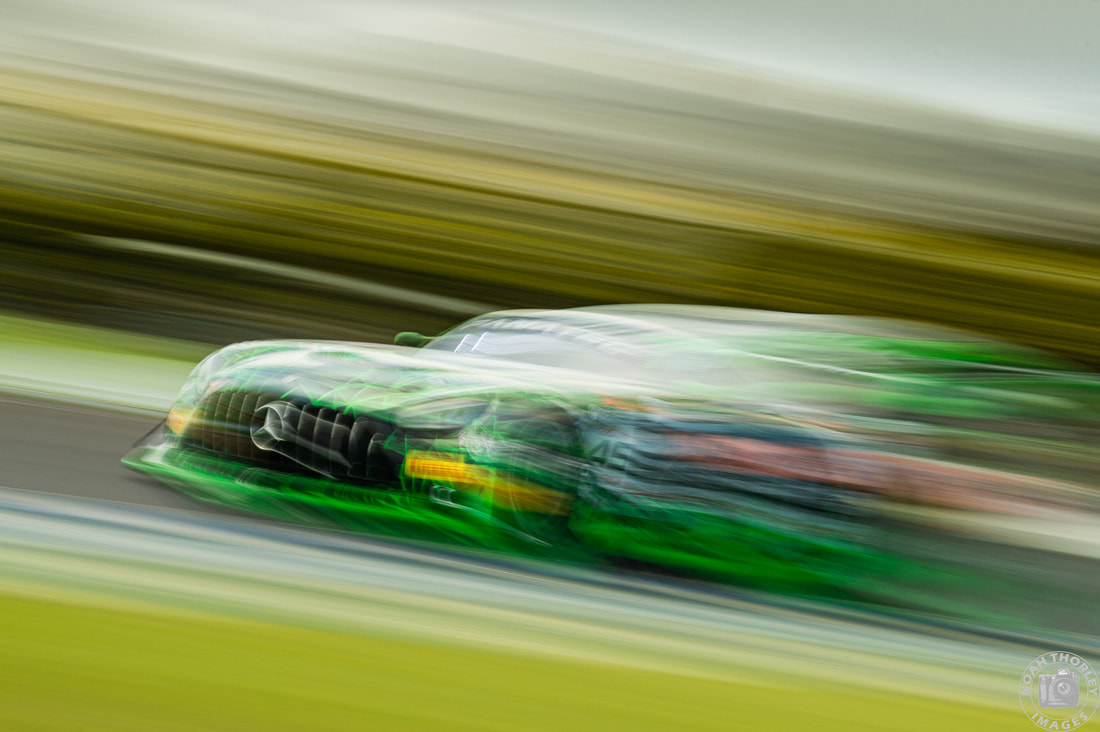 The 2024 Australian Fanatec GT World Challenge championship would begin here at the picturesque Phillip Island Circuit with plenty of storylines. This year would be the first season under the international rules, as GT4 would also become a standalone category. 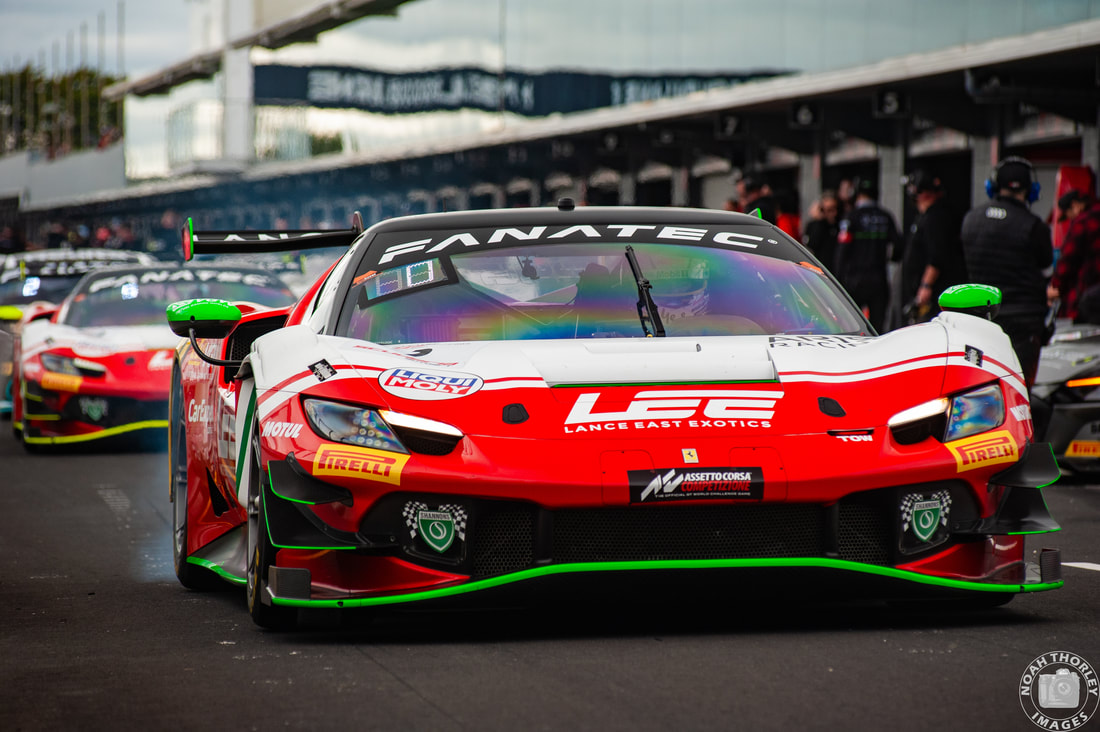 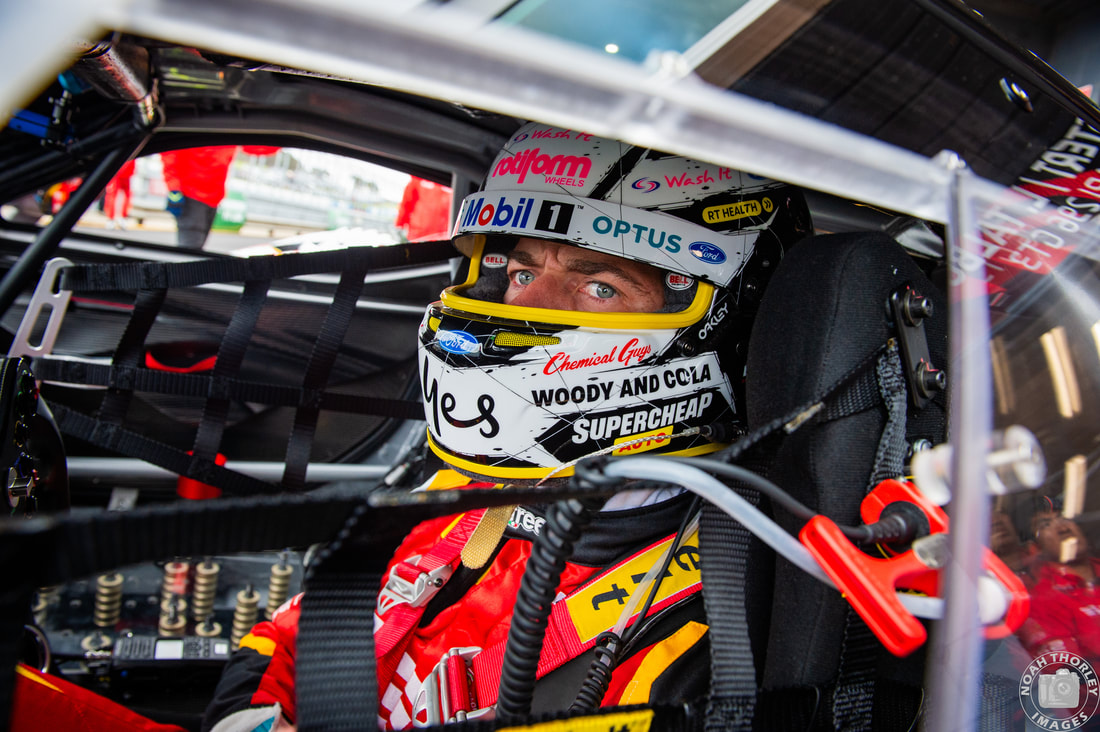 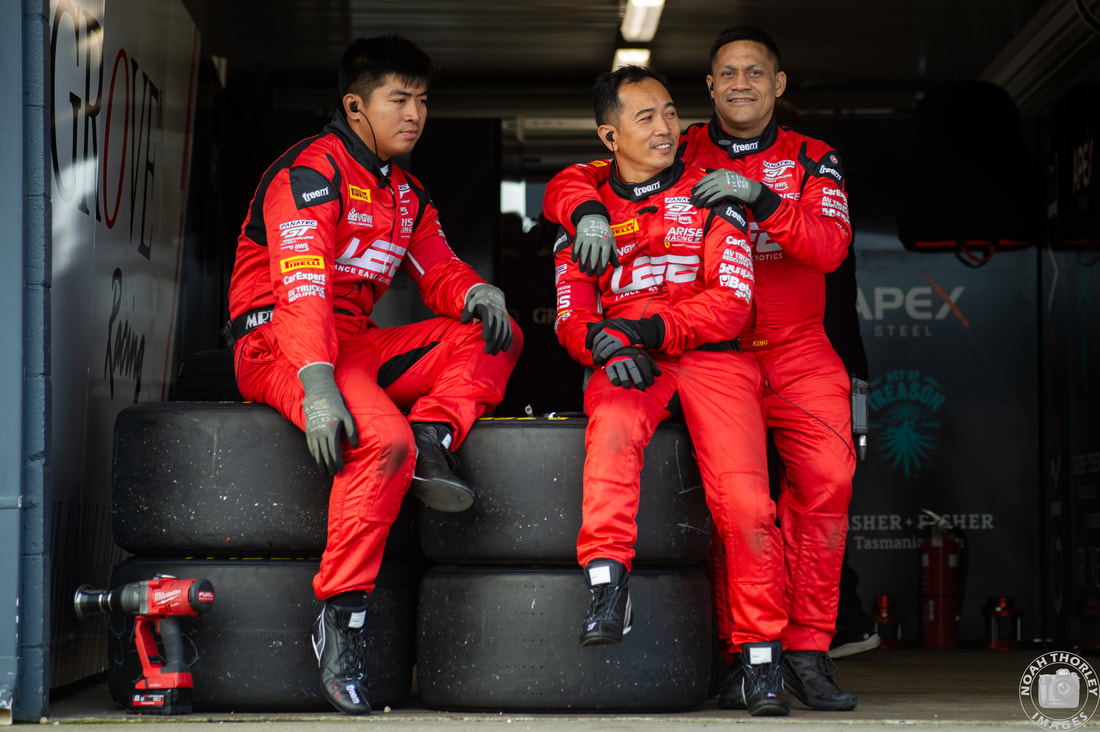 The biggest headlines would be around Arise Racing’s new pair of Ferrari 296 GT3s. The cars arrived in Perth in February and since then have done shakedowns at Wanaroo and Phillip Island. V8 Supercars driver Chaz Mostert and reigning Australian GT World Challenge champion Liam Talbot would pilot the #1 Ferrari whilst Jaxon Evans and Elliot Schutte would be in the #8. 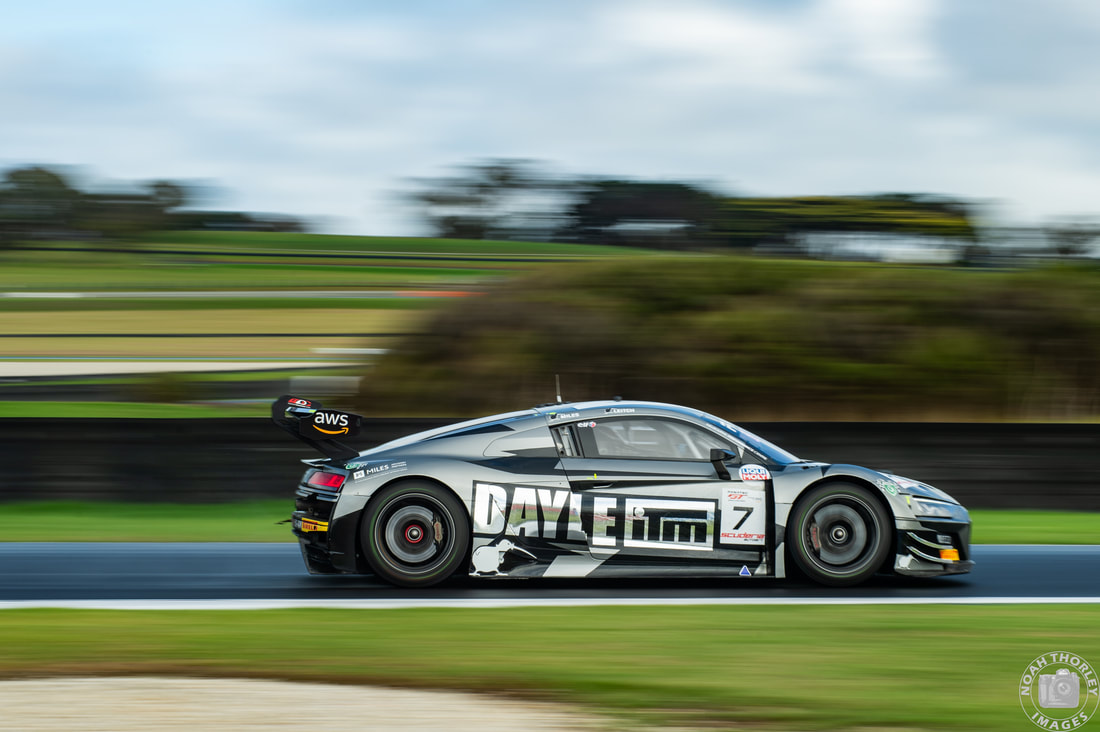 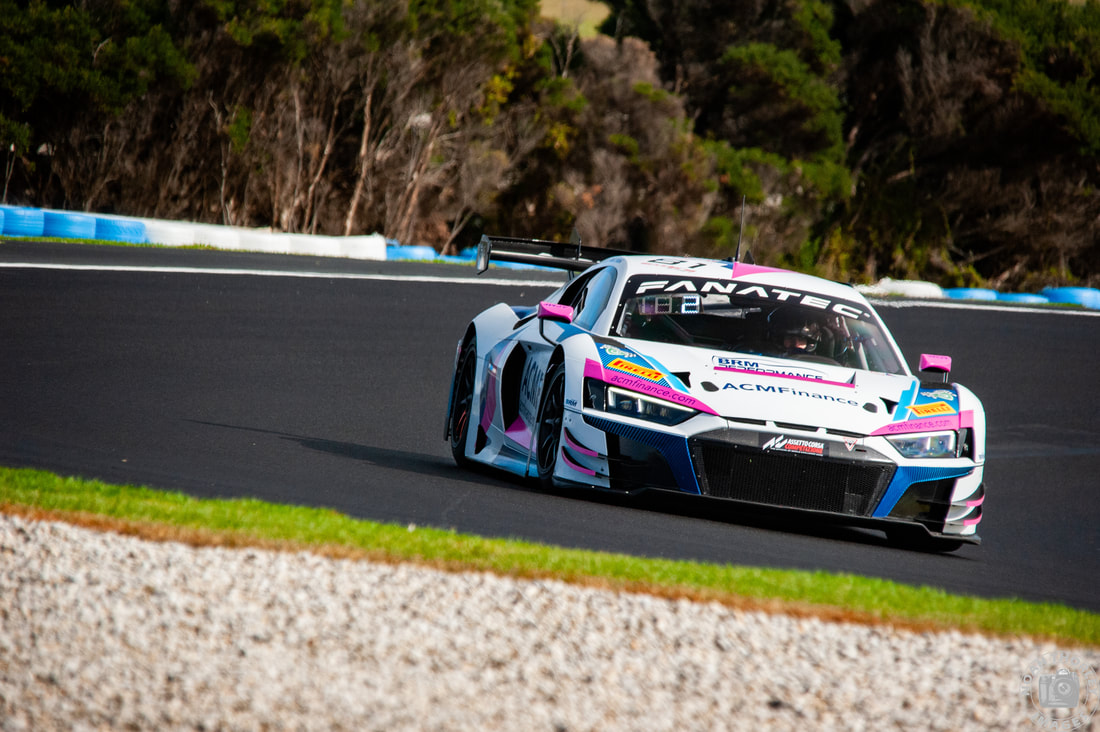 New Zealand duo Tim Miles and Brendon Leitch would pair up to compete in the Melbourne Performance Centre Audi R8 LMS GT3 Evo 2 as former Formula 3 and current GT World Challenge Europe driver Alex Peroni joined Mark Rosser at Team BRM. 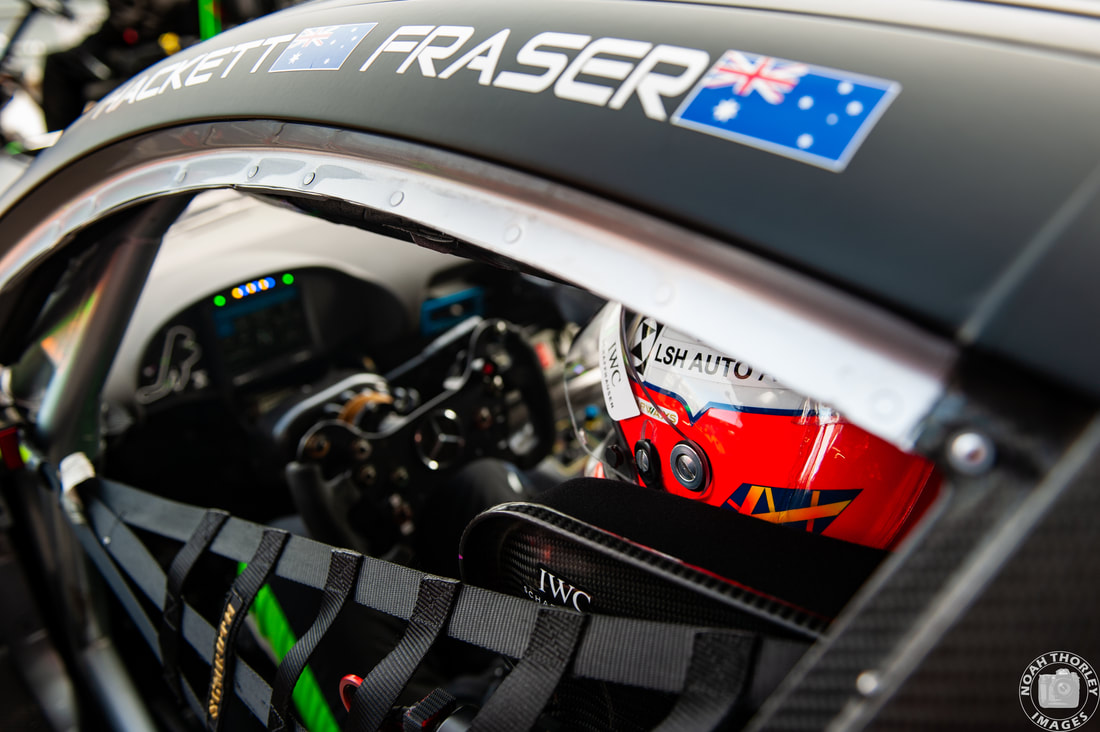 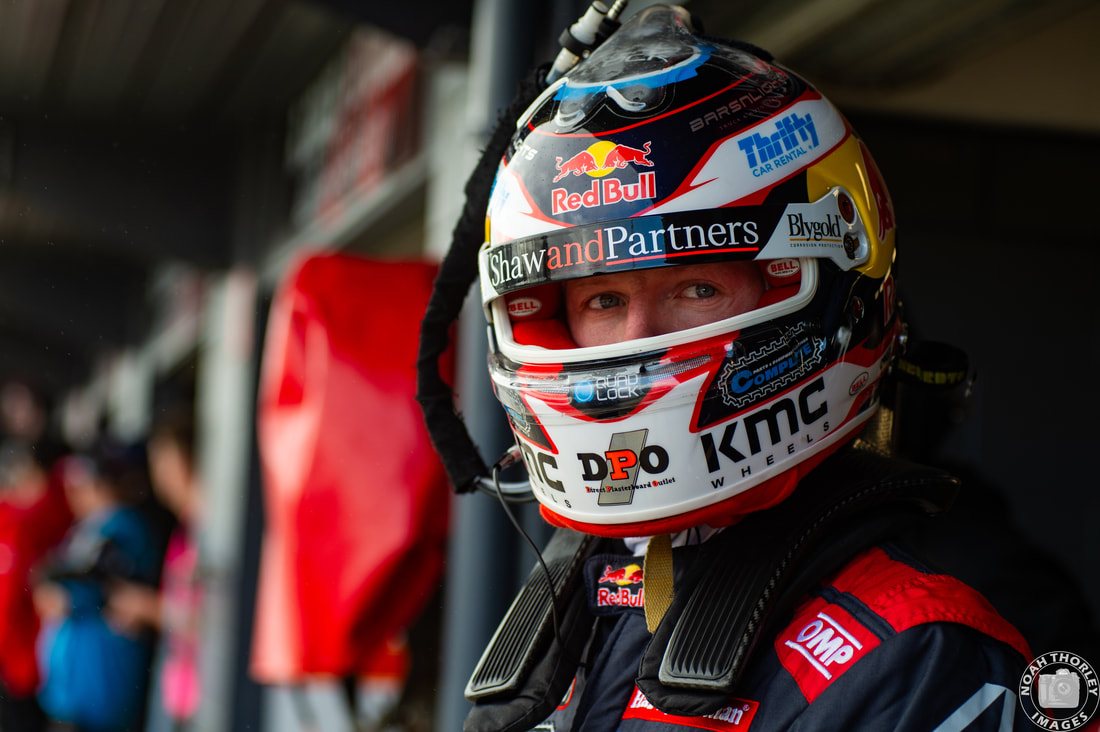 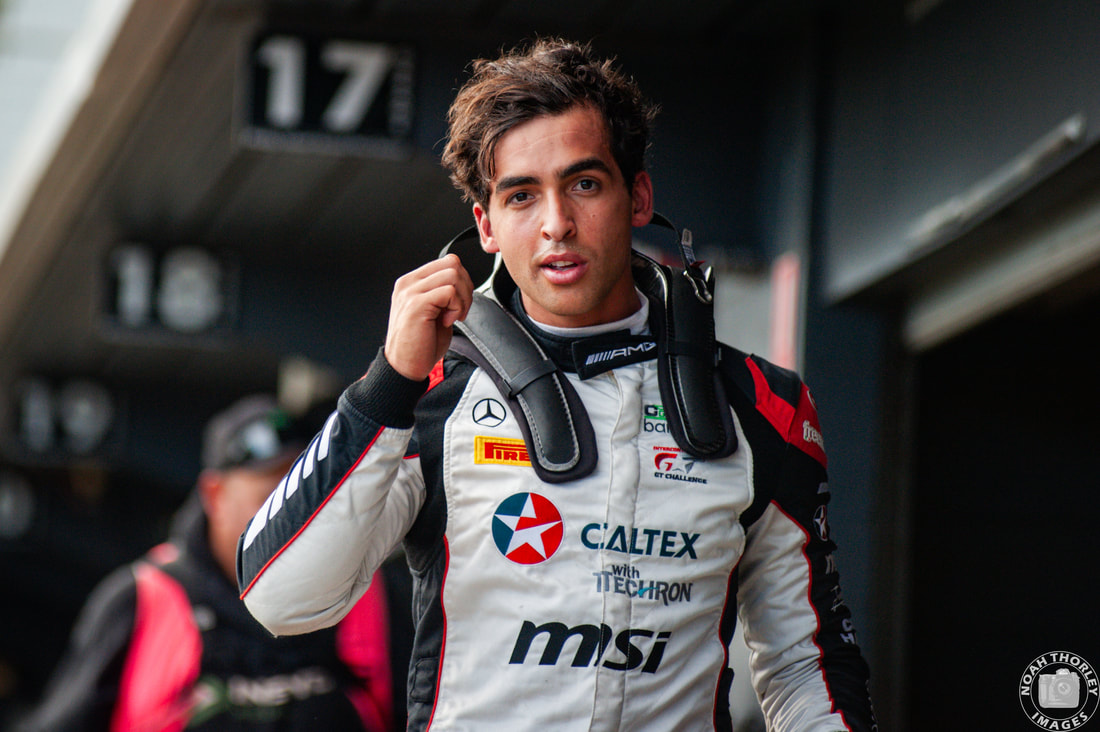 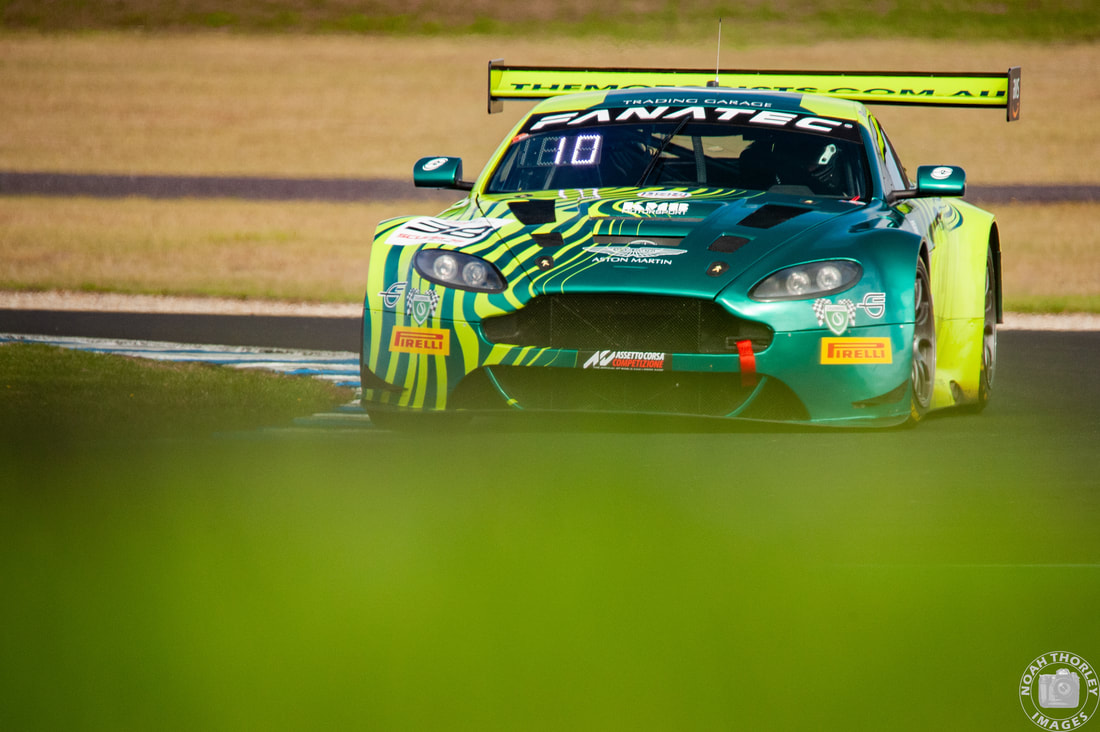 Triple Eight Racing’s driver lineup would consist of 2022 Super2 champion Declan Fraser and established GT driver Peter Hackett, as their V8 Supercar driver Will Brown would join Brad Schumacher as he stepped up to the Pro-Am category. 2024 Bathurst 6 Hour winner Jayden Ojeda would also join the grid in a sleek F1 inspired AMG GT3. 2022 Australian Formula Ford champion Valentino Astuti would be a late entry in what was my favourite car in the category: KMB Motorsport’s Aston Martin V12 Vantage GT3. 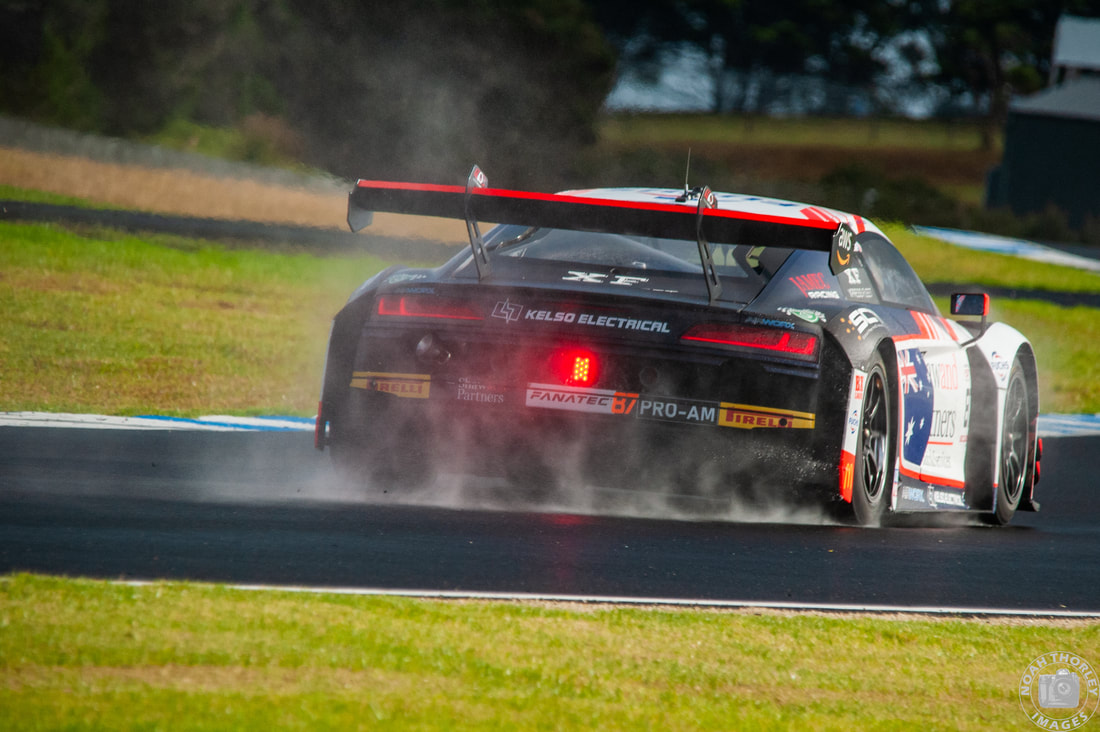 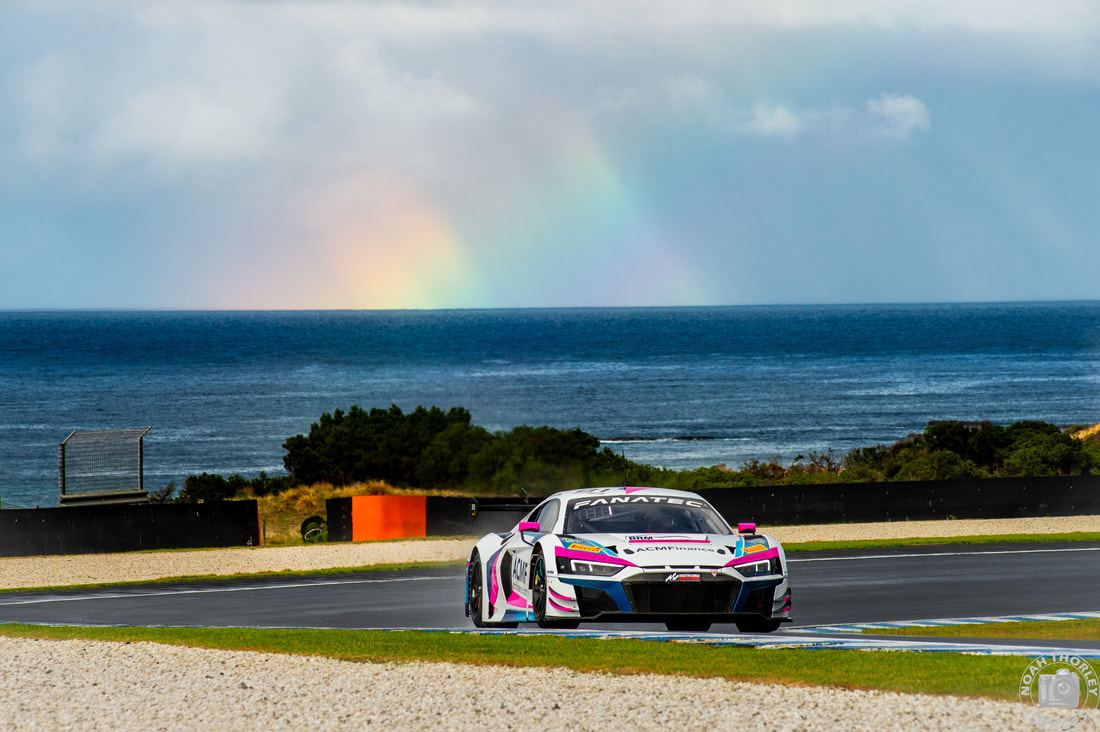 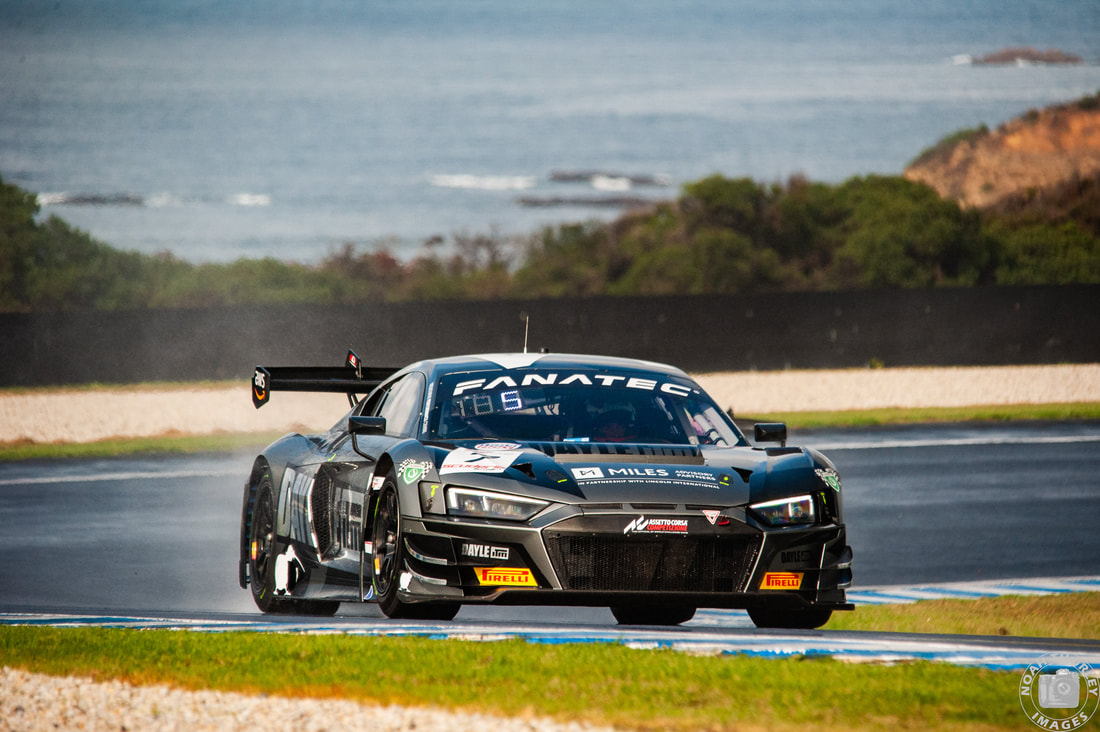 The track was still wet during the first practice session after morning rain hit Phillip Island, but that didn’t stop the Audi R8s sweeping the three fastest times. Will Brown and Brad Schumacher topped the timesheets (1:34.945), nine tenths ahead of Alex Peroni and Mark Rosser (1:35.875) with Brendon Leitch and Tim Miles (1:35.944) rounding out the top three in Pro-Am. 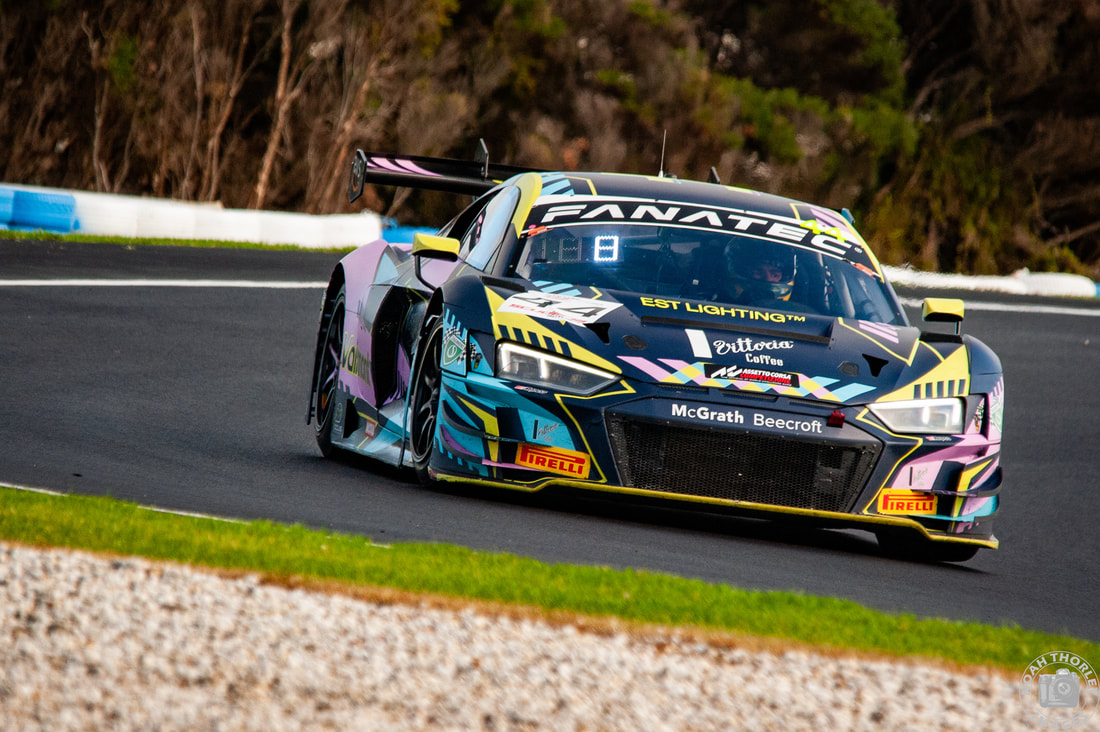 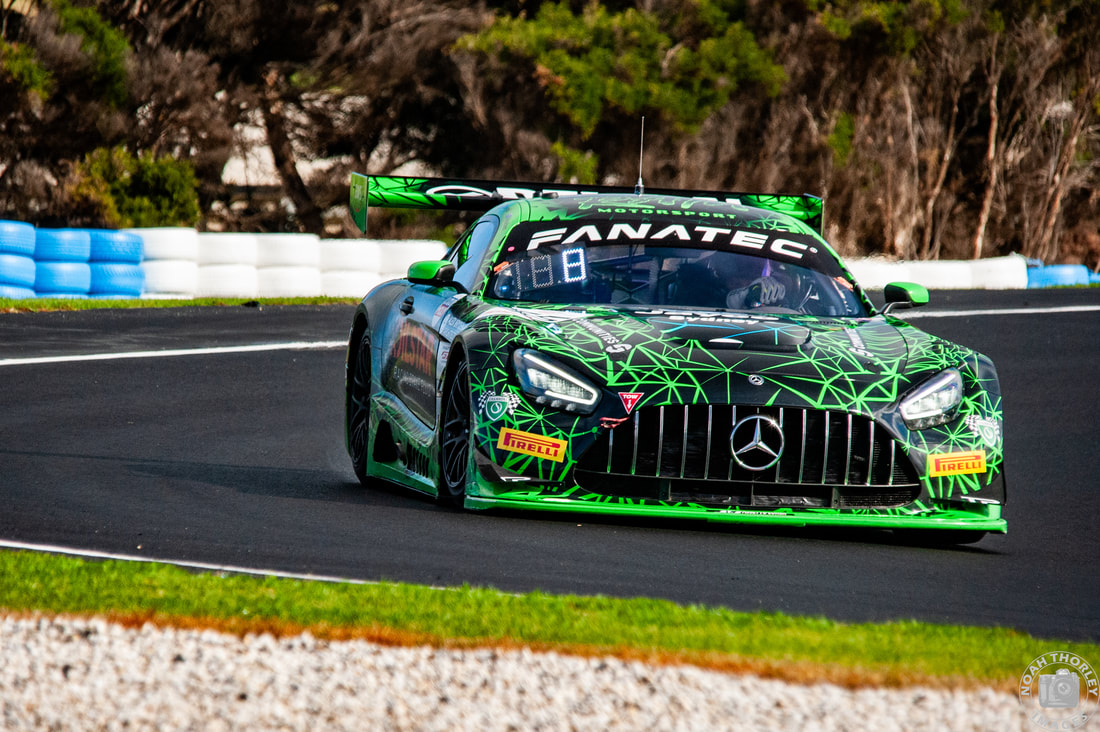 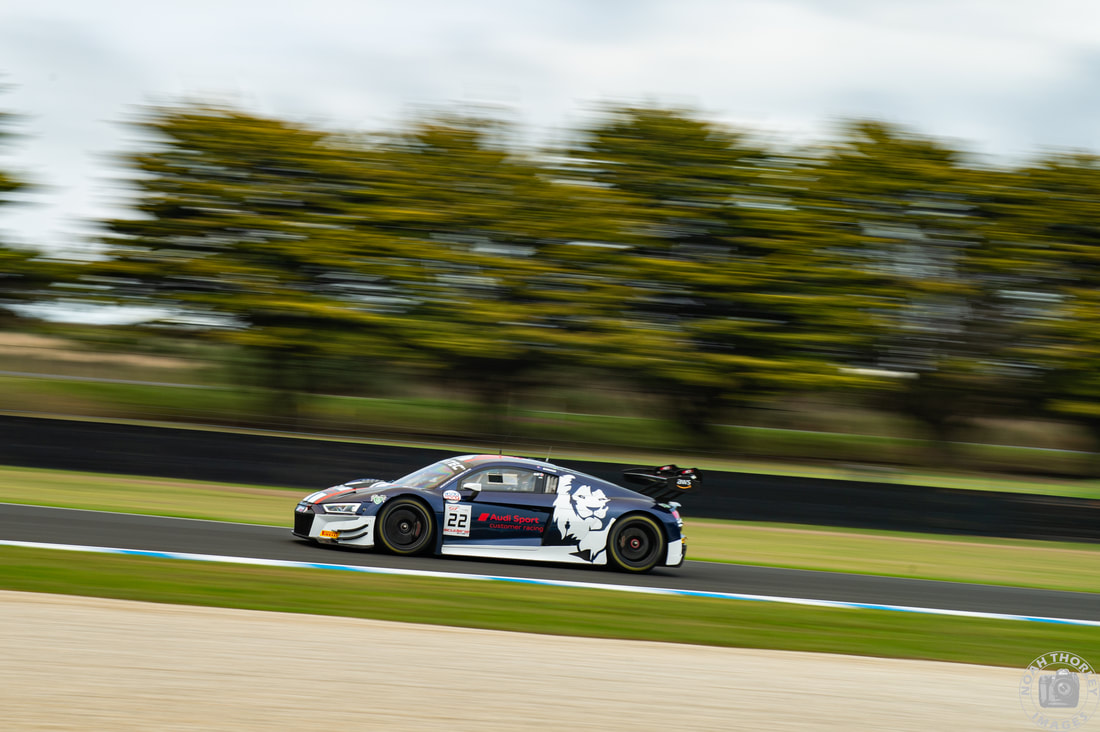 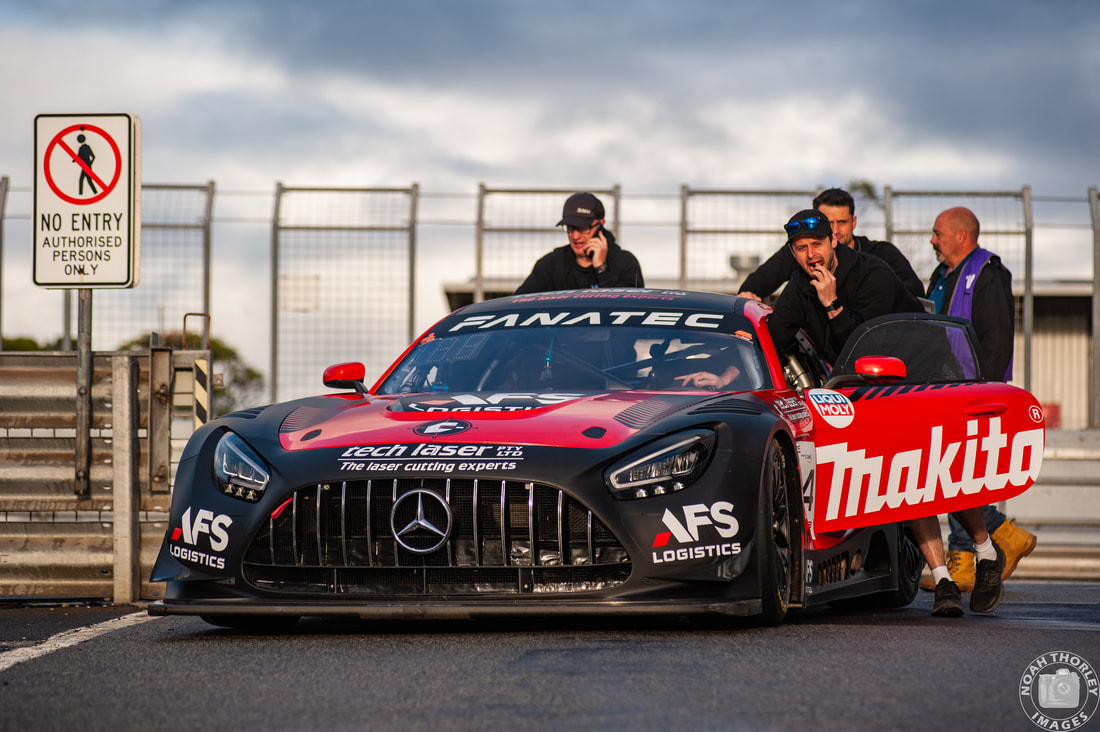 Marcel Zalloua and Sergio Pires in the Valmont Racing Audi would be the quickest (1:37.260) in the Amateur class ahead of Michael Sheargold and Garth Walden (1:37.628) in the bold RAM Motorsport AMG GT3, with its livery inspired by Daft Punk’s ‘Alive 2007’ album cover. Ash Samadi would put his Audi R8 LMS in third (1.39.097) in the Amatuer class as Tony Bates failed to make it out during the first practice. 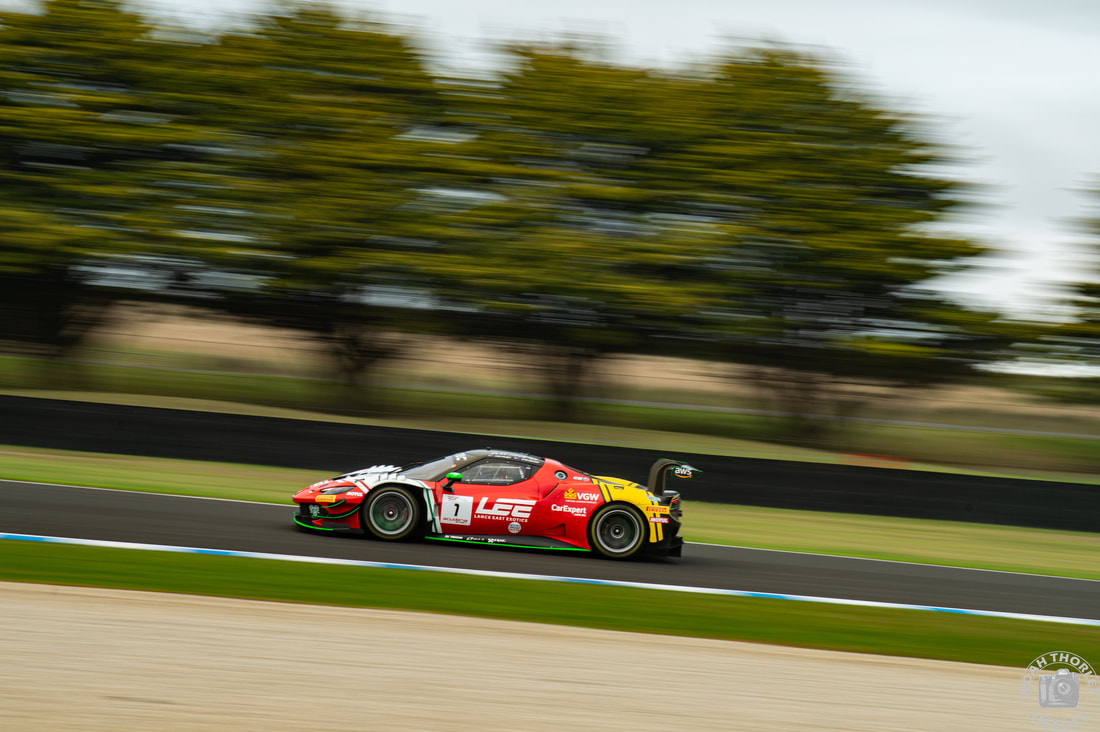 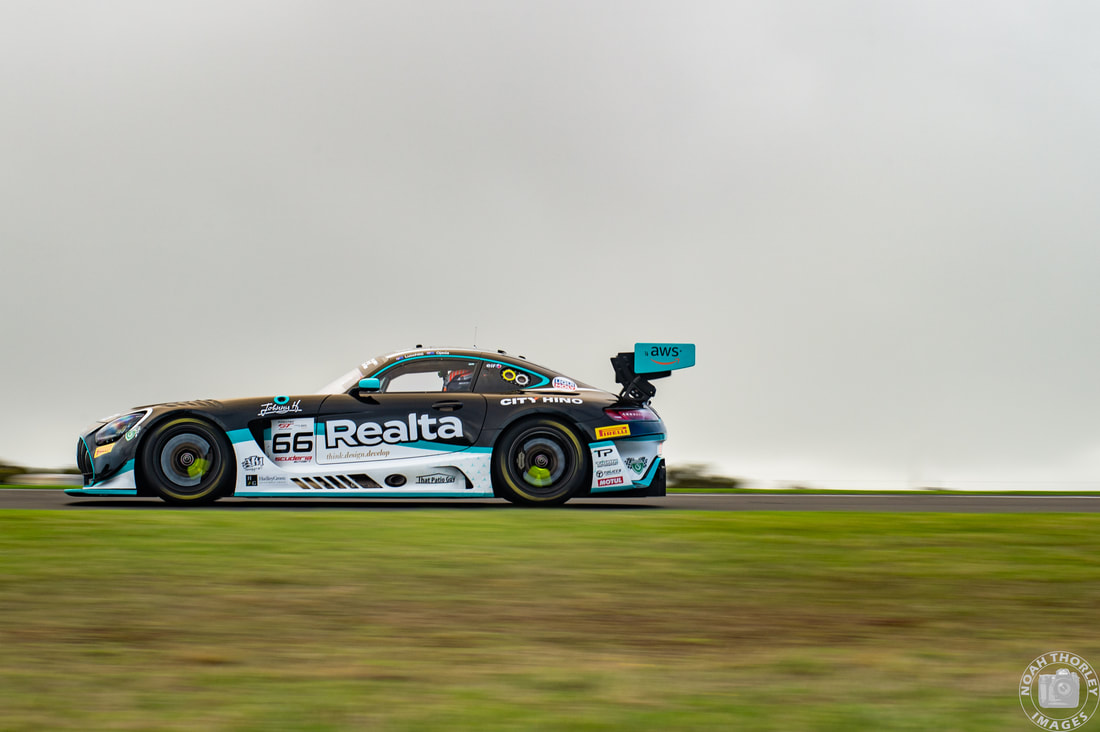 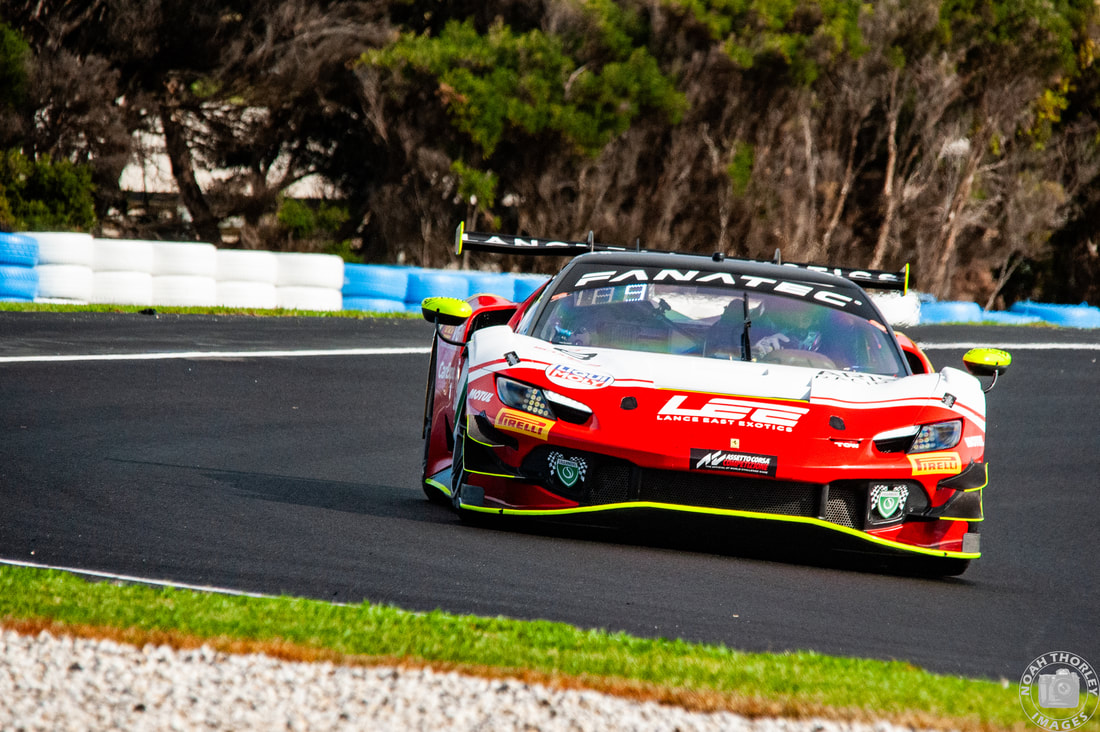 The rain came back during the second practice session, leading most teams to end their running early. The Arise Racing Ferrari’s were able to show their pace, however the top three were only separated by a thin five hundredth margin. Chaz Mostert would set the quickest time (1:26.256) followed by Jayden Ojeda (1:26.275) who split the two Ferrari’s as Jaxon Evans and Elliot Schutte (1:27.307) were half a tenth behind Mostert. 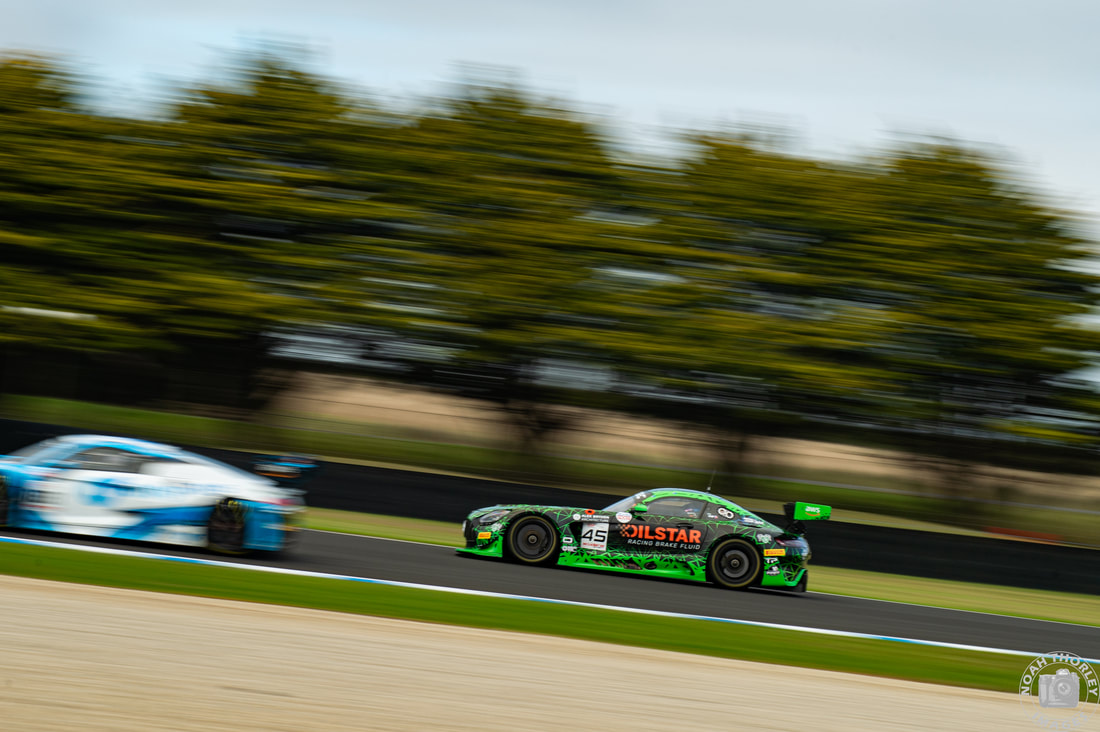 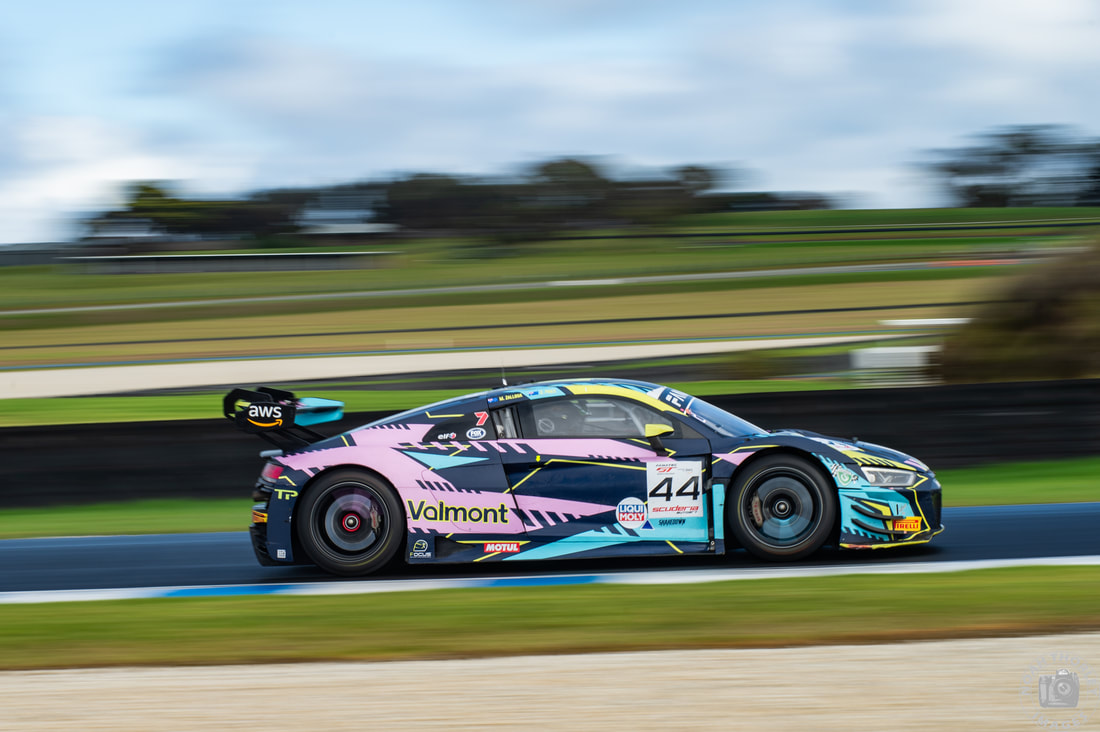 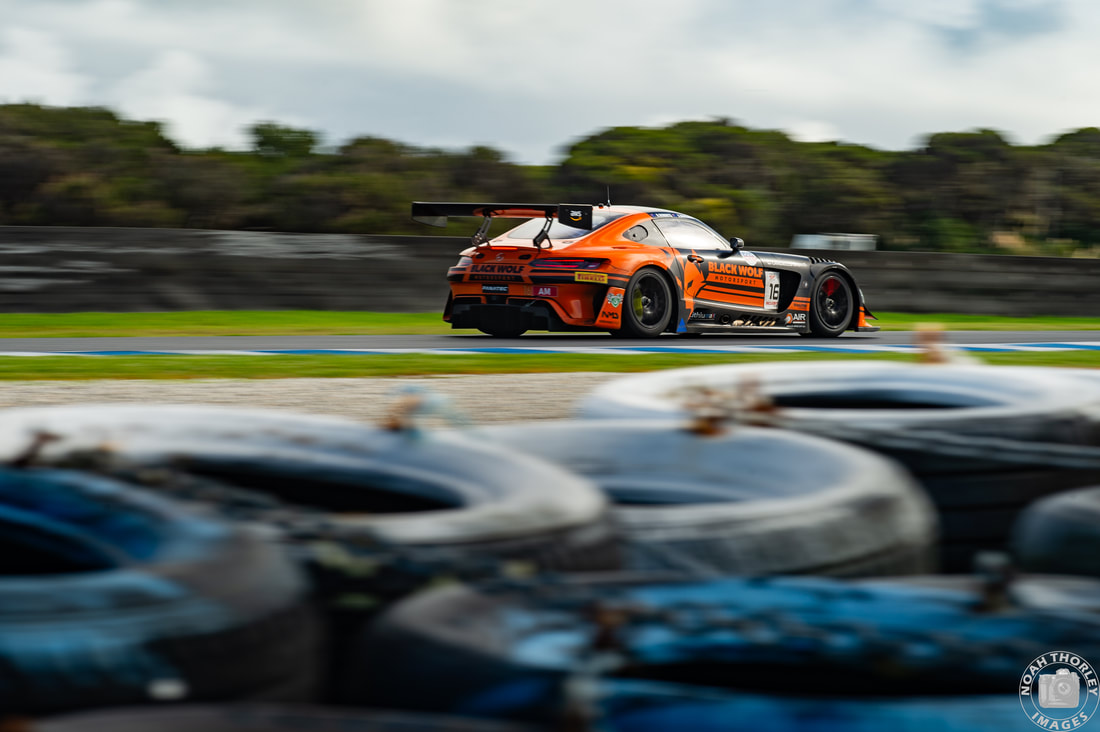 Michael Sheargold and Garth Walden (1:27.396) would this time pip Marcel Zalloua and Sergio Pires (1:27.800) by five tenths as Ben Schoots (1:28.572) brought the Black Wolf Motorsport AMG GT3 Evo to third in the Amateur class. 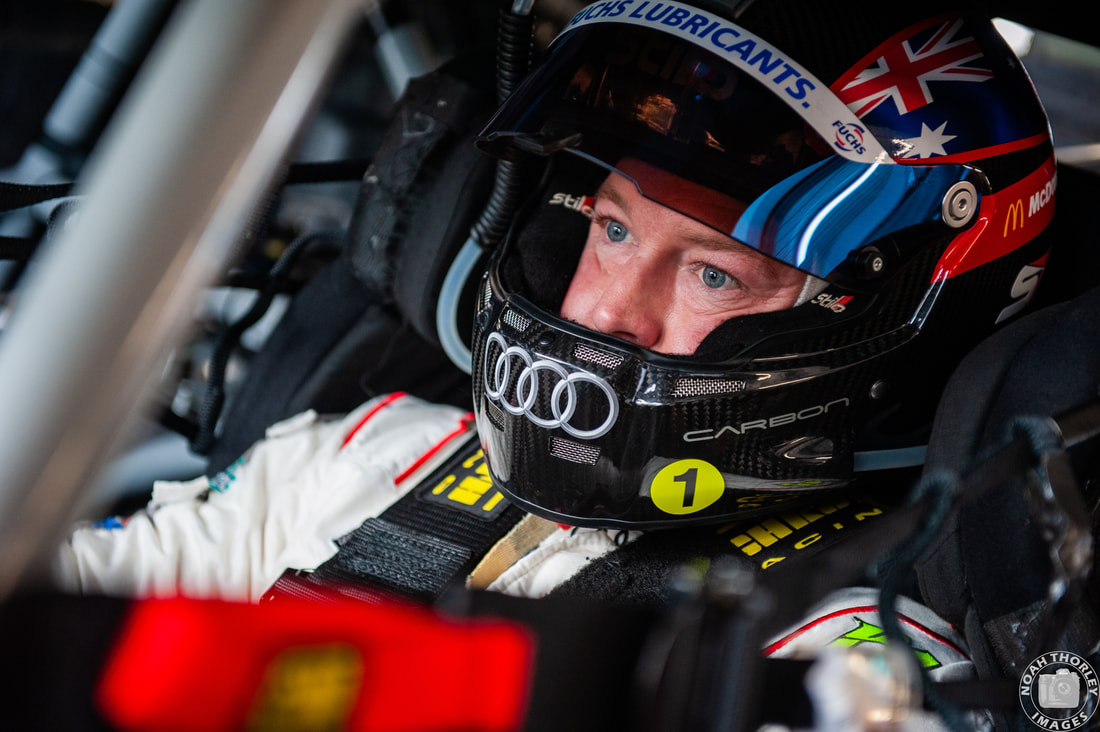 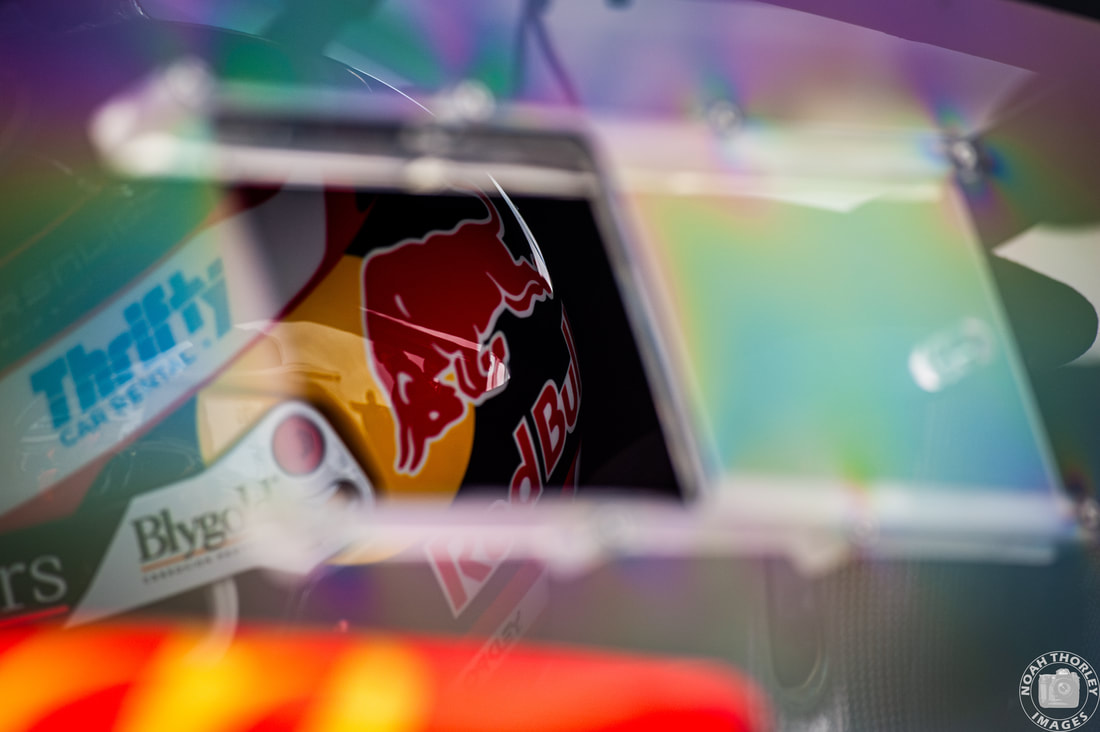 Qualifying would be split into two twenty-minute sessions, one for Race 1, the other for Race 2, with one driver from each car participating in one session each. 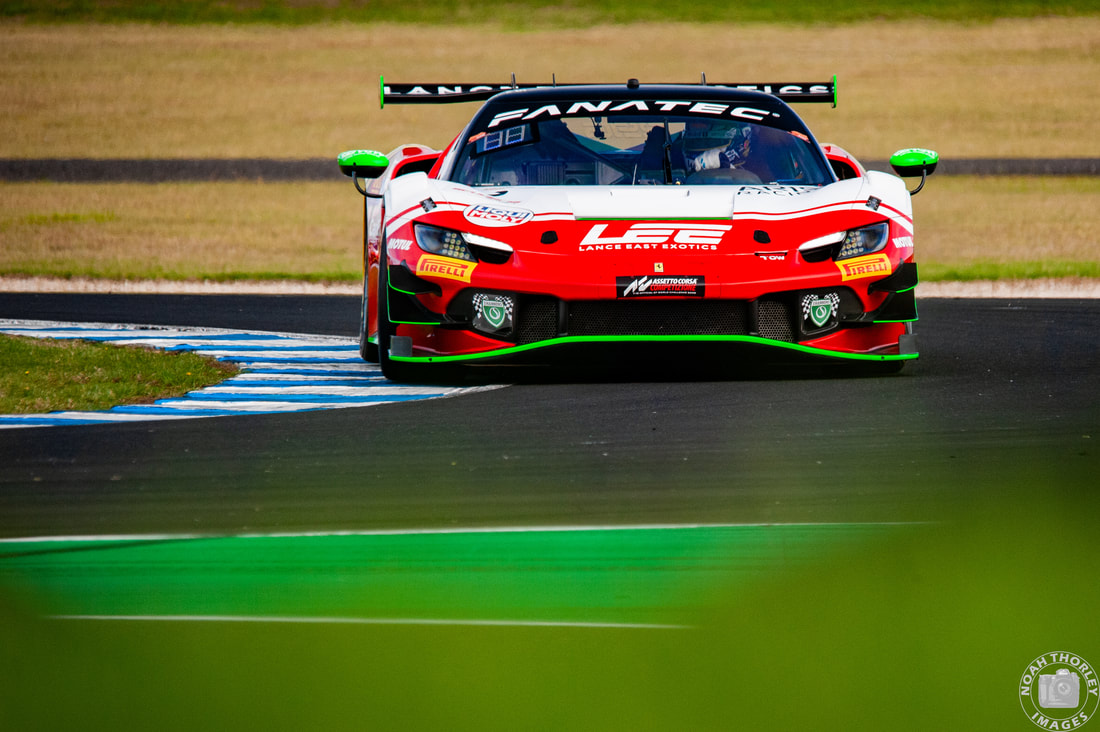 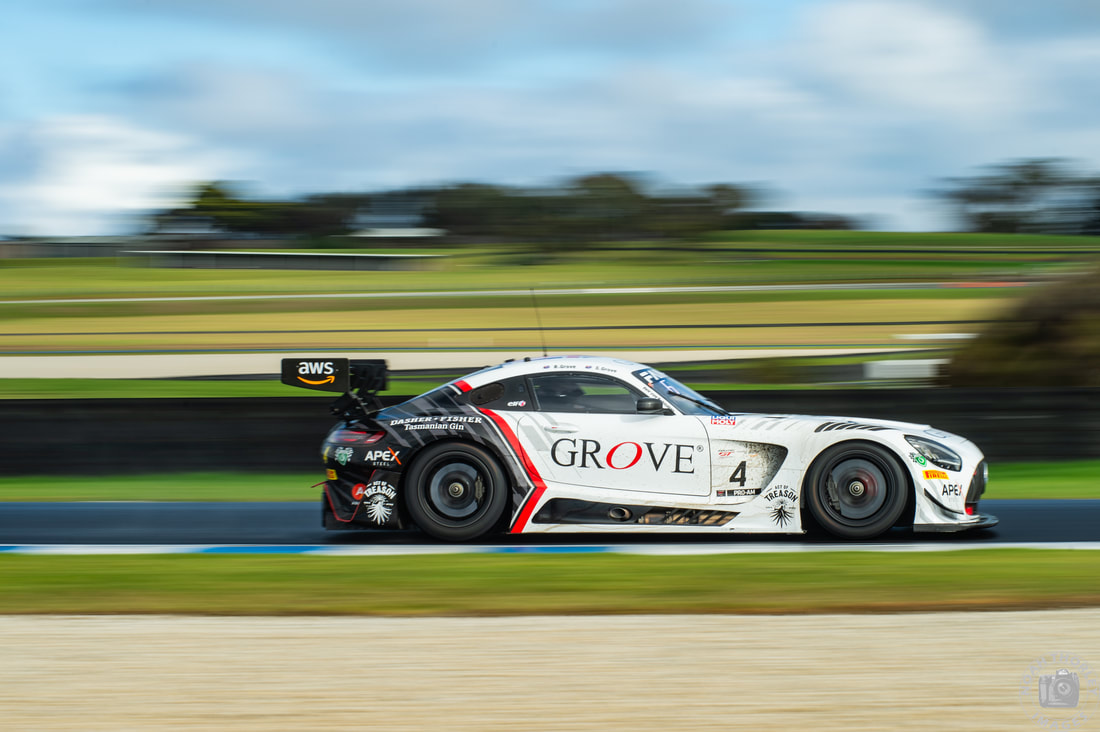 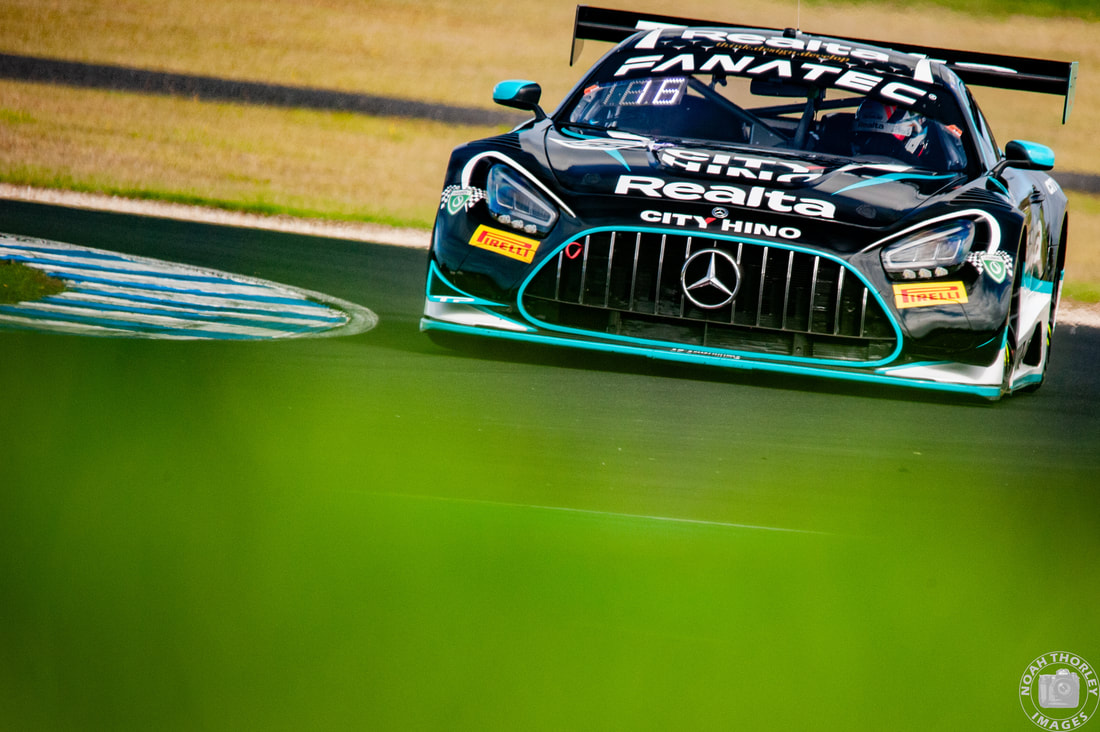 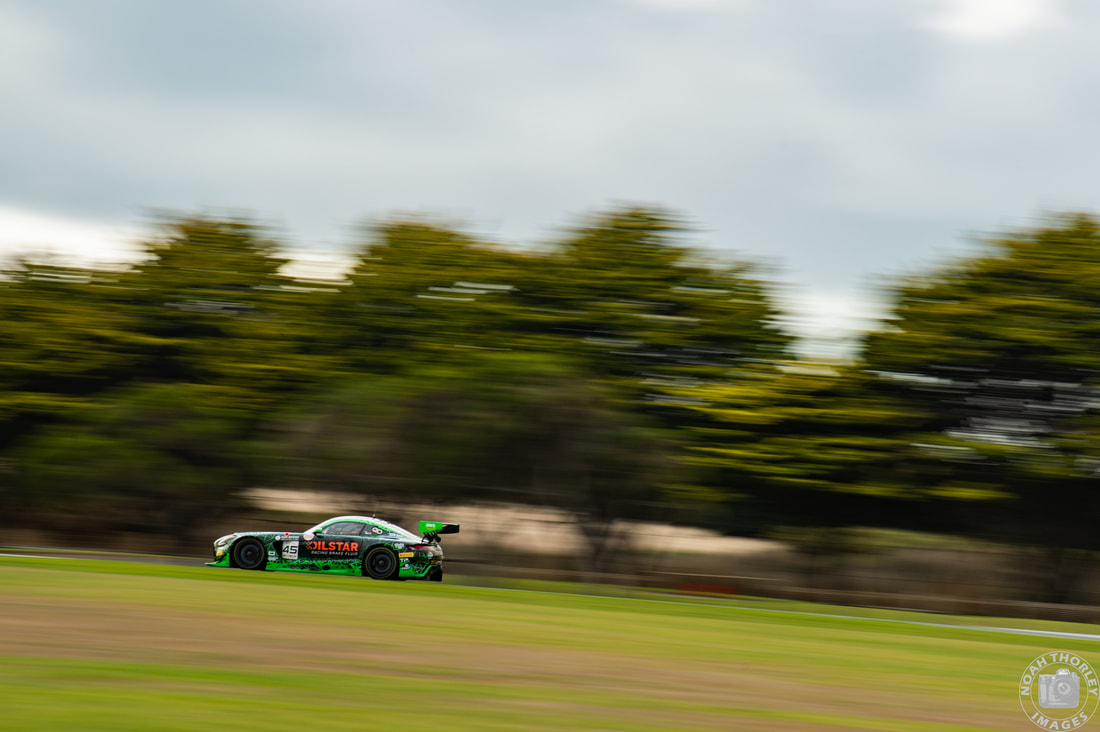 The Ferrari’s were blisteringly quick, especially through Turn 4, hugging the apex. Chaz Mostert would put the Ferrari 296 GT3 on pole (1:25.170) for Race 1 as Brendon Grove (1:25.289) would join him on the front row. Jayden Ojeda would qualify third (1:25.514) as Garth Walden would grab the pole (1:26.362) in Am class. 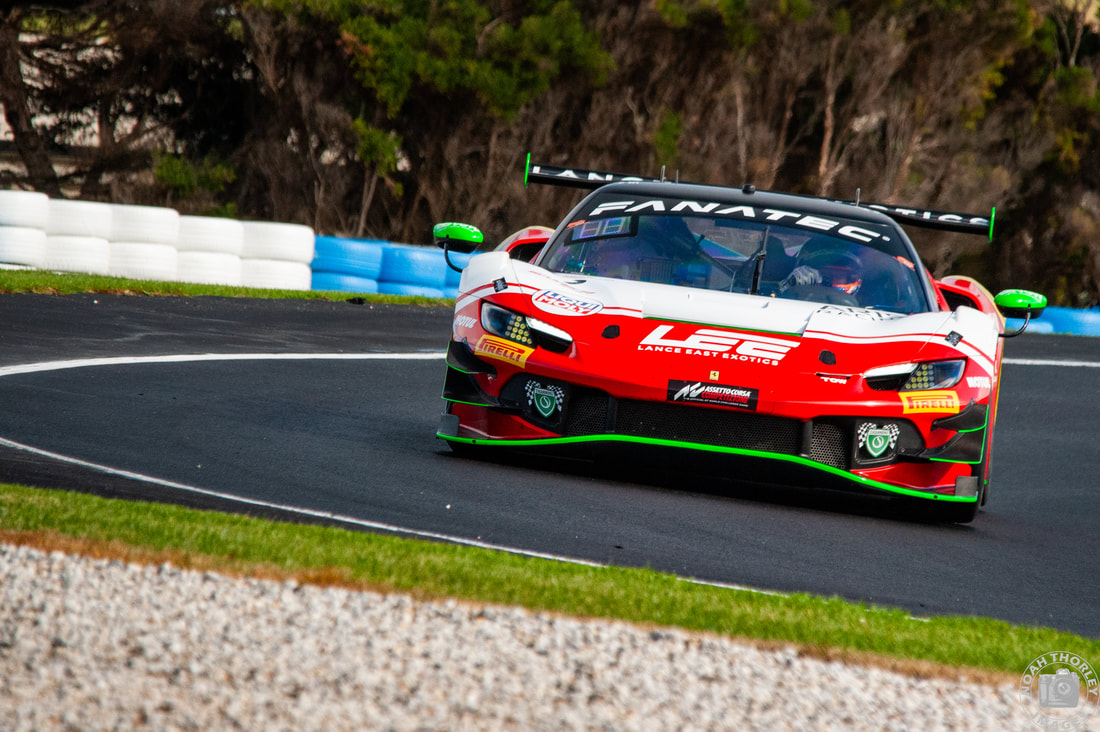 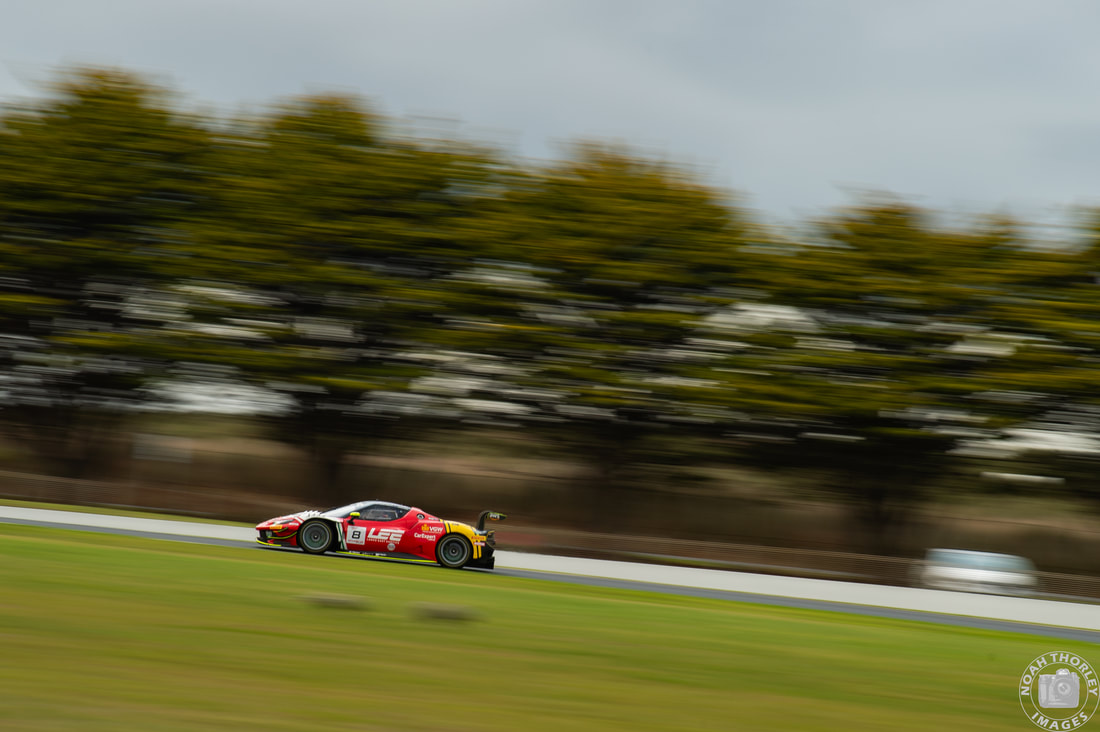 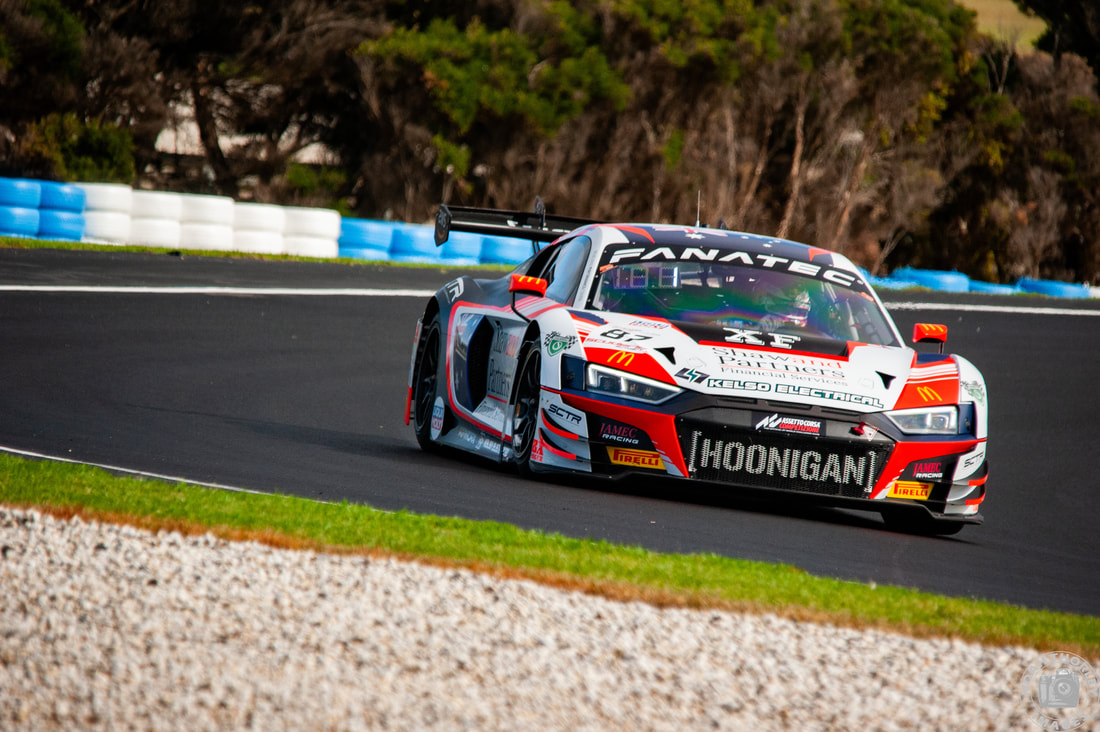 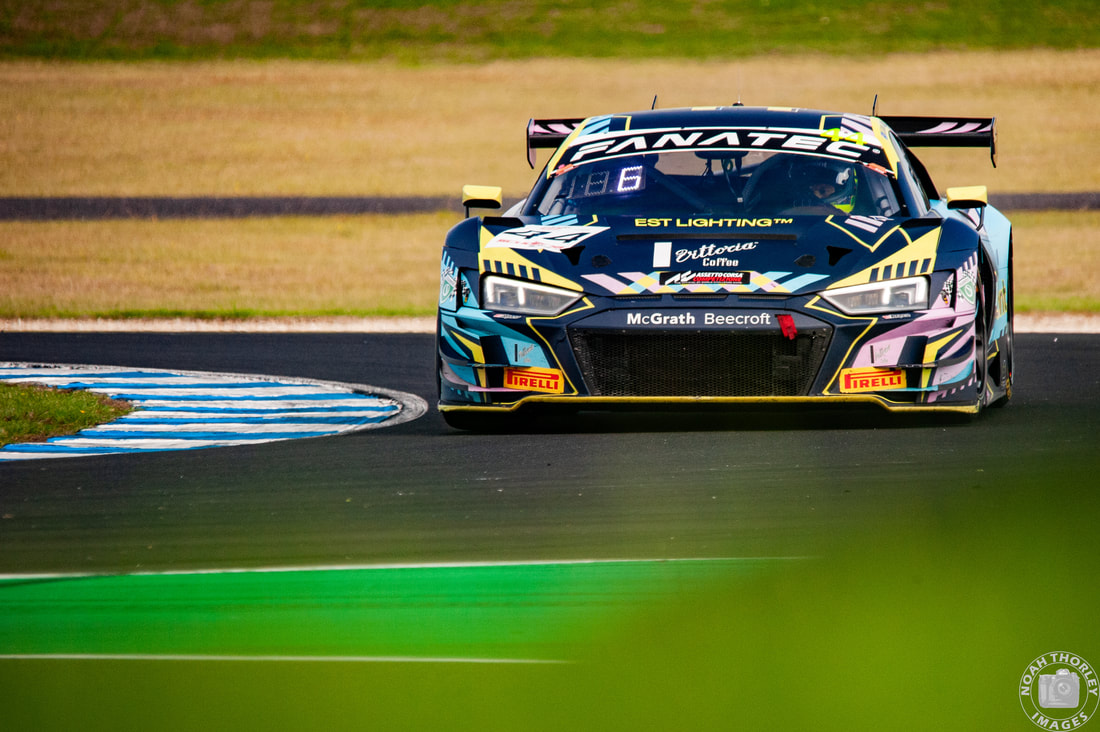 Liam Talbot would also put the #1 Ferrari on pole (1:25.810) for Race 2 and Elliot Schutte (1:26.631) would make it a front row lockout for Arise Racing although his late spin brought an early end to the session. Brad Schumacher would put his Audi R8 in third (1.26.677) during his first qualifying session in Pro-Am, as Sergio Pires (1:27.567) would start the furthest forward for Race 2 in Am. 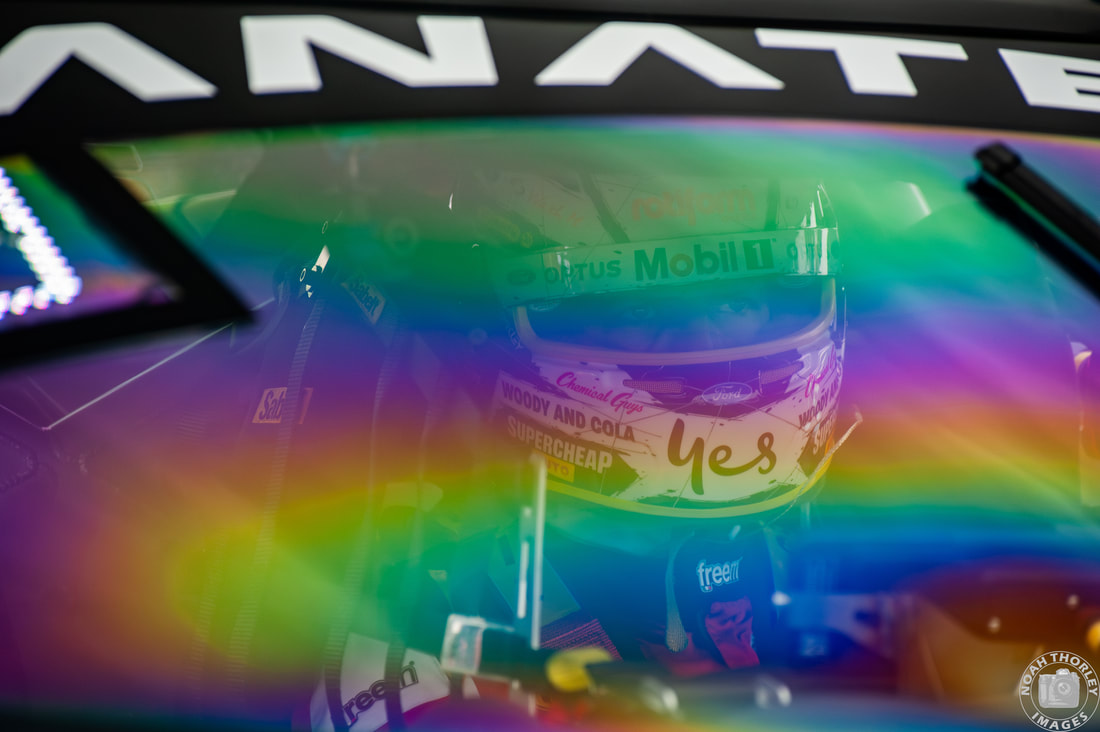 Post qualifying, penalties were handed out to the top three qualifiers for Race 1 including Chaz Mostert for speeding in the pitlane, meaning he would be given a five-place grid penalty before the race. 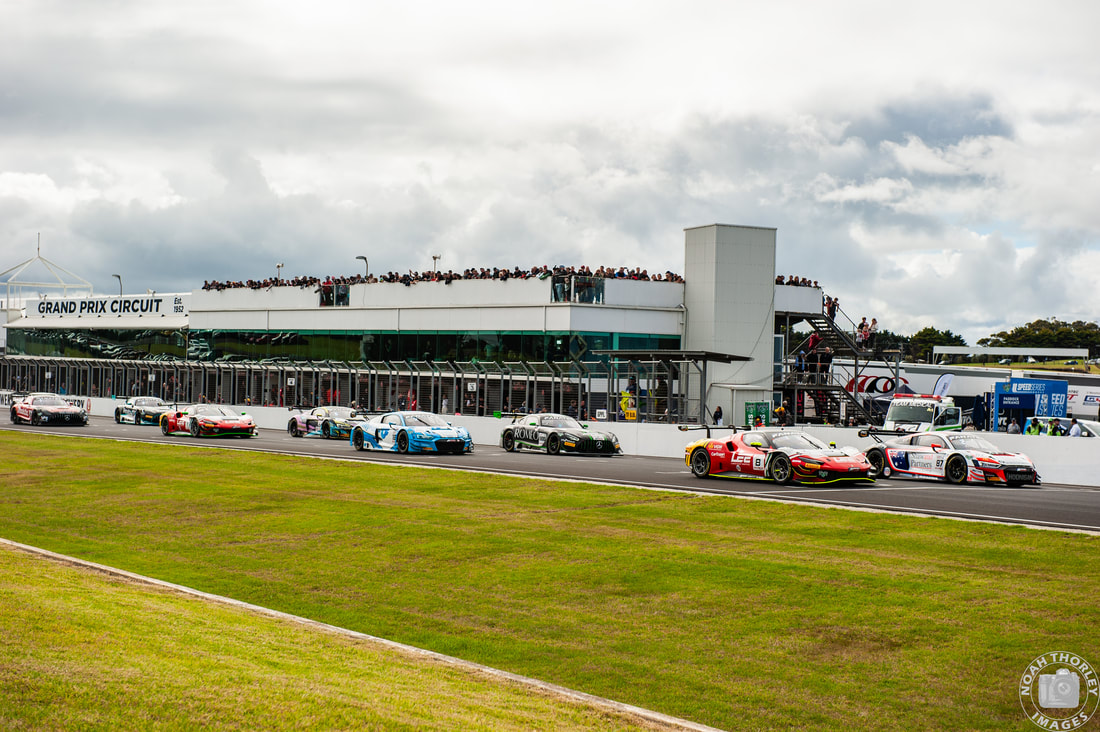 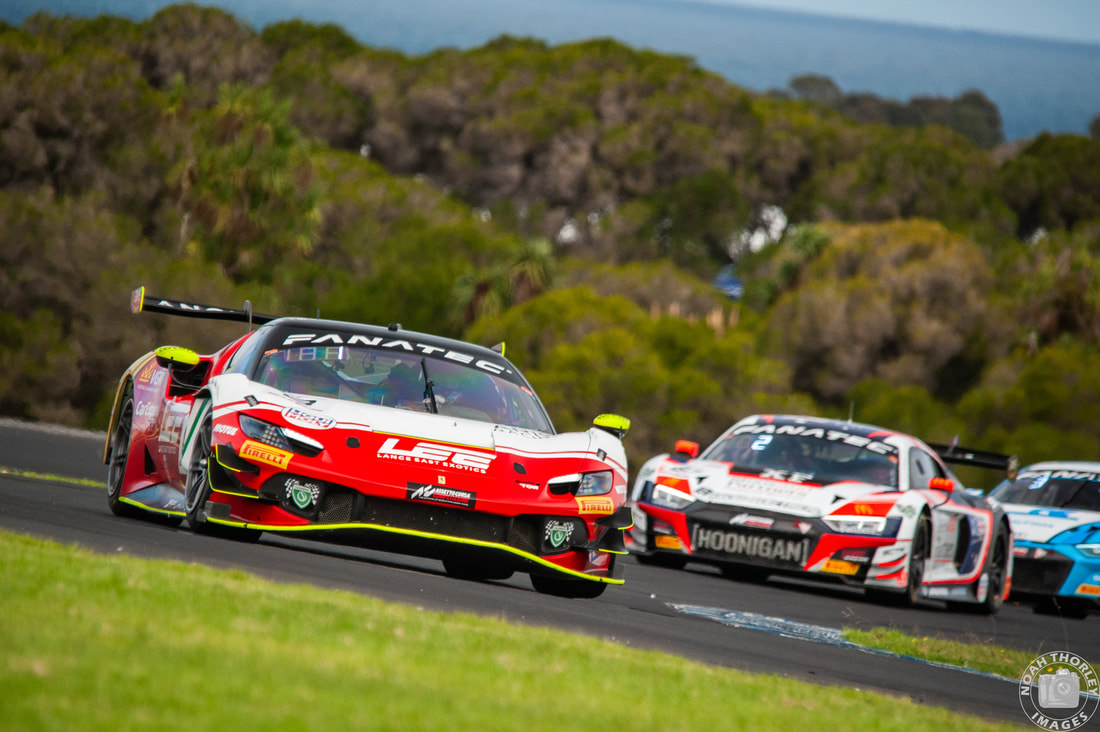 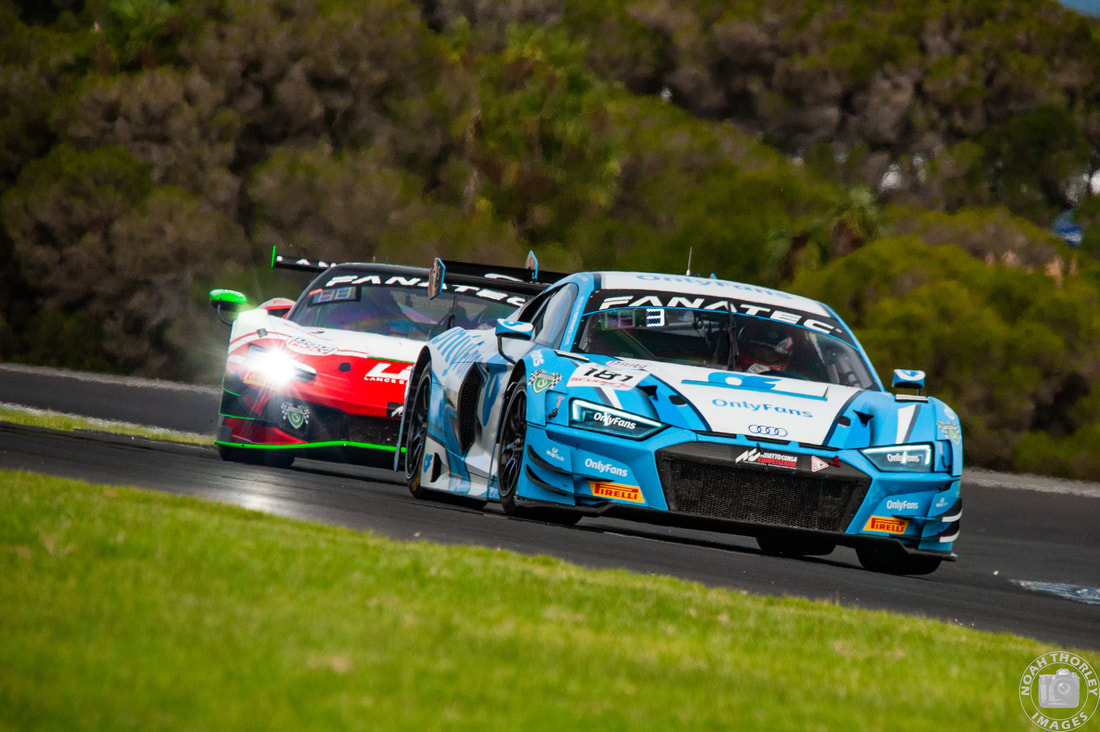 This meant that the #8 Ferrari 296 GT3 would start on pole with Brad Schumacher alongside. Elliot Schutte would keep the lead in the first laps, but Paul Stockell would come from third to grab the lead before the pit window opened for driver changes. 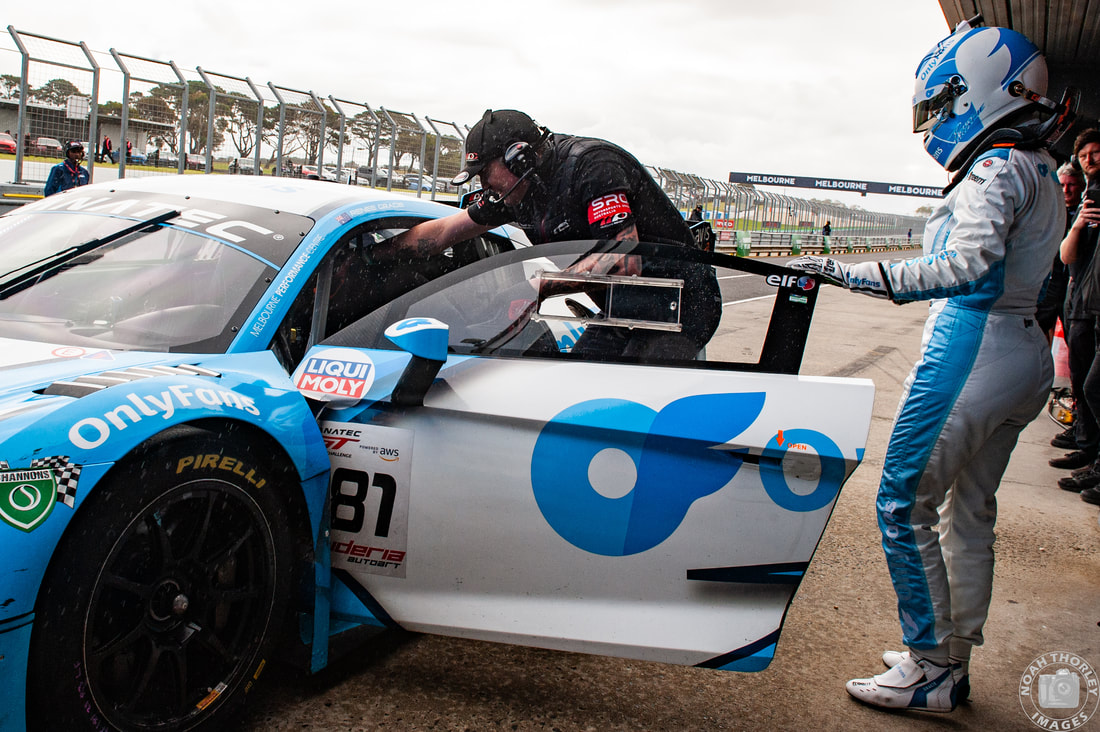 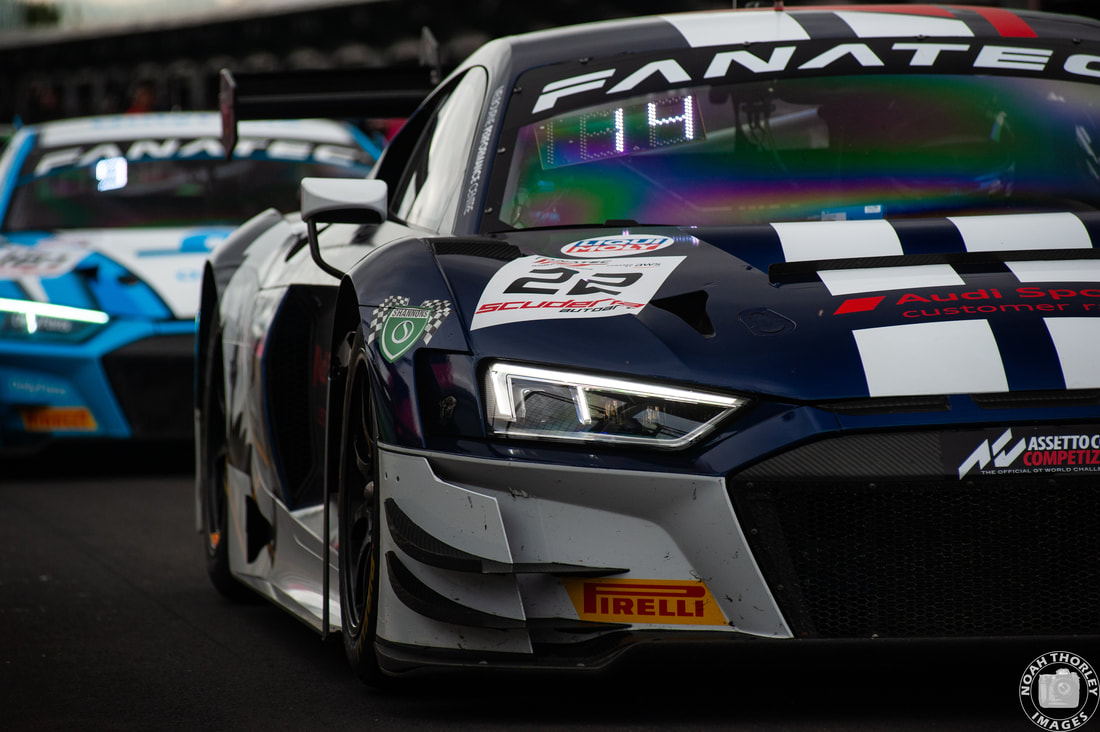 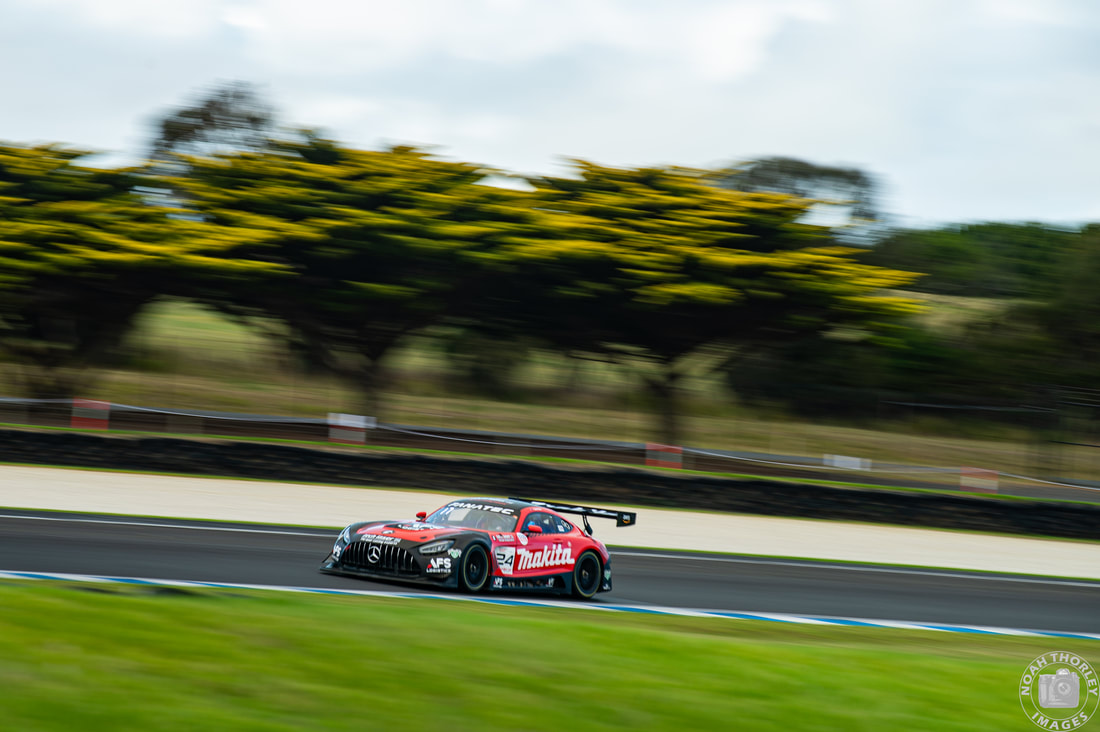 The #181 Audi would come back out of the pits in second place, where Renee Gracie would unfortunately be tagged into Turn 2, spinning out of the podium positions. Ash Samadi would suffer brake problems and Tony Bates would have an off at Turn 1, both cars retiring within laps of each other. 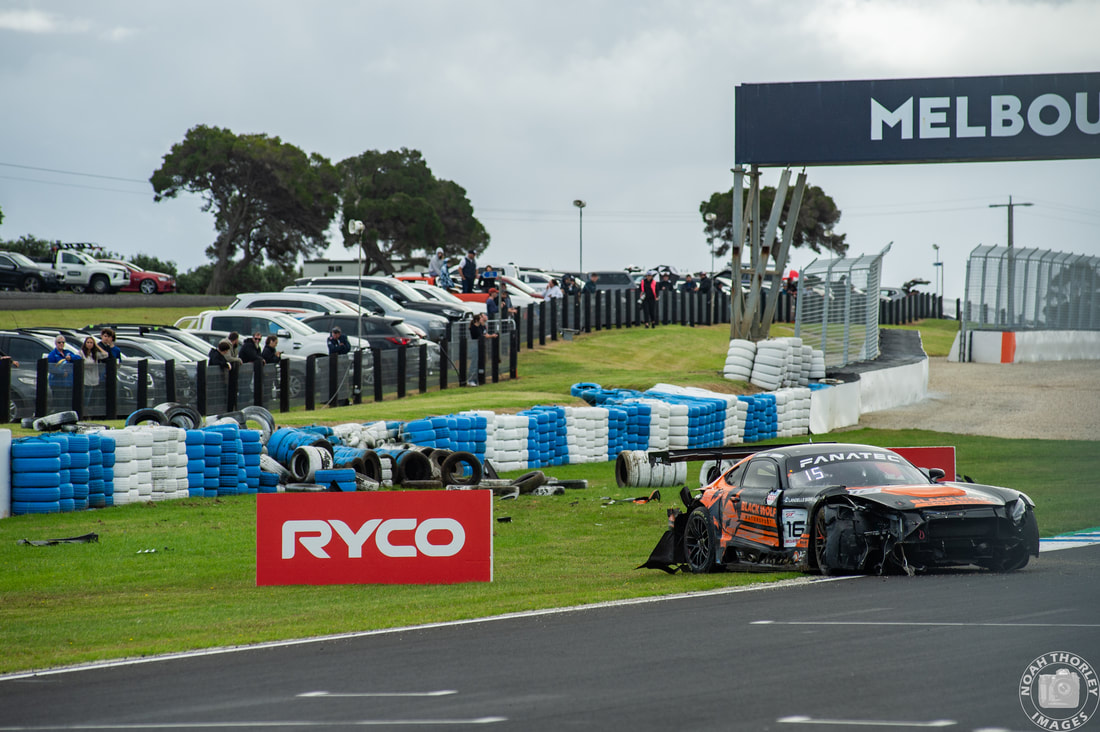 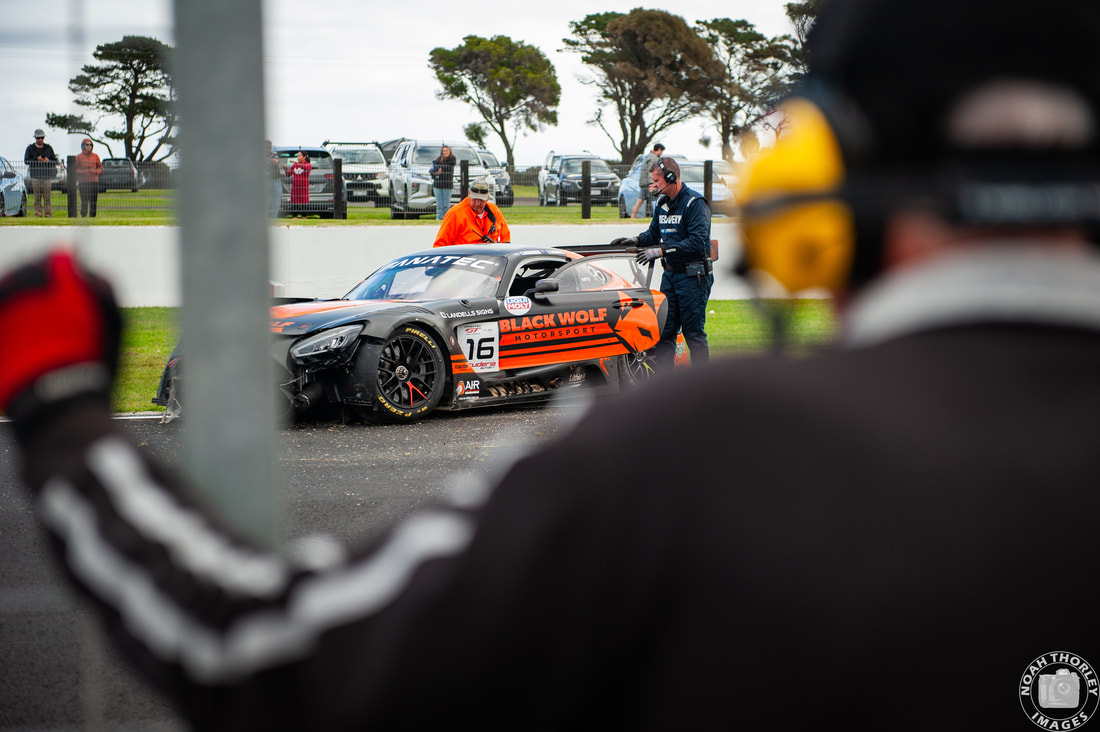 Liam Talbot and Chaz Mostert fought through the field to take the lead, and as the rain came, Brendon Leitch was closing in on the #1 Ferrari. That was until the red flag came out for Ben Schoots who had crashed heavily on the front straight after losing control of his AMG GT3 in the wet. 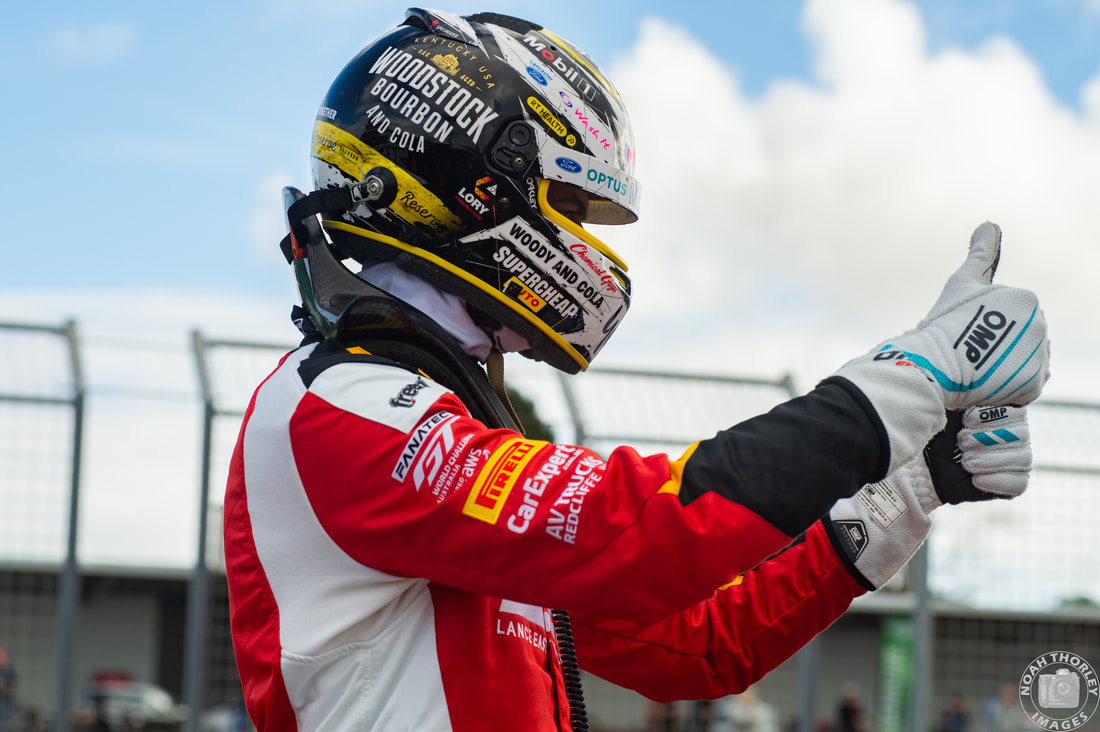 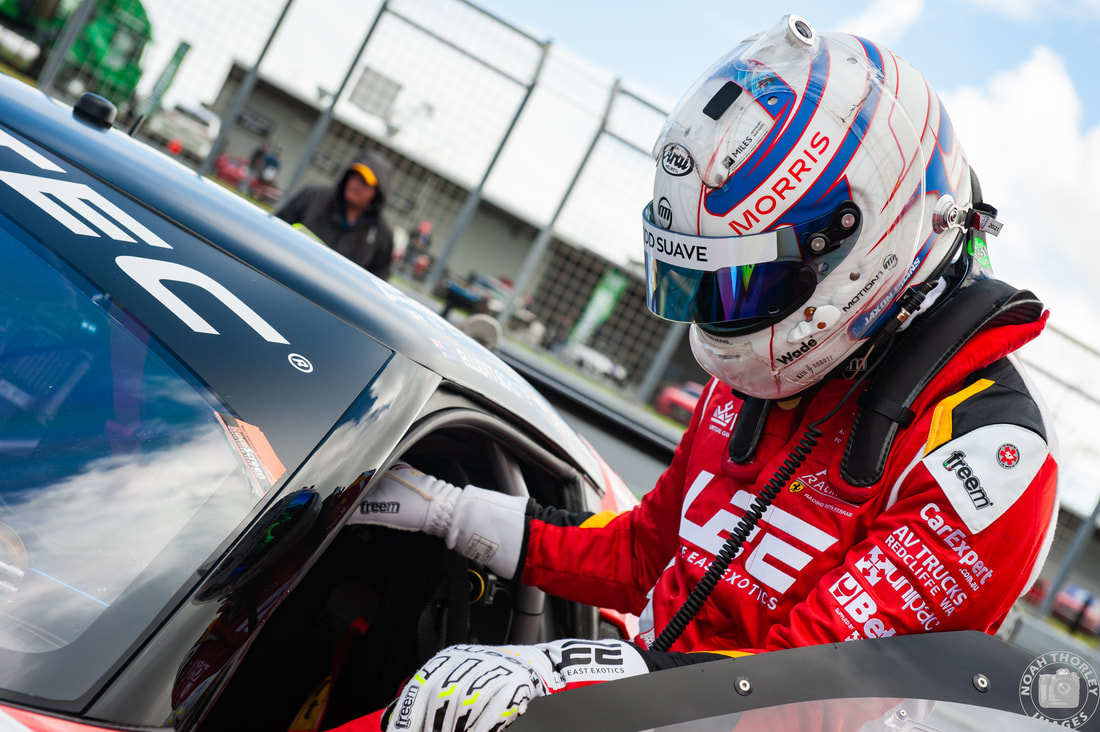 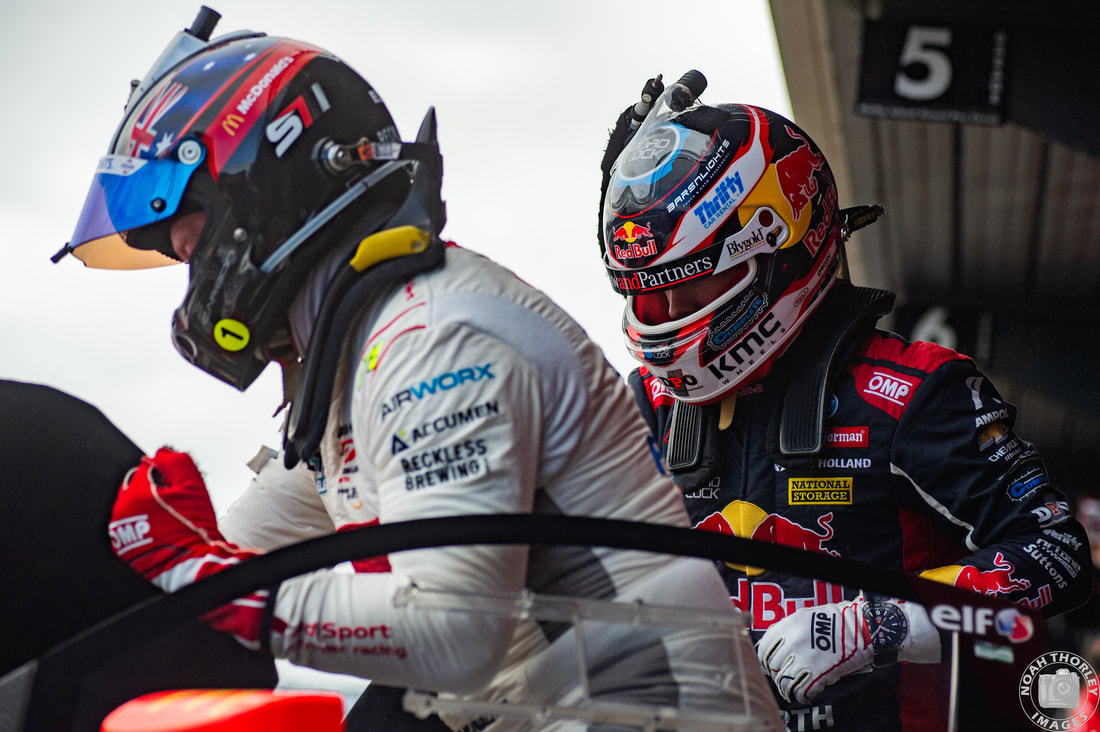 With the barriers needing to be repaired, the race was called, and Liam Talbot and Chaz Mostert took the victory. Tim Miles and Brendon Leitch were handed a penalty after Leitch overtook under yellow flags, dropping them from second to fourth and handing second place to Elliot Schutte and Jaxon Evans in the other Ferrari. Brad Schumacher and Will Brown would grab third as Arise Racing and the Prancing Horse celebrated a 1-2 finish on debut. 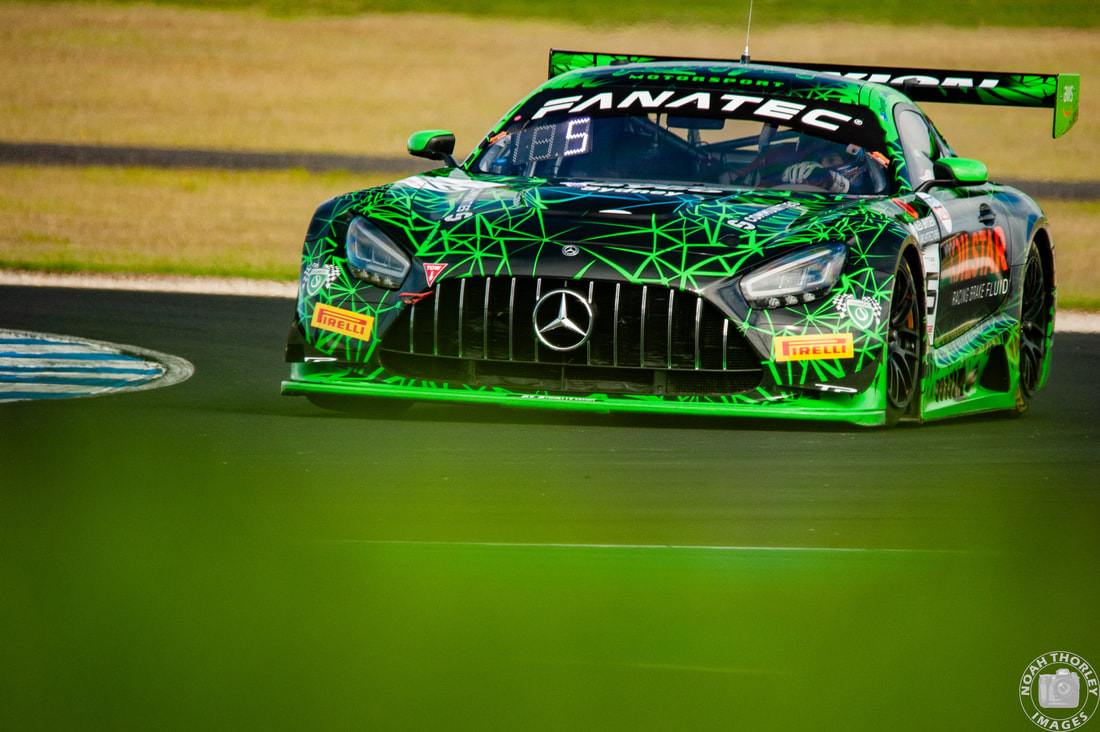 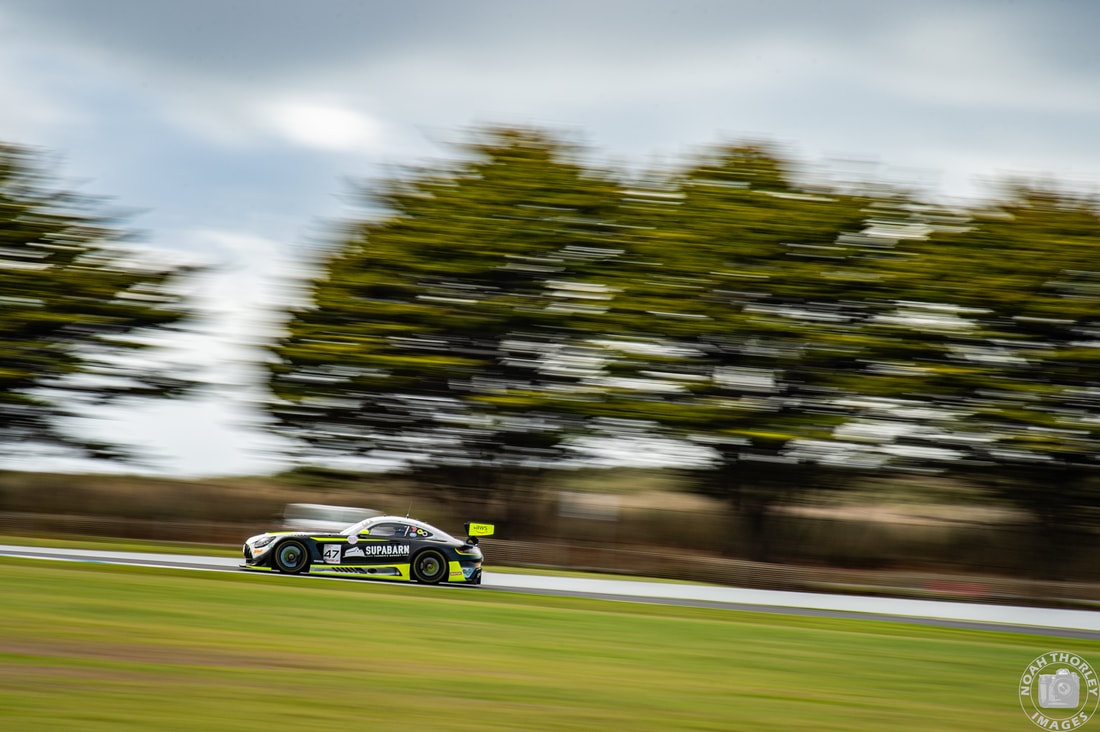 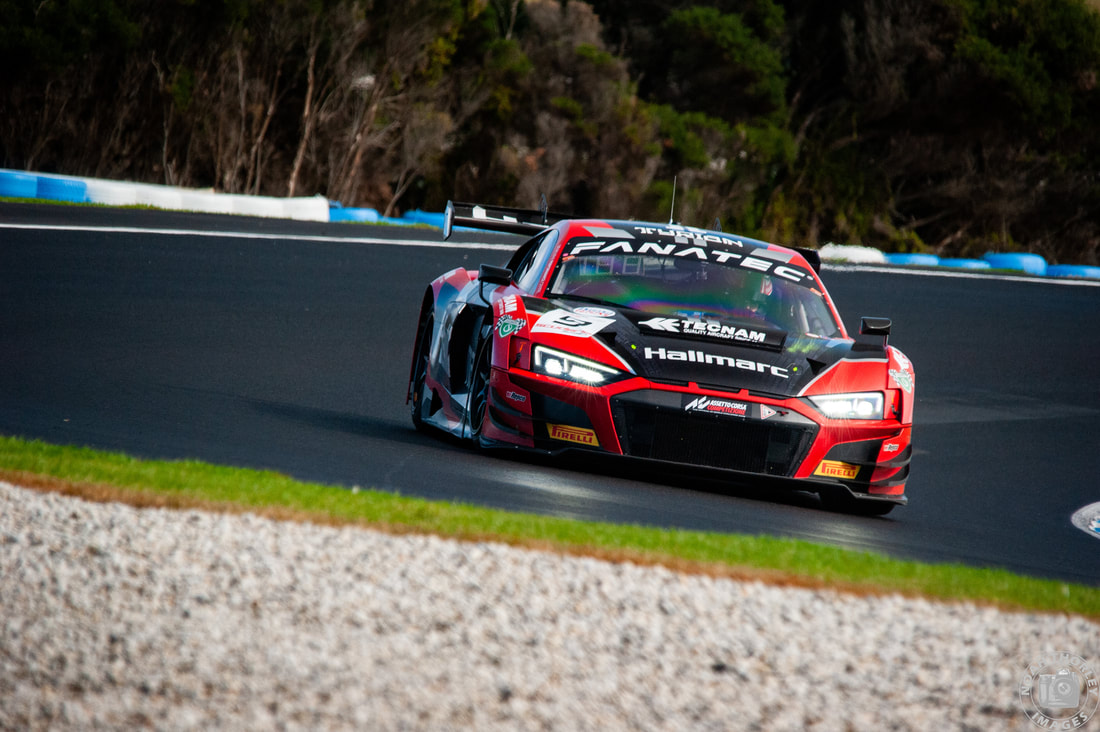 Garth Walden and Michael Sheargold would grab the Am class victory, followed by brothers James and Theo Koundouris in the Supabarn Mercedes, as Marc Cini claimed third.
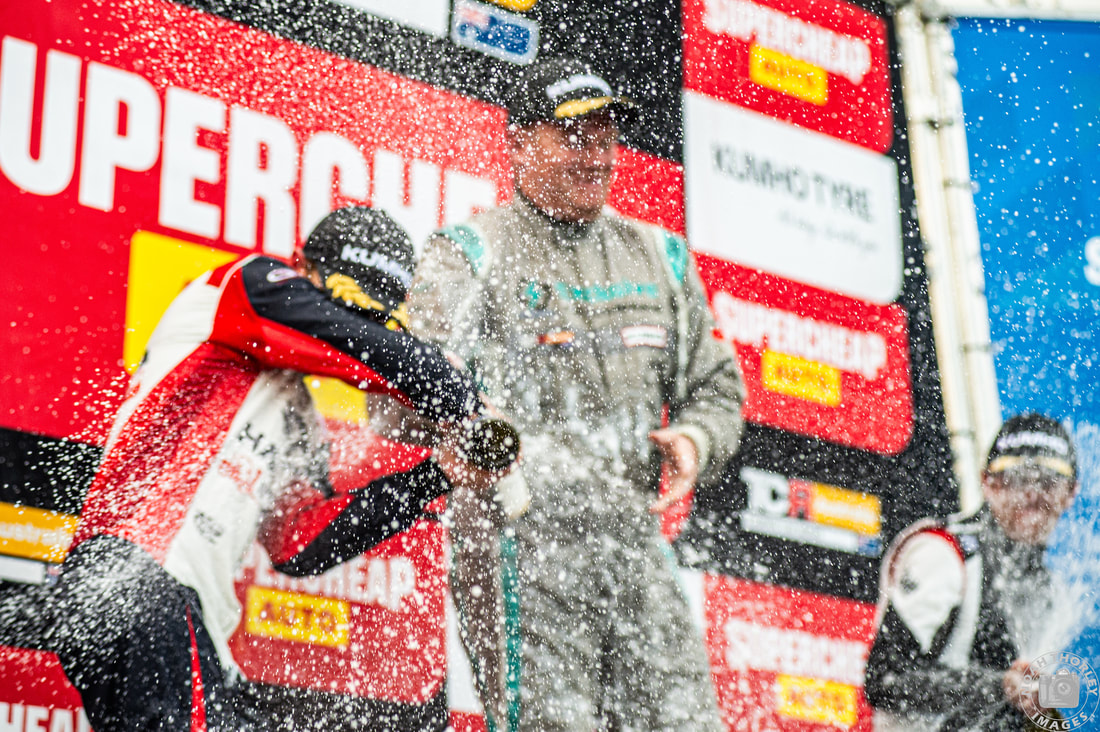
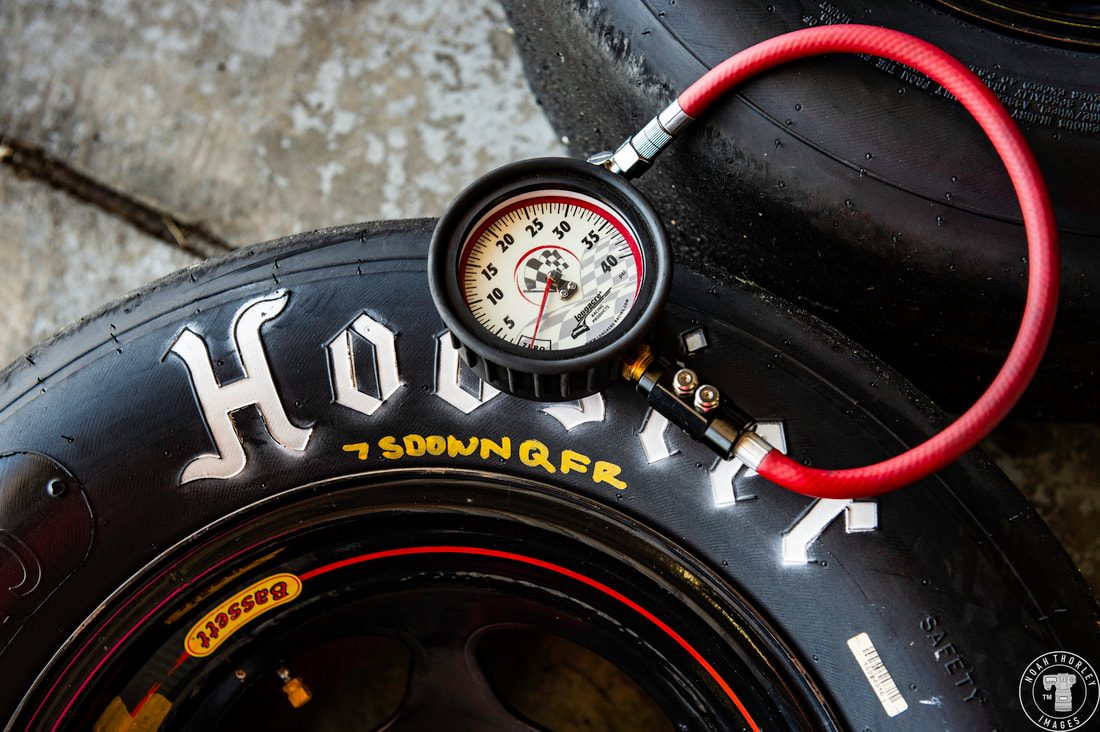
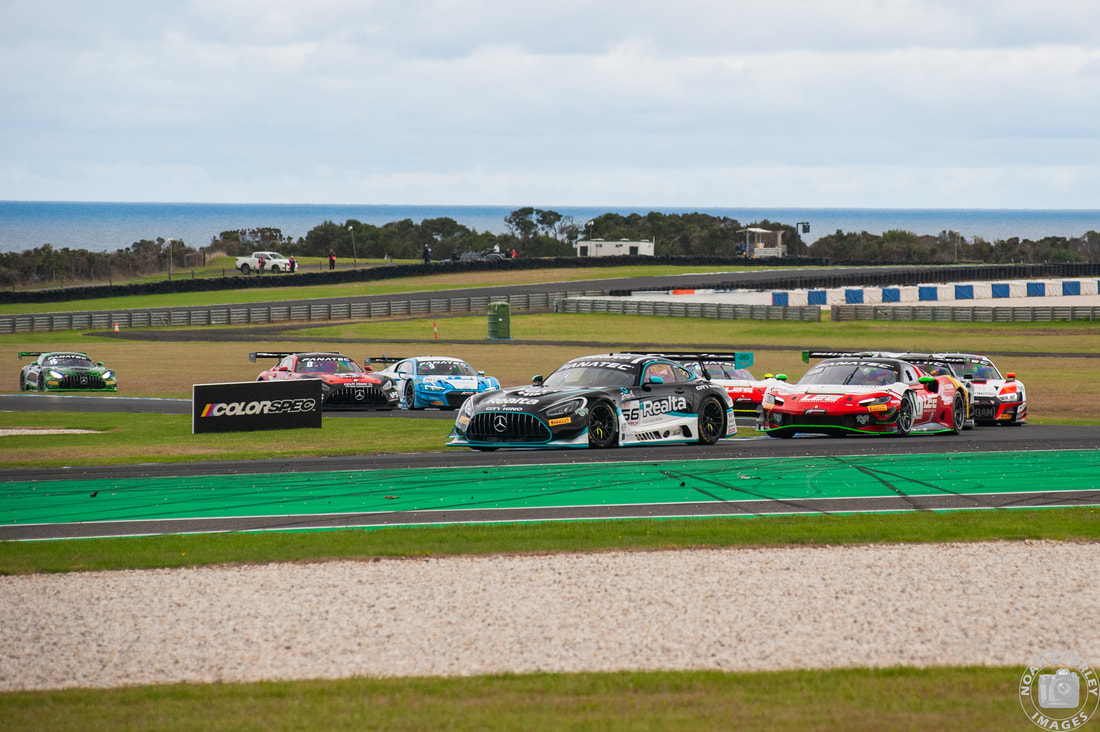 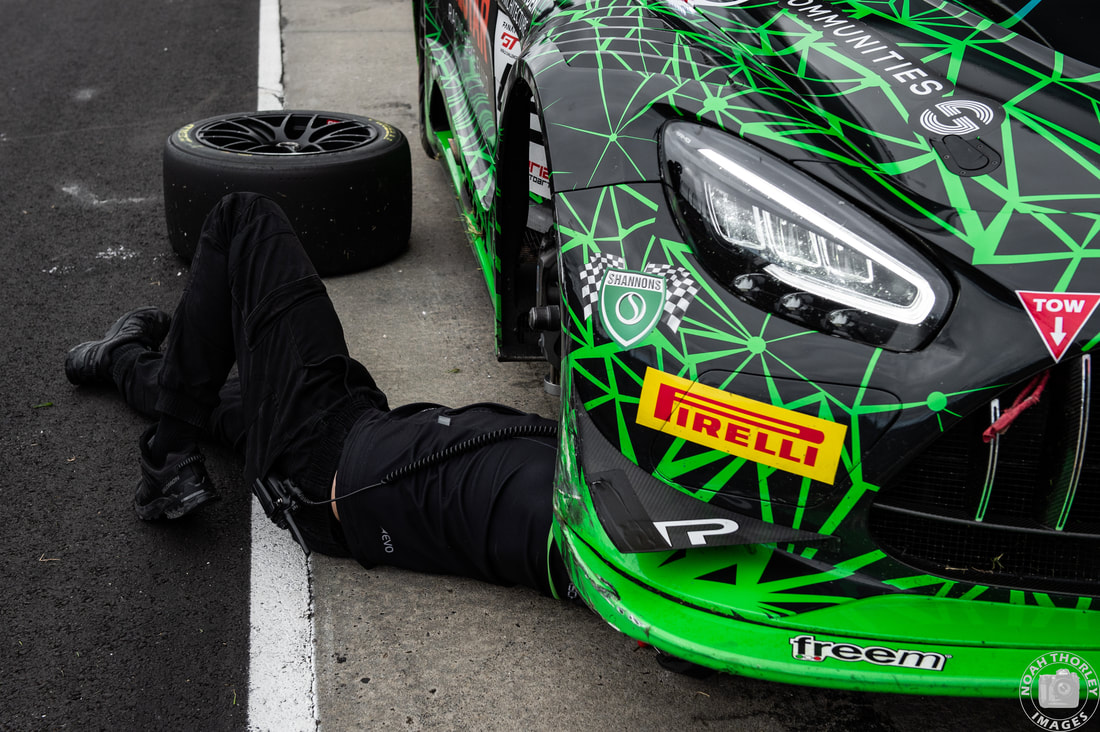 As is now customary at Speed Series events, fans would get to walk the grid before the second and final GT World Challenge race to get a closer look of the cars and drivers. Jayden Ojeda grabbed the lead on lap one as cars went three wide on the front straight causing Garth Walden to spin across the grass and rejoin at Turn 4. Bent steering received from the incident brought Walden into pitlane multiple times, eventually forcing him to retire. 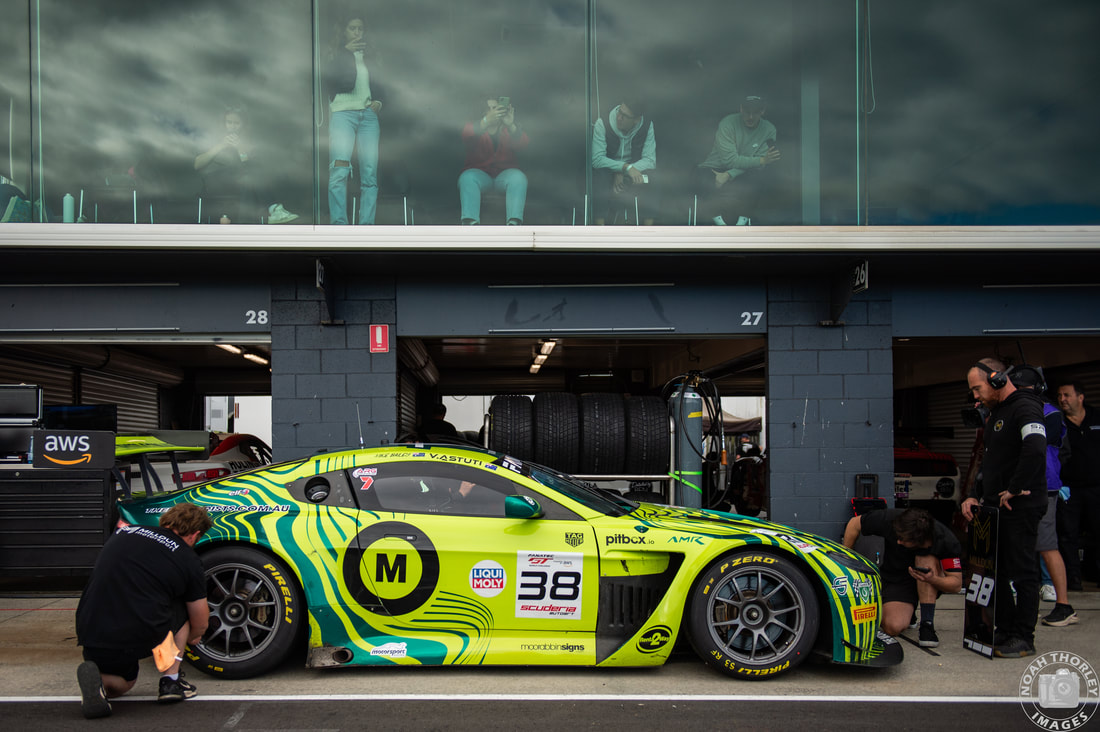 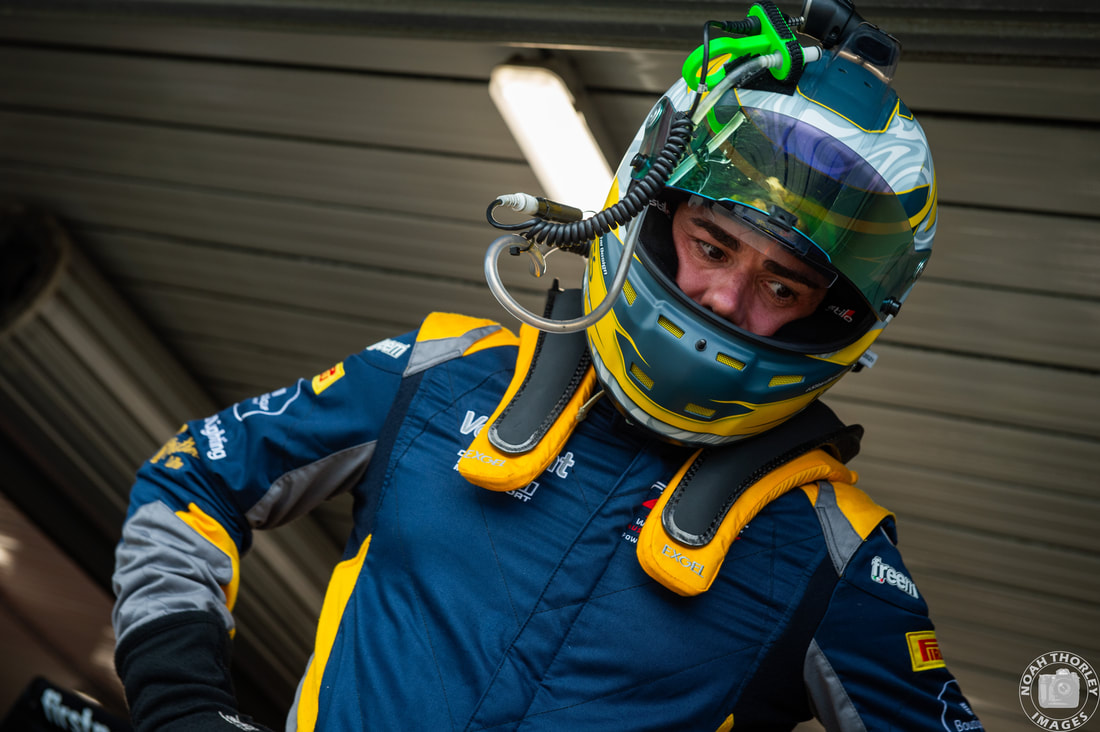 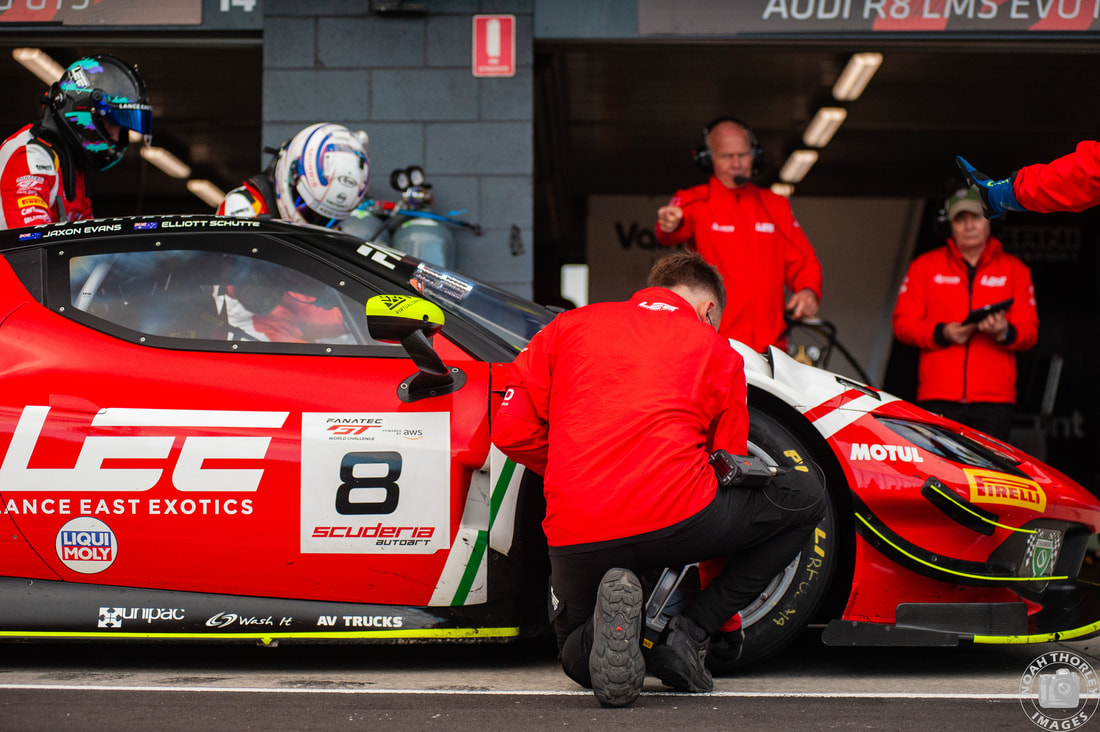 As the race reached the 25-minute mark, organised chaos would be among pitlane as drivers swapped over and tyre pressures were checked. As Liam Talbot took over driving duties in the #1 Ferrari, he was forced to give way as he exited his pit box, leading to the engine needing to be restarted. Talbot would then spin at Turn 2 and this mess caused a slower pit stop for the #8 Ferrari too. 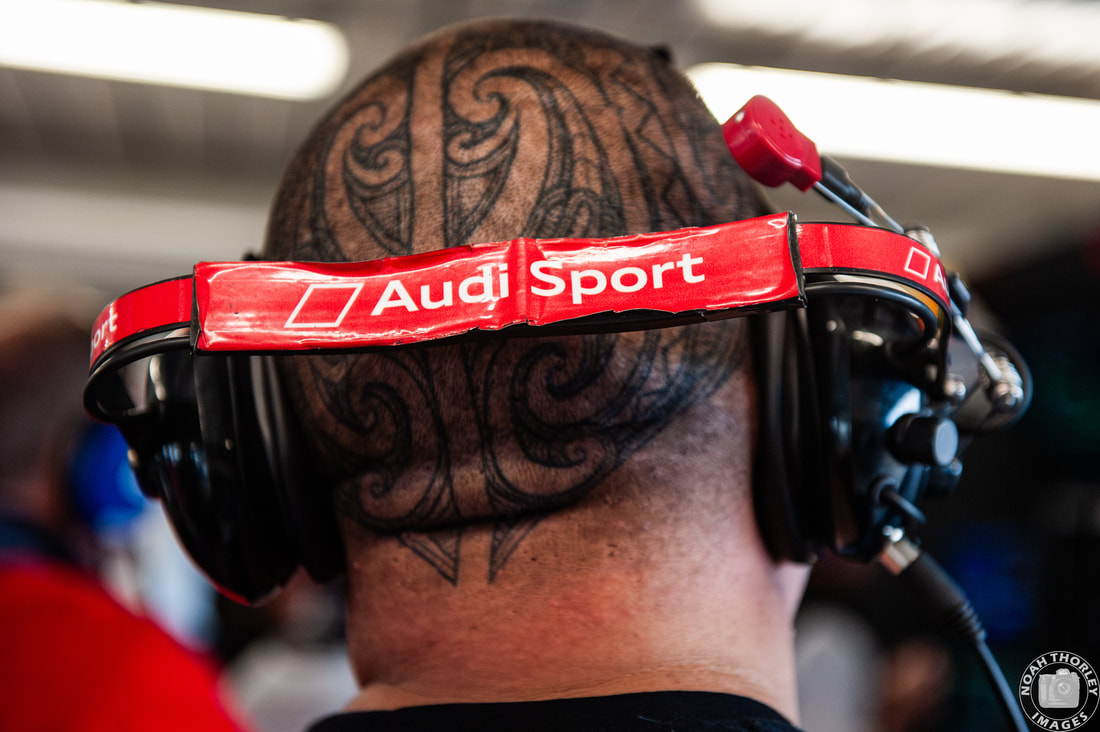 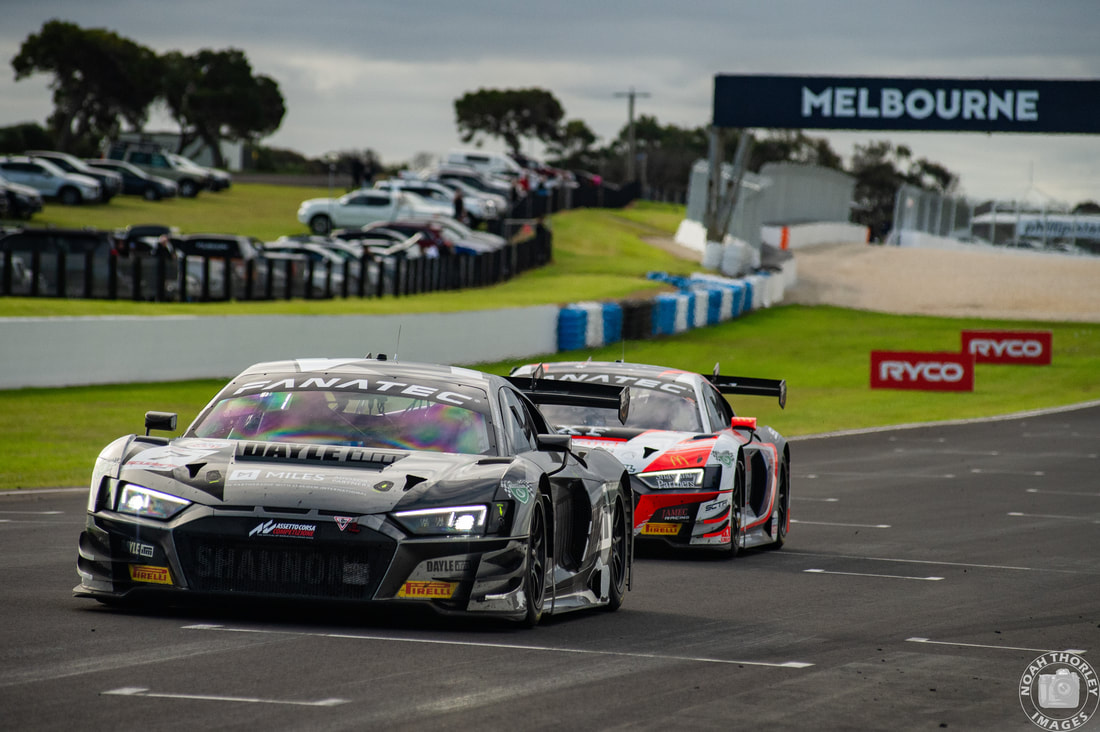 The 1-hour race rolled on to its final stages, with Tim Miles taking the lead, however Brad Schumacher had fought his way to second and was breathing down the New Zealanders neck. The Audi camps watched nervously as Brad Schumacher got closer and closer. He got too close however, spinning on the exit of Southern Loop, into the clutches of Liam Talbot. 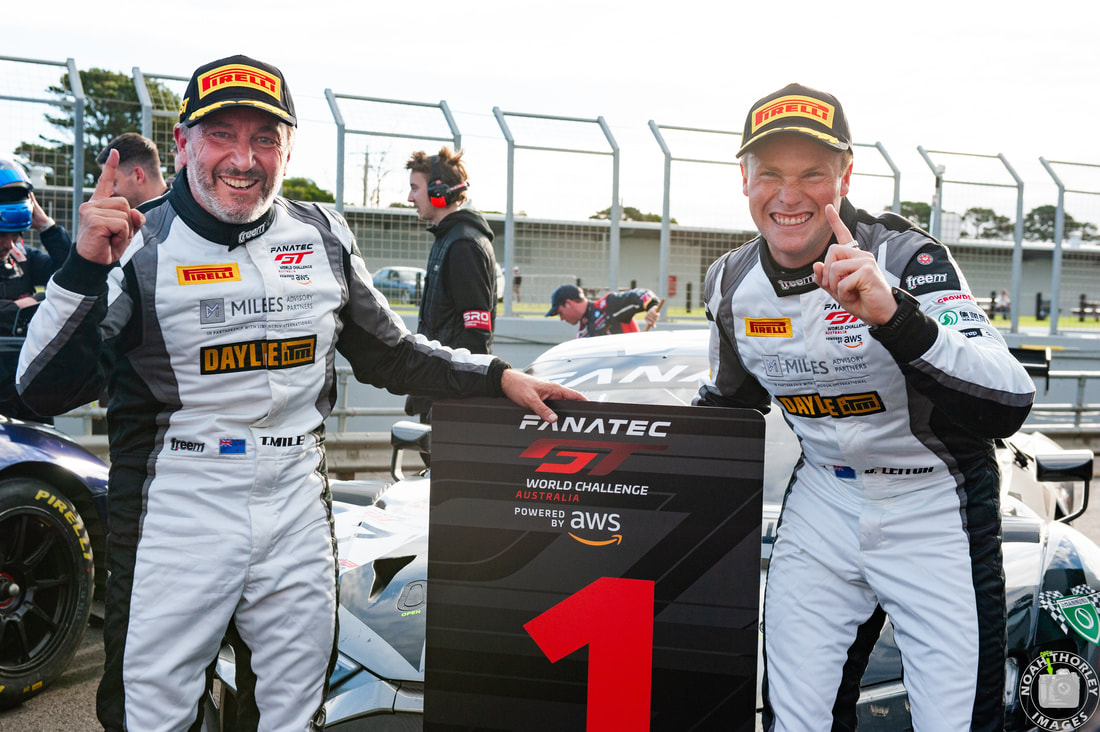 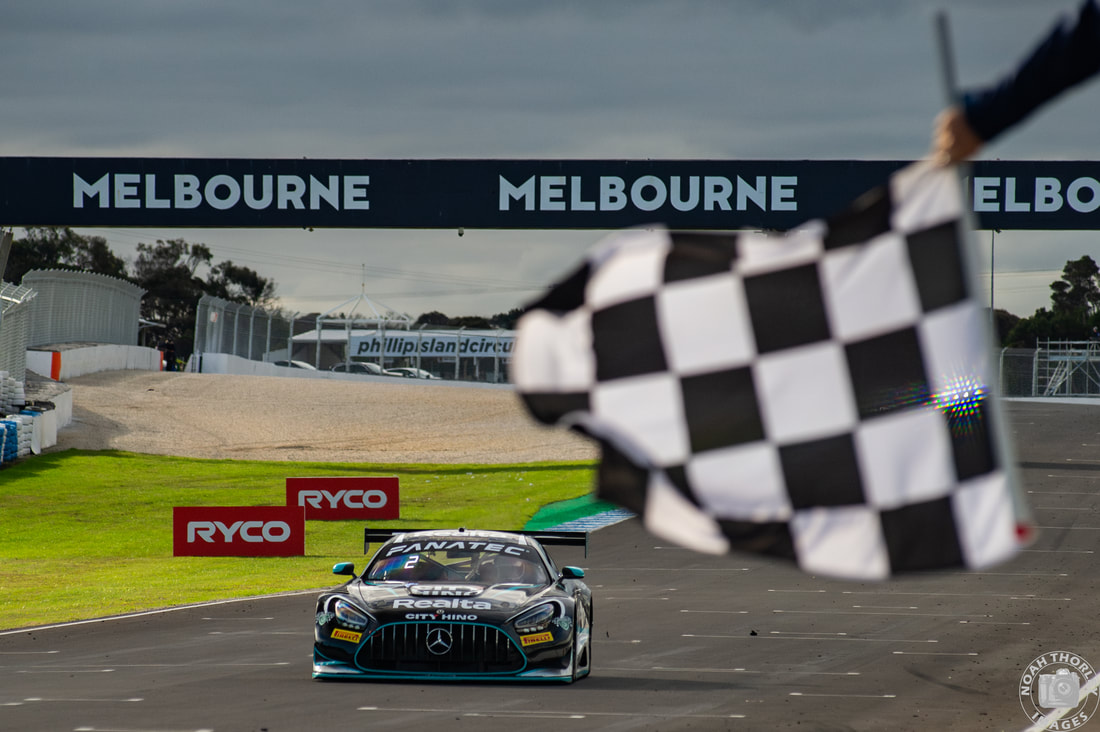 The pressure was now gone from Tim Miles, grabbing the victory for the New Zealand pairing. Jayden Ojeda and Paul Lucchitti finished strong in second place as Brad Schumacher and Will Brown held onto third by the skin of their teeth. 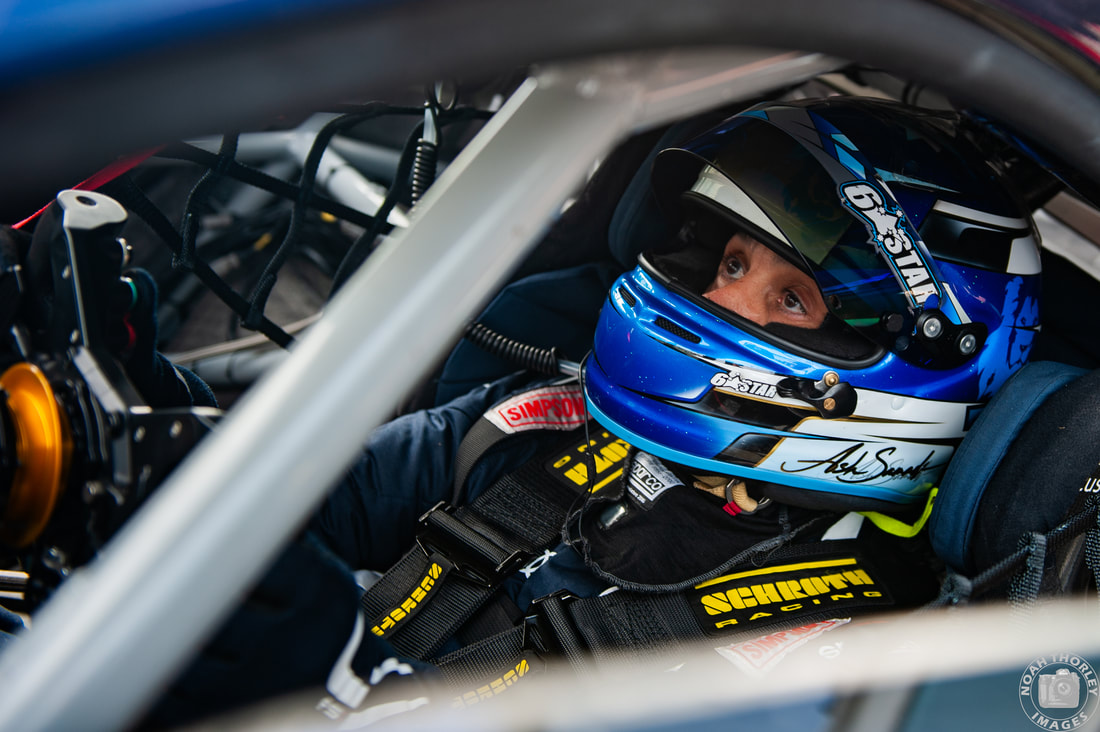 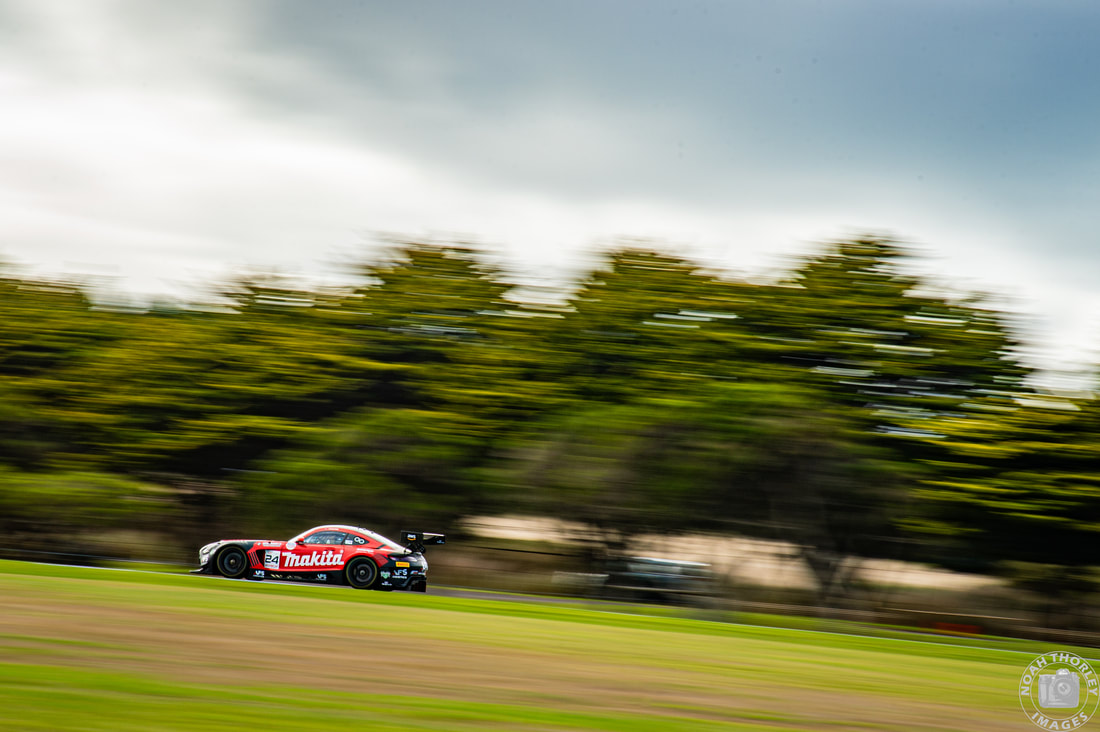 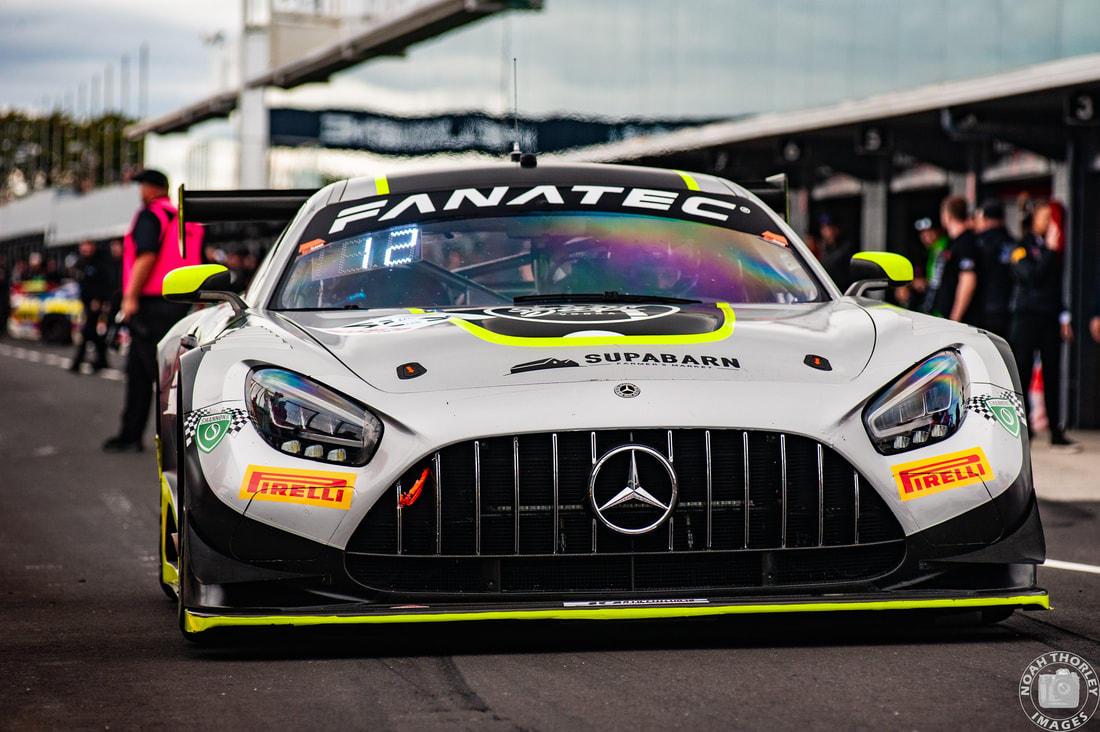 Ash Samadi would take the Am victory, with Tony Bates finally grabbing some good luck in second, as the Koundouris brothers found themselves on the podium again, this time in third. 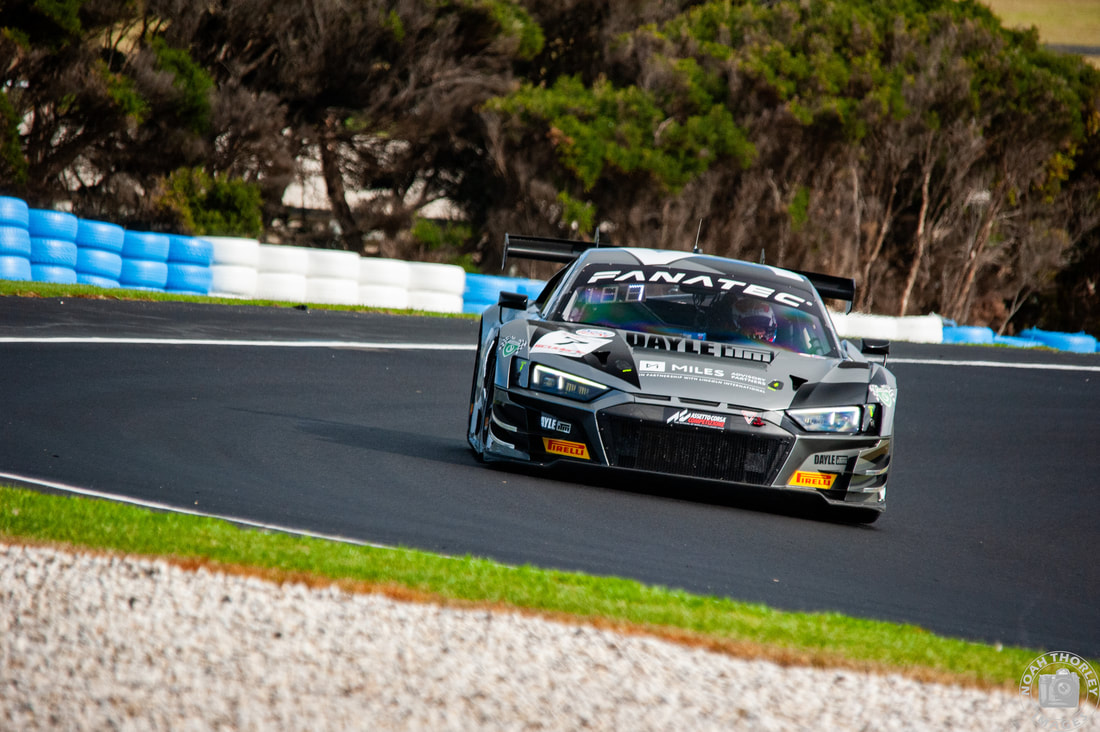 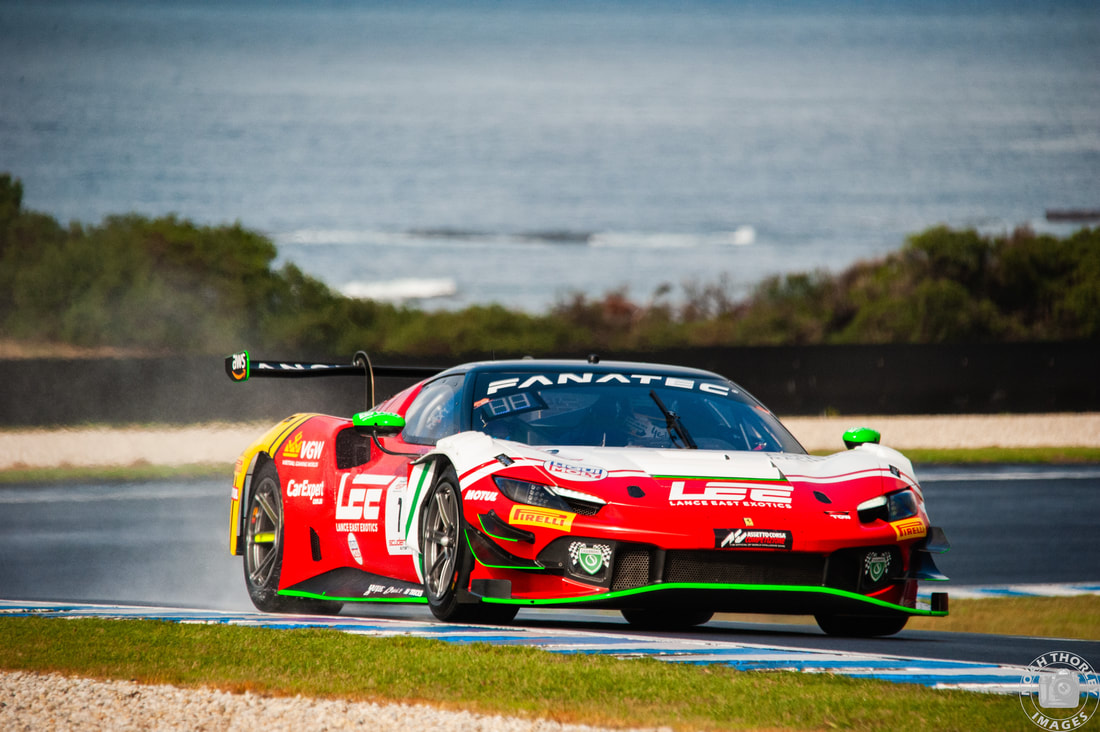 As the GT World Challenge circus prepares for Round 2 at The Bend, Melbourne Performance Centre lead the team's championship by a single point ahead of Arise Racing, however, it is Liam Talbot and Chaz Mostert at the top of the driver's standings. Bonus Gallery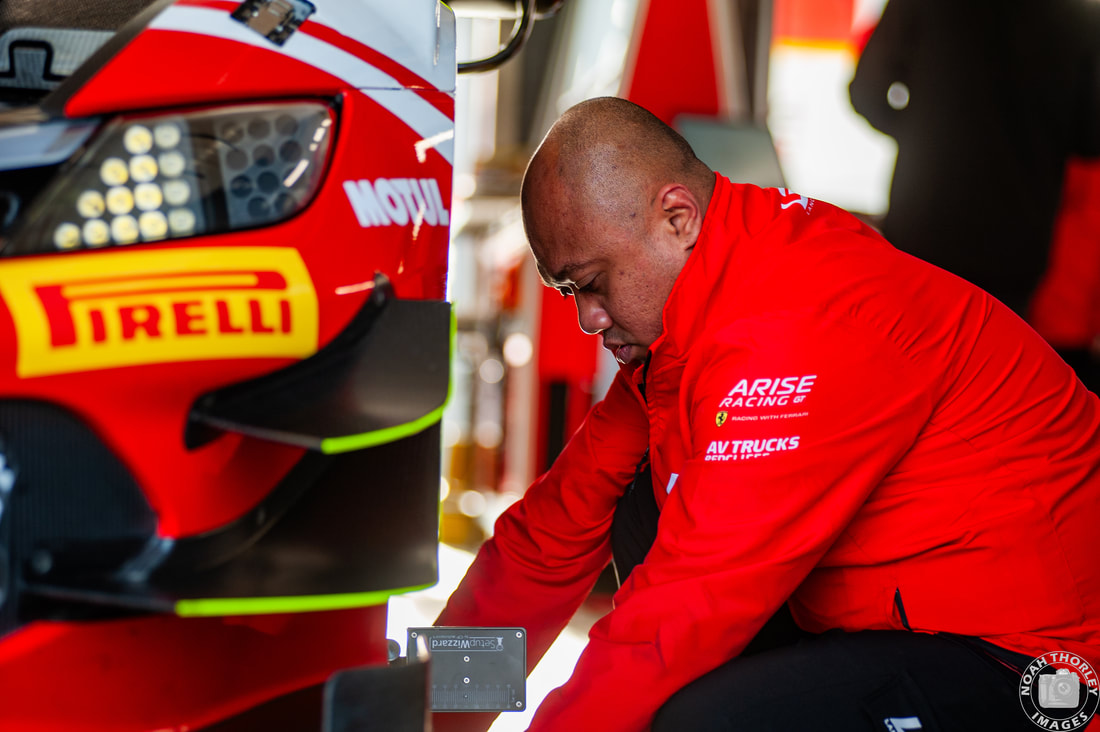  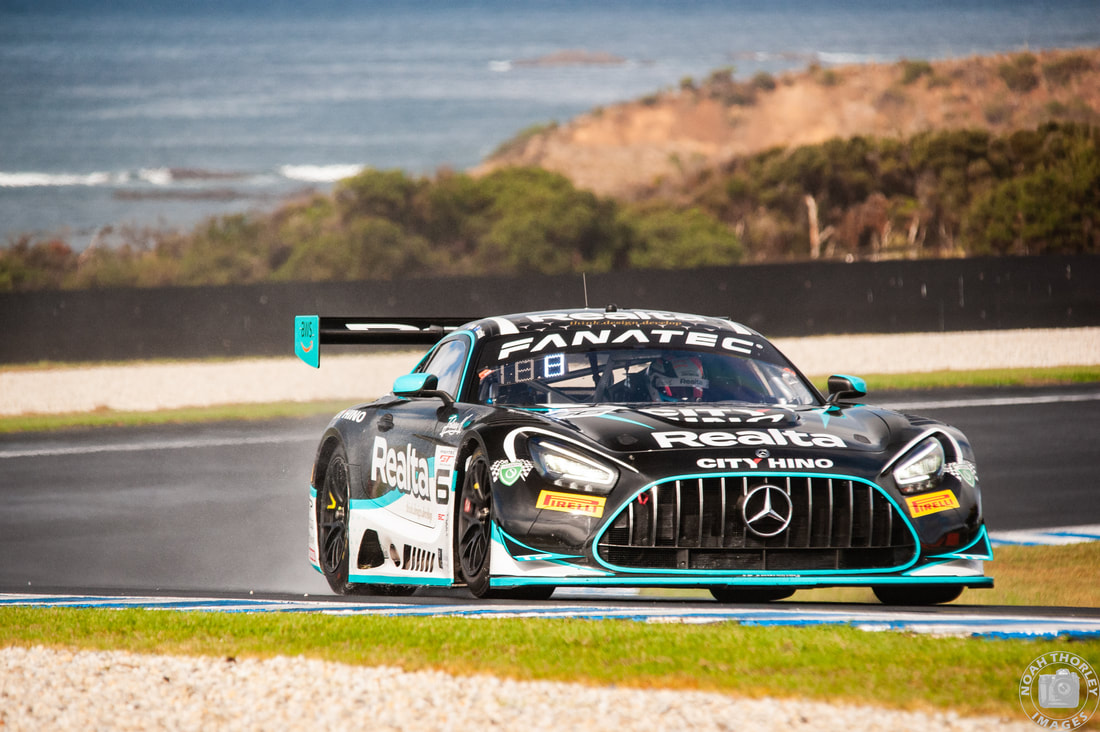 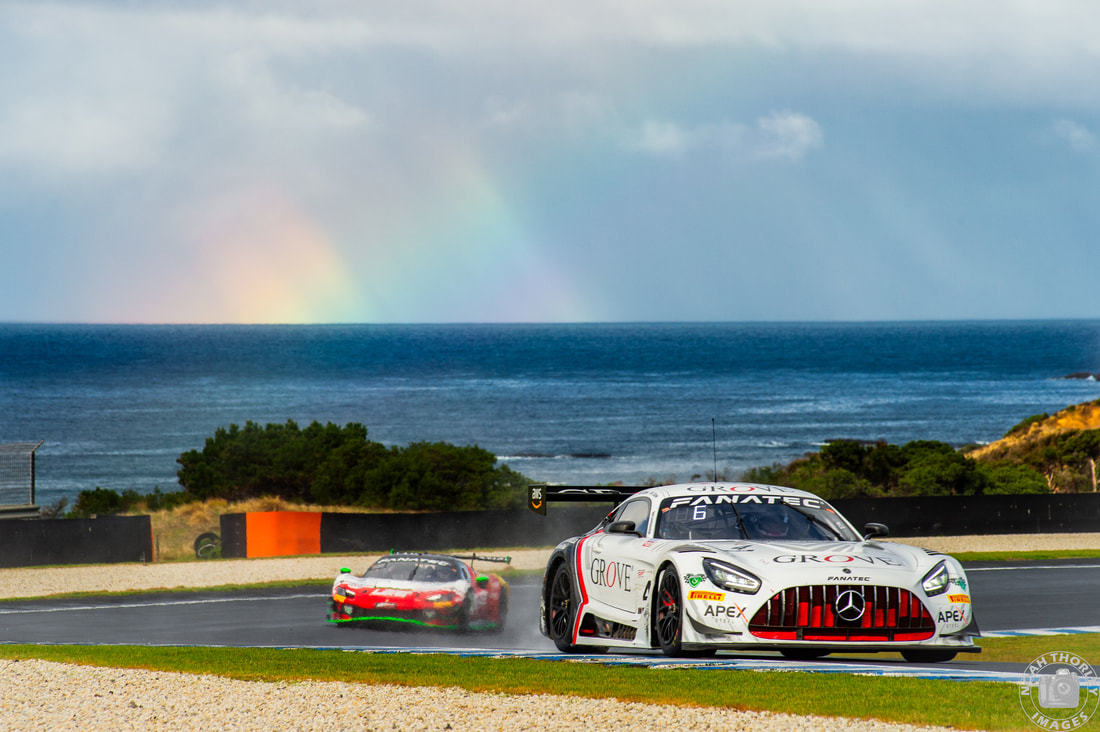 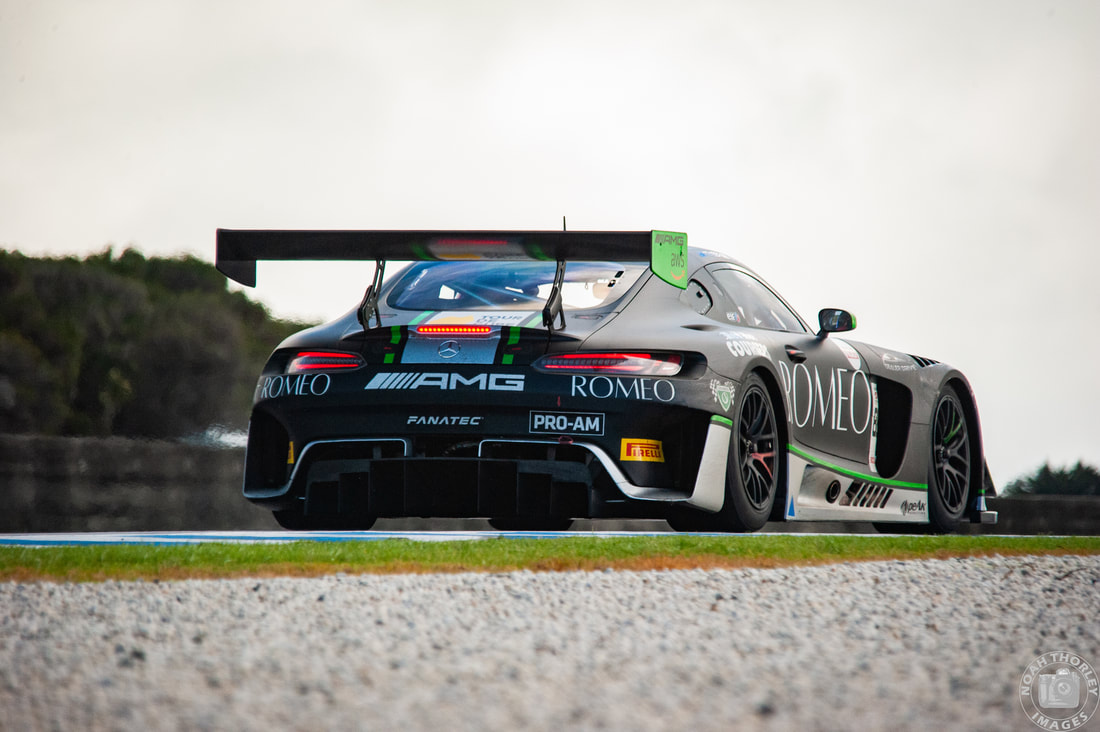 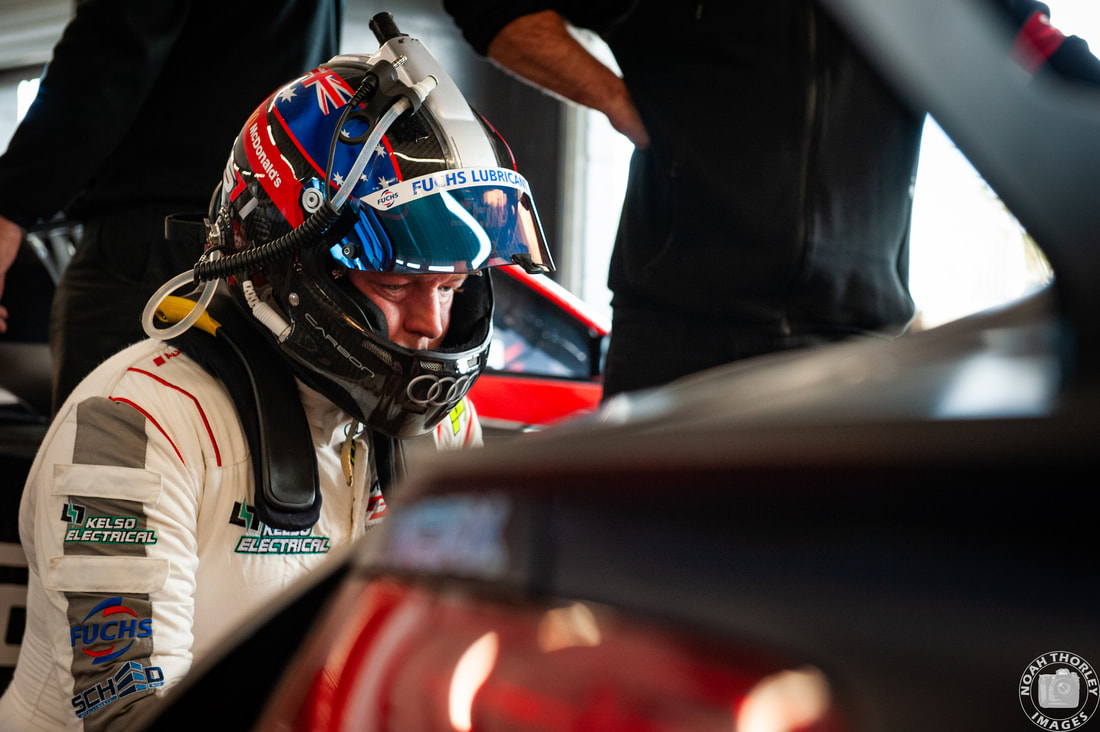 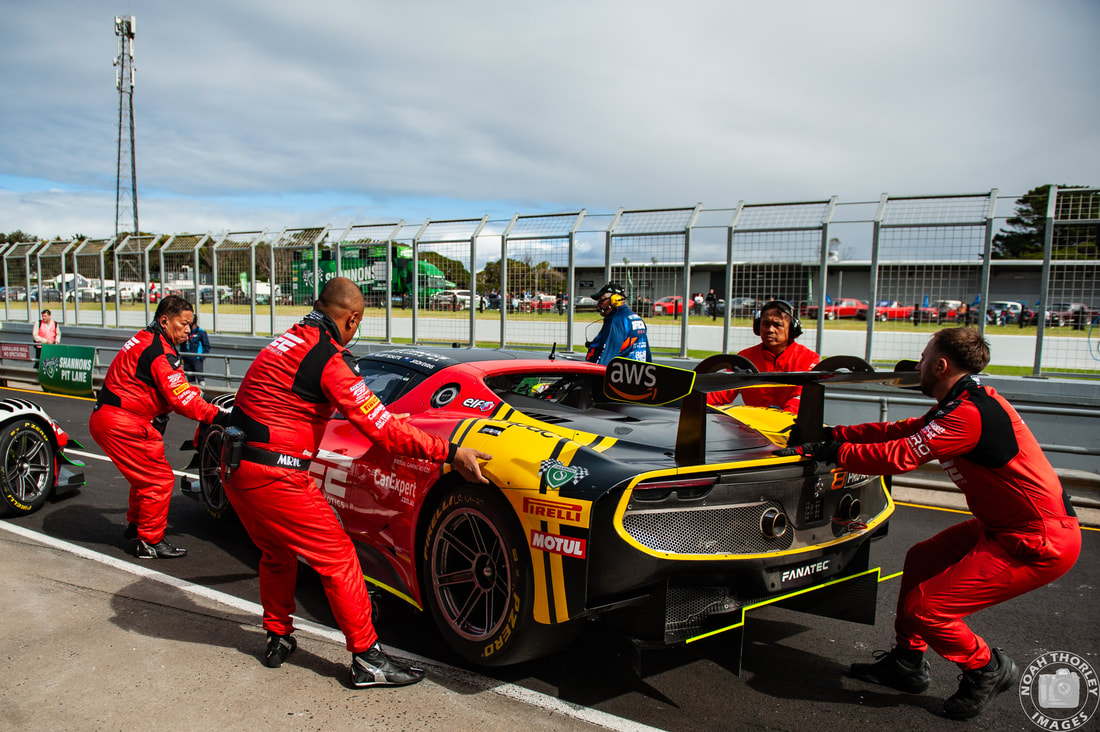 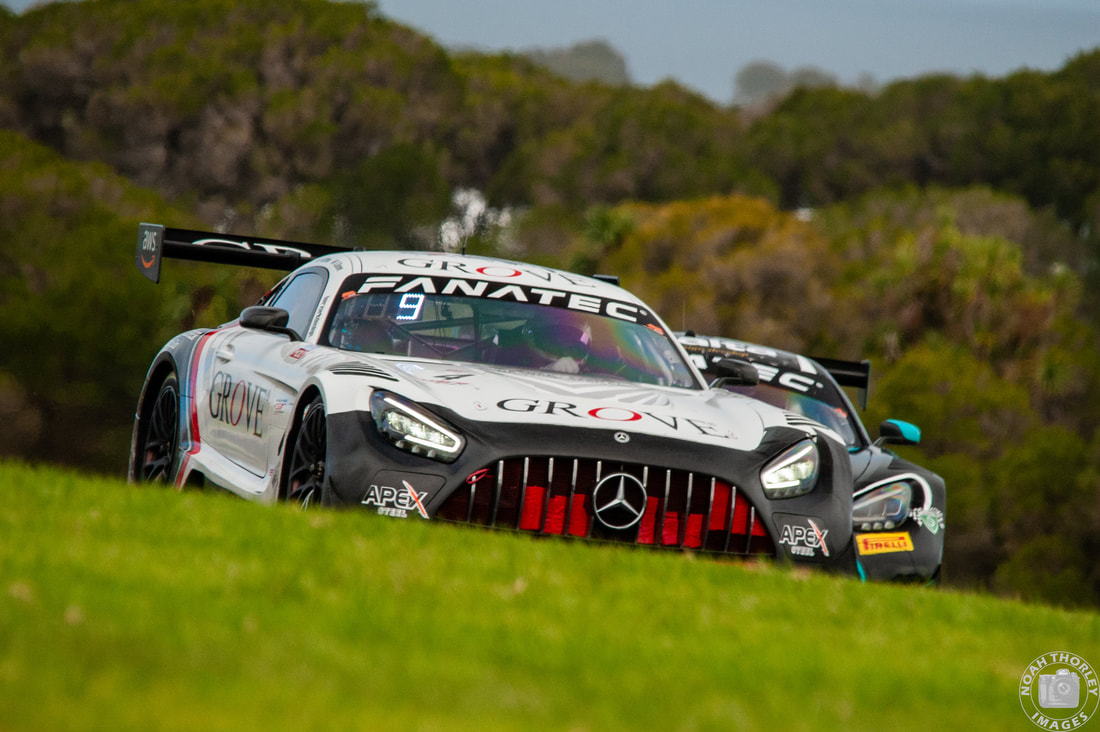 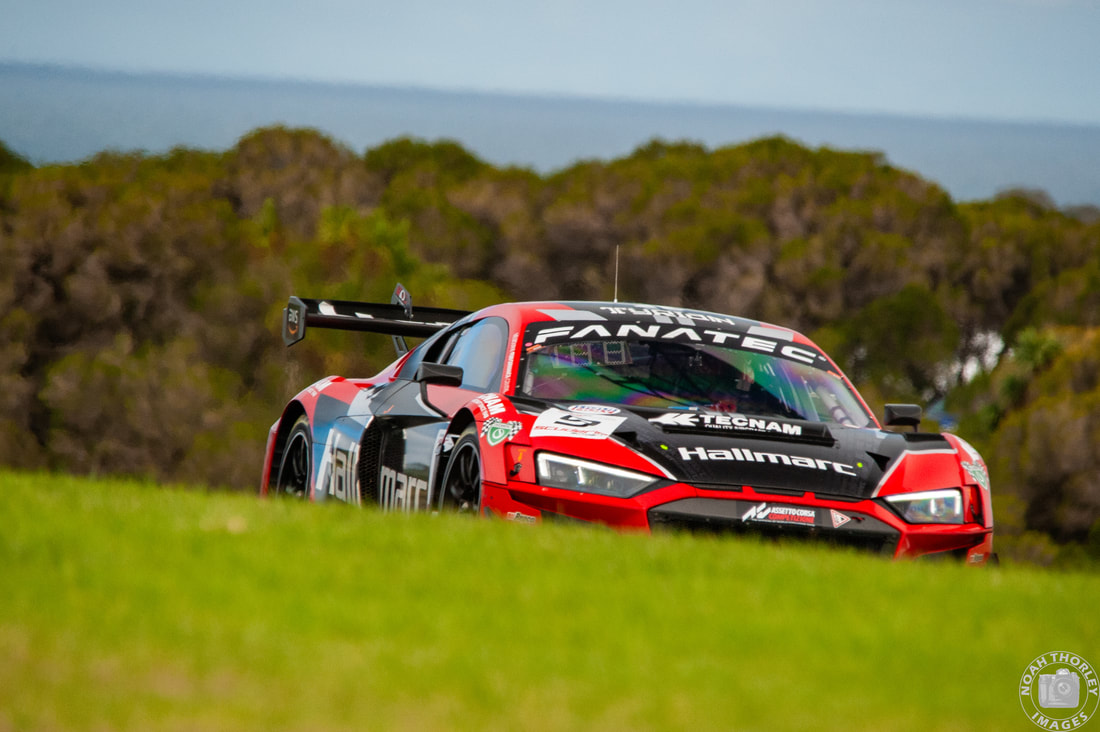 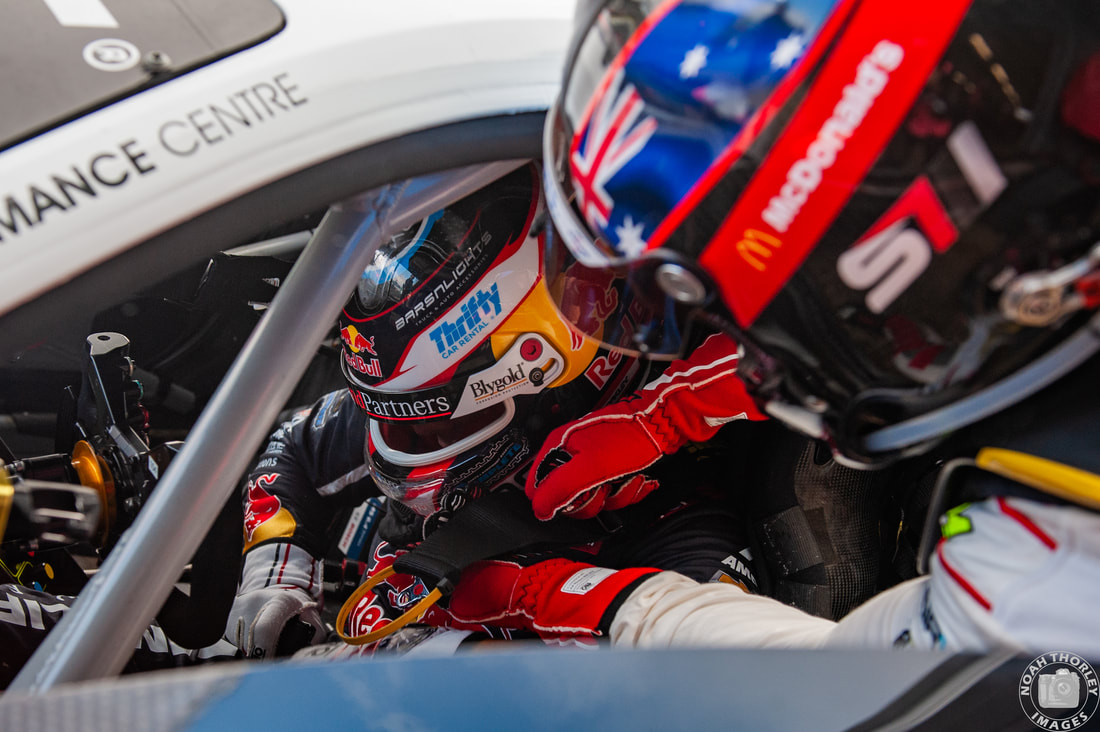 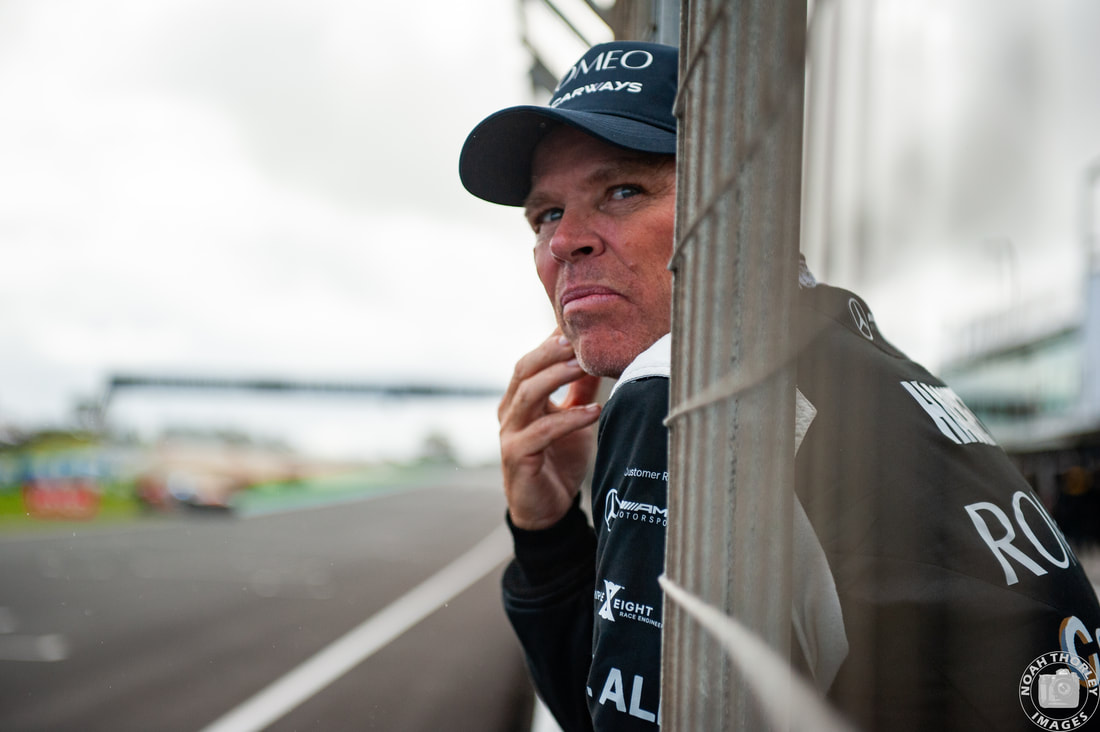 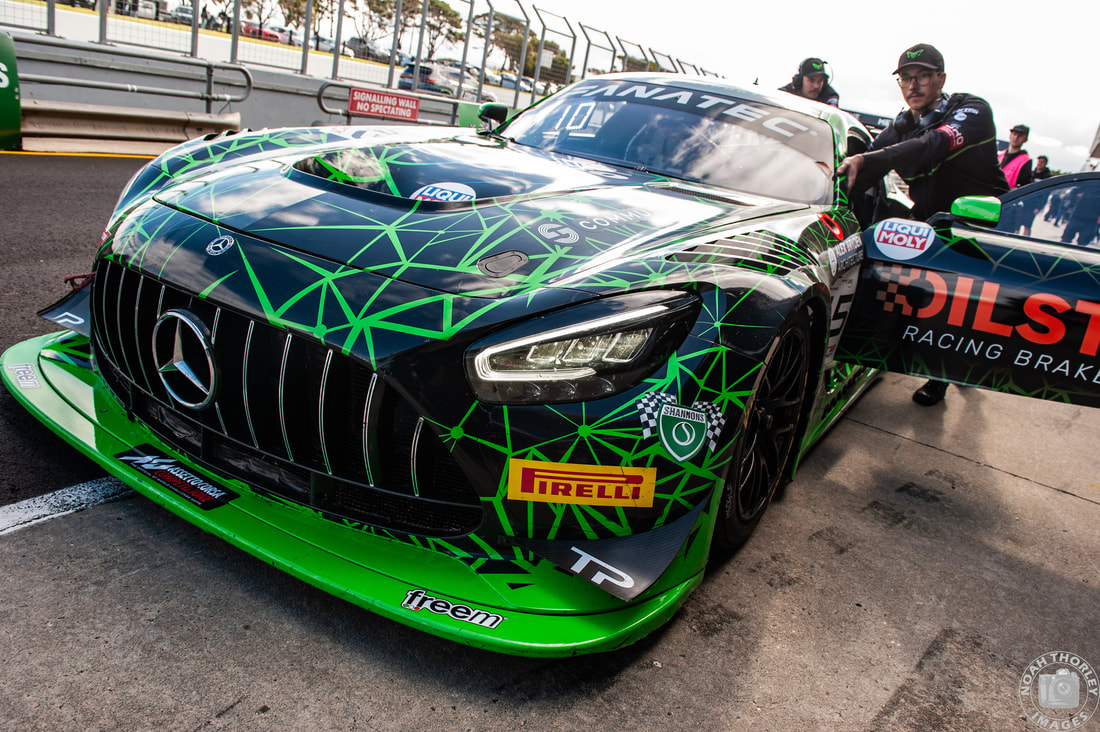
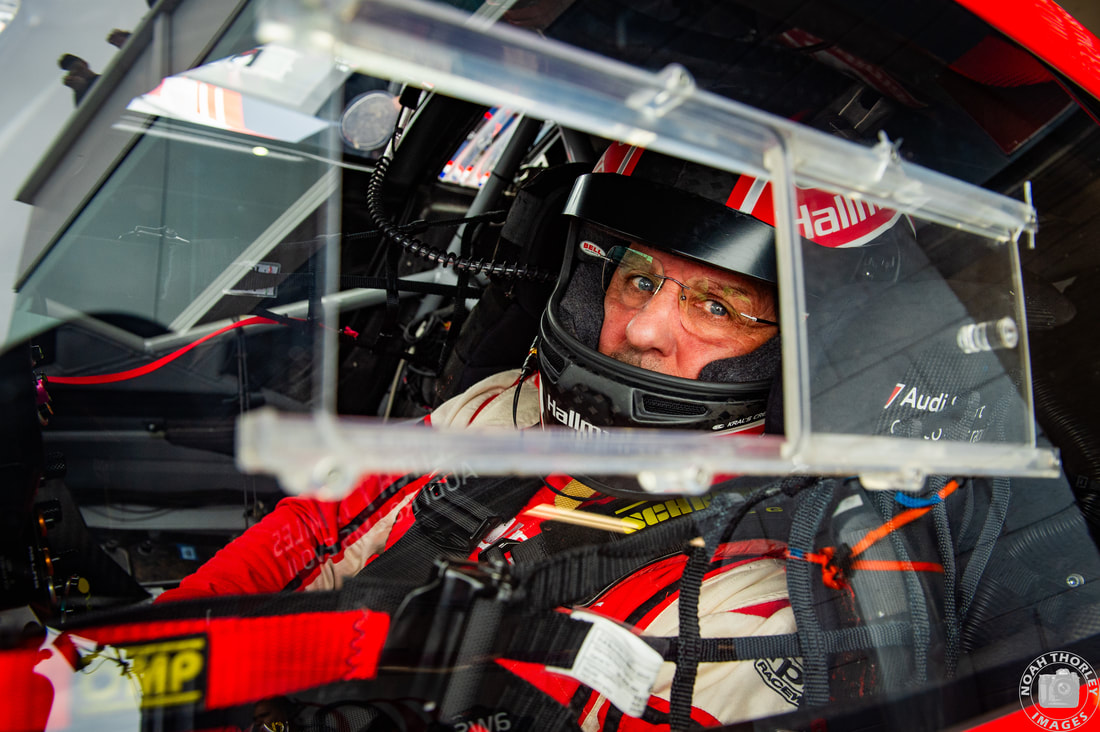 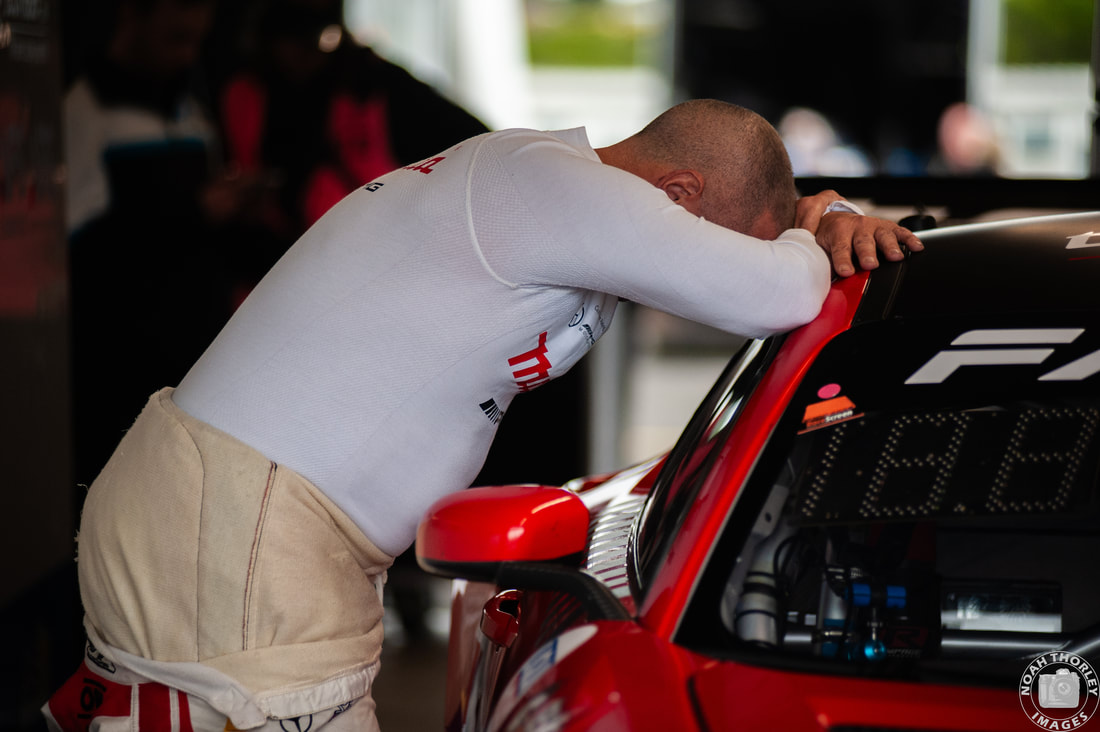   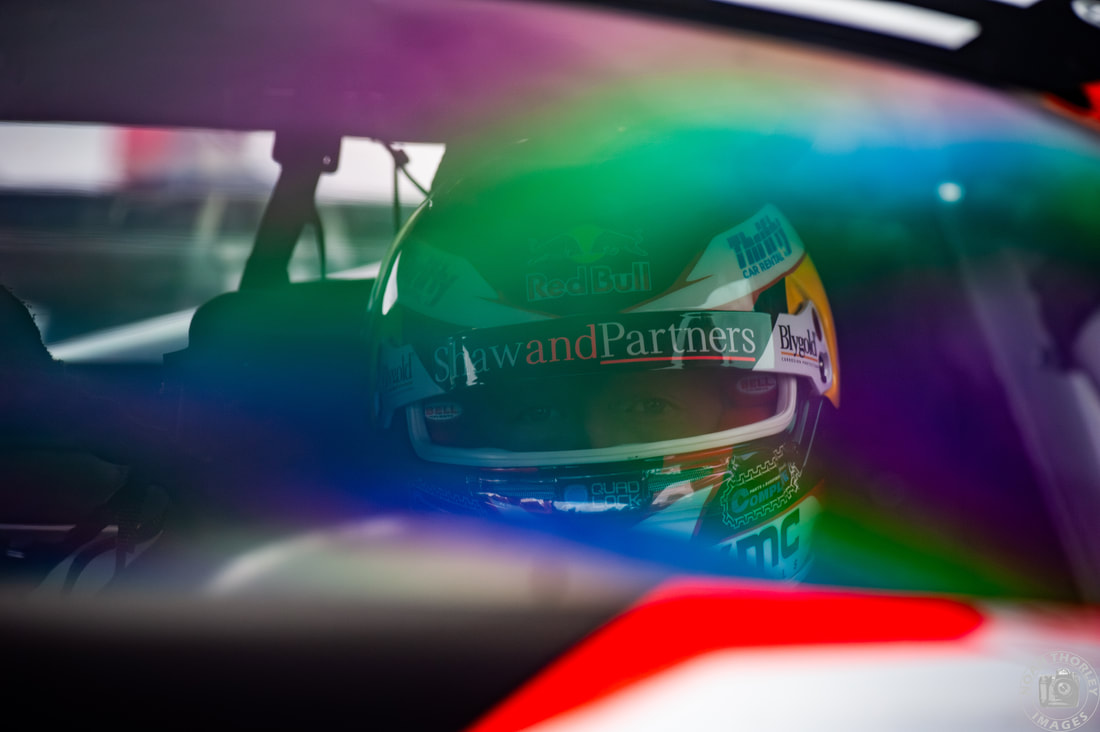 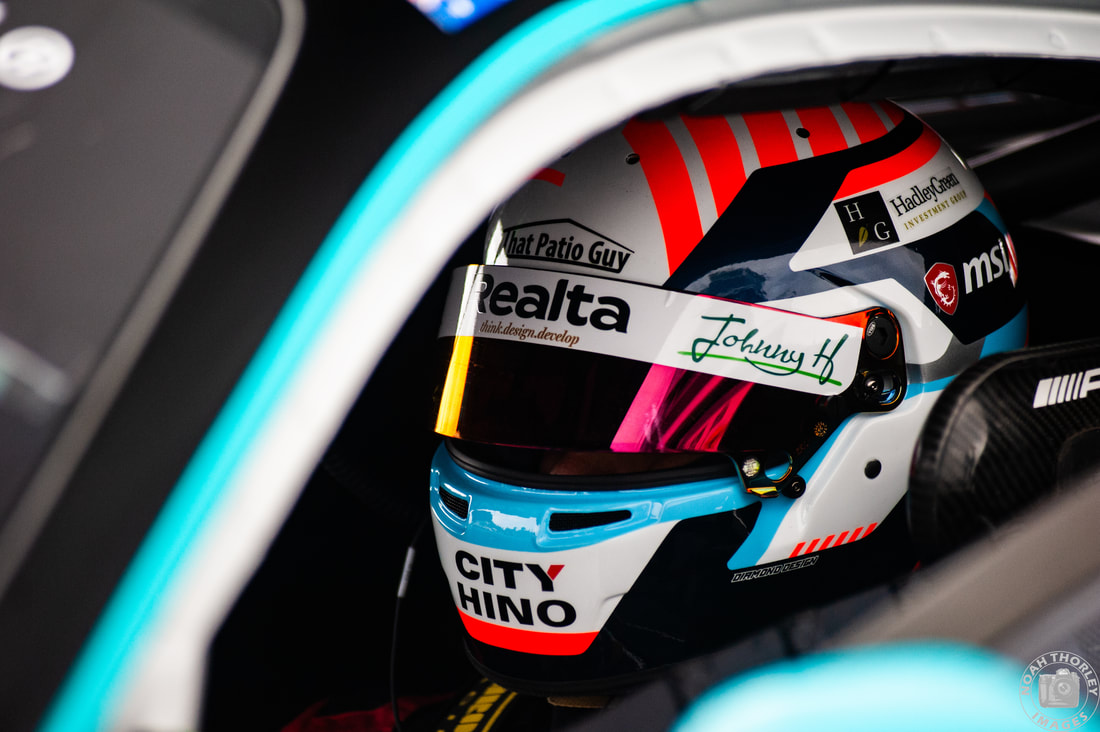 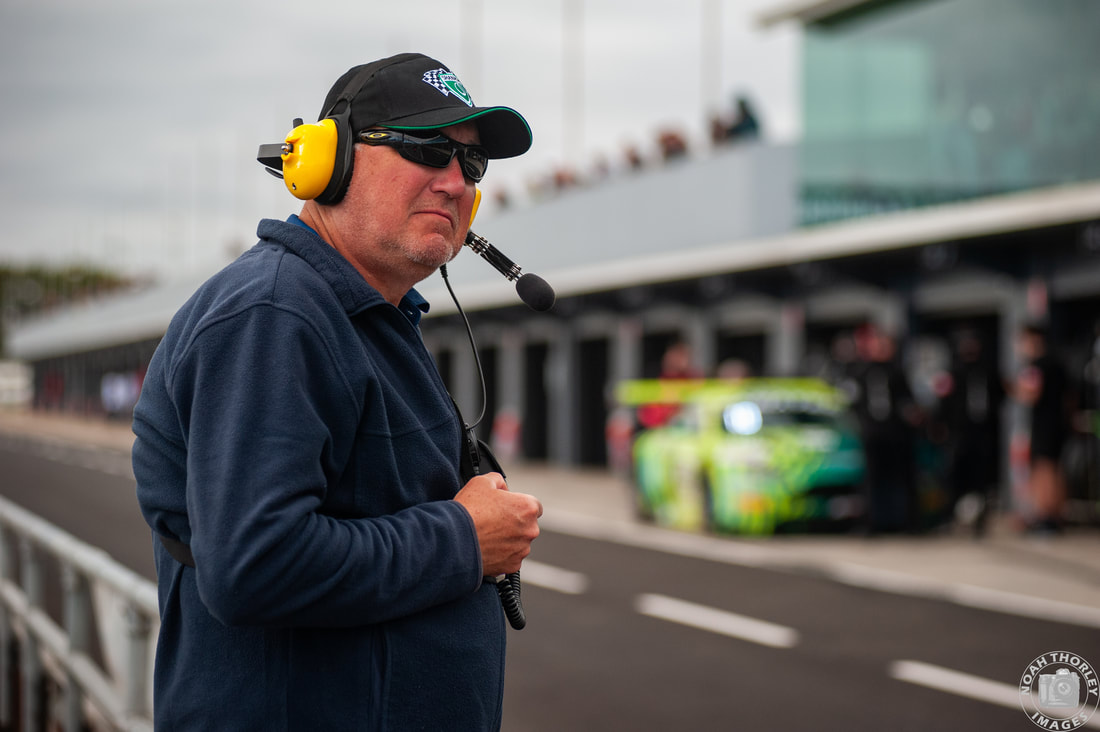 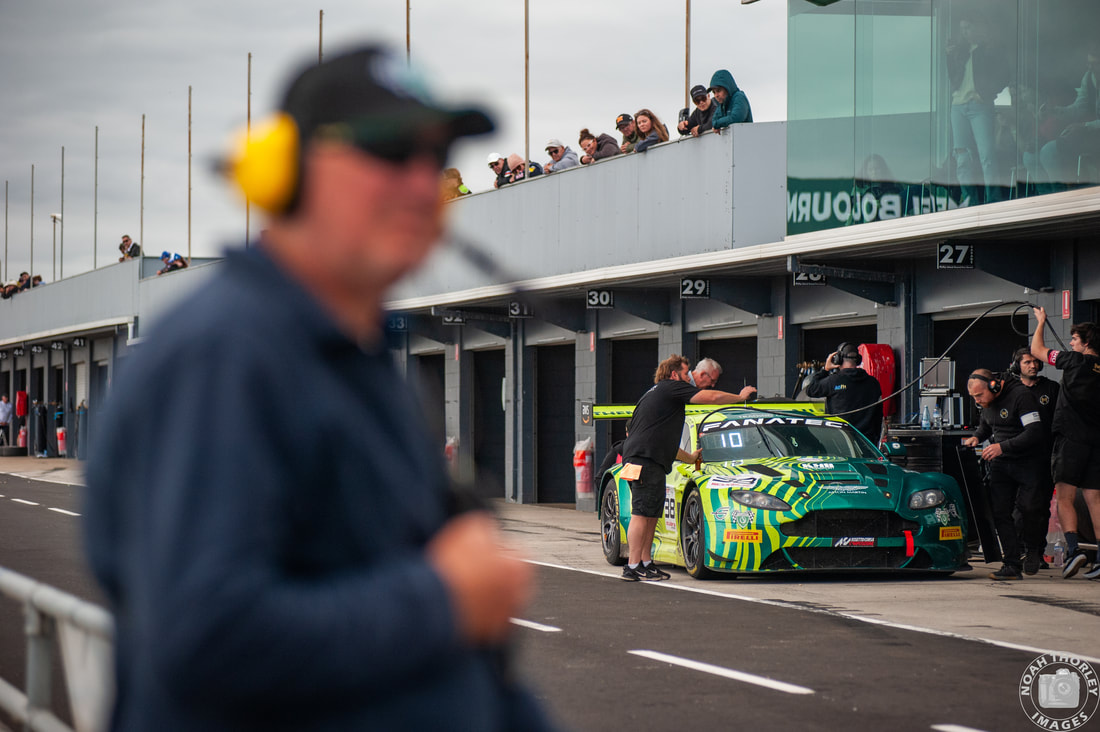  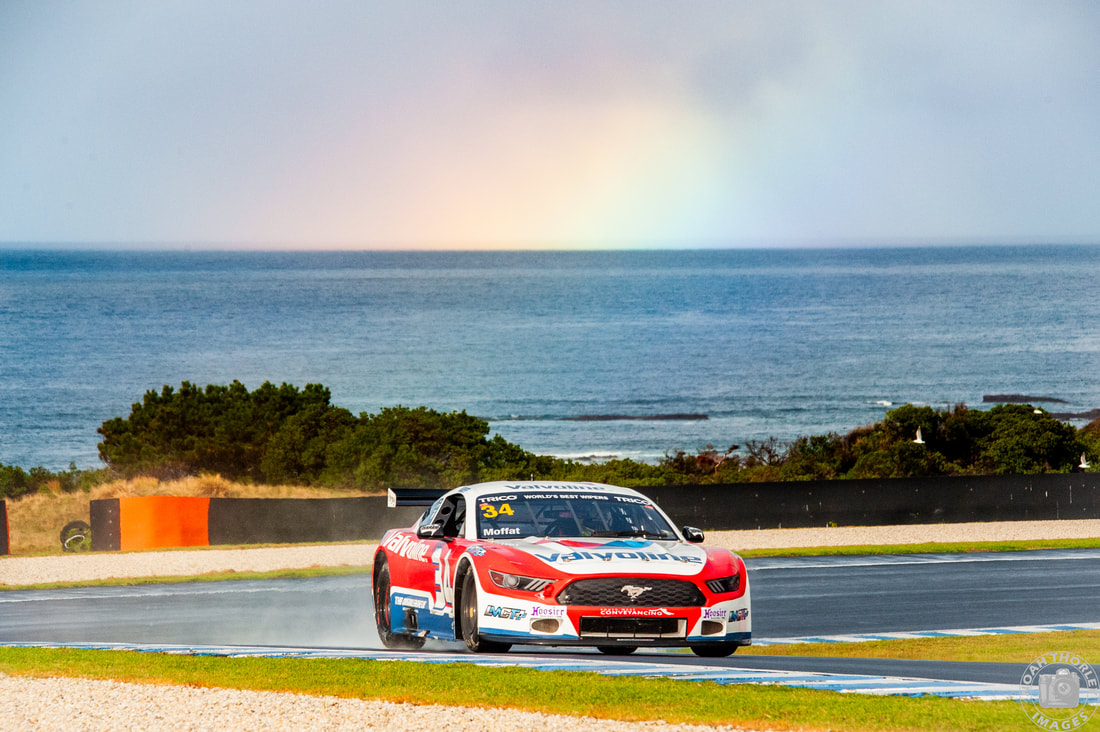 Although James Moffat had swept the opening round of the 2024 Trans-Am championship, Jordan Boys and James Golding would claw points back with two wins apiece at Symmons Plains. As they arrived at Phillip Island for round 3, Moffat lead the standings by only 5 points ahead of Jordan Boys and 17 points ahead of teammate James Golding. 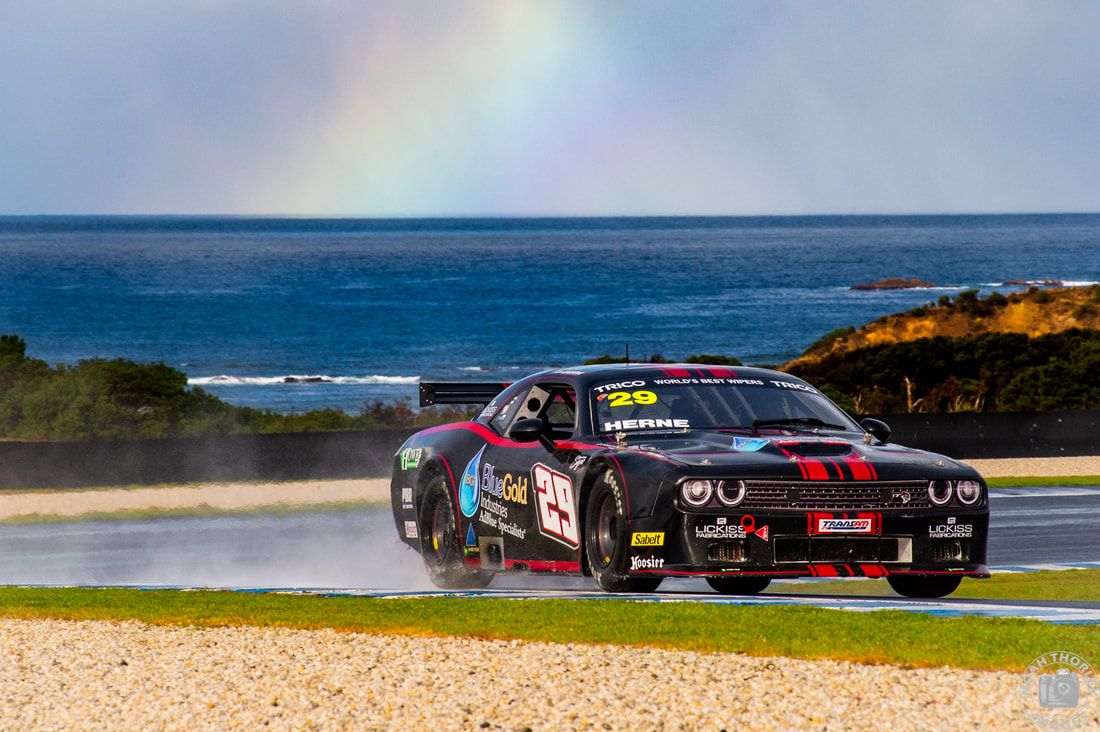 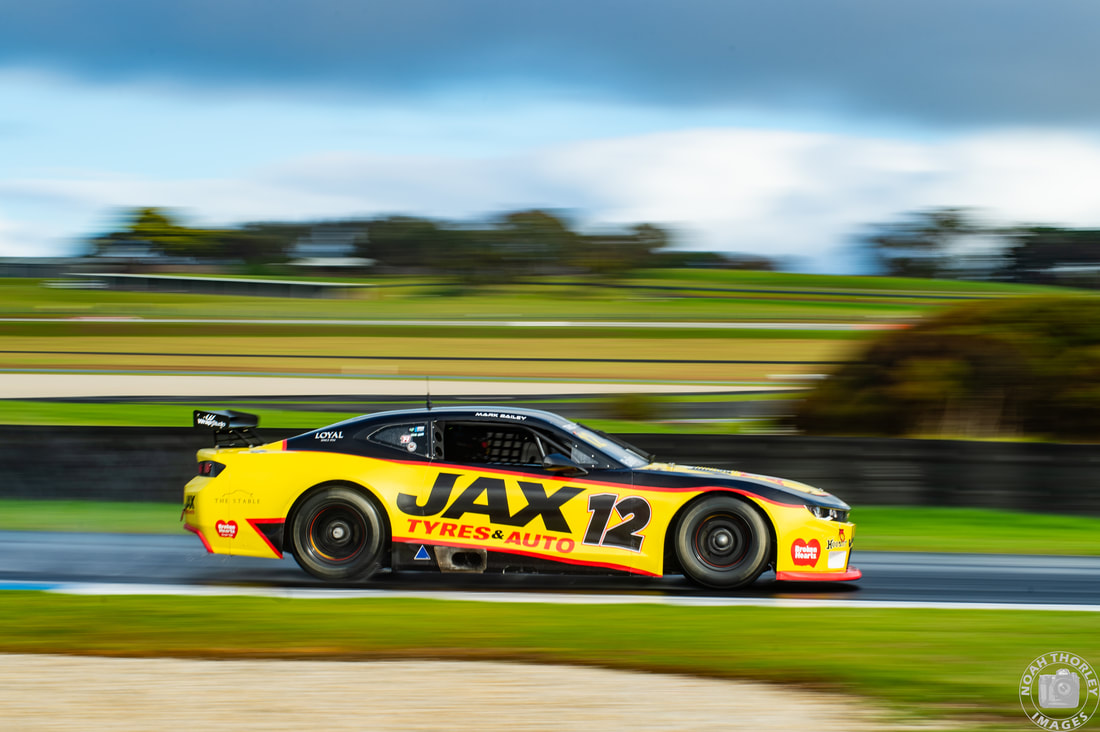 2021 Trans-Am champion Nathan Herne had returned at Symmons Plains in his championship winning Dodge in his new self-run team, after competing over in the U.S last year. Mark Bailey also joined the Trans-Am field at Symmons Plains for Asher Seward Motorsport in the beautiful Jax Tyre & Auto Camaro. 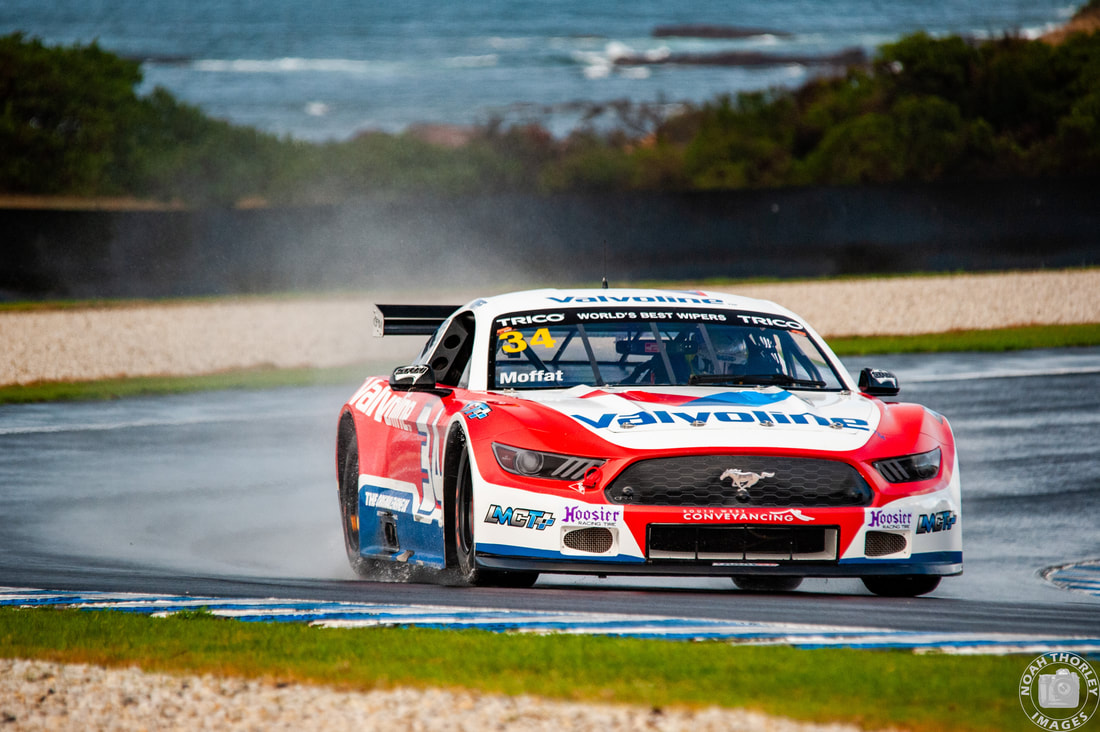 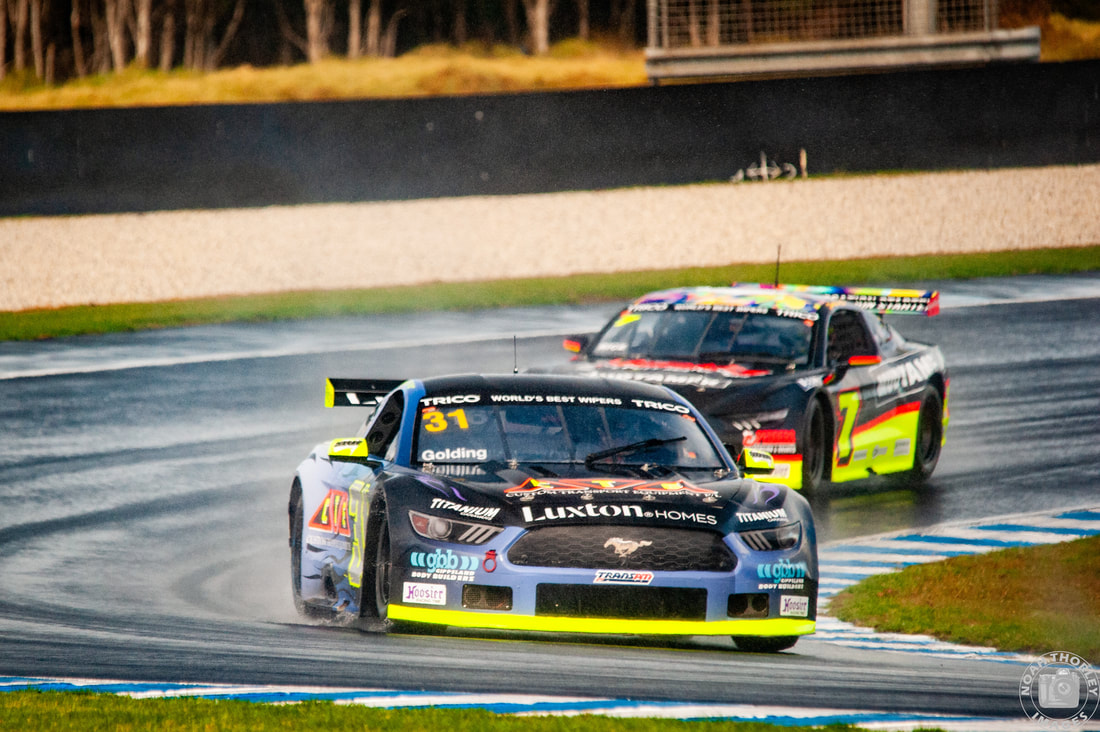 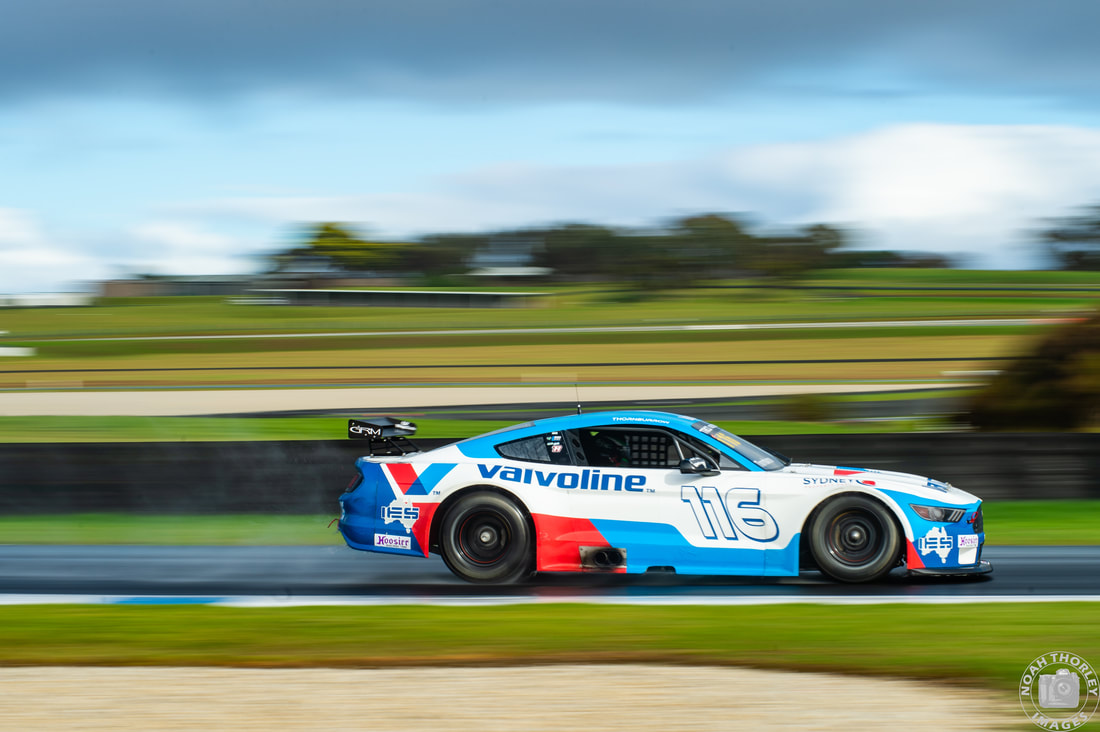 It would be a wet first outing on the newly repaved Phillip Island circuit for the drivers, with James Moffat setting the fastest time (1:42.027) followed closely by James Golding (1:42.121) and Edan Thornburrow, (1:42.606) half a second behind in third. 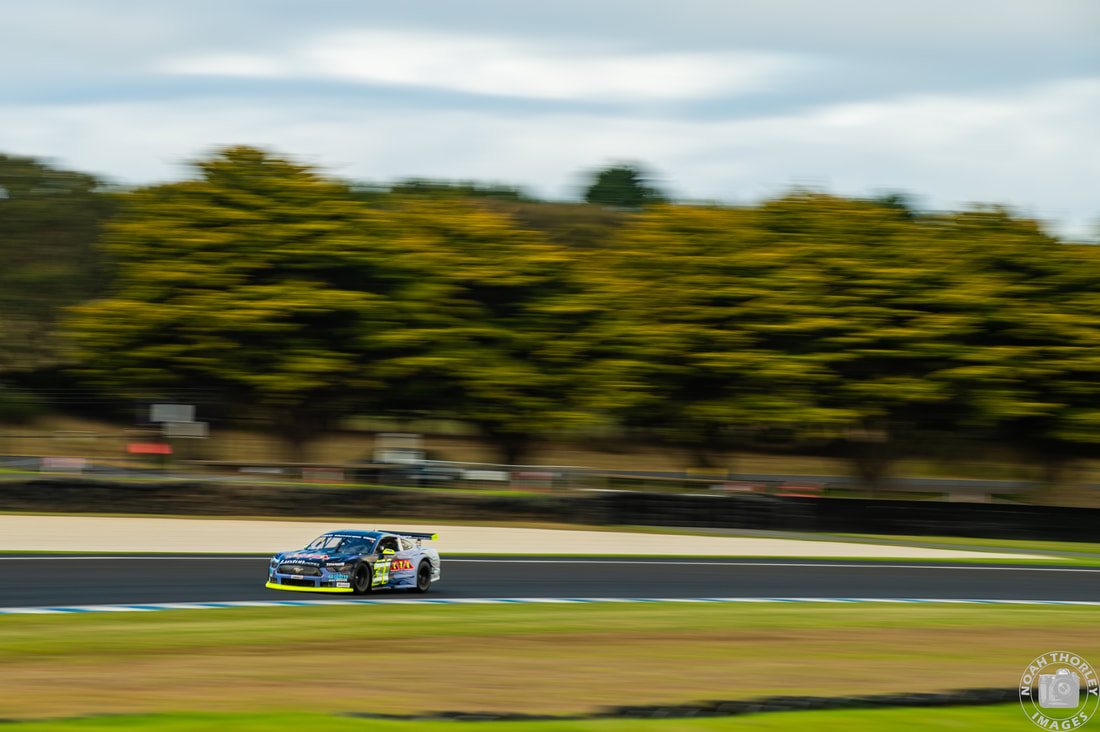 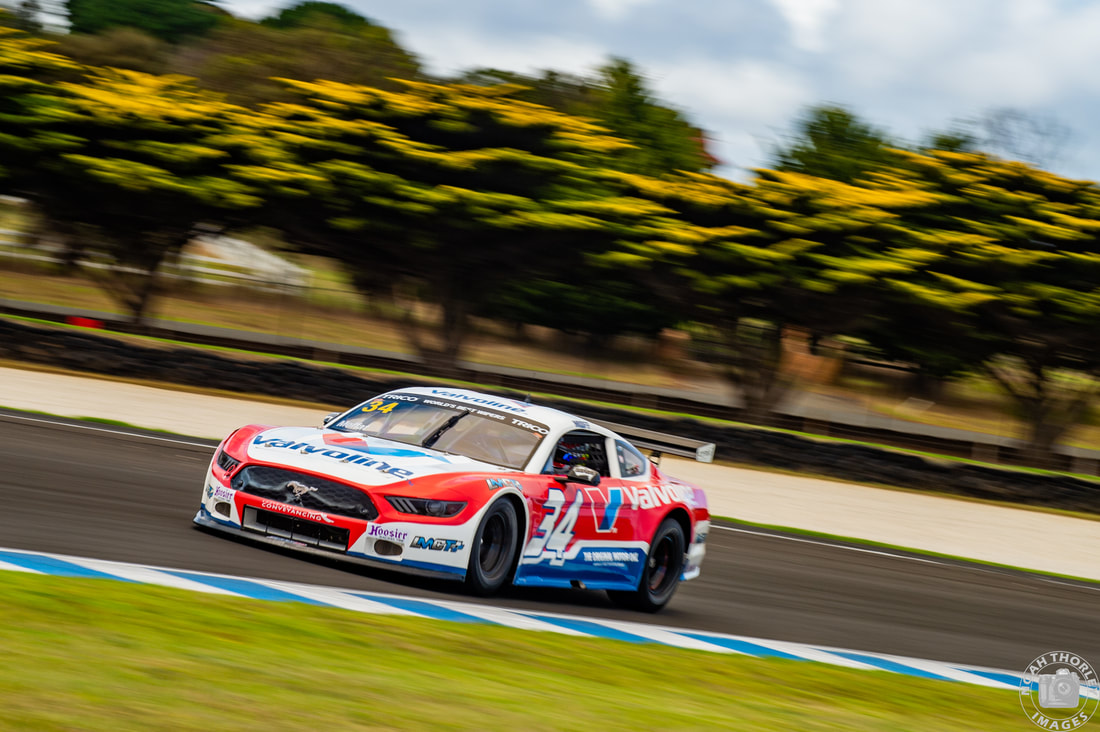 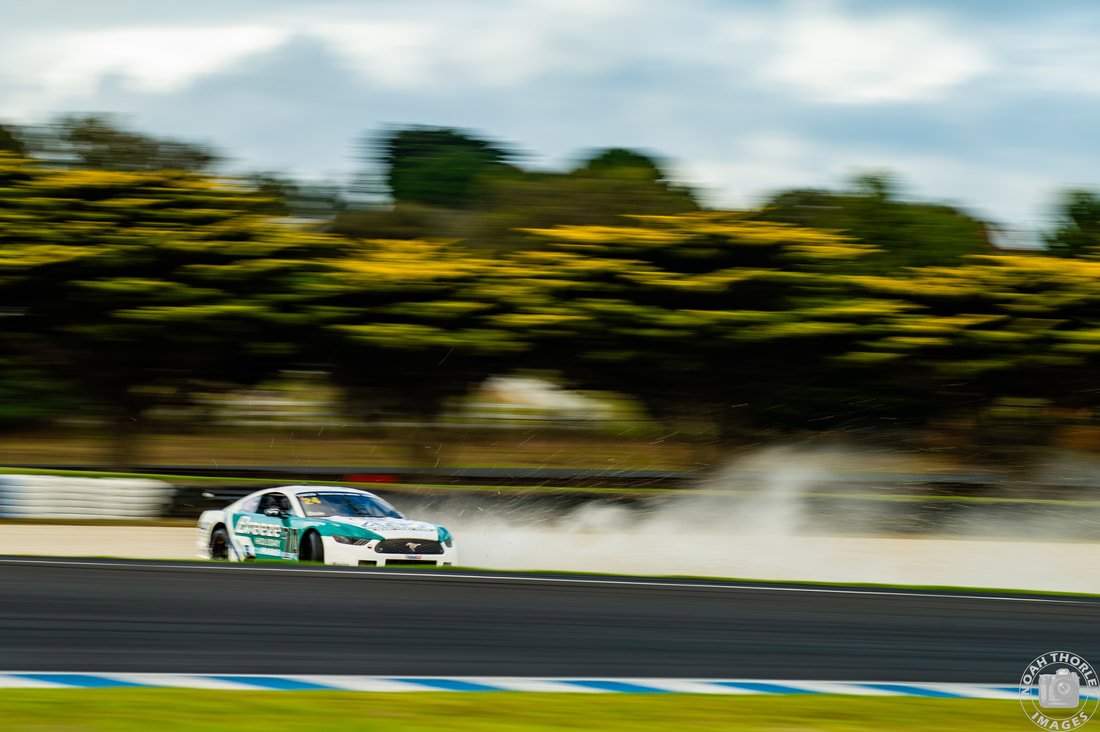 Times would tumble with a dried-out track in the second practice session, and James Golding (1:32.348) separated himself from James Moffat (1:33.130) by seven tenths. Jordan Boys (1:33.534) would slot into third, a second off from Golding as Tim Slade had a trip to the gravel at Lukey Heights. 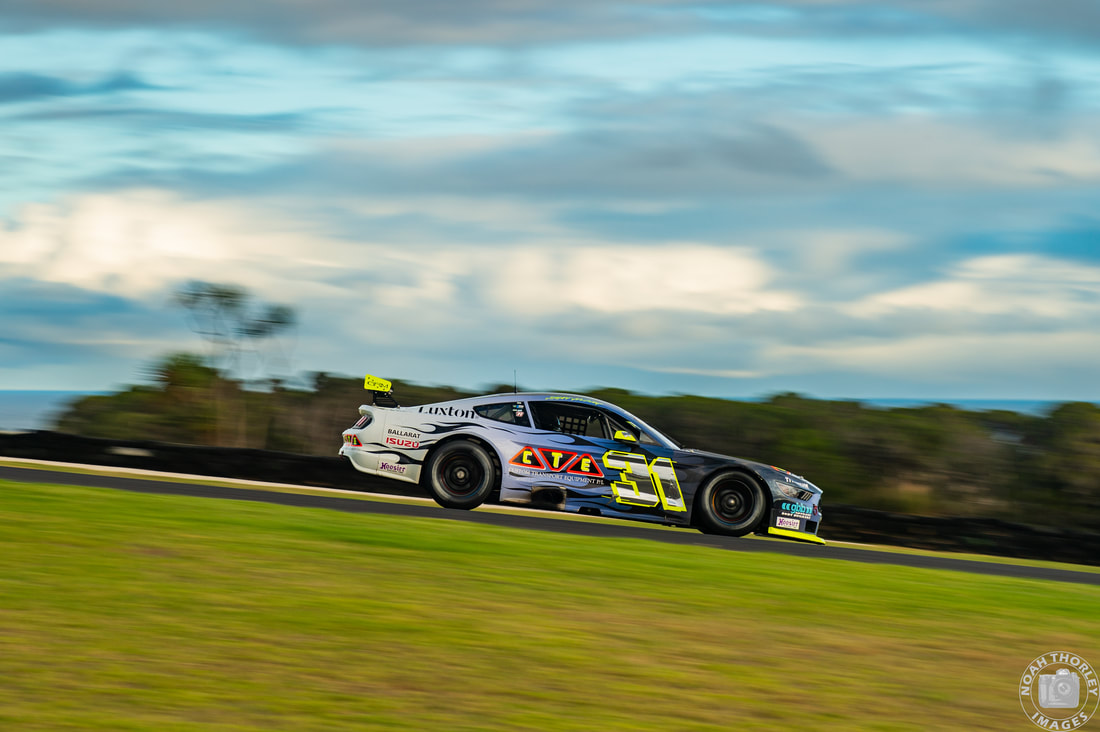 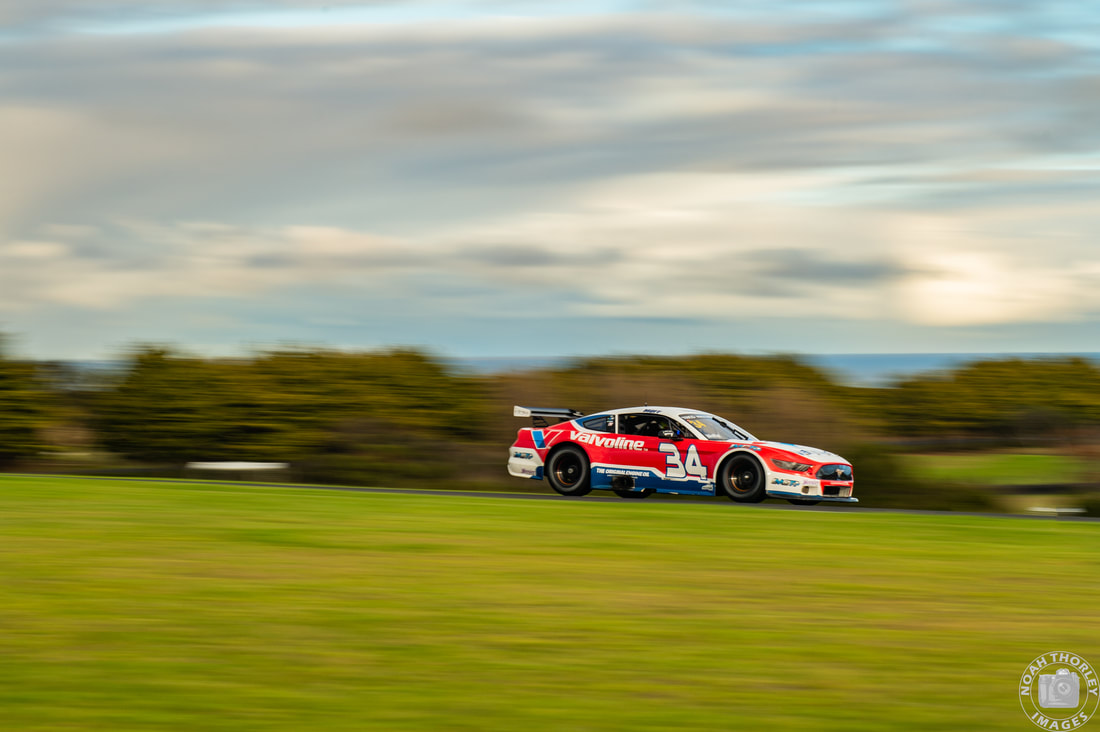 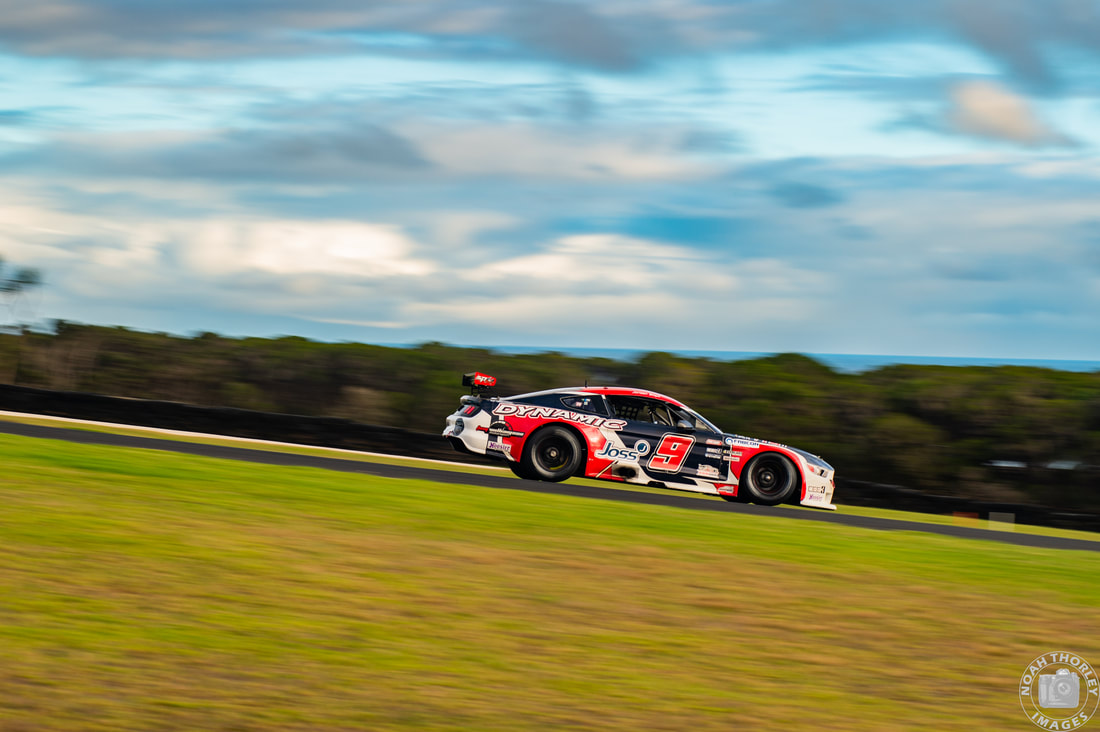 Golding would continue his strong form during the afternoon qualifying, breaking the Trans Am lap record around Phillip Island with a 1:31.380, as James Moffat (1:31.765) and Jordan Boys (1:31.850) would find themselves in second and third once again. 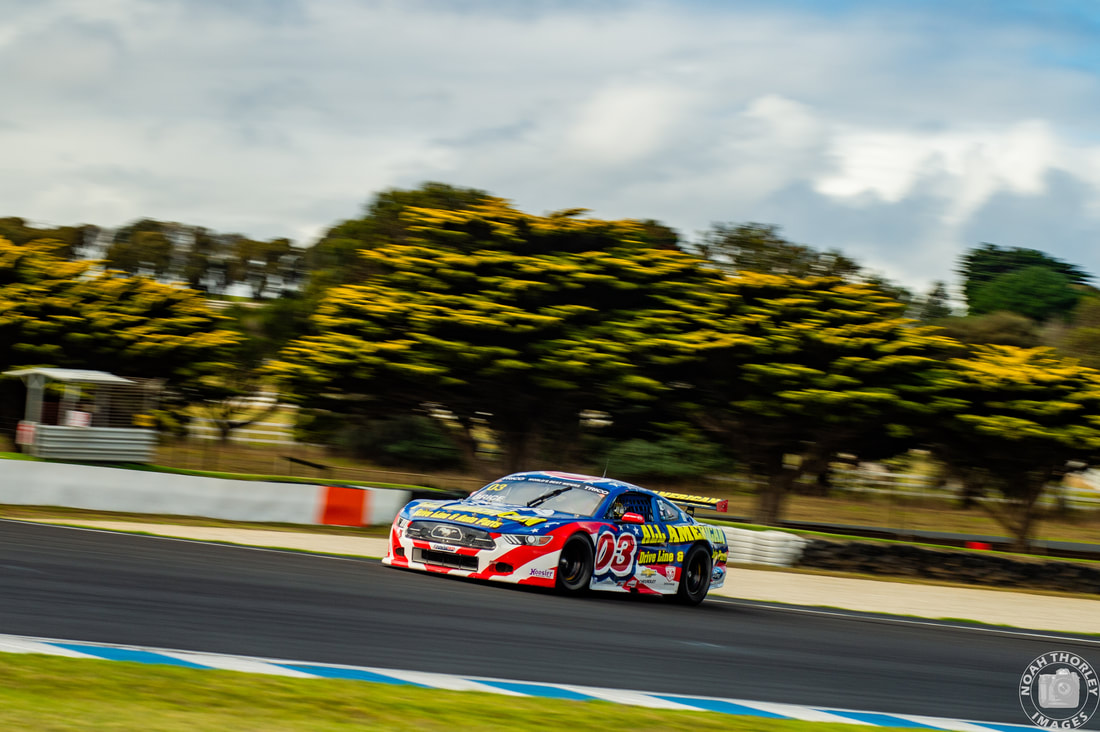 Ben Grice suffered oil pump issues during both practice sessions, making him unable to participate in qualifying. The All American Drive Line & Auto Parts Mustang would be sent to Melbourne overnight where they would complete an engine change, but they would also miss out on the first race.
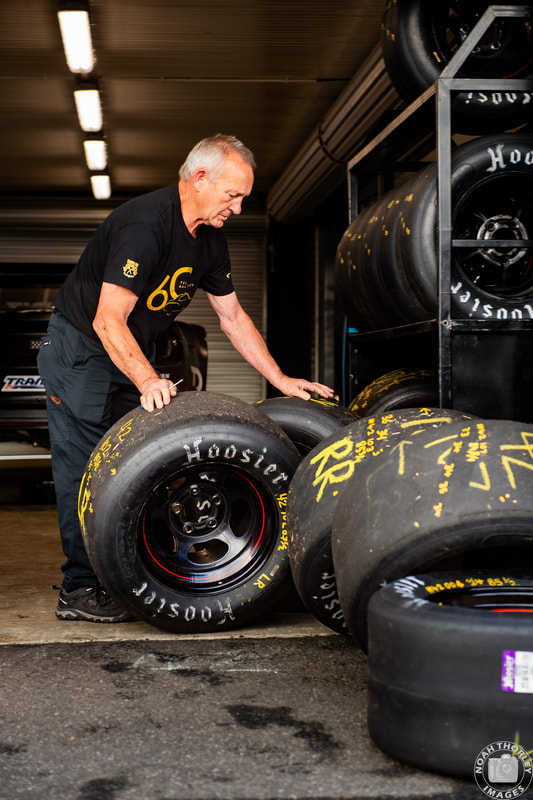
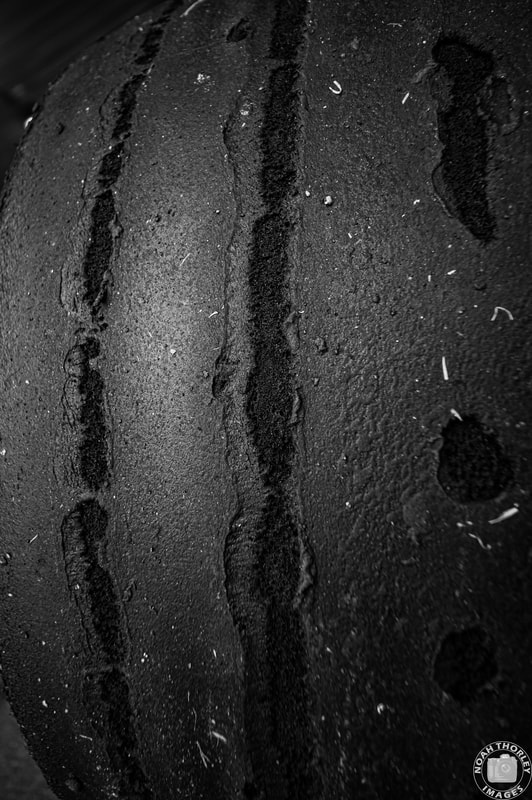
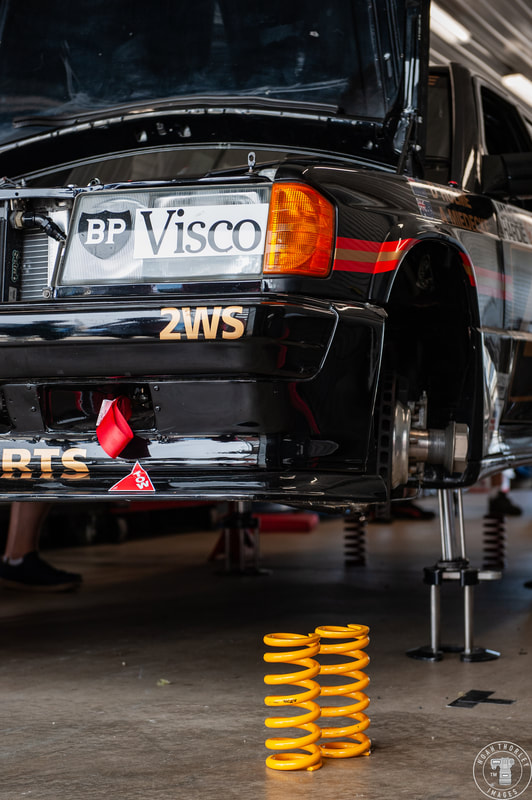
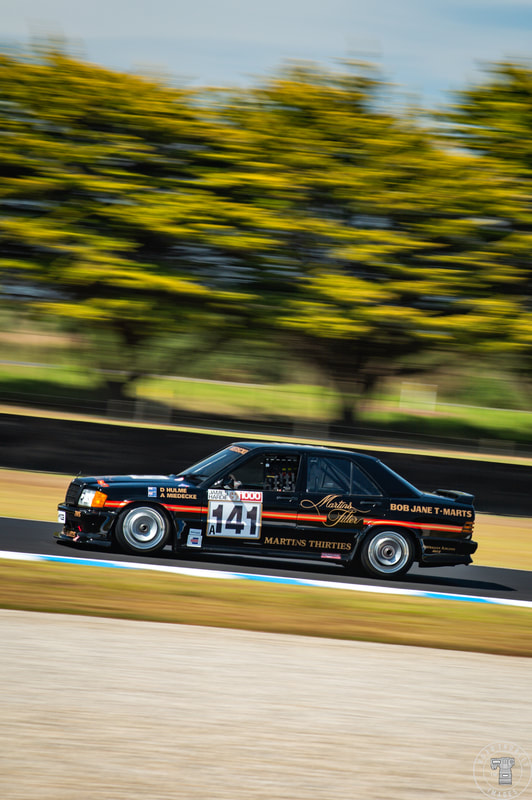
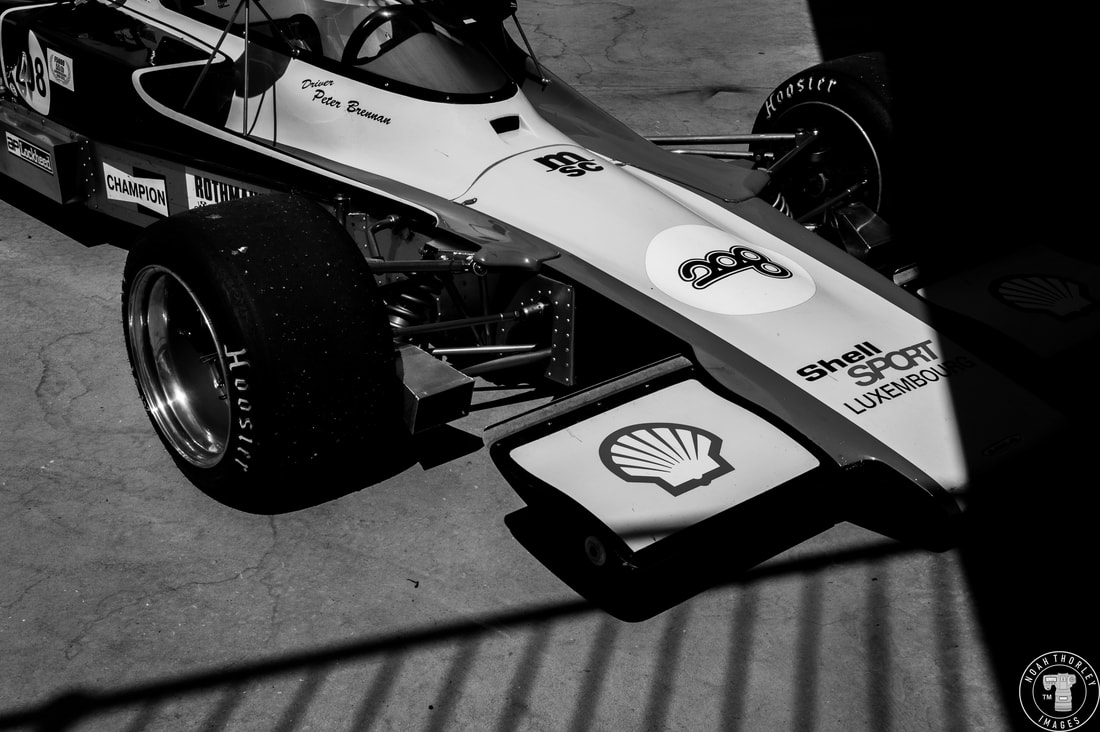
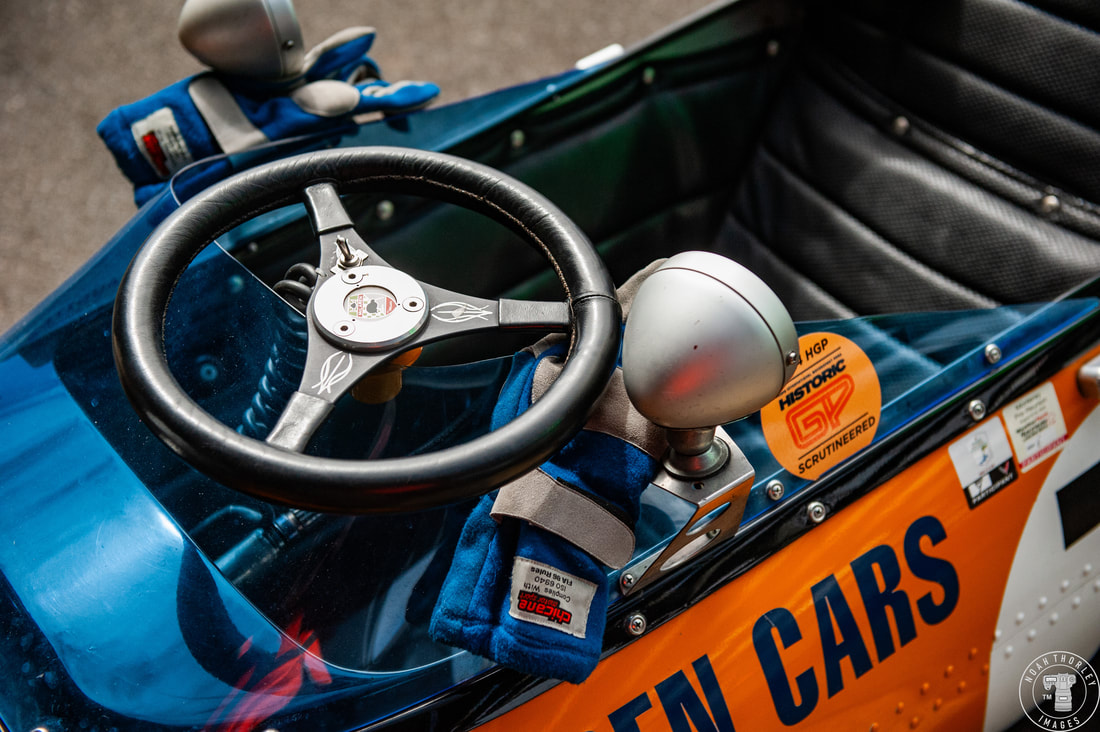
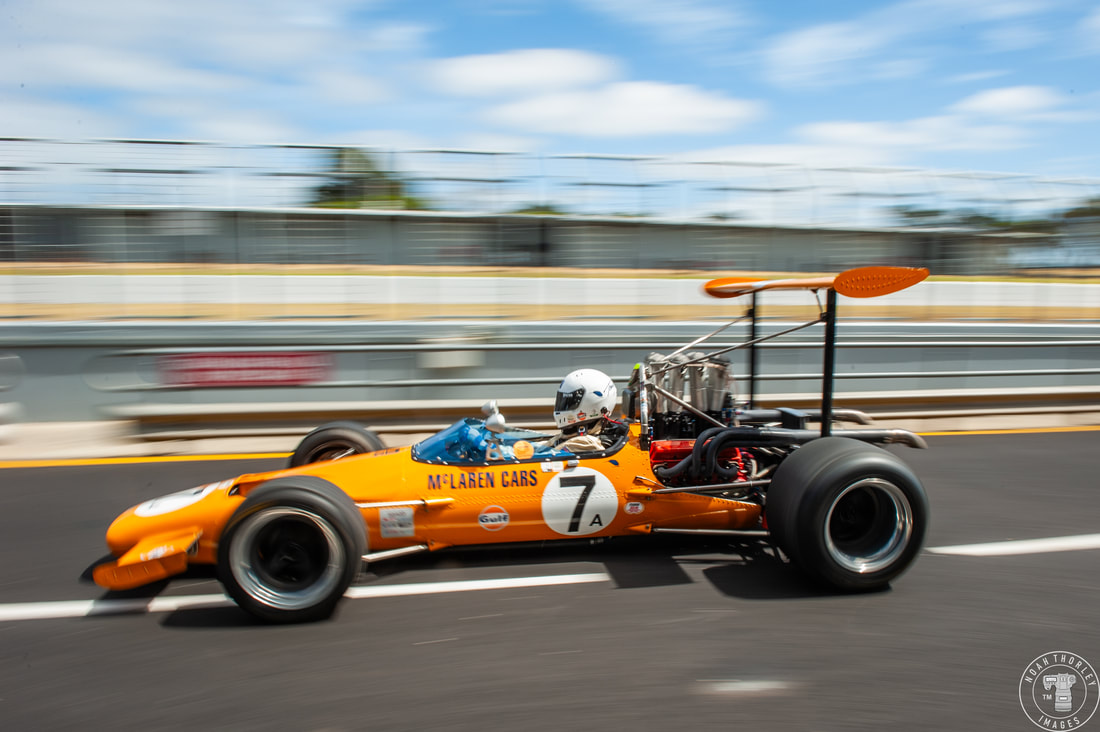
Grice wasn’t the only one suffering from issues all weekend. The new asphalt wasn’t taking the Hoosier rubber, and as these cars slid around corners, the heat would build up in the tyres, causing blistering. 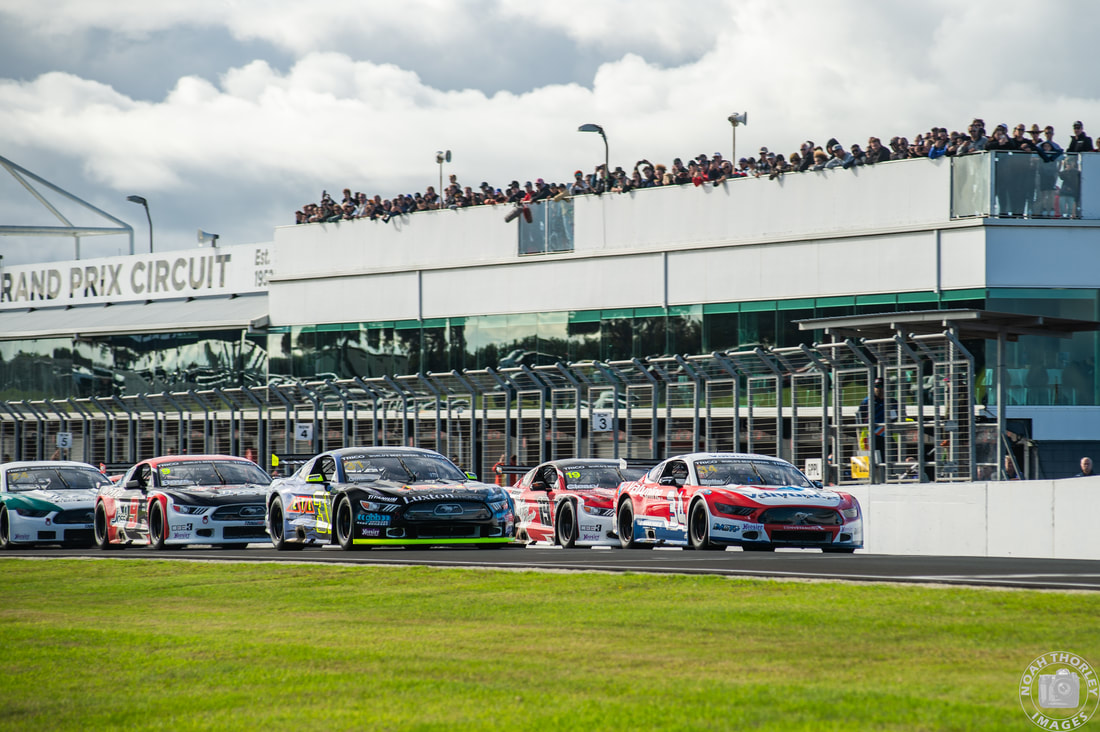 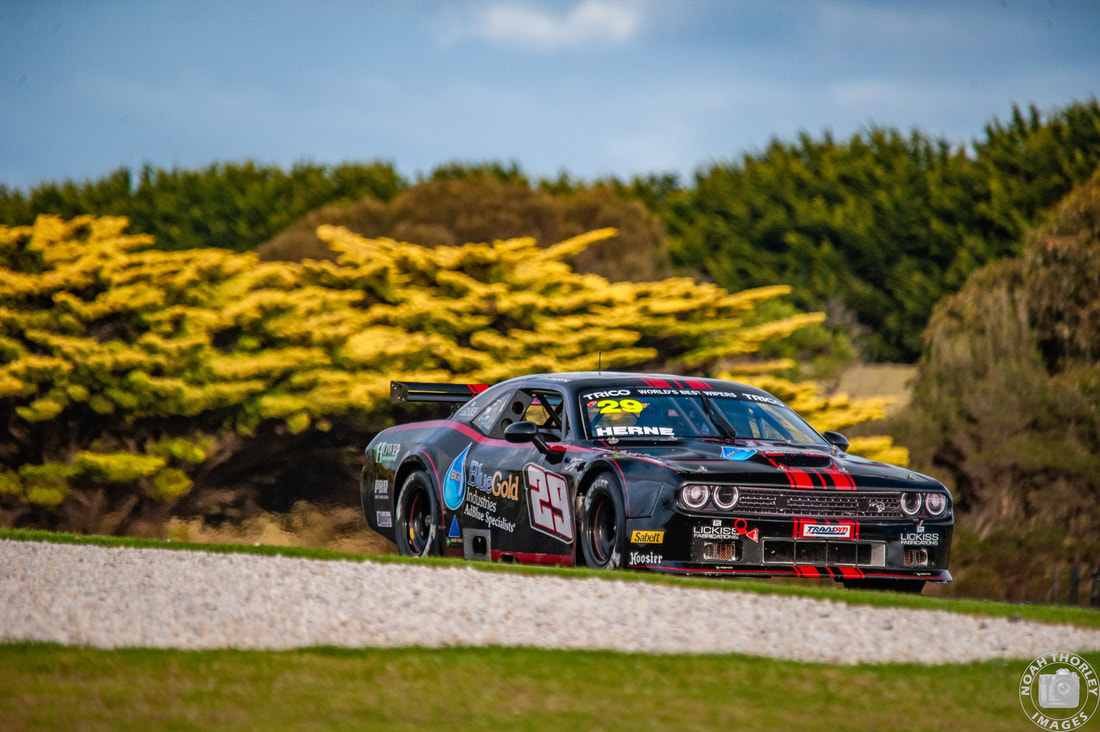 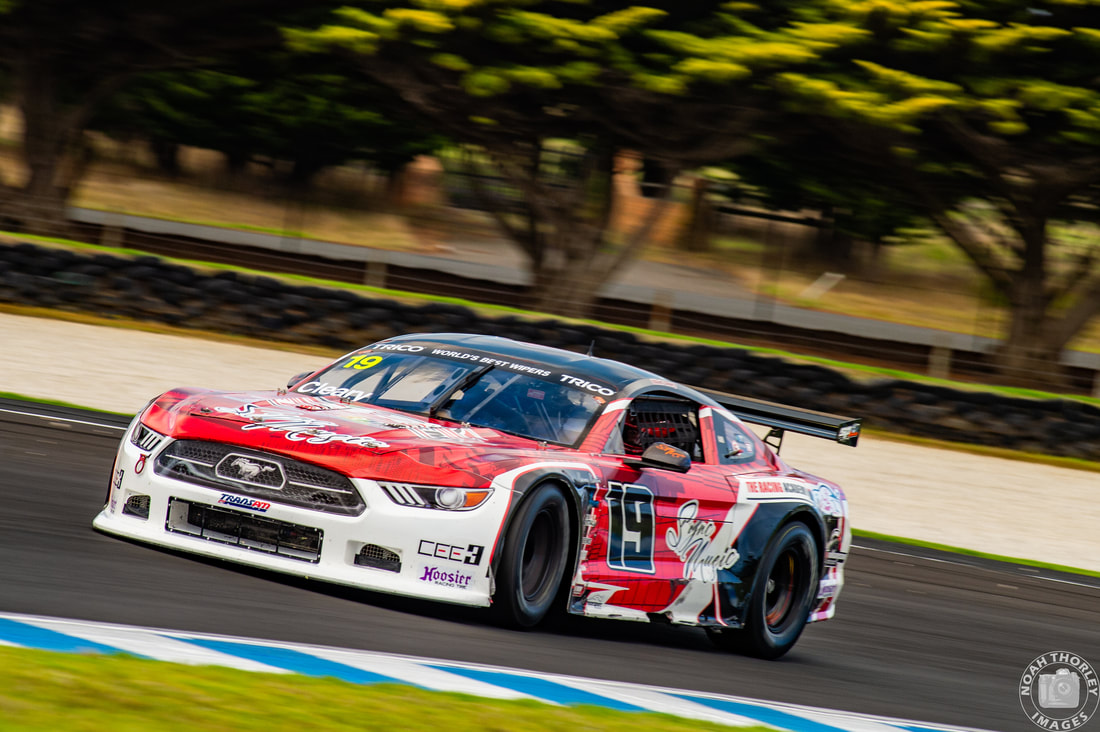 Nathan Herne suffered the worst of the tyre wear, although he jumped up to third place by the end of lap one after starting eighth, he fell down the pack due to tyre blistering in the first race. Further up front, James Moffat snatched the lead away from Golding at the start as the GRM pair pulled away. However, Golding set a new race lap record for Trans Am at the Island on his way to second place, as Elliot Cleary finished third. 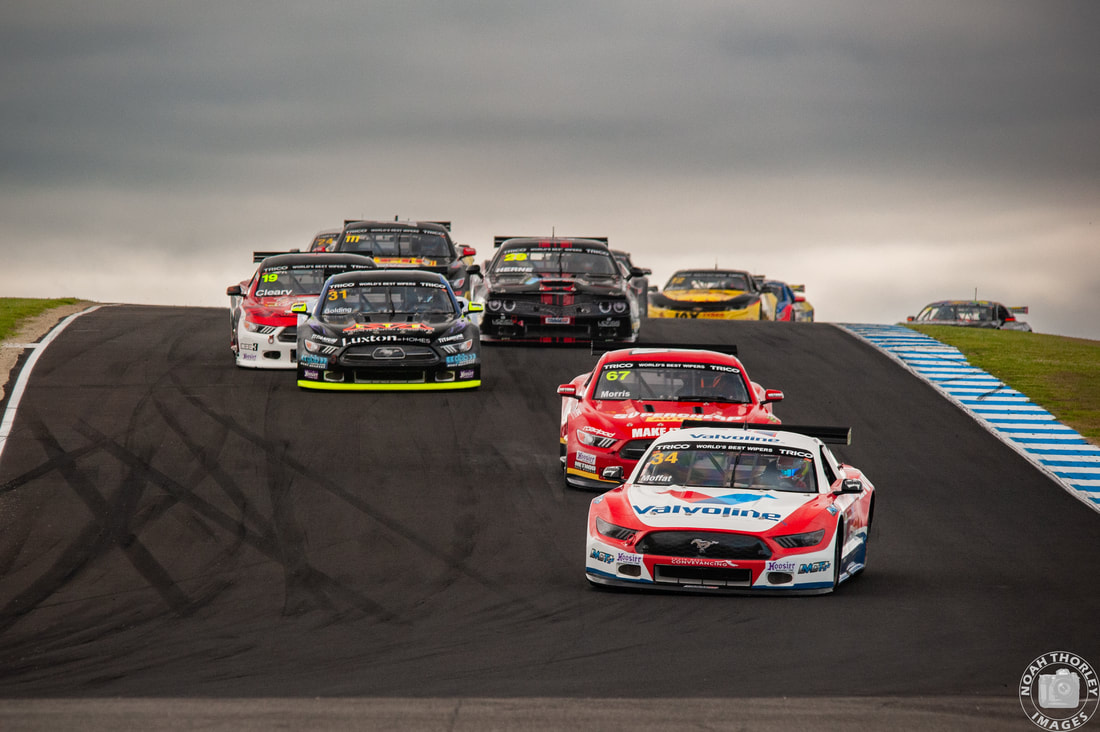 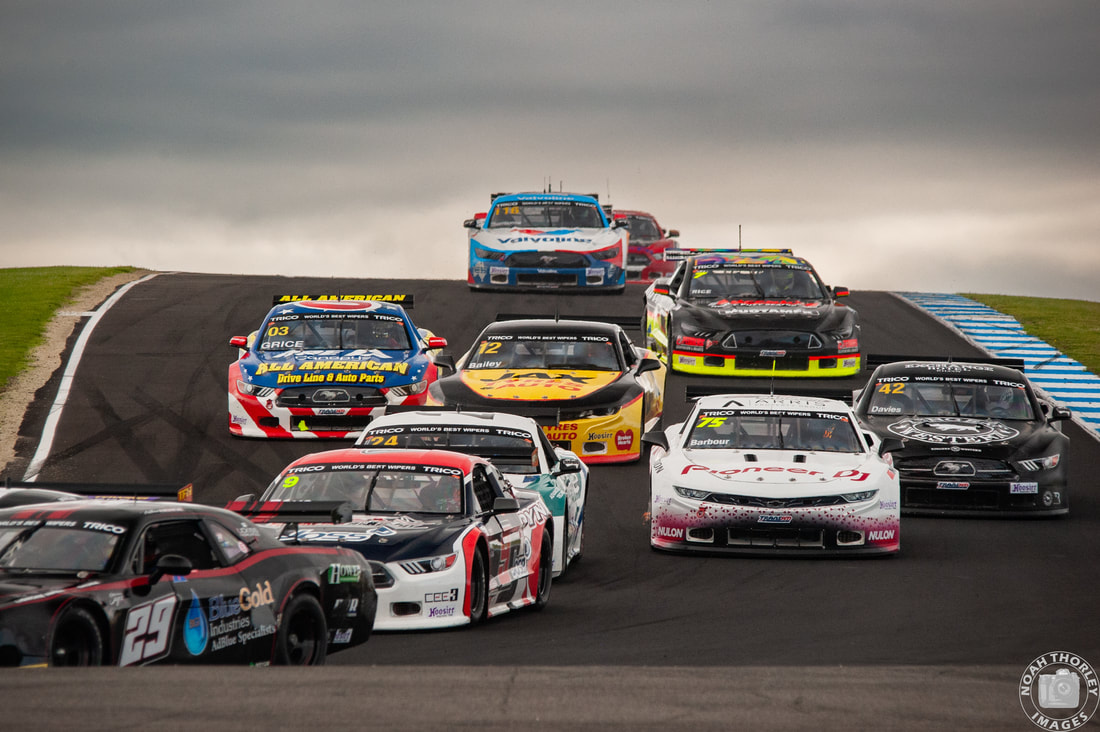 In Race 2, Nash Morris would come from fifth on the grid to lead by the end of lap one as polesitter James Moffat dropped to third. Tom Davies would be turned around as he, Ben Grice and Mark Bailey went three wide with Bailey receiving a ten second penalty for the contact. 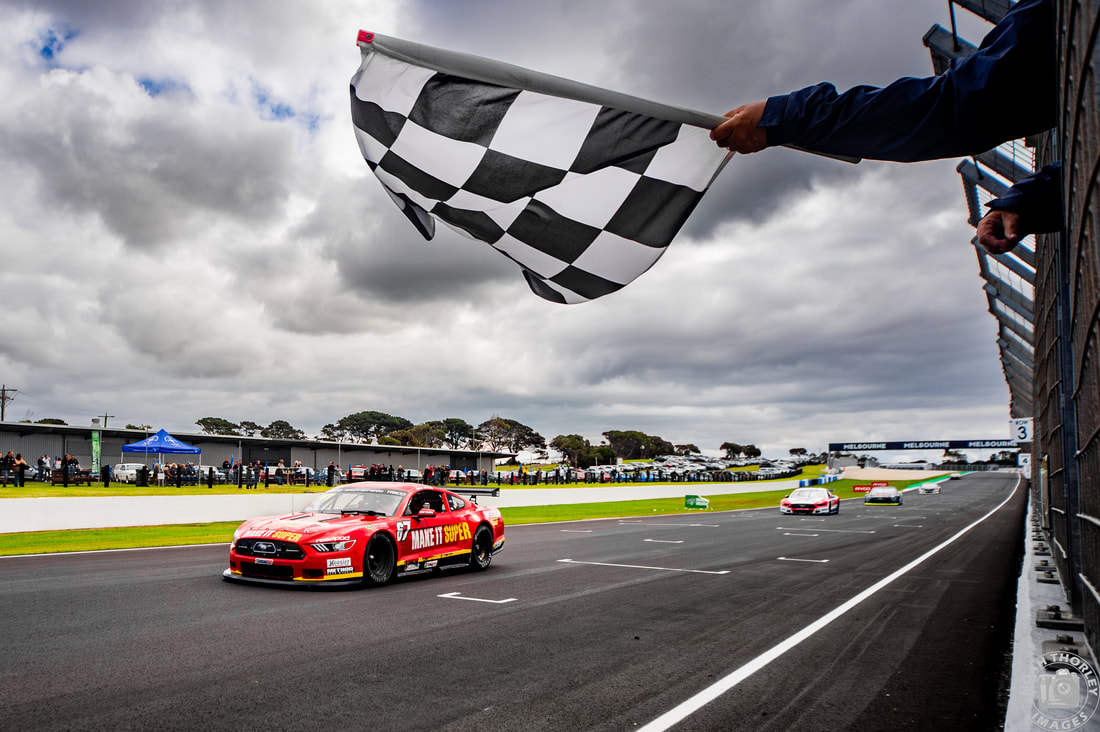 Elliot Cleary locked up during an attempted overtake for the lead in Turn 4, leading to him and Moffat trading places for second. Unfortunately, Cleary would go off the road at Turn 9 ending his race when he had to come to pitlane. No one had anything for Nash Morris who took victory, followed by the usual suspects of James Moffat and James Golding. 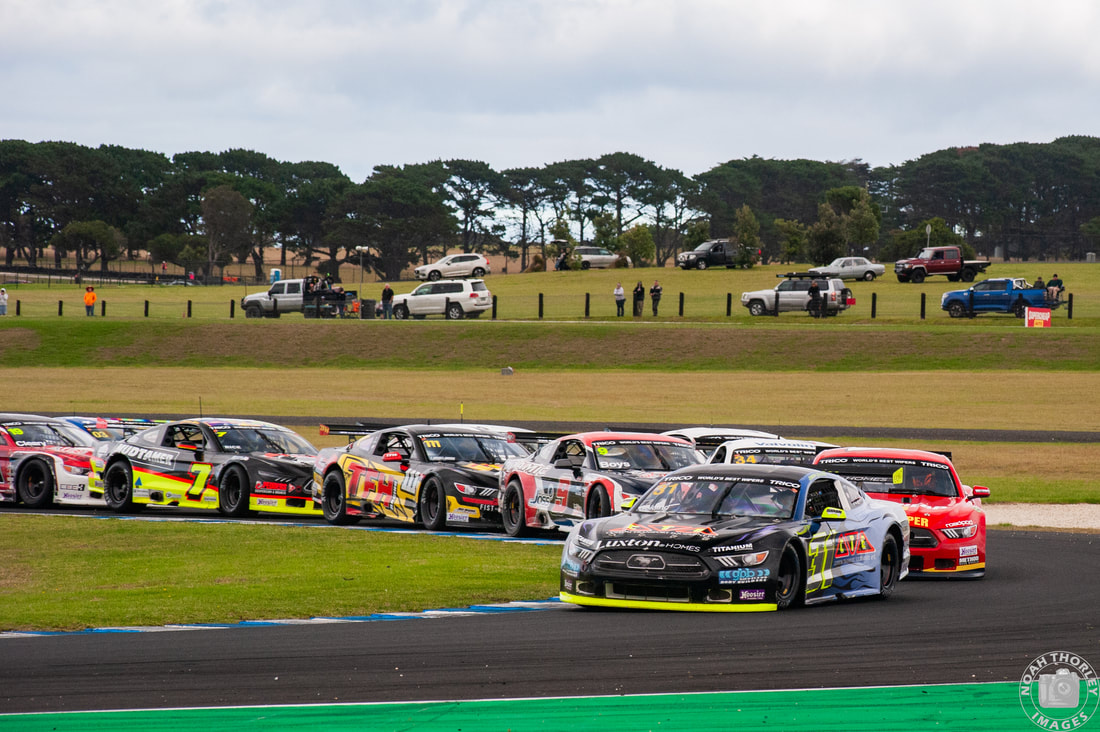 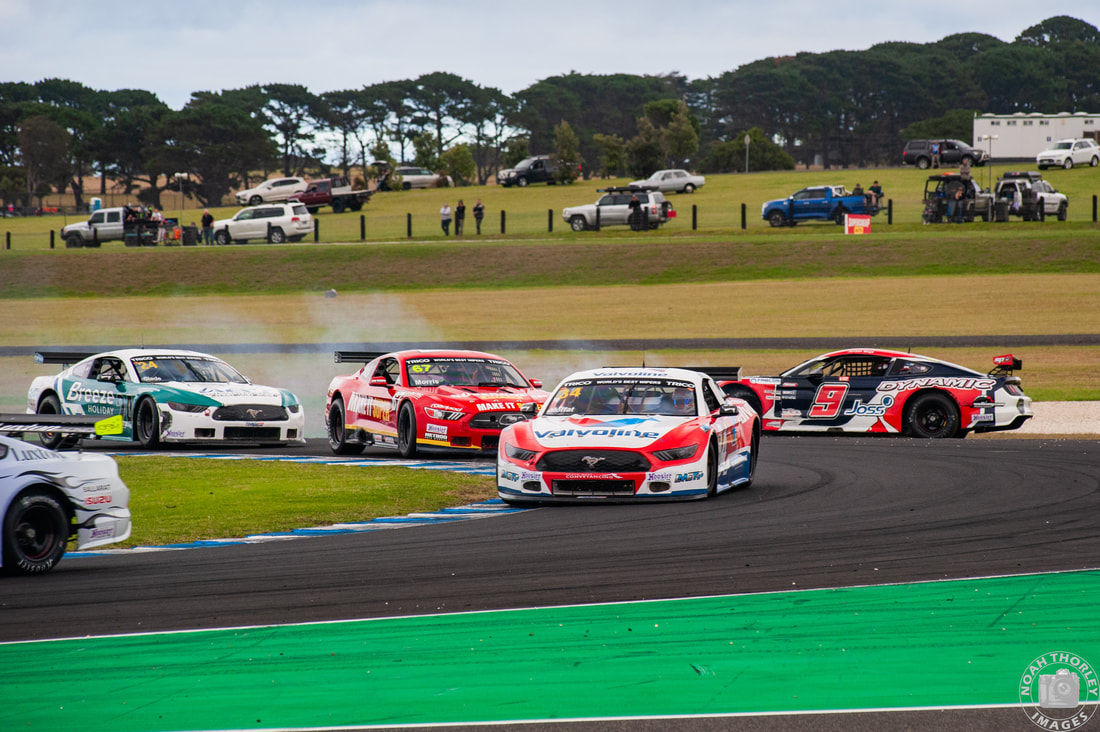 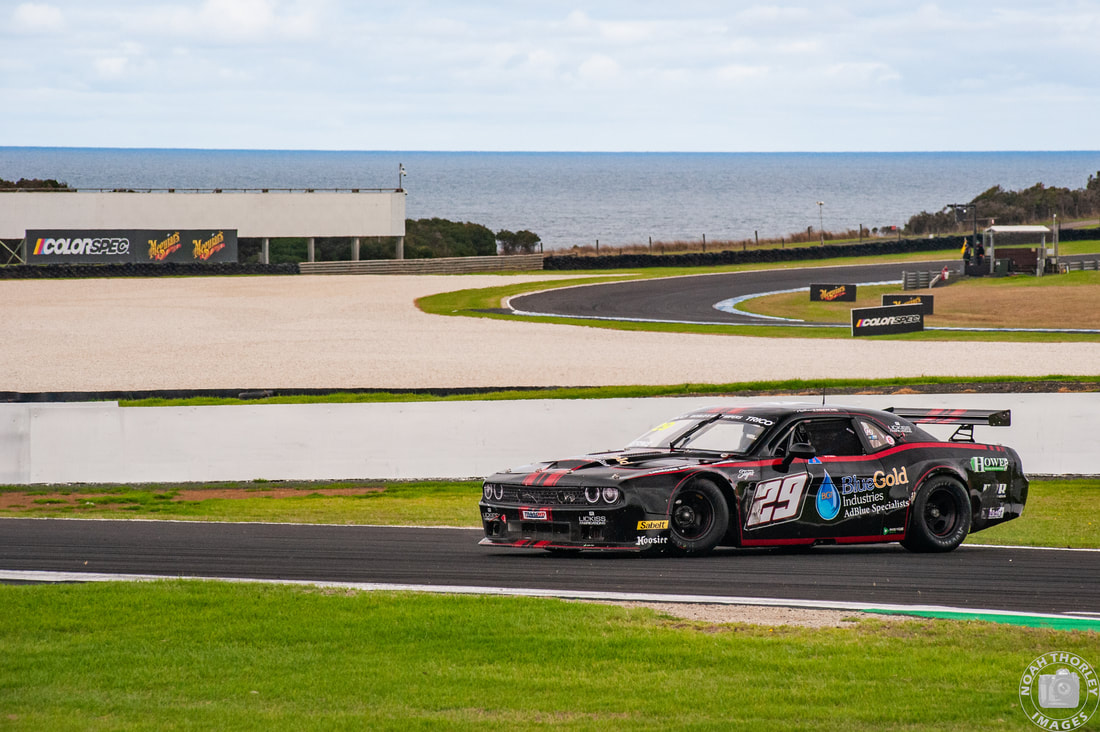 At the start of the final race, the top three went three abreast into Turn 1, with James Golding shooting to the lead and Moffat finding a way back past Morris in the same lap. Tim Slade would make contact with Jordan Boys on lap two at Turn 4, sending him backwards, as Nathan Herne spun at the same corner a lap later. 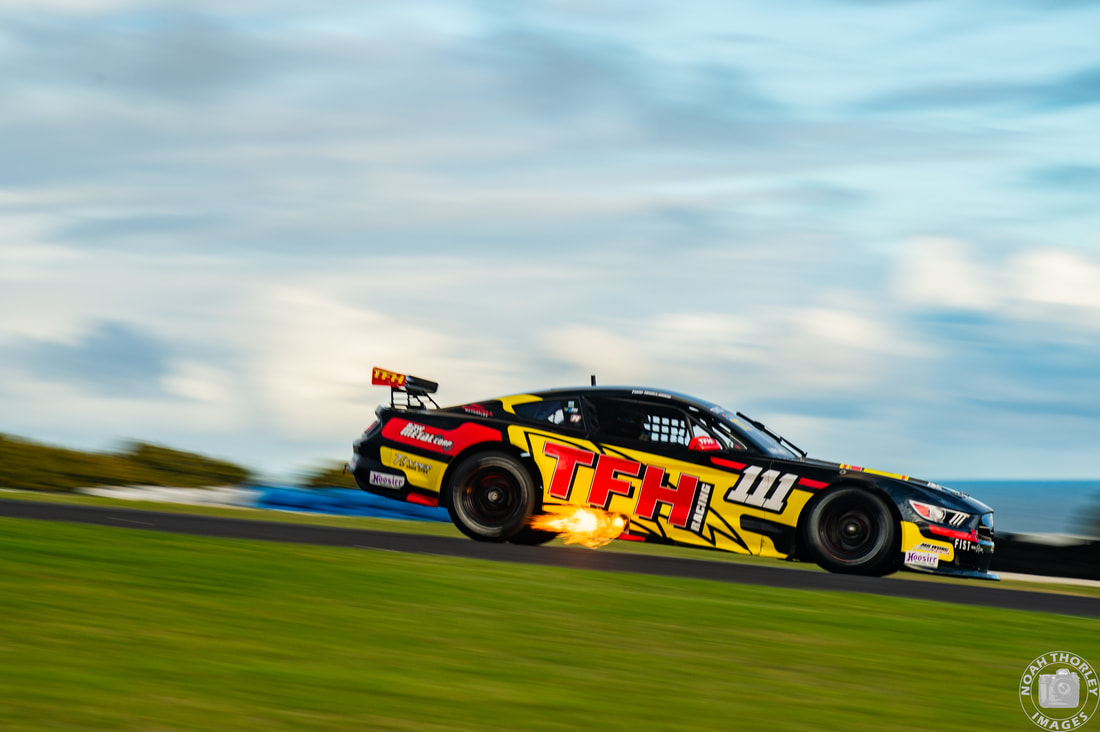 Todd Hazelwood climbed through the field, muscling past Nash Morris for third. Third would become second as James Moffat suffered a power steering failure late in the race as Nash Morris defended from Elliot Barbour and Jordan Boys to keep third place. 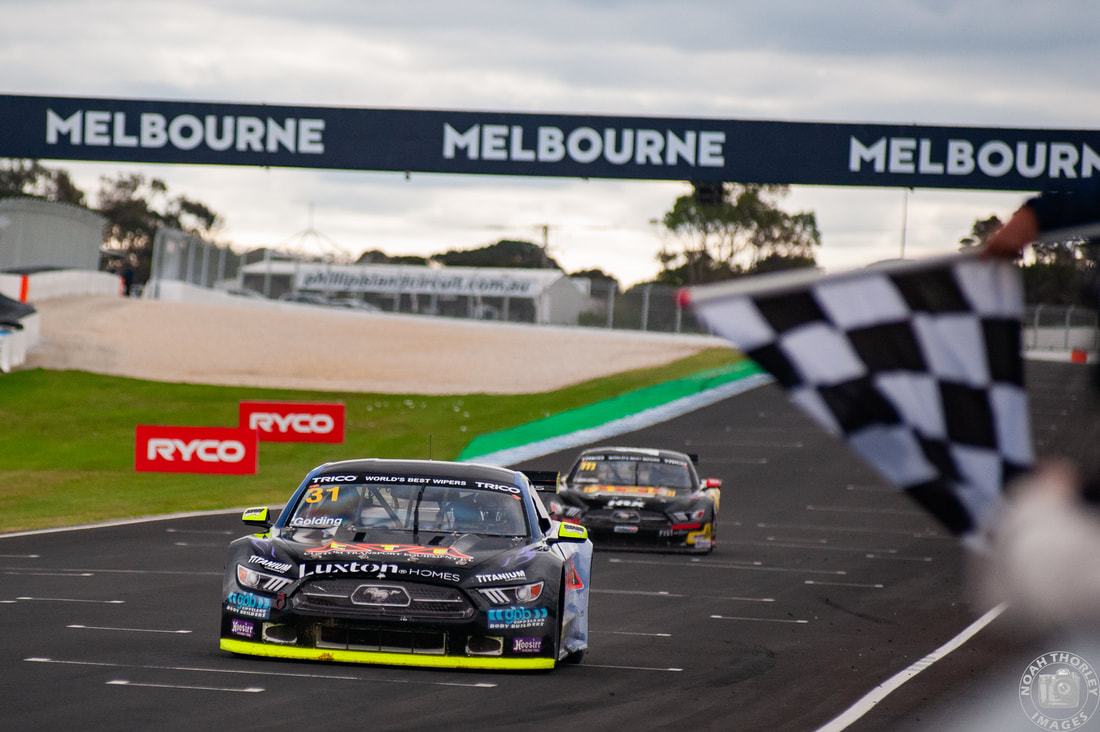 After setting the pace all weekend, James Golding would finally see the top step of the podium, whilst also taking the lead in the championship standings, ahead of teammate James Moffat by 22 points. Next up, the Trans Am series will head to The Bend in South Australia for the first time as they reach the halfway point in the 2024 season. Bonus Gallery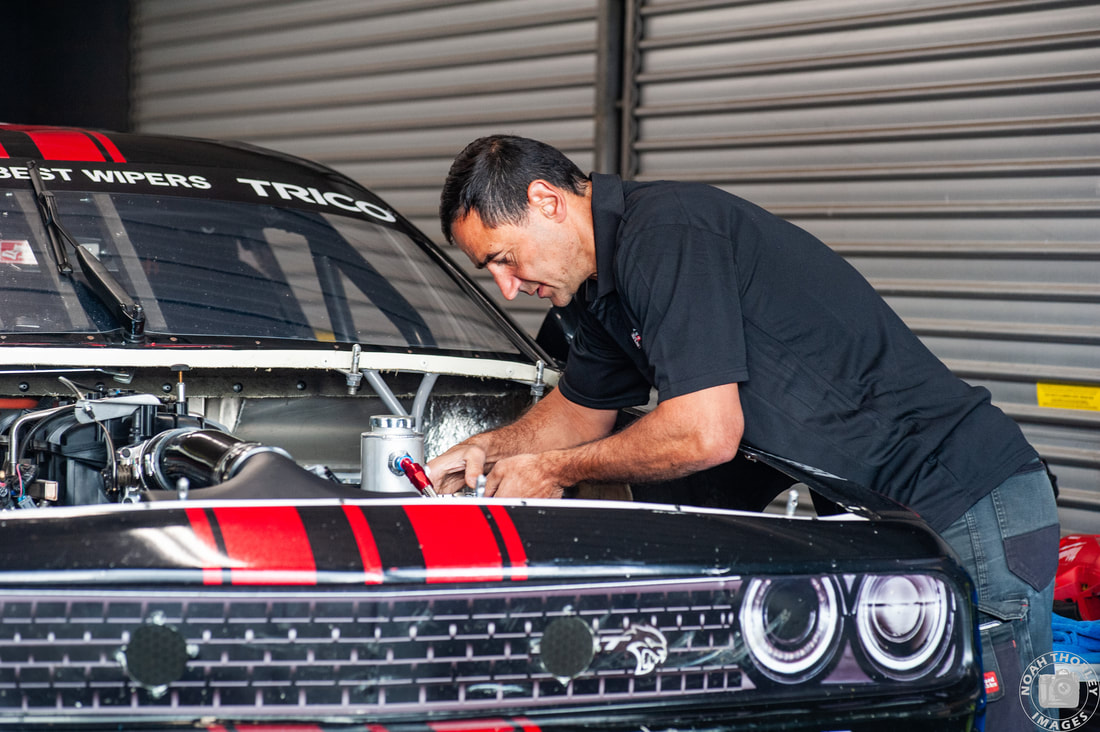 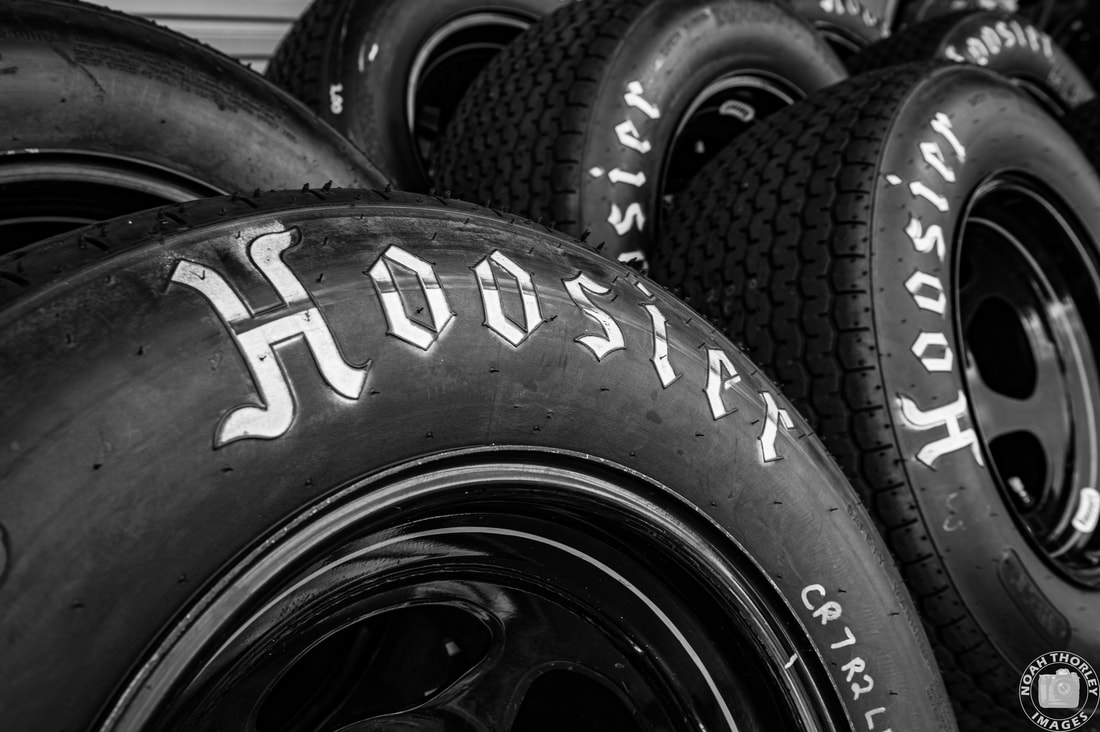 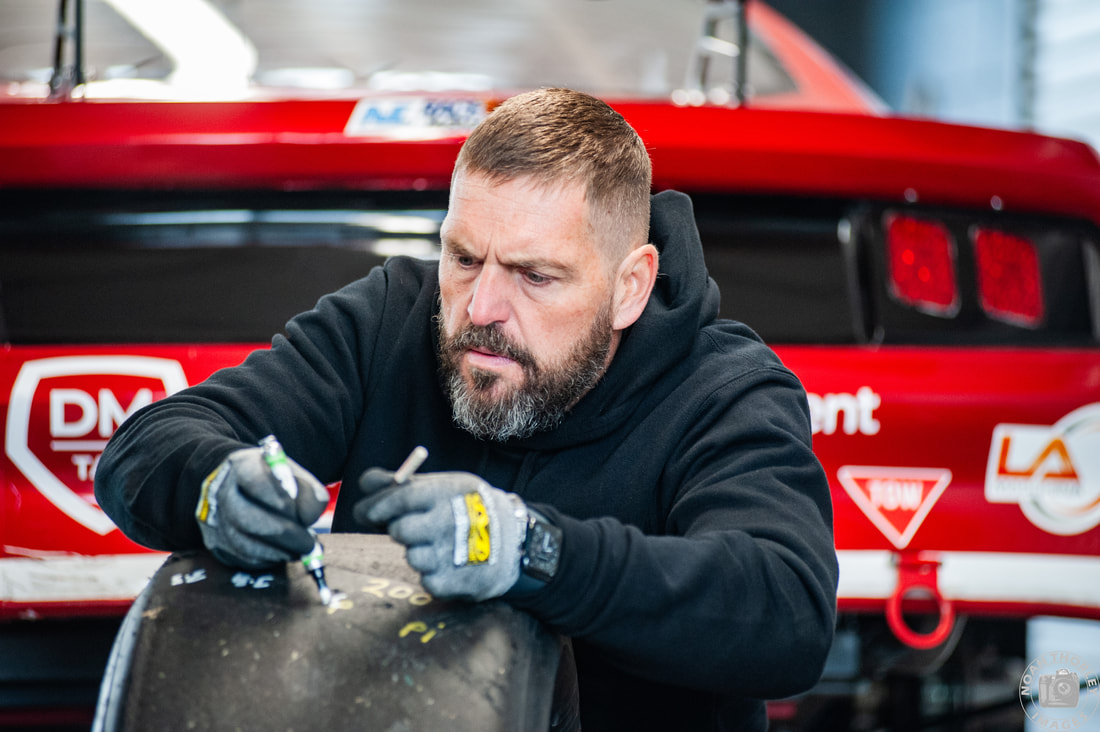 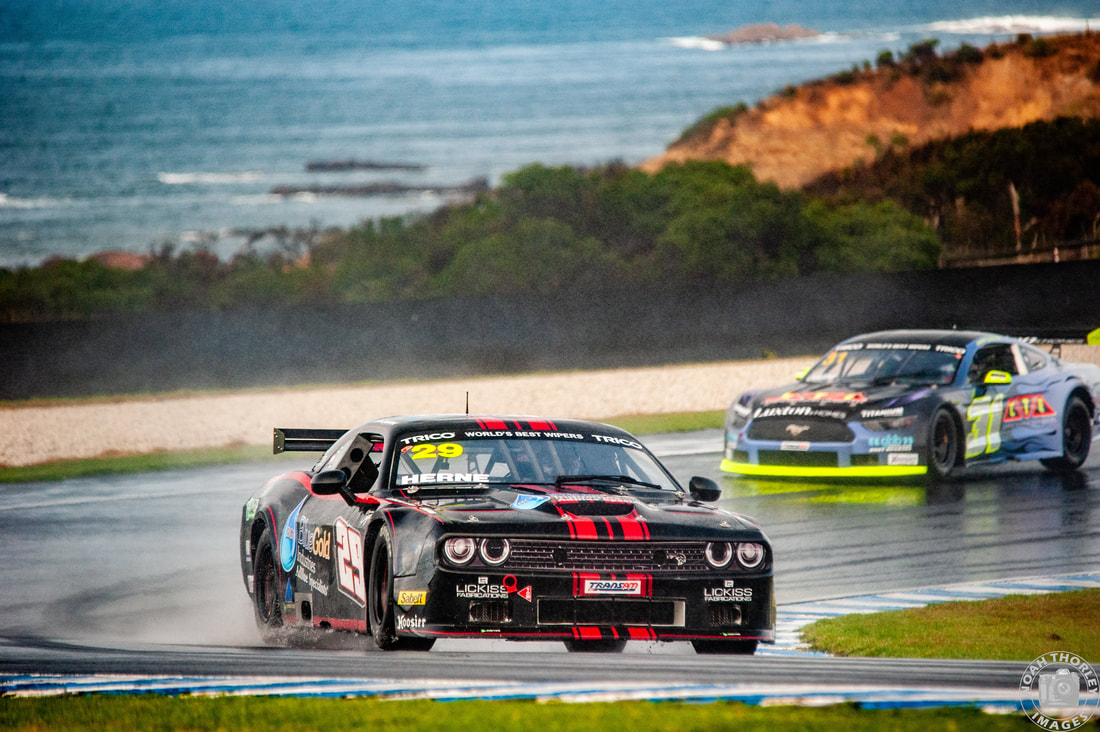 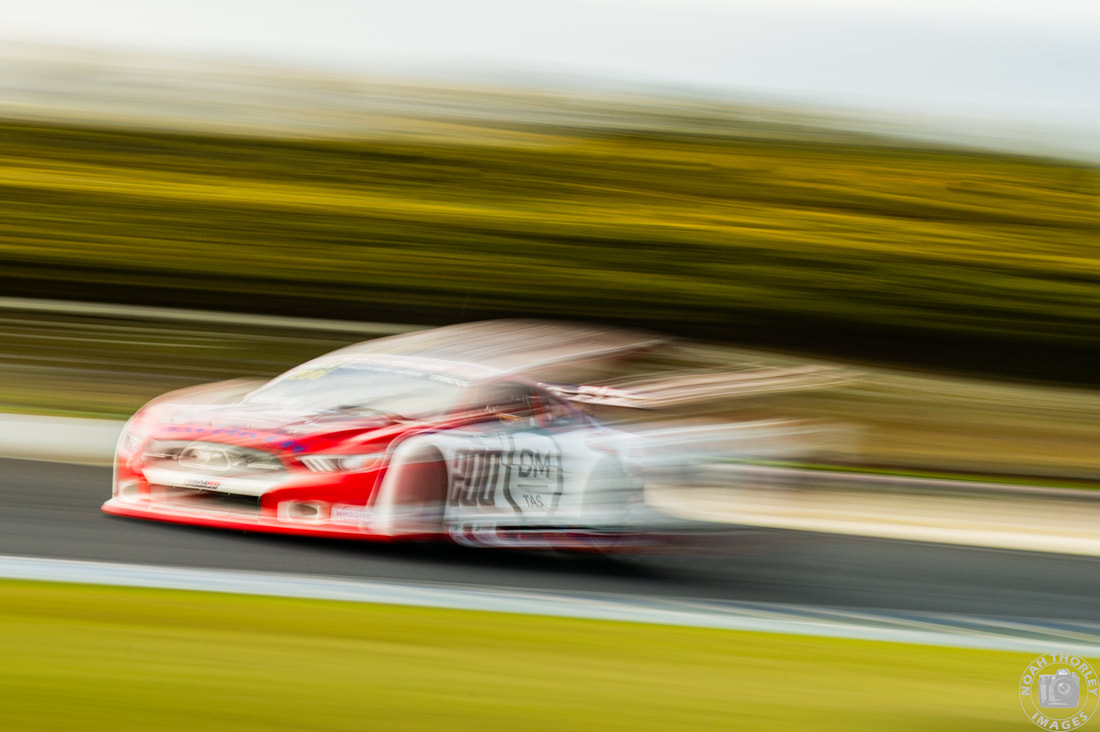 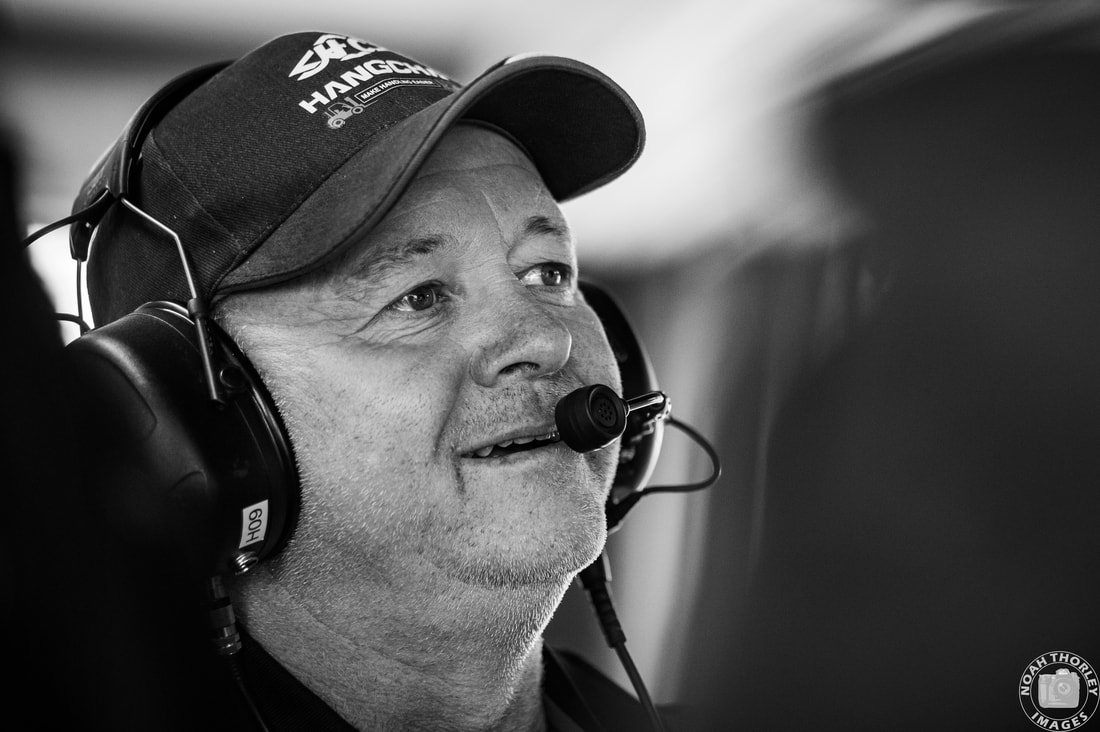 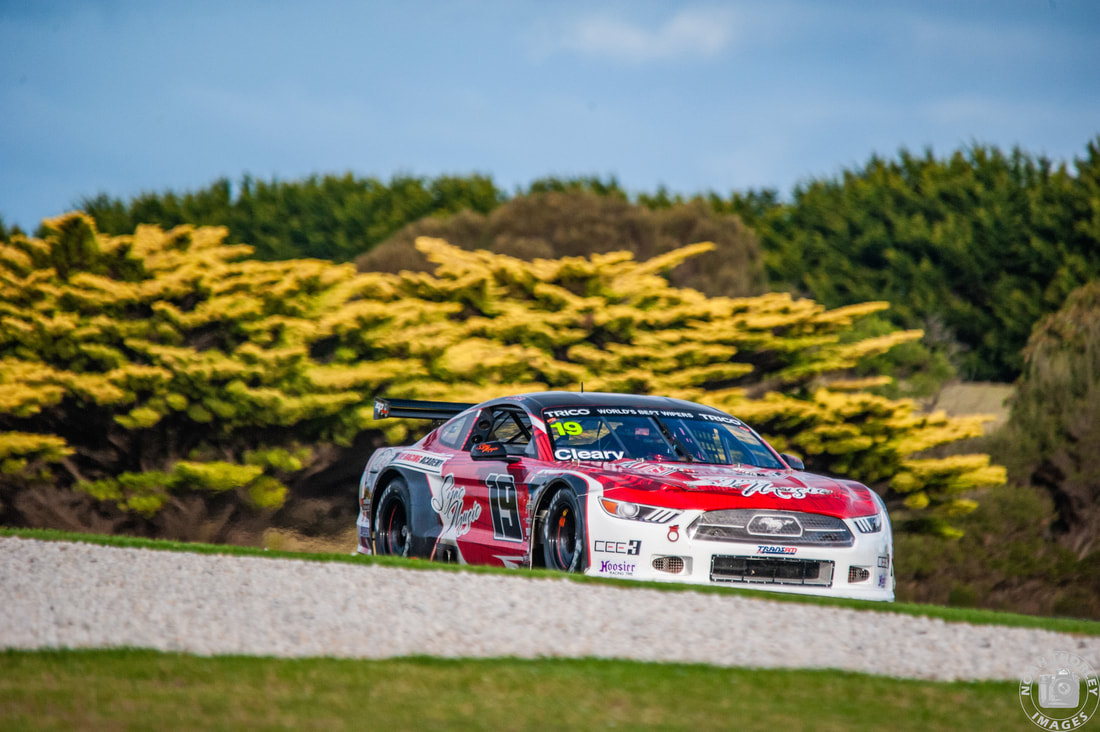 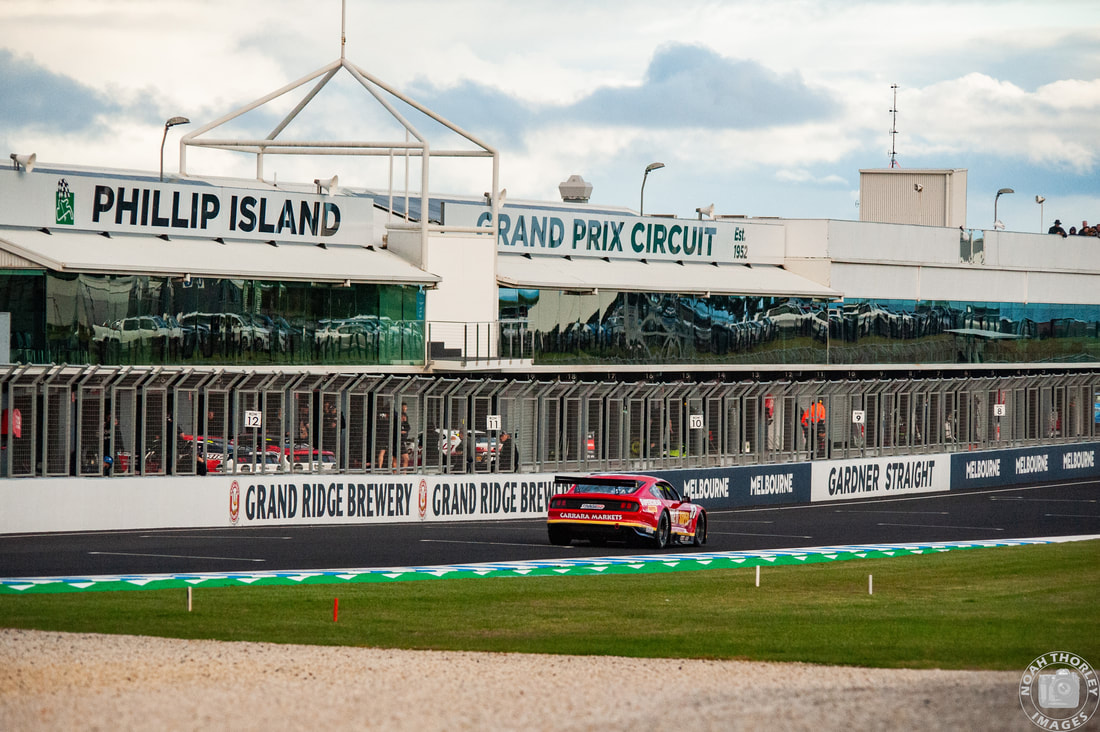 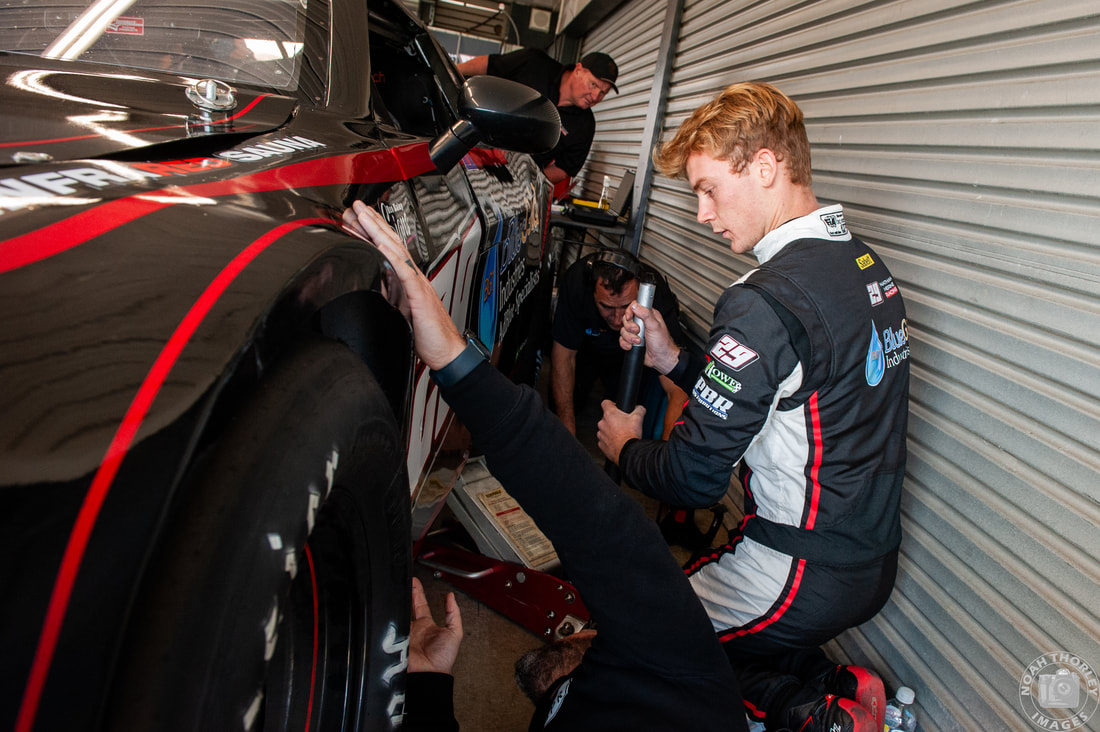 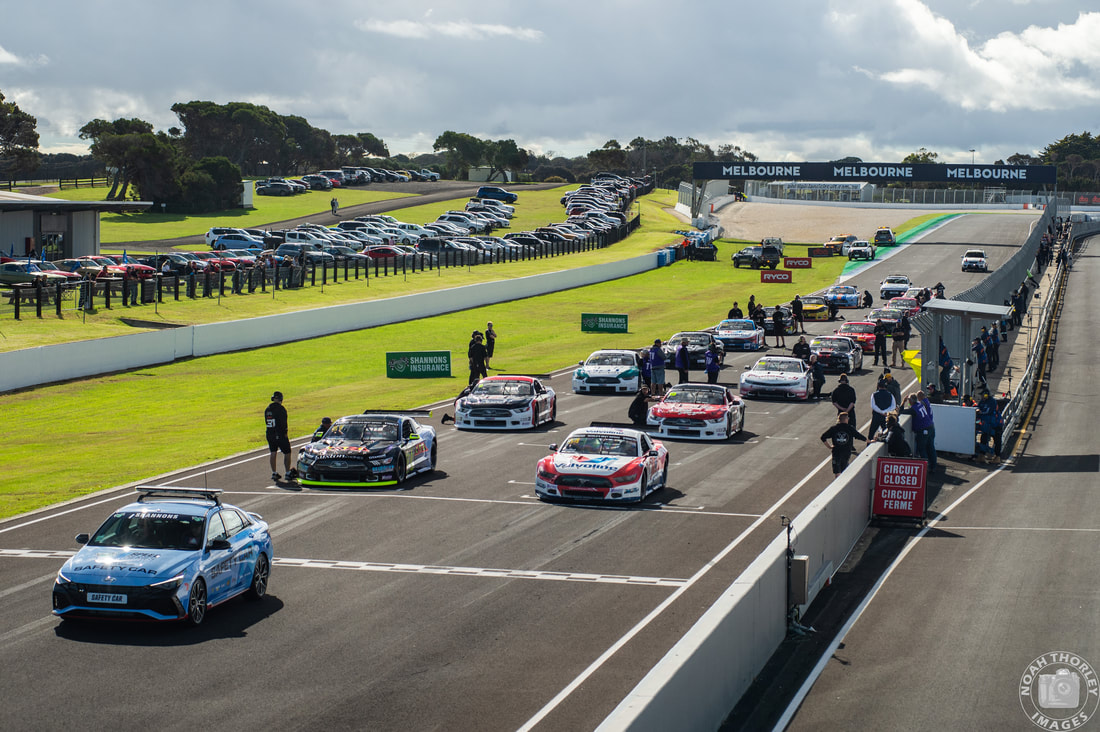 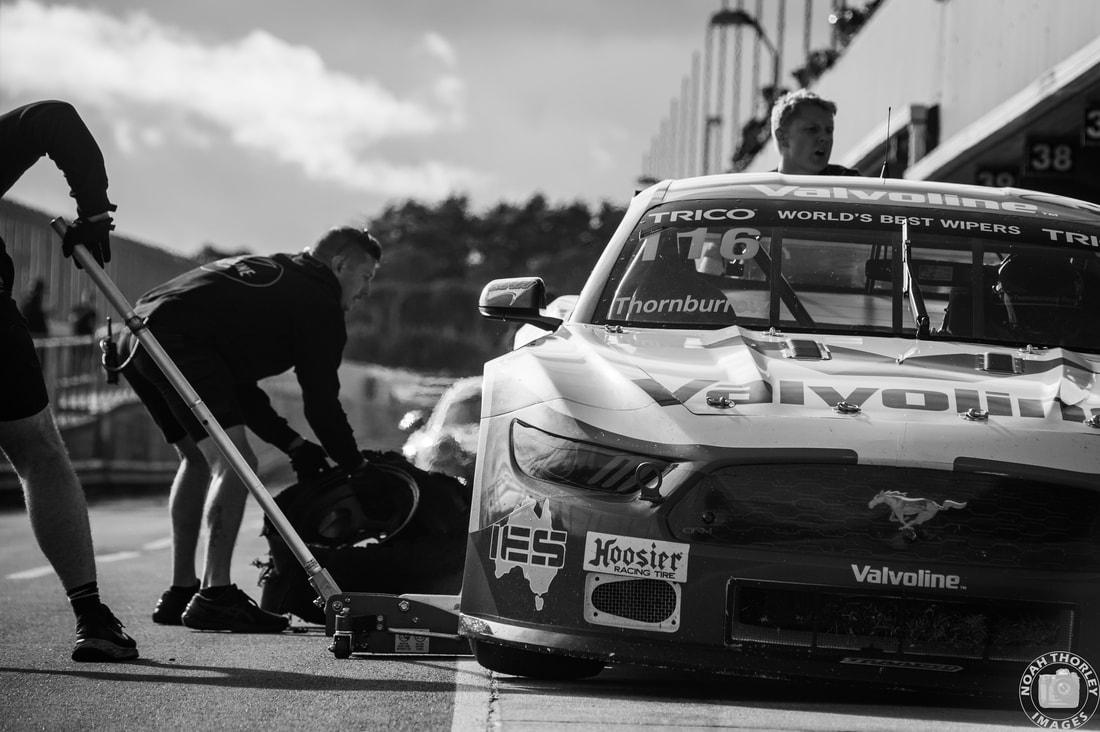  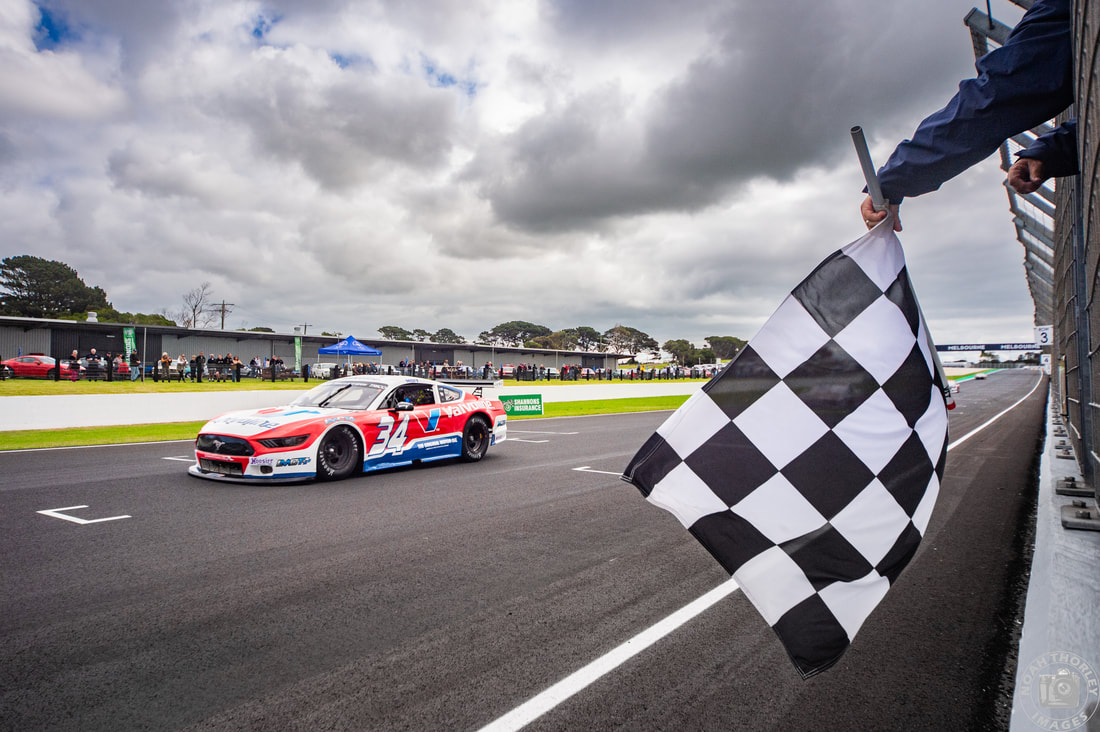 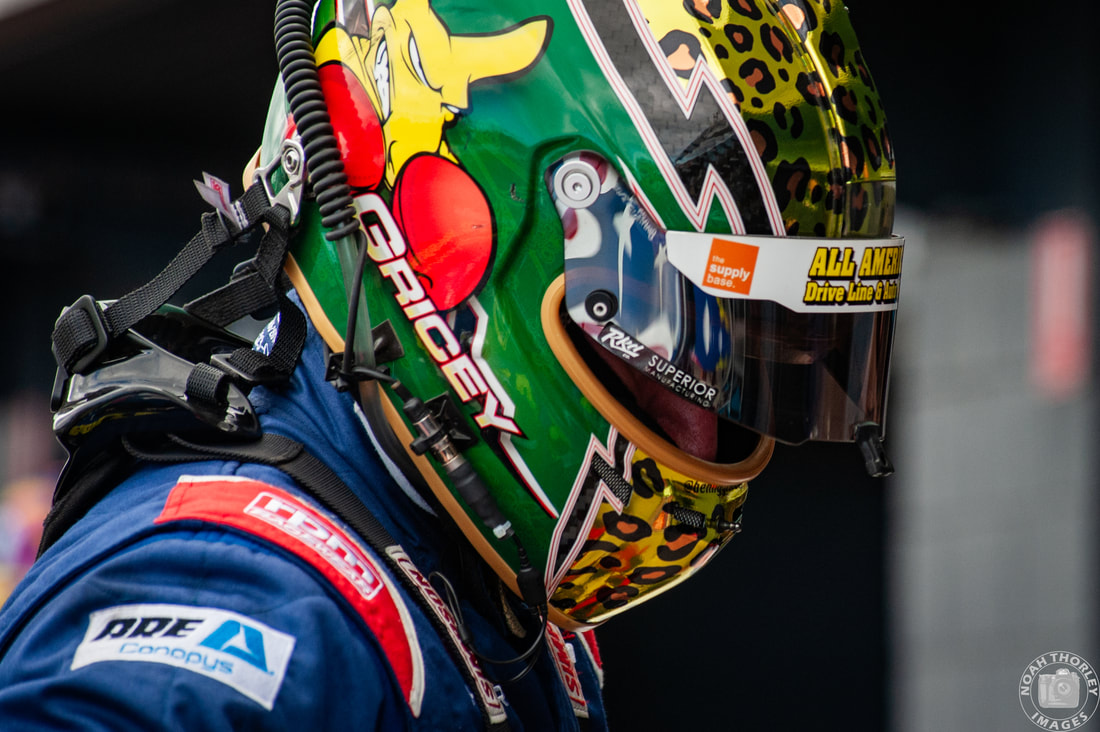  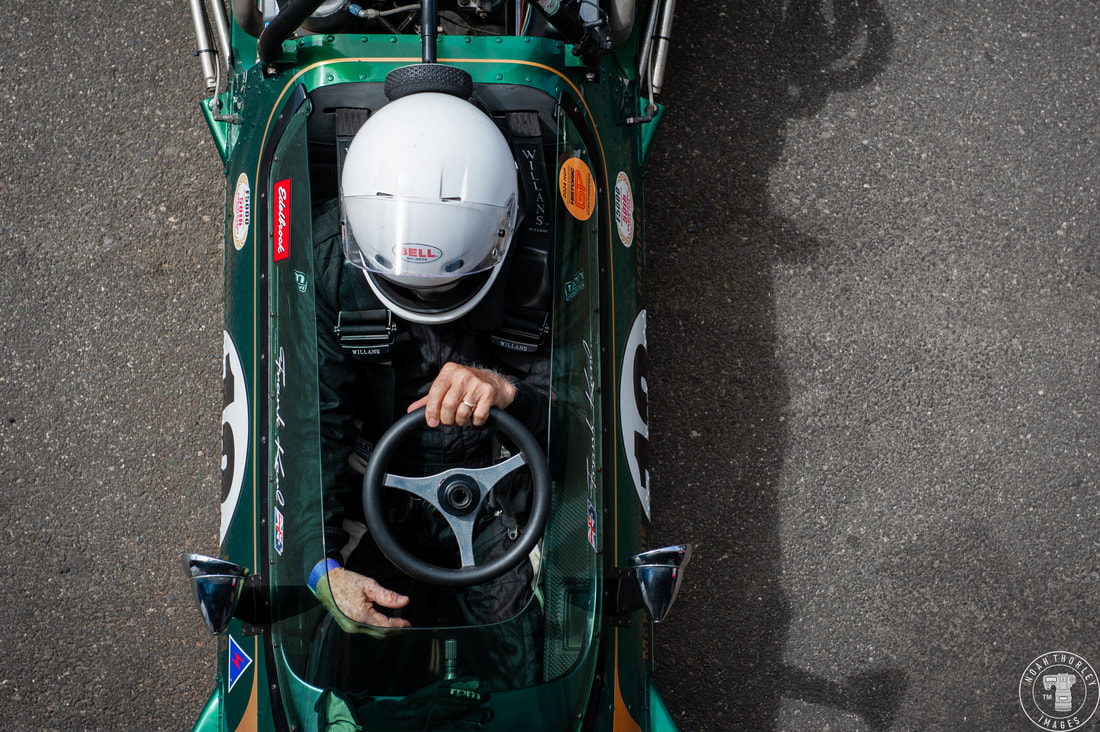 Arguably Australia’s best historic motorsport event is held every year by the Victorian Historic Racing Register at one of the most beautiful tracks in the country. Just like last year, my aim was to focus on a handful of cars and tell the stories of their owners and racing history. 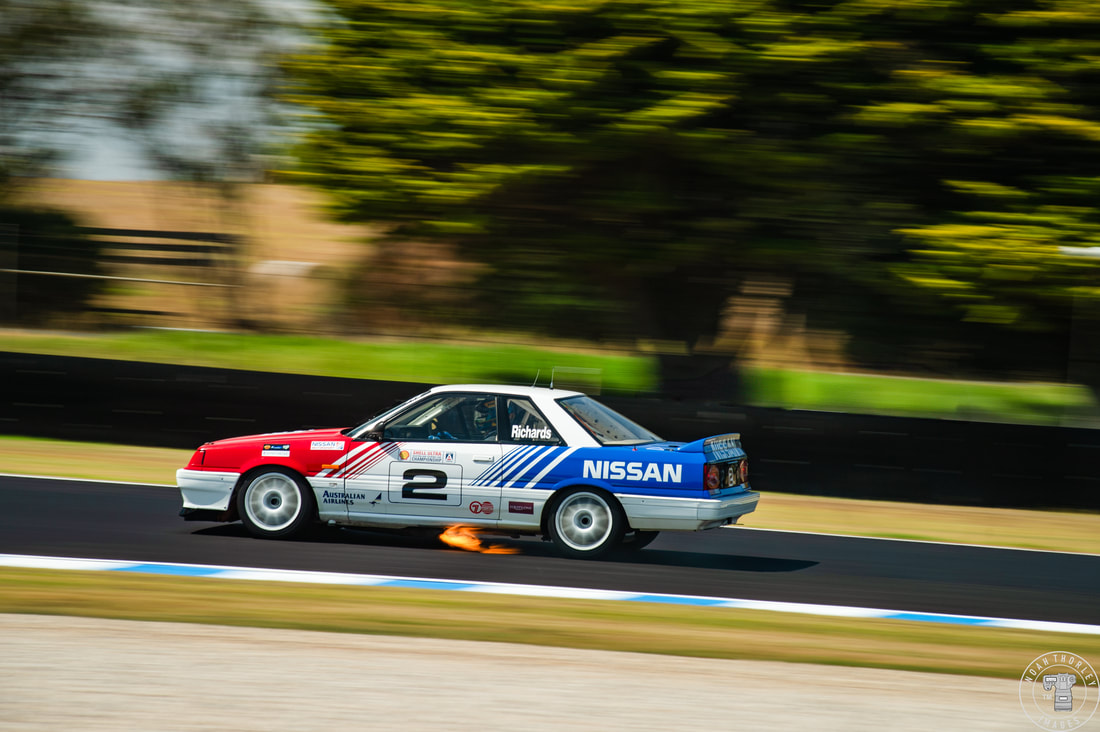 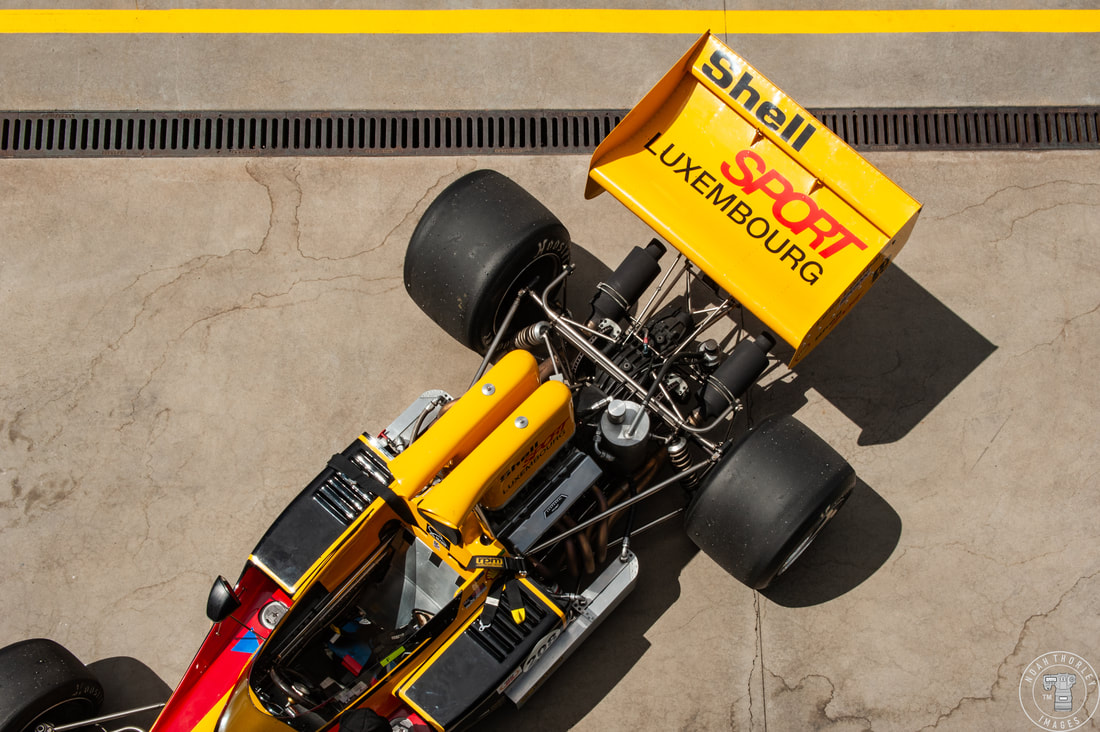 During the months before, a handful of special race cars would be announced to be making the trek to Phillip Island, and I knew I would have to feature a few of these. Additionally, I knew there were a few entrants that I saw last year I wanted to interview as well, but of course, you never know what you’re going to find tucked away at an event like this. 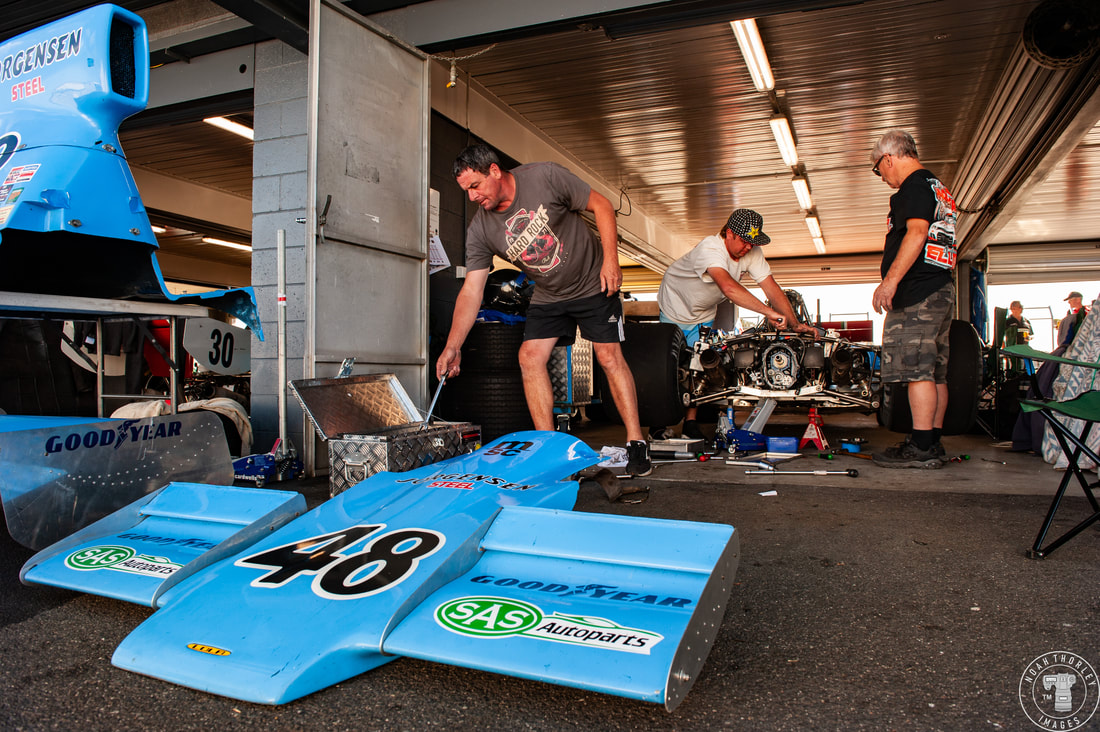  After looking around the paddock, I narrowed down nine cars I wanted to spotlight during the two days I had at this year’s Phillip Island Classic. 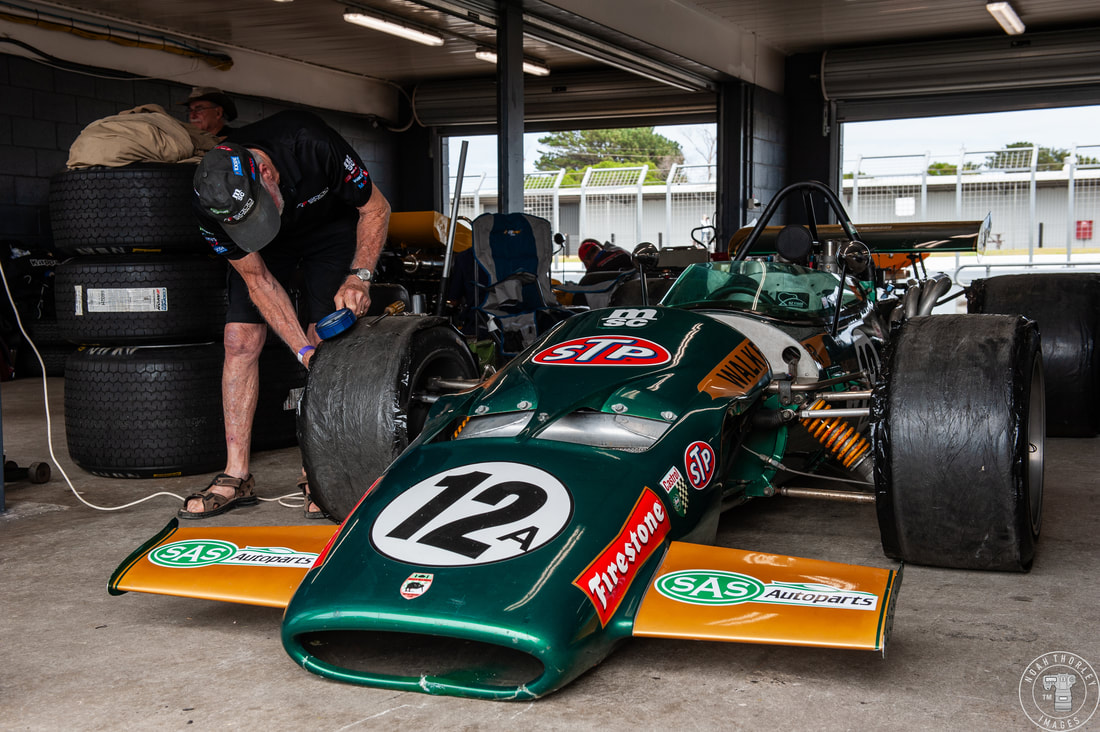 10 F5000s would make the journey over trek New Zealand, 4 of those being McLarens. I’m always drawn to a green racecar and STP sponsorship, so Frank Karl’s McLaren M10B-400 18S is the first cab off the rank. 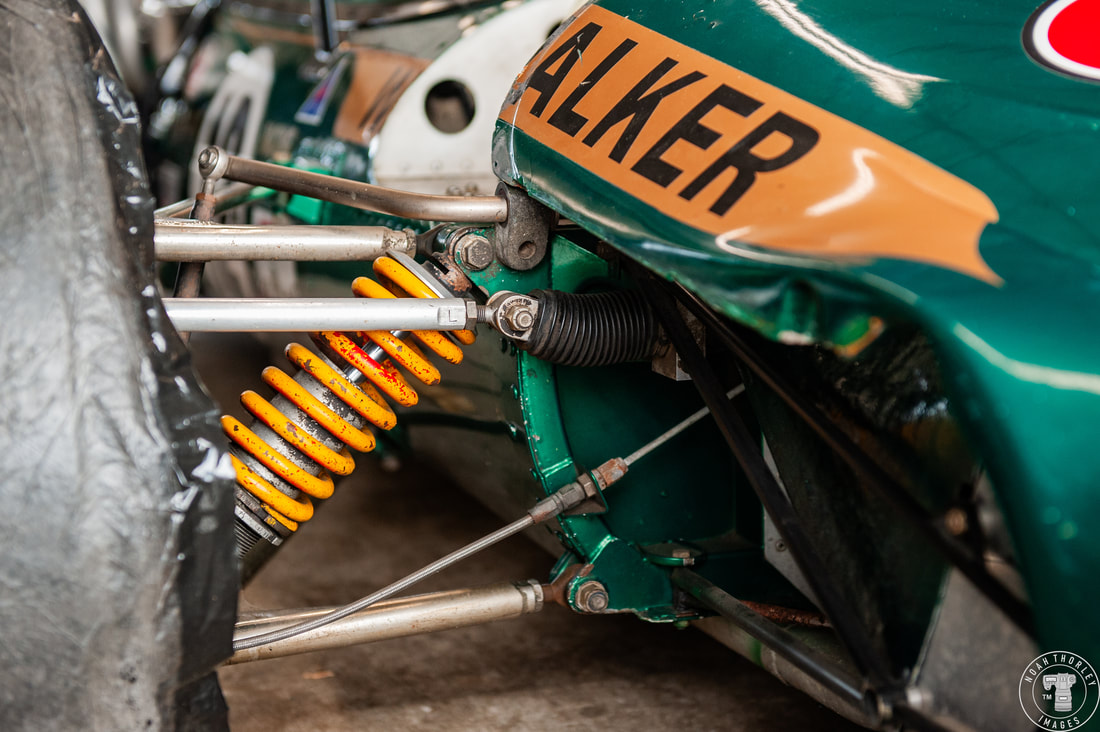 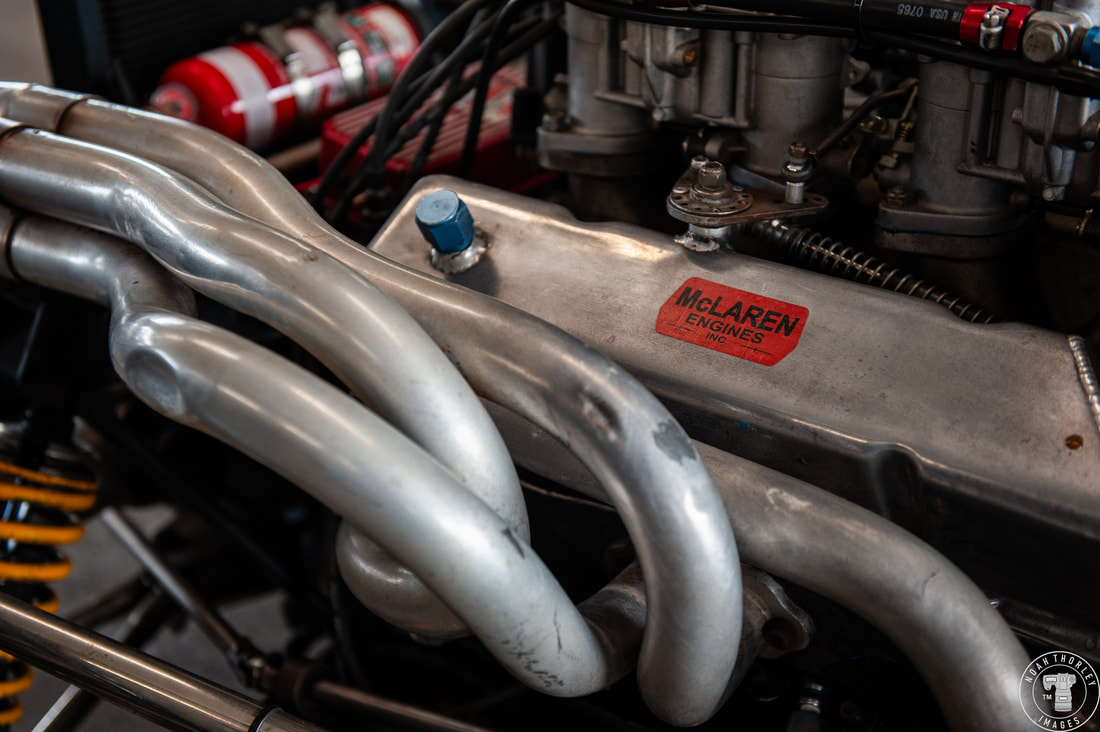 First raced by Mike Walker in 1970 competing in the Guards European F5000 Championship, it was raced by multiple drivers the following season, then was sent to South Africa in 1972 where it was raced by Mike Domingo. The series in South Africa came to an end in 1975, leading to the car being stripped for parts. 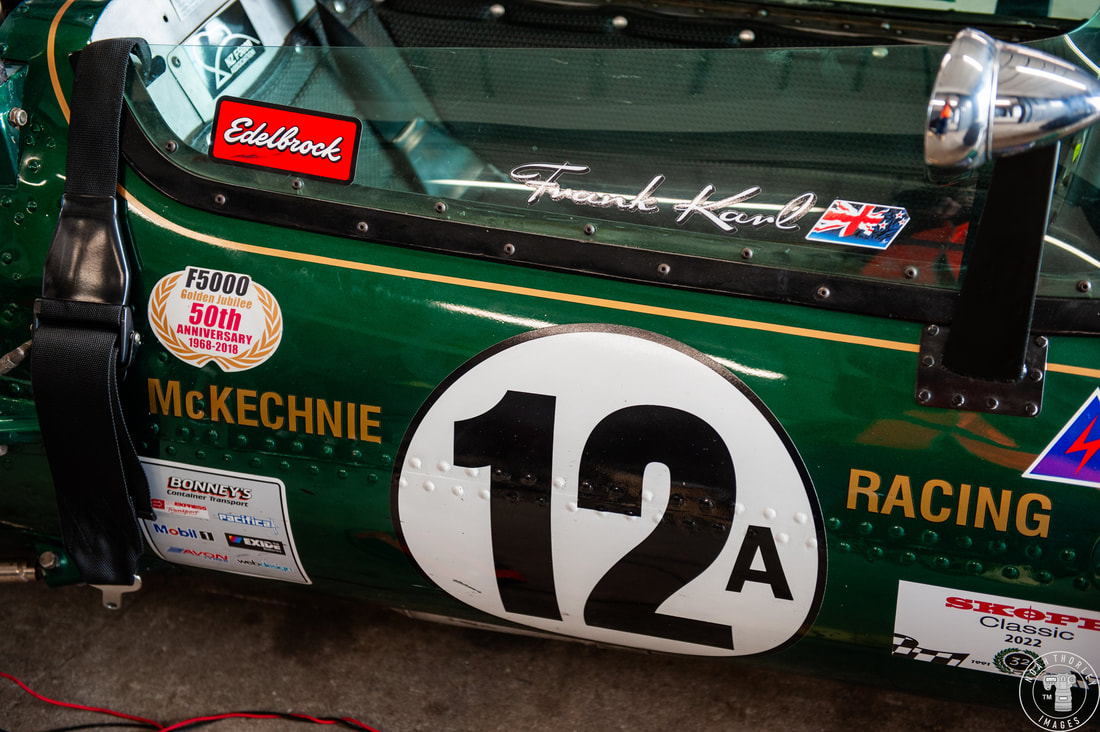 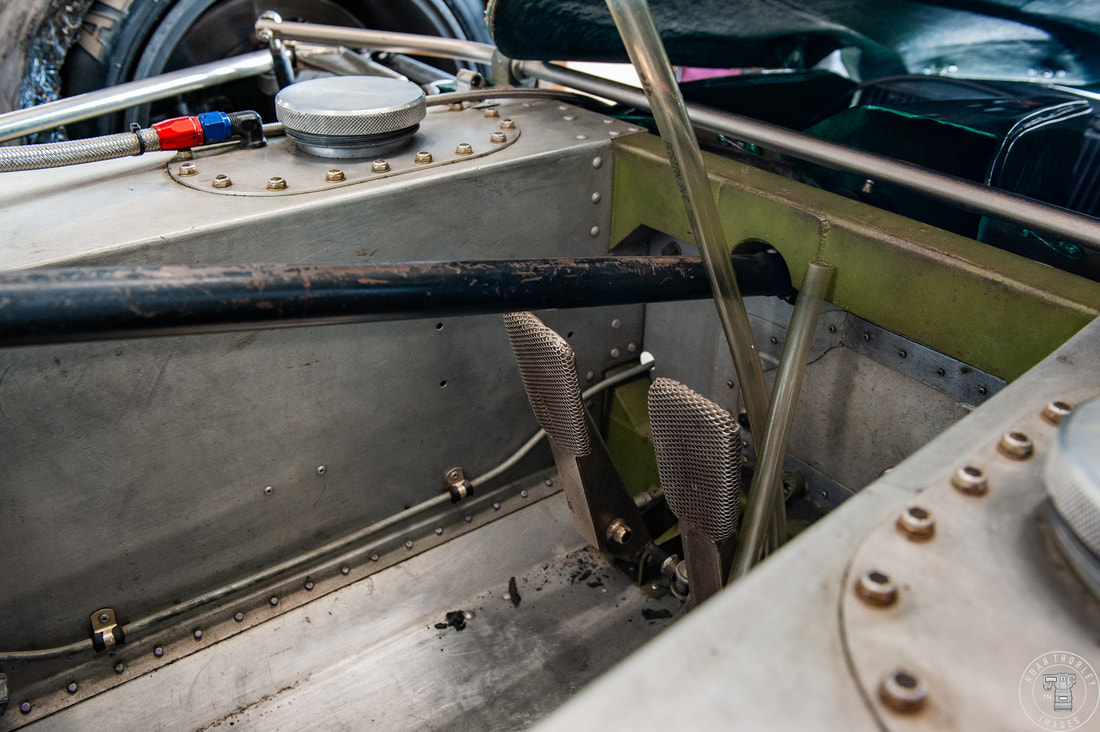 All that was left was the tub, when a man called Duncan Fox brought what was left of the car to New Zealand. Frank Karl bought the project in 2004, and after many years of working on the car, he began racing it in 2015. Engine and gearbox you just have to hunt around [for]… we’ve put a new block into it, shortly after the last time I was here it developed a water leak, the water jacket was leaking into the combustion chamber. The gearbox we found in Australia and the rest of it in actual fact was Duncan, he manufactured all of it. He’s a very clever man.” - Frank Karl 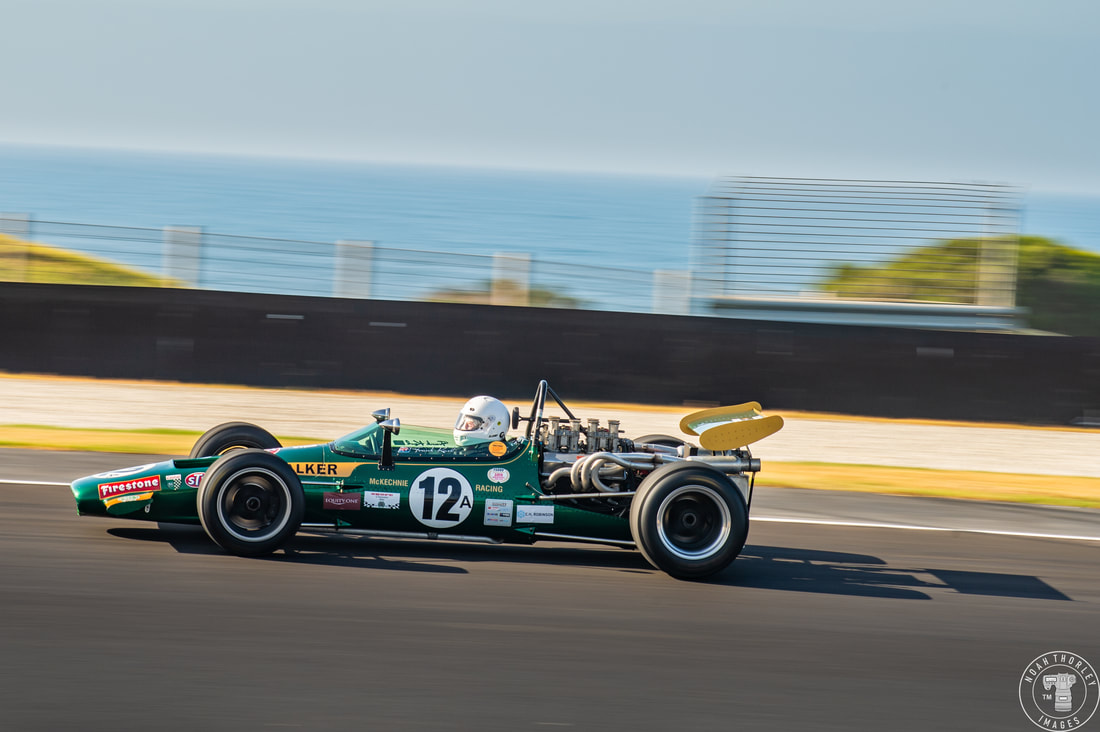 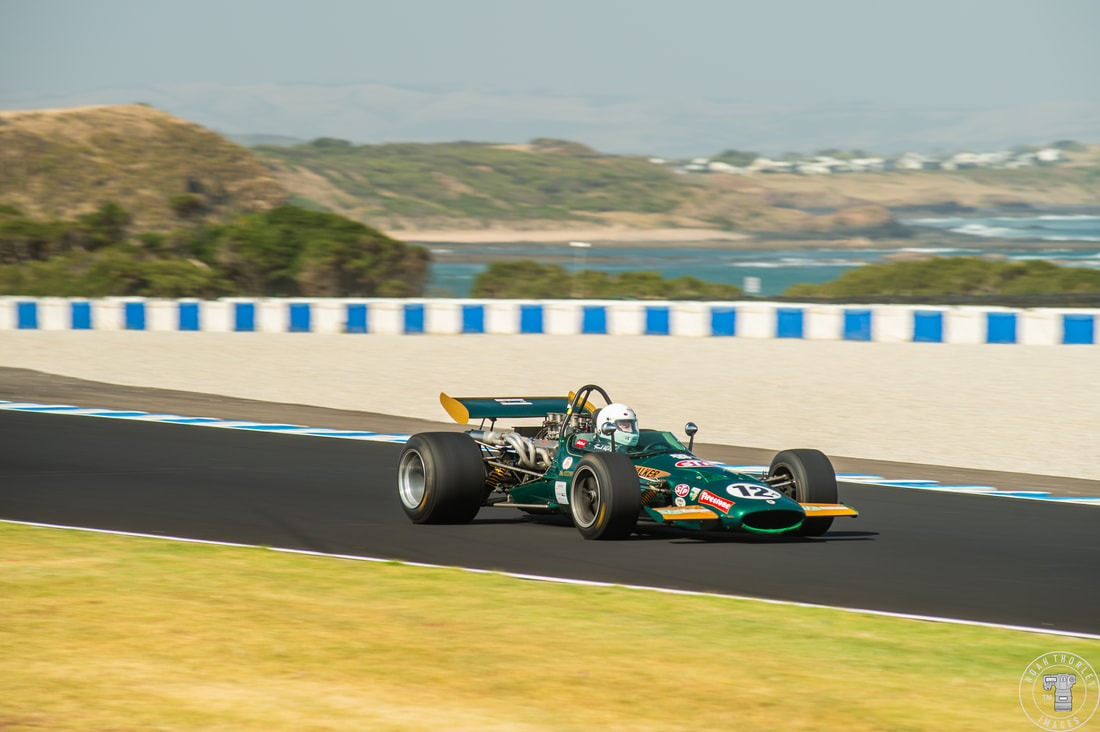 Describing what this car is like to drive, Frank chuckles at the thought: It’s exhilarating. It’s not a particularly difficult car to drive but it is hard work, especially for us old guys. But no, it’s quite stable, you know your own limits. Still enjoying it!” - Frank Karl 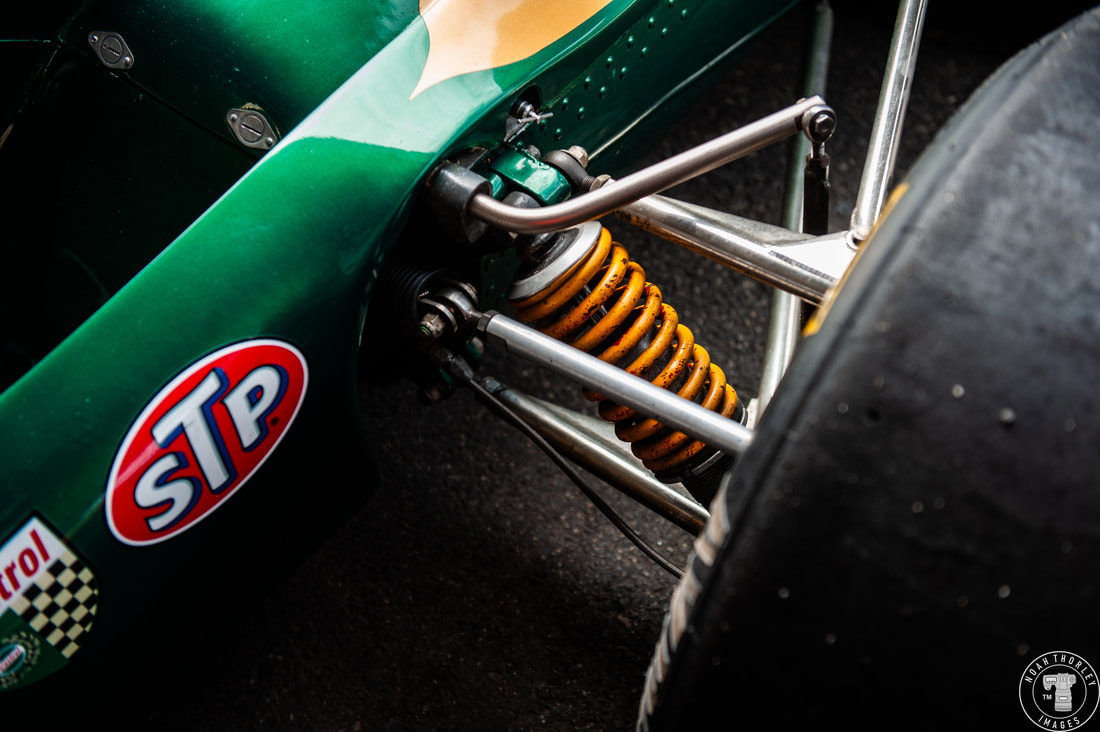 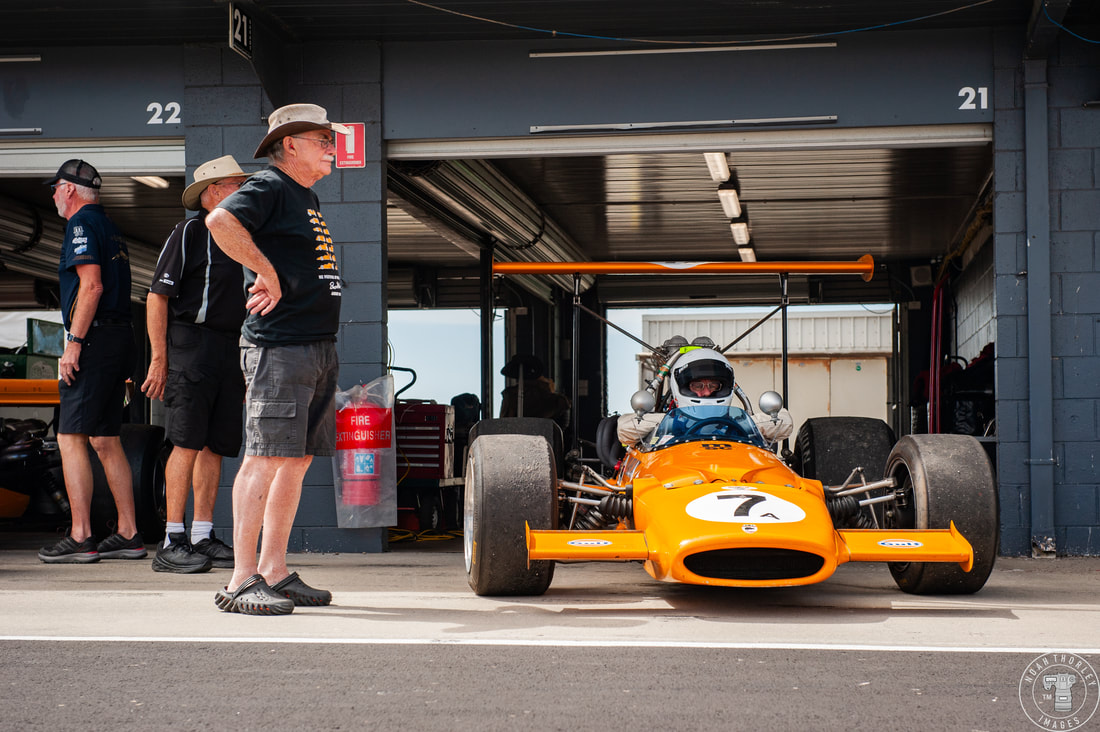 The whole New Zealand McLaren group had one goal for the Phillip Island festival weekend: “To finish. [To] come away from the end [of the weekend] without any breakages because… all the McLarens are going to Albert Park for fast demonstration laps.” - Frank Karl 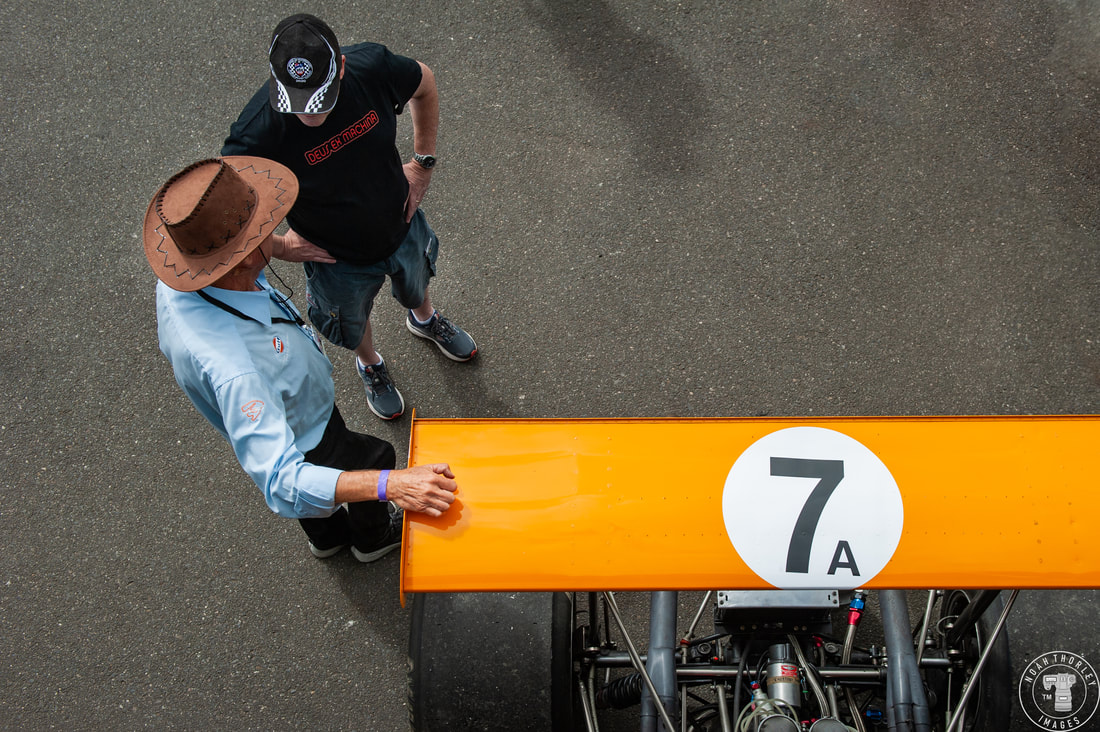 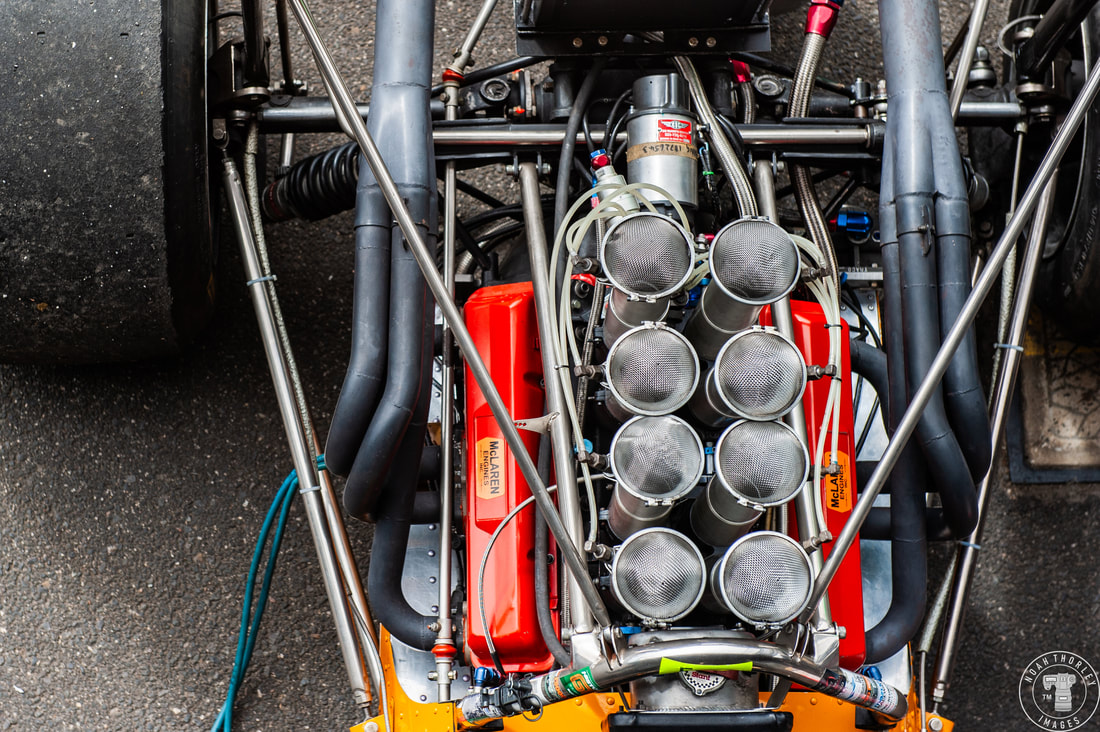 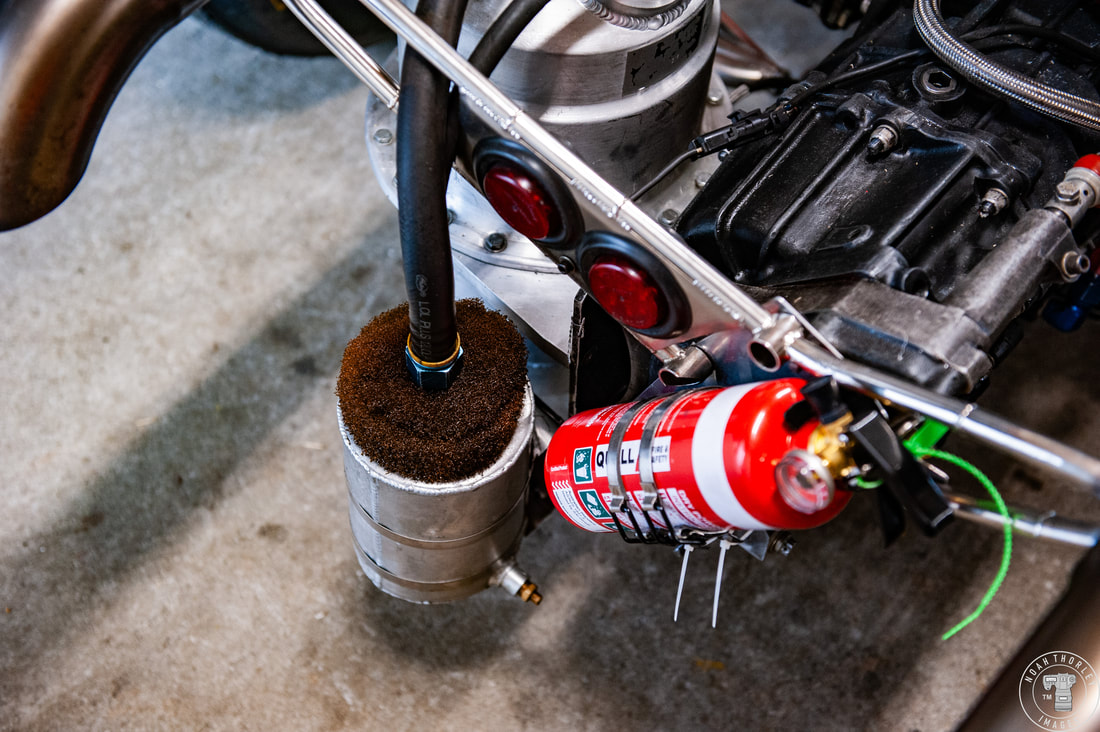 One of the most eye-catching cars of this year’s Phillip Island Classic was the big winged McLaren M10A-300 owned by Tony Roberts and originally based of the F1 McLaren M7A. The 5-litre Chevrolet engine puts out 540 horsepower, and oil is fed via a dry sump connected to a Weaver pump that holds 8 litres of oil. 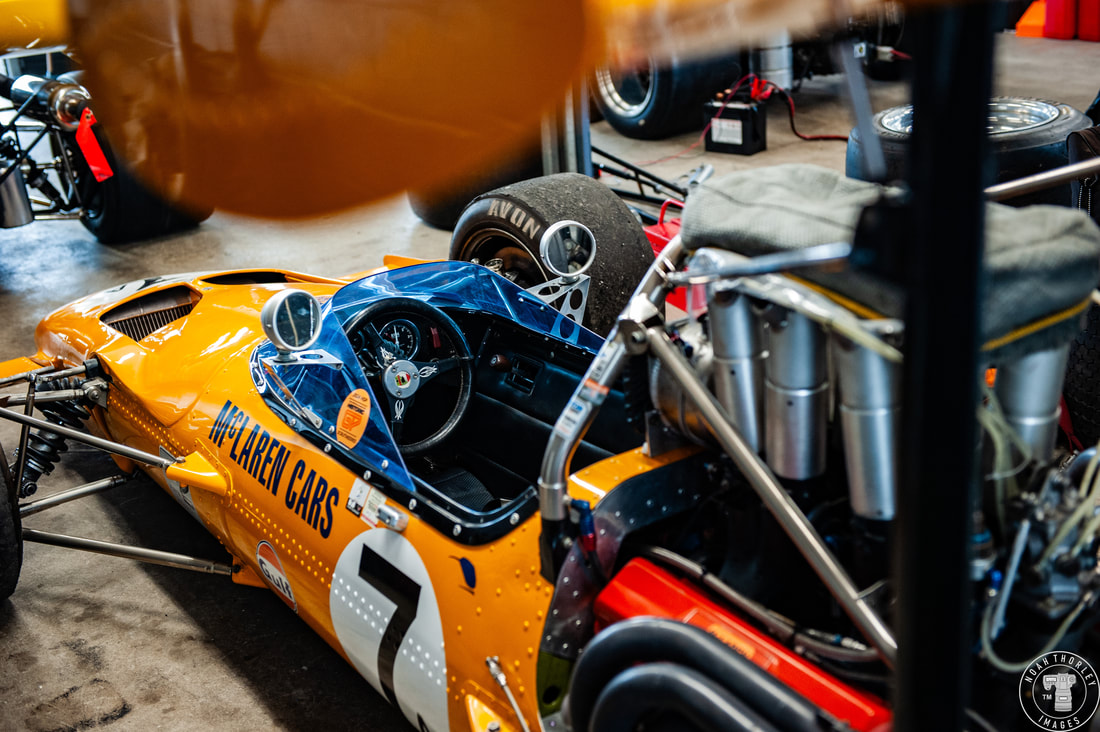 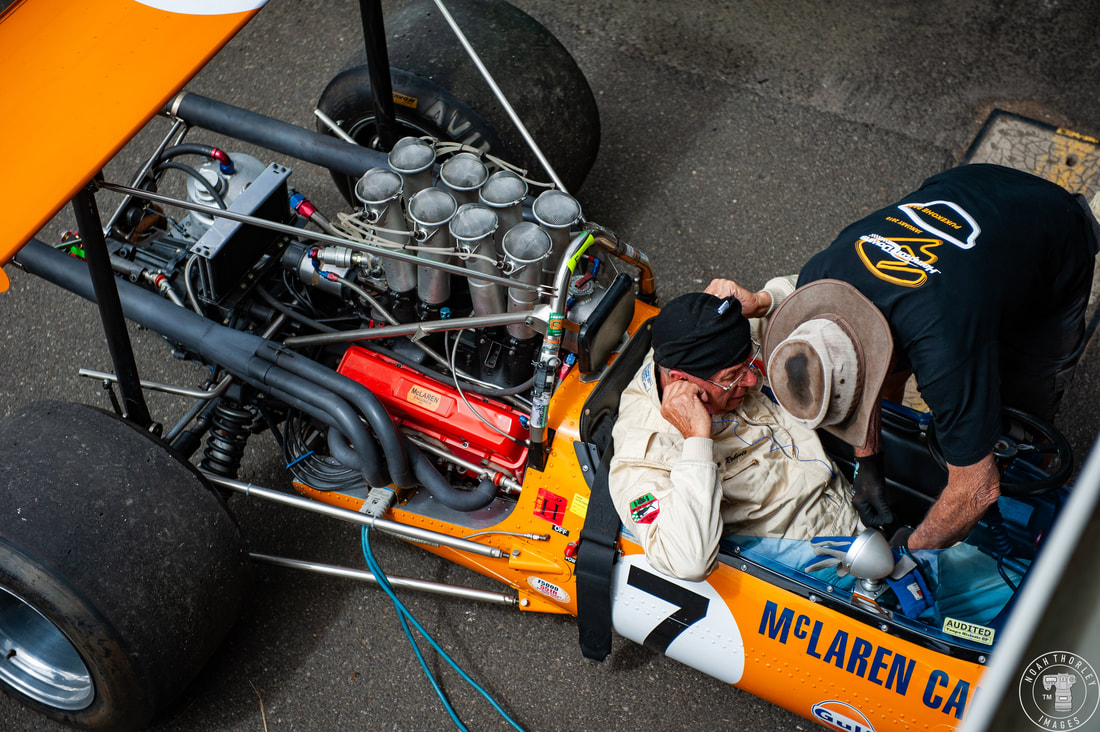 This is chassis number 9, built by Trojan it was sent to the U.S in July of 1969 to be first owned by Bob Esseks. Its first outing was at Road America with Sam Posey at the wheel. Unfortunately, this M10A was crashed in 1970, meaning it has one of the shorter careers. The car was totally restored, and Tony Roberts bought the car from the USA in 2014. We’ve done quite a lot to it since then. We changed motors… typical American it had a six litre aluminium motor in it.. which was completely outside the regulations.” - Tony Roberts 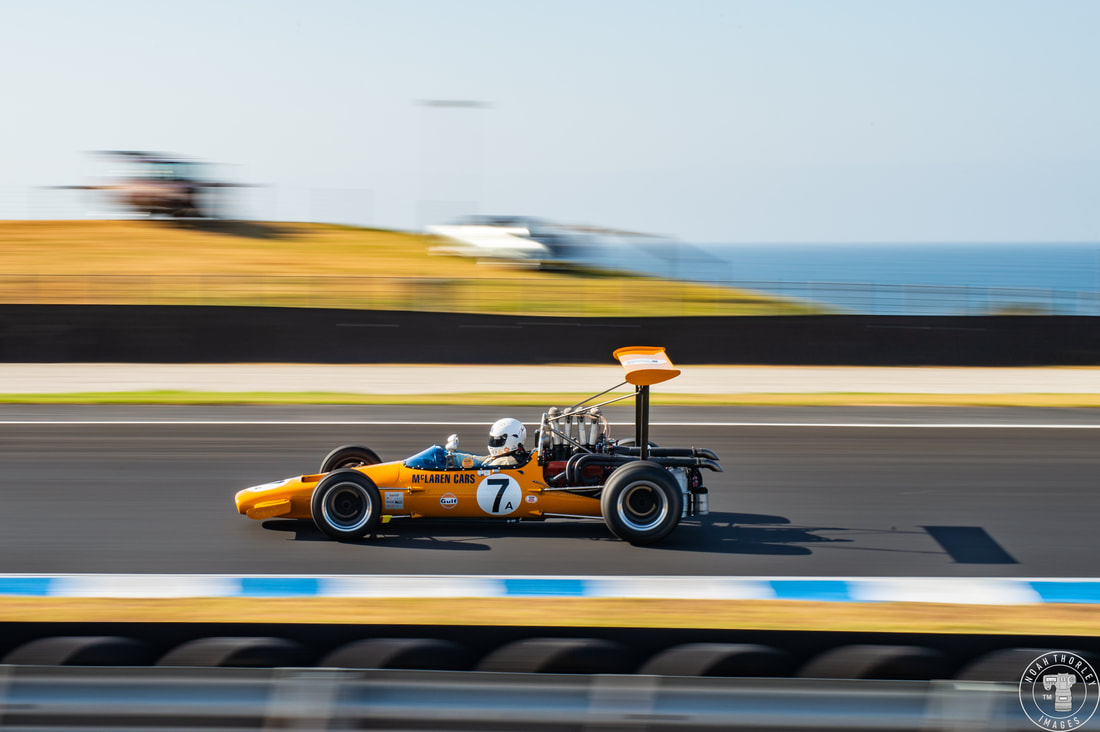 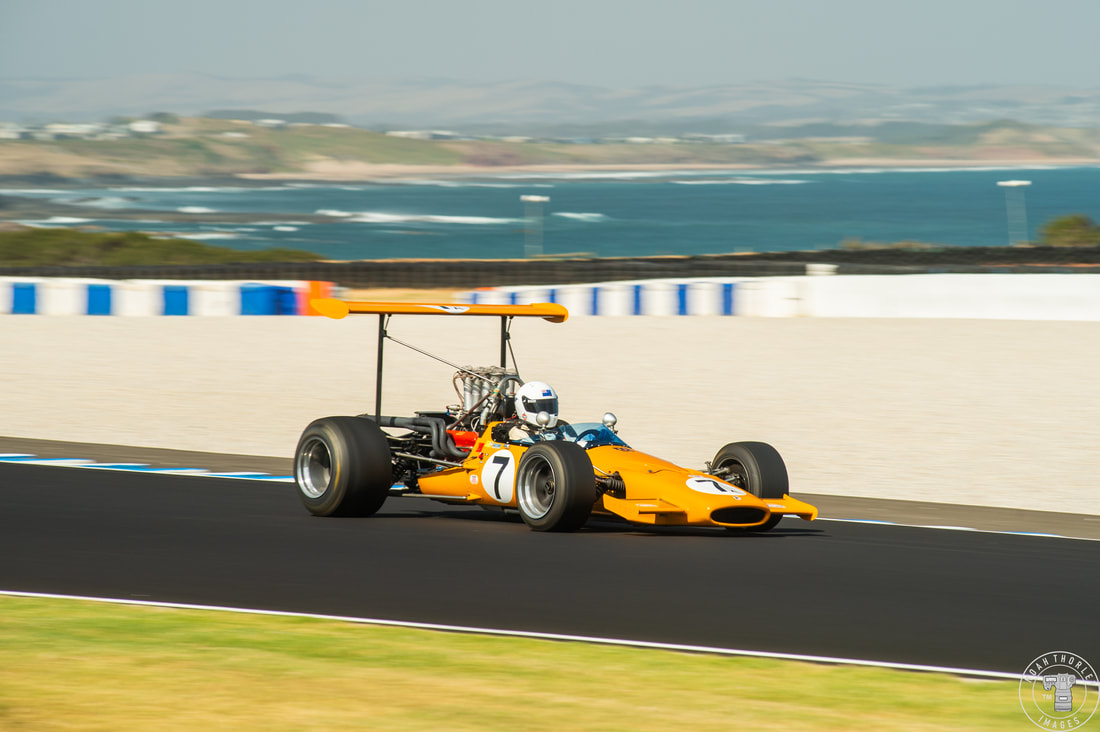 The previous owners had also added a lot of extras to the car that added weight, so Tony has gotten rid of all that. The car now weighs 700kg, but the high rear wing alone weighs 13kg. 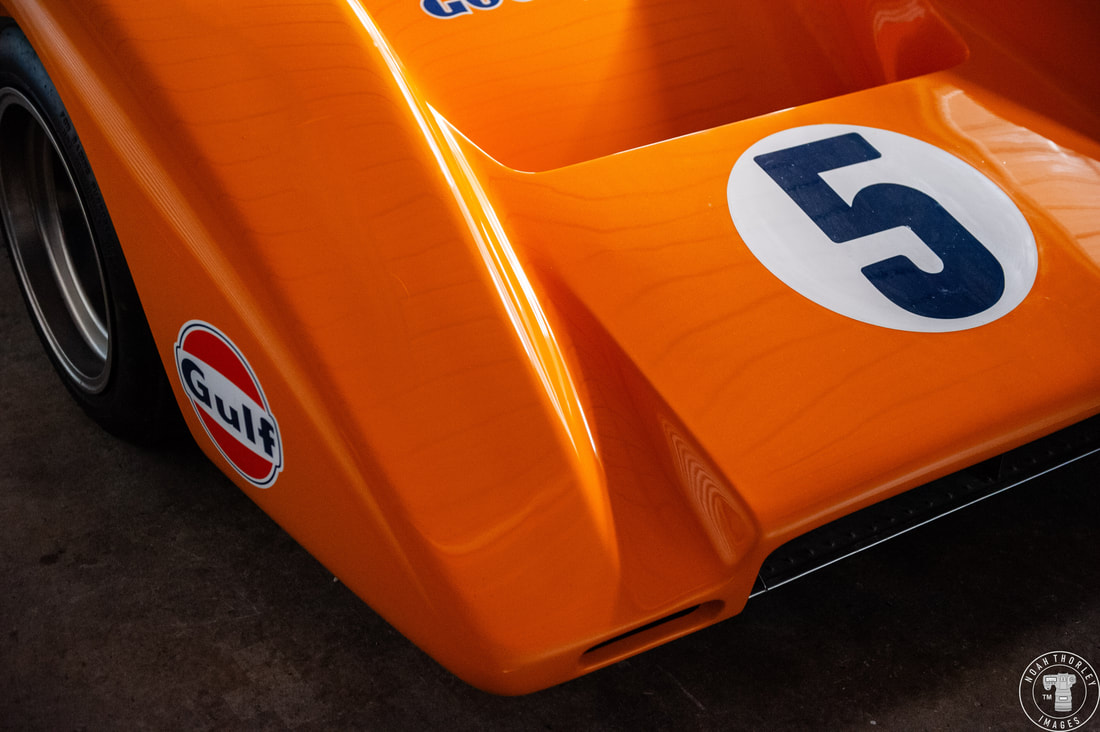 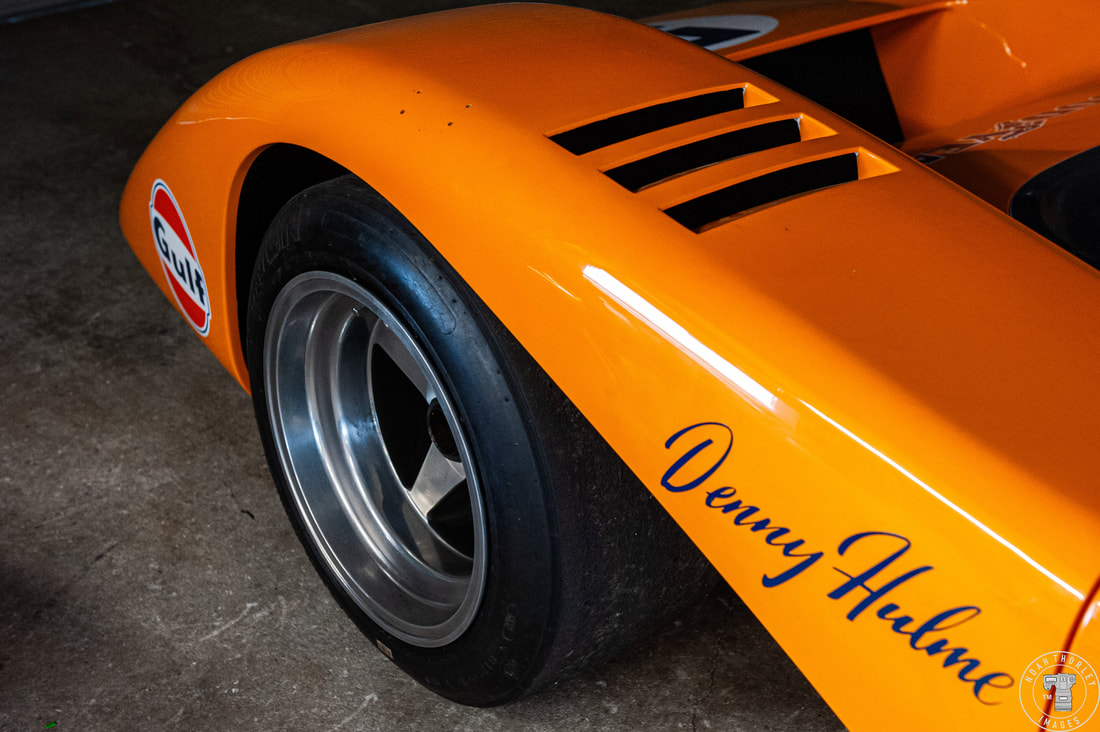 Another McLaren I was itching to see on track was the Can-Am M8B-1, but unfortunately it roared to life during the two days I wasn’t there. That M8B that’s there, that’s really special. There’s only two of them in the world. That one was Denny Hulme’s car… and that is the most successful car that McLaren has ever built.” - Tony Roberts 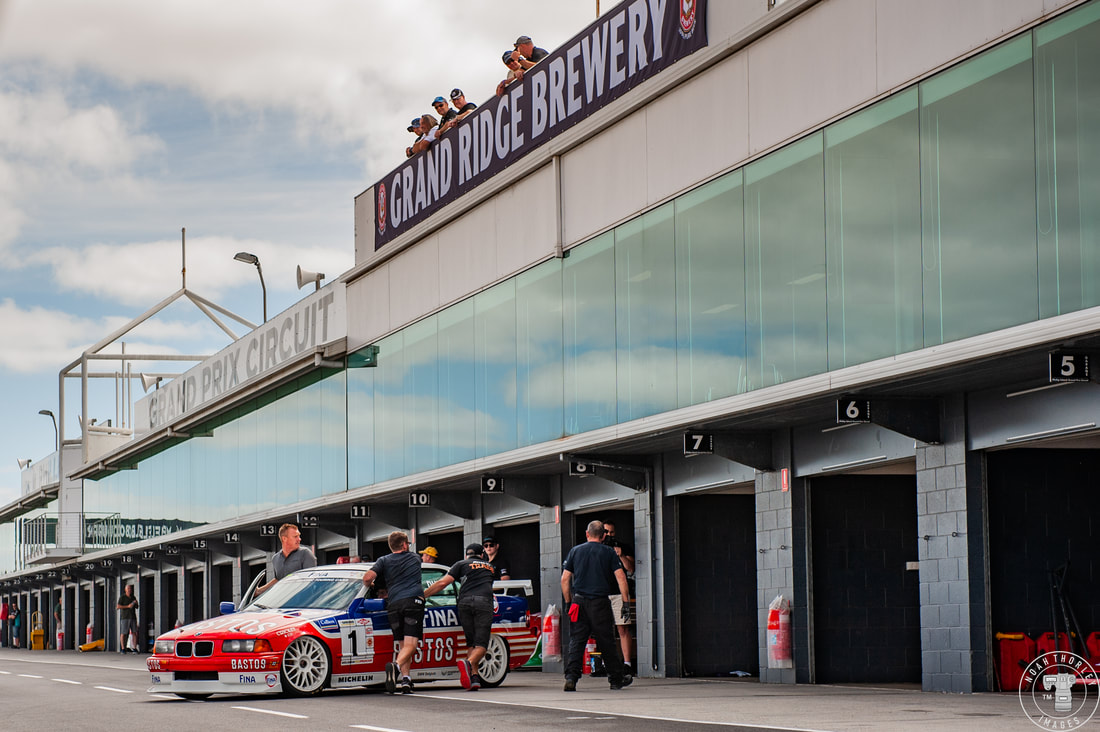 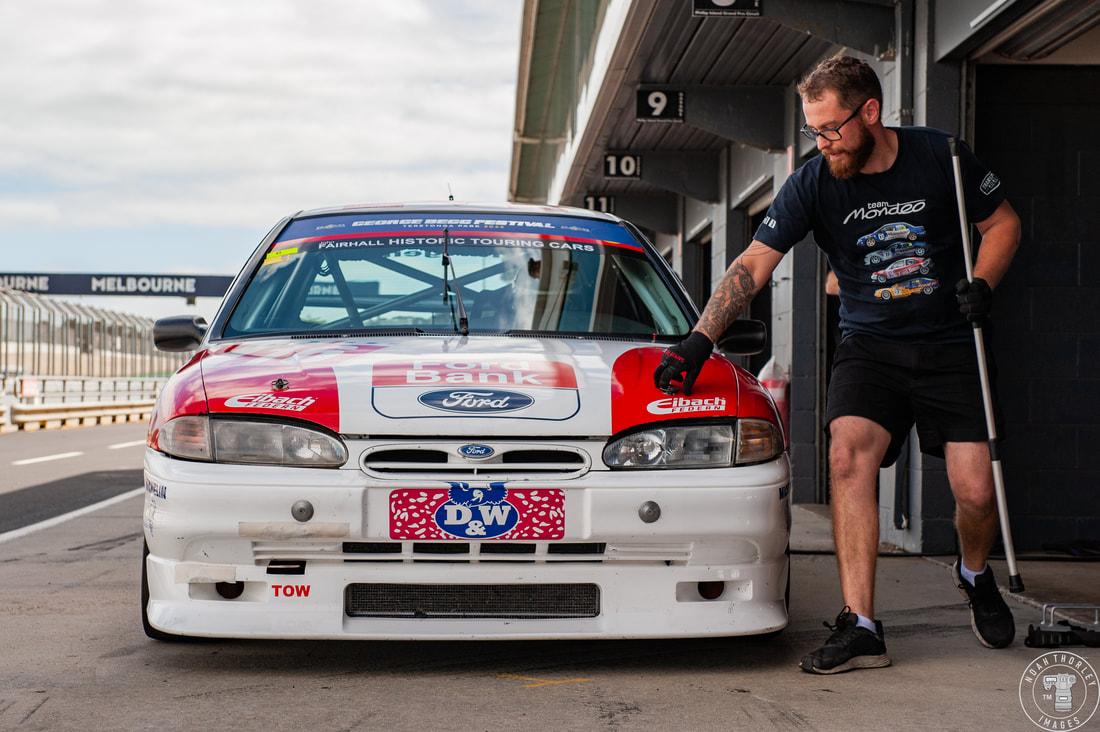 Other than the beautiful fleet of F5000 cars, and the two angry McLaren Can-Am’s, four 1990’s Supertourers were brought over from New Zealand with this 1995 Ford Mondeo being the odd one out among the BMW’s. 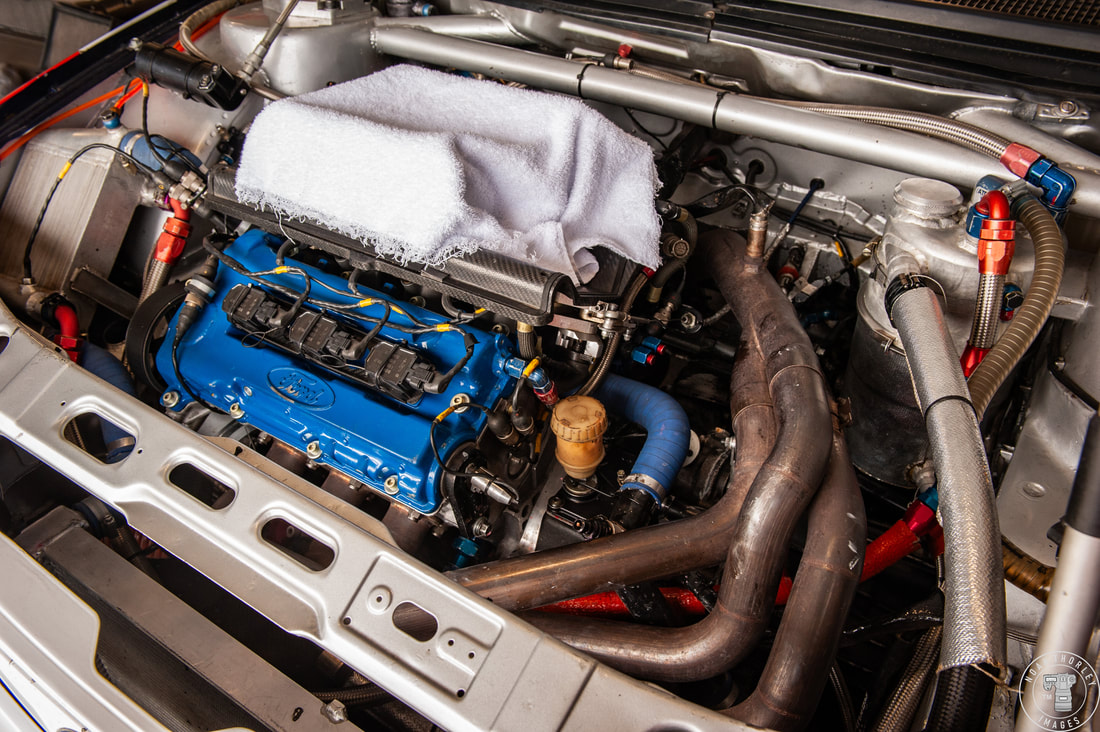 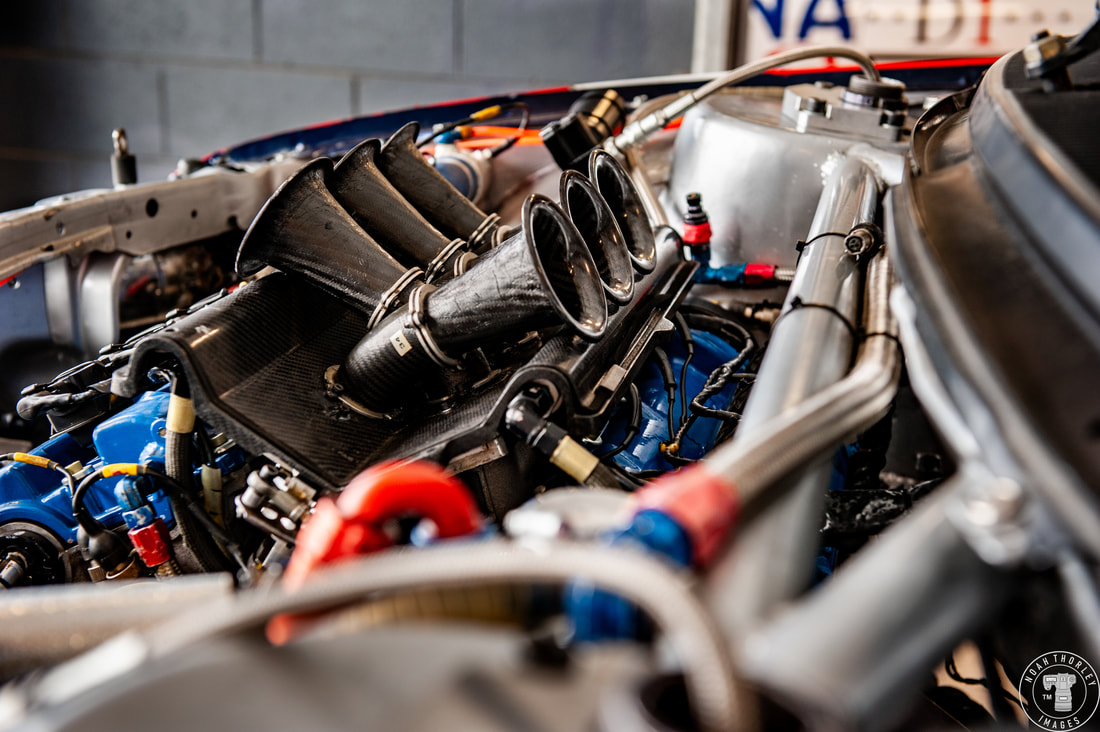 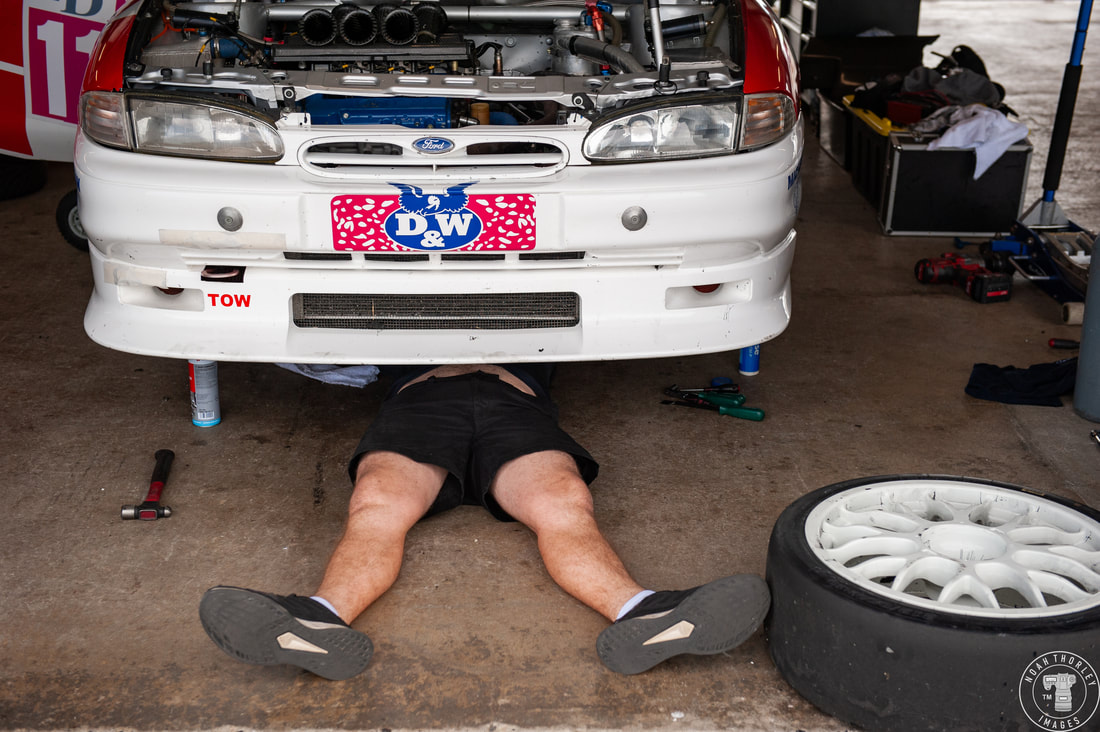 German Super Touring team ‘Wolf’ were one of three teams to run the Ford Mondeo during the 1995 championship. The team didn’t do so well in DTM Class 2 even with experienced driver Claudia Hurtgen (who still races today) at the wheel. Their best result was 14th, with the unreliable car, but what the Rouse and Wolf teams did with the drivetrain is what’s most notable. The car was built as a 4WD car, it's still got a diff carrier in the rear. So, Rouse (Touring Car Team) tried to build 4WD Mondeos and couldn’t make them work, Rouse tried front drive, rear drive, four drive, and went to front, and I think Wolf did the same thing... I think because of the extra weight of the drivetrain, and weight is the enemy in racing.” - Scott O’Donnell 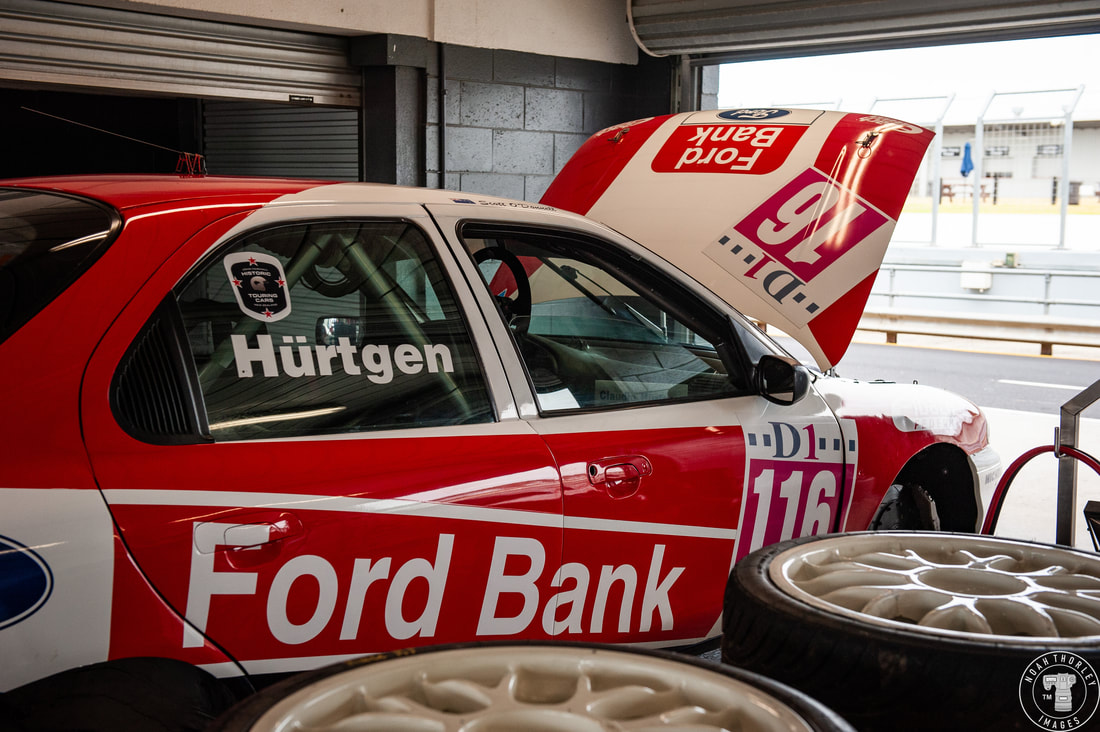 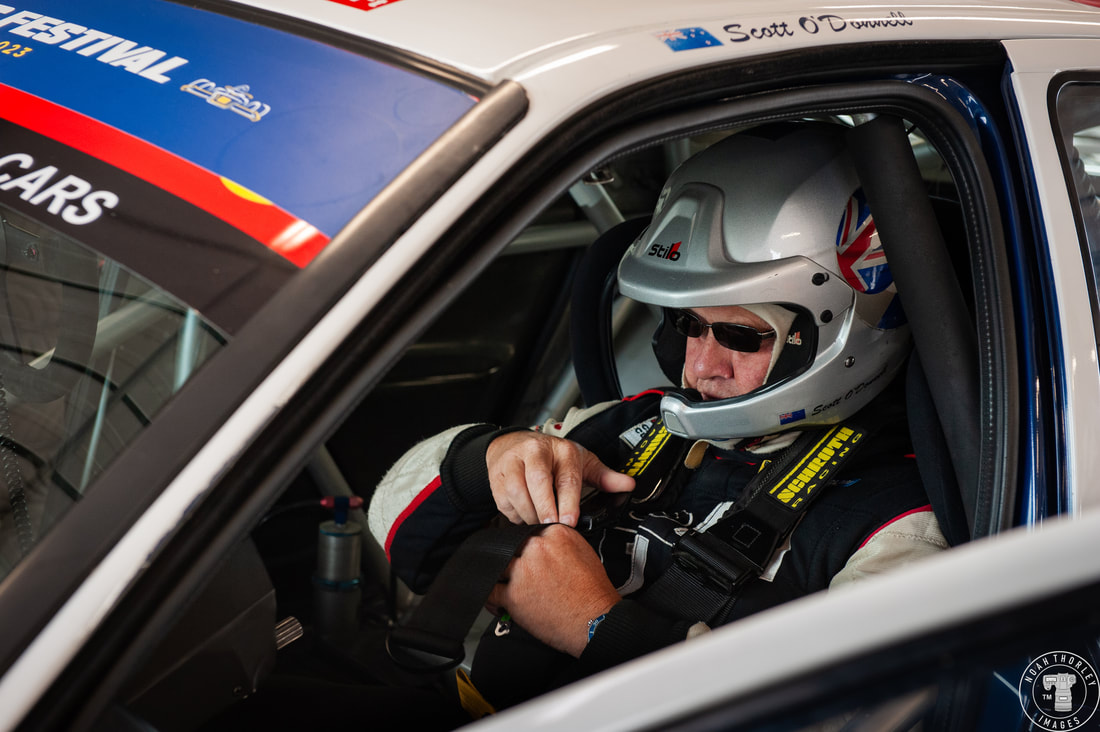 Scott isn’t sure what happened to this Wolf Mondeo after the 1995 season, but he found the car in a shed in Italy and has had the car since 2017 (mind you, Scott has four Supertouring Mondeos so I’m sure he was out looking for it). 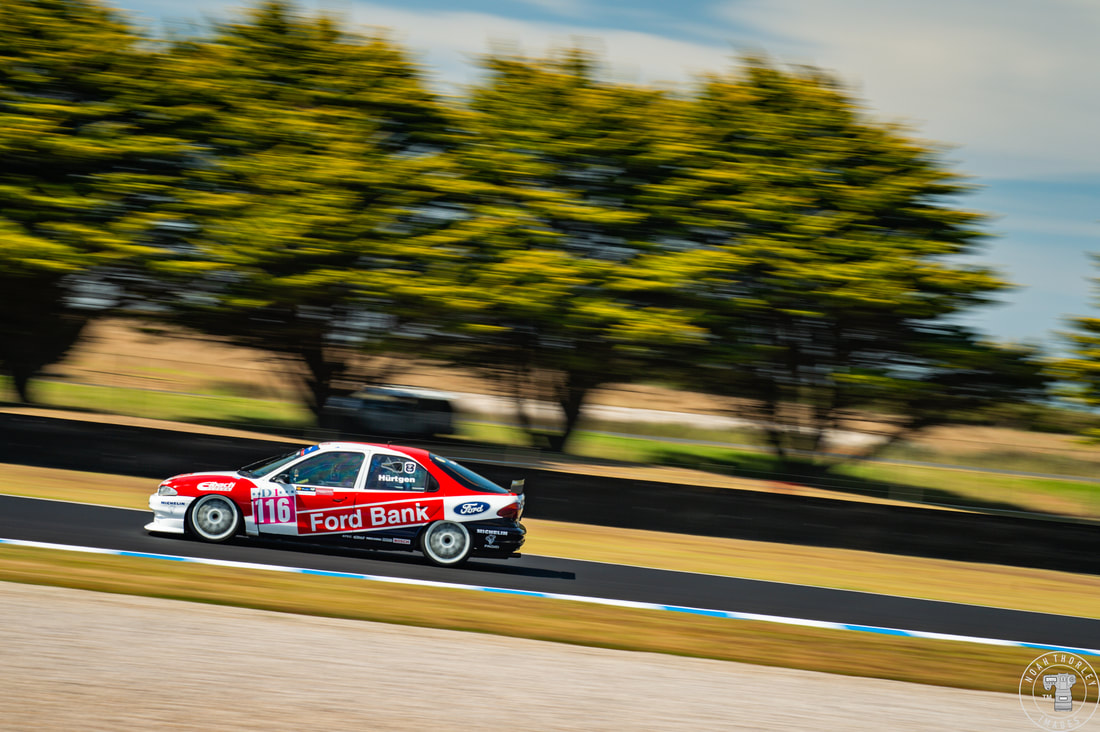 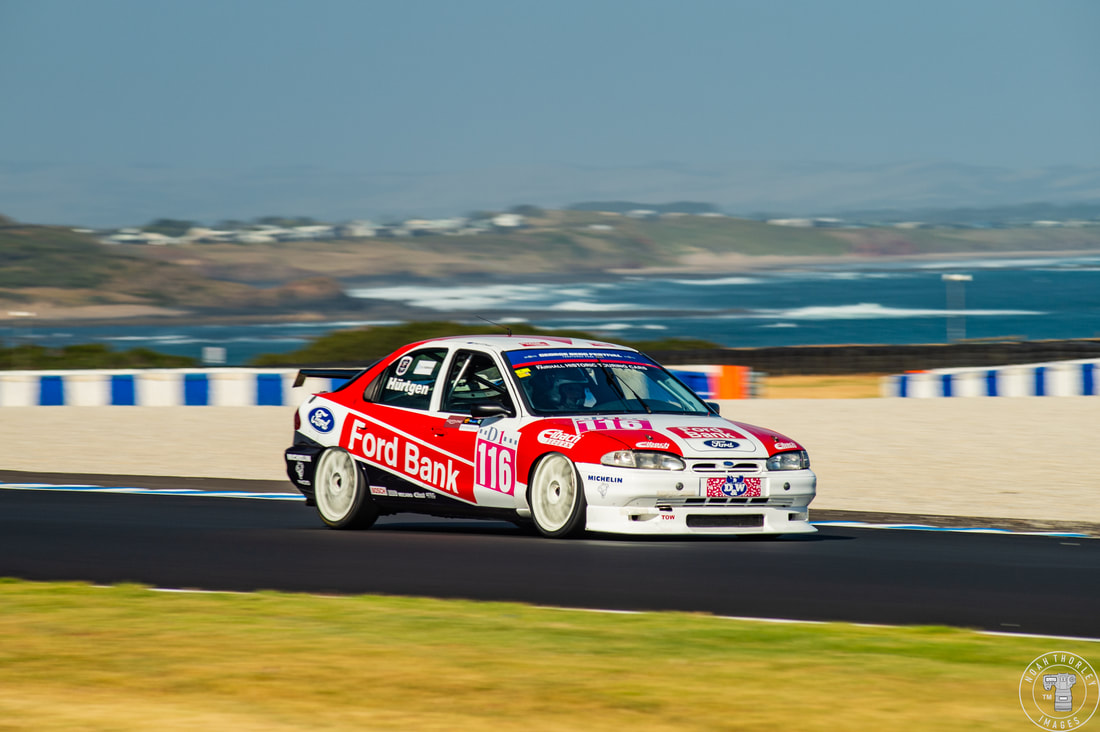 The car was very complete and ran, and the body condition you see it in is how he found it. Scott did have to give it some “love and attention” however, including refreshing the drivetrain. I think what happened to a lot of these cars, they all went and became hill climb cars in Europe. And when we got it, it sat very high.” - Scott O’Donnell 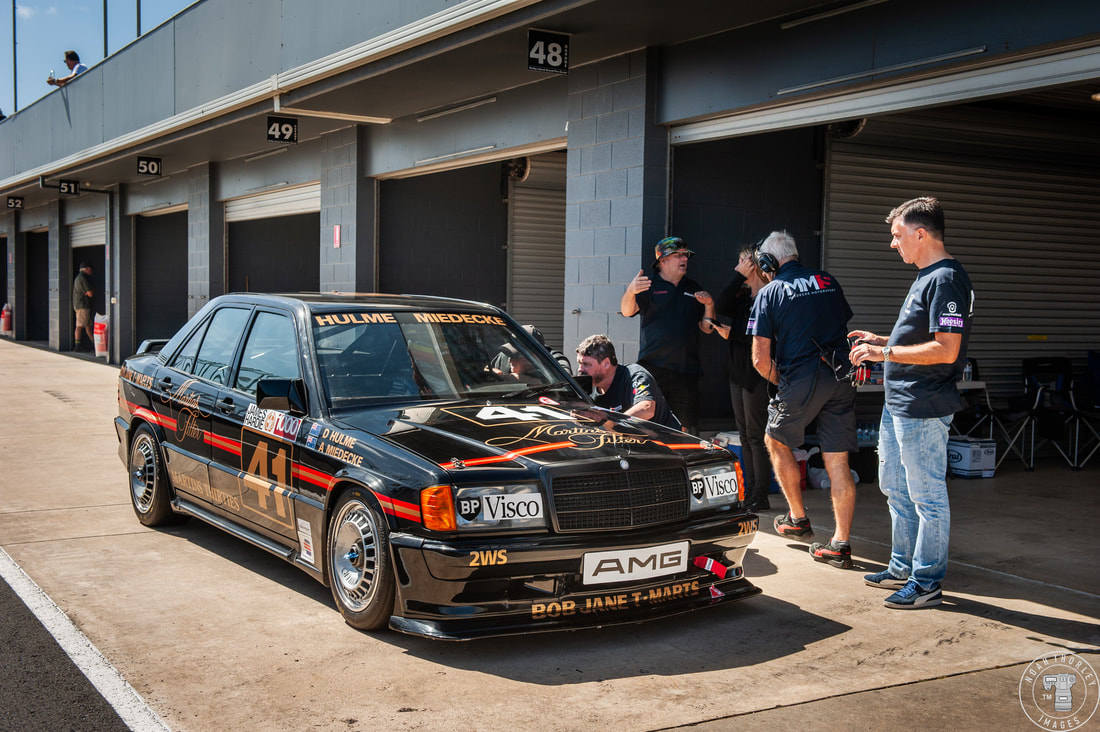 Years before the Wolf Mondeo was even a thought in German Touring car racing, there were the Mercedes Benz 190Es, including this DTM racer prepared by Helmet Marko’s team - RSM Marko - that competed in the 1986 Bathurst 1000 when Bob Jane purchased the car. 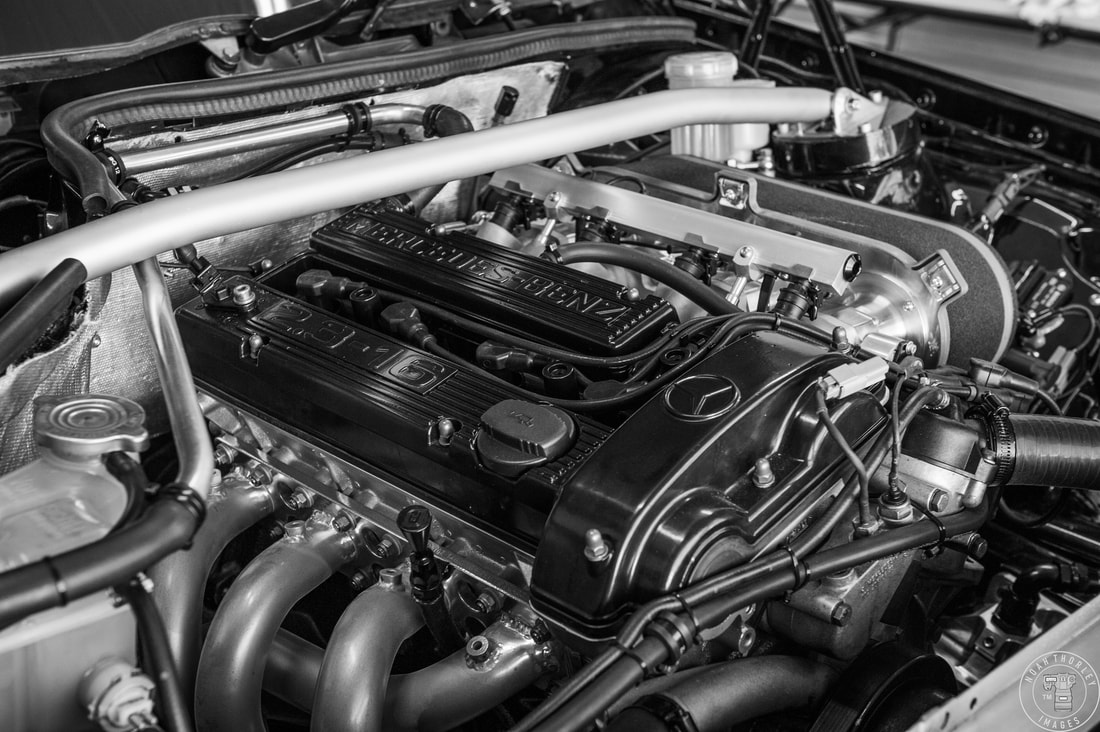 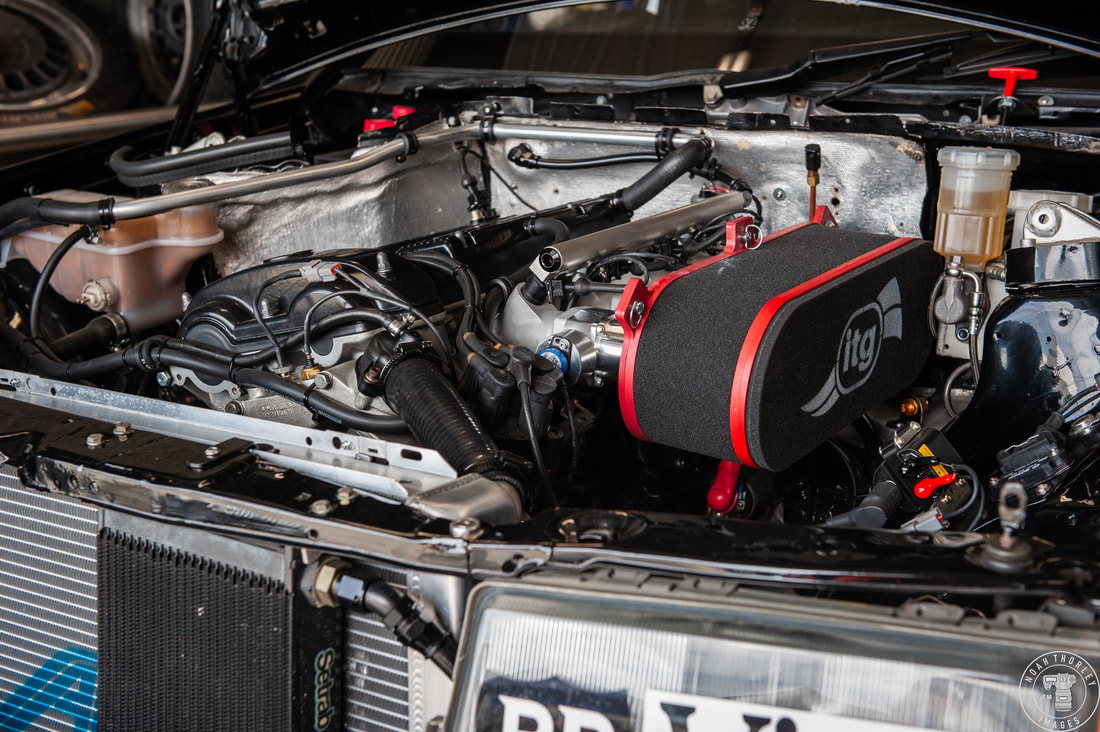 The Bob Jane T-Marts team entered two 190Es, this one was driven by Denny Hulme and Franz Klammer who finished 9th overall. The other 190E was slightly more modified and was to be driven by Andrew Miedecke and Jorg Van Ommen, but it crashed on the first lap of the race. 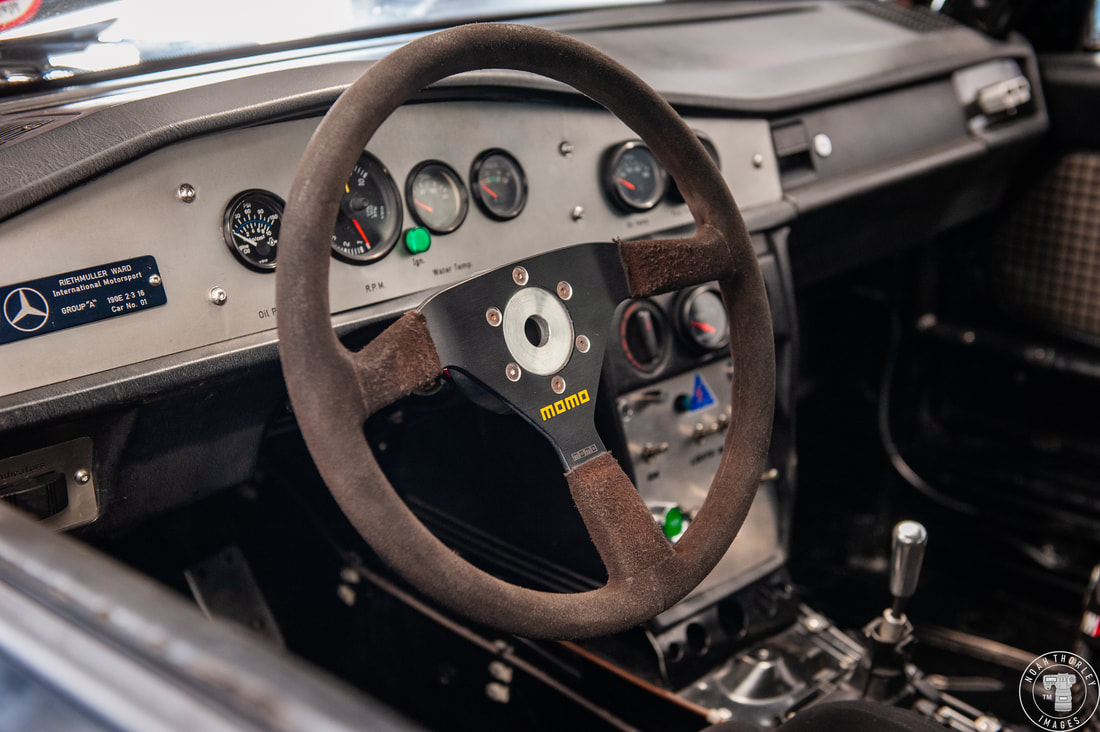 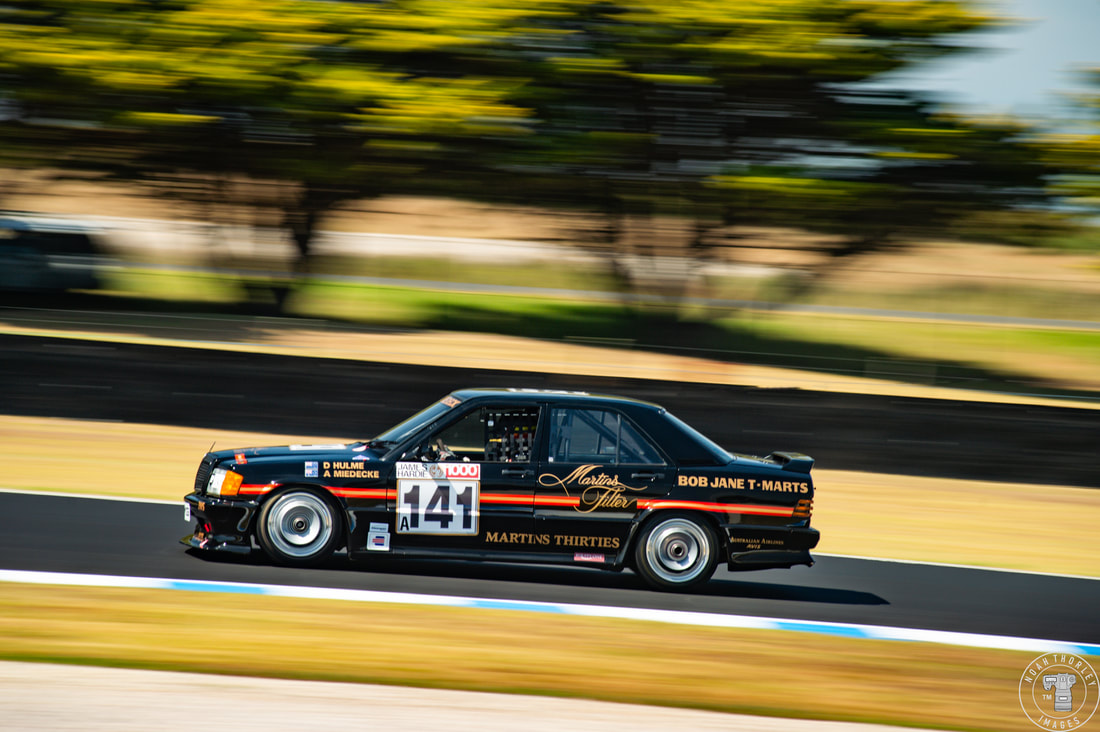 The pair of 190E’s would be later purchased by racing driver Phil Ward, who notably brought the 190E in question to a class victory at the 1990 Bathurst 1000 with John Goss as co-driver. 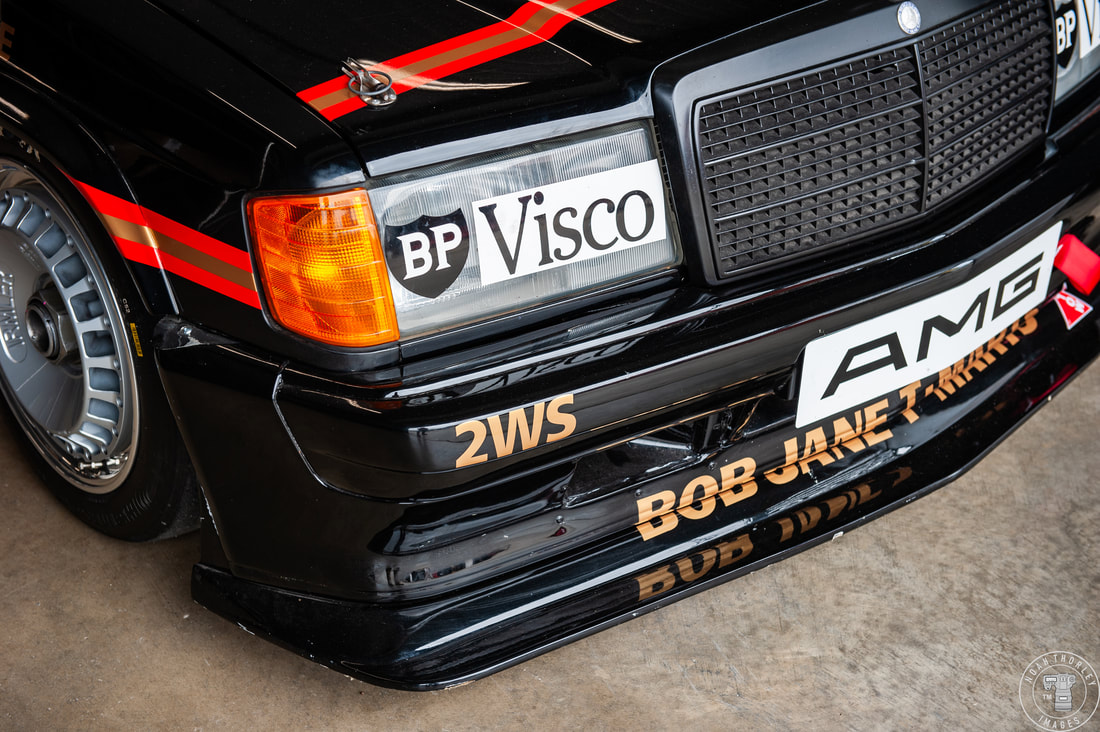 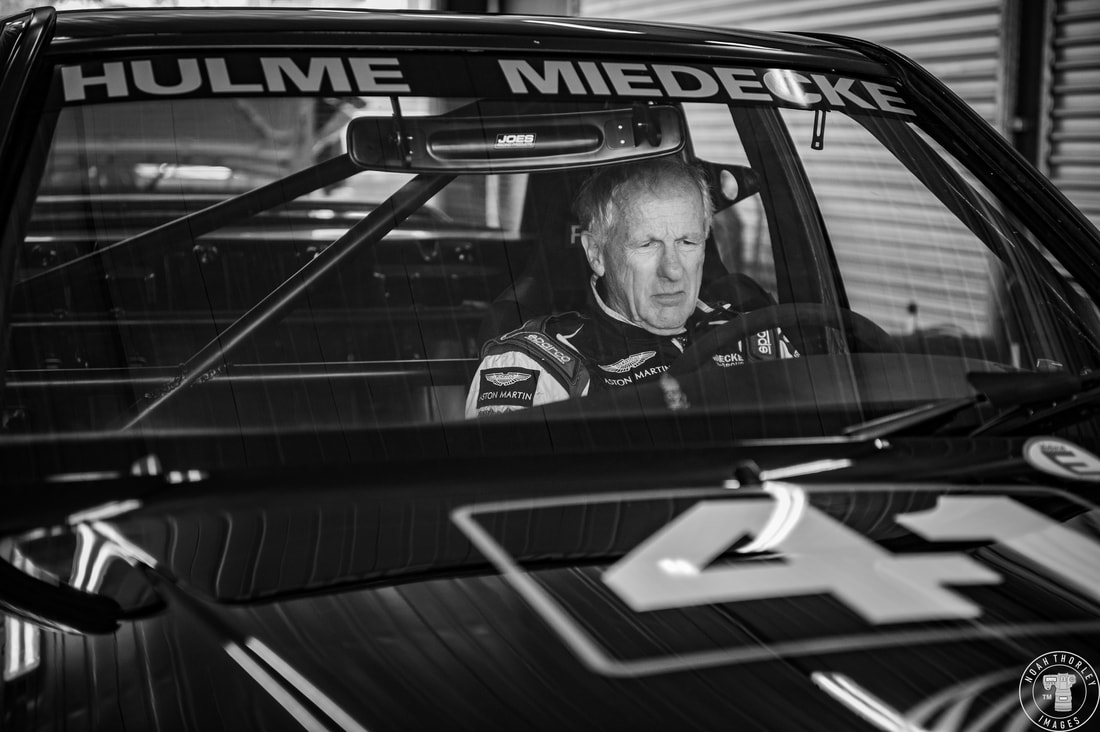 The pair of 190E’s were later sold and sent over to the U.S but were barely used. Meon Nehrybecki (owner of the 1989 Group A Toyota Supra) found the cars at a Mercedes dealer in 2012. Andrew Miedecke has restored the car cosmetically back to 1986 Bathurst colours, as James Ward (son of Phil Ward) has completed all the mechanical work. 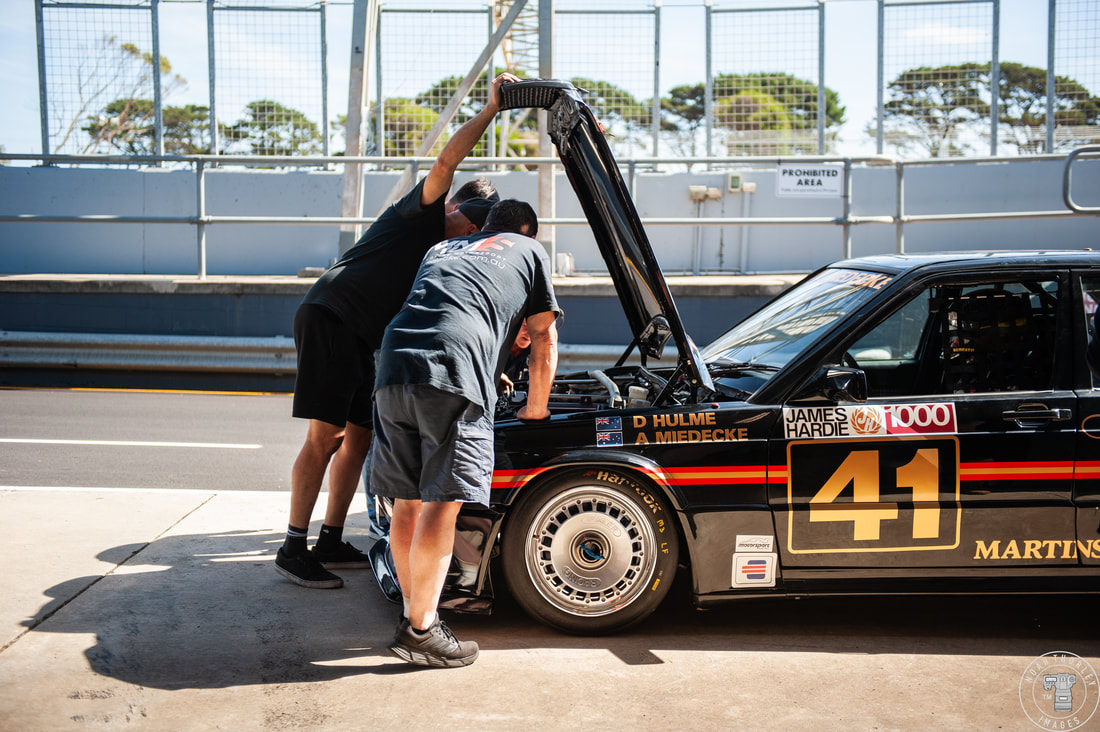
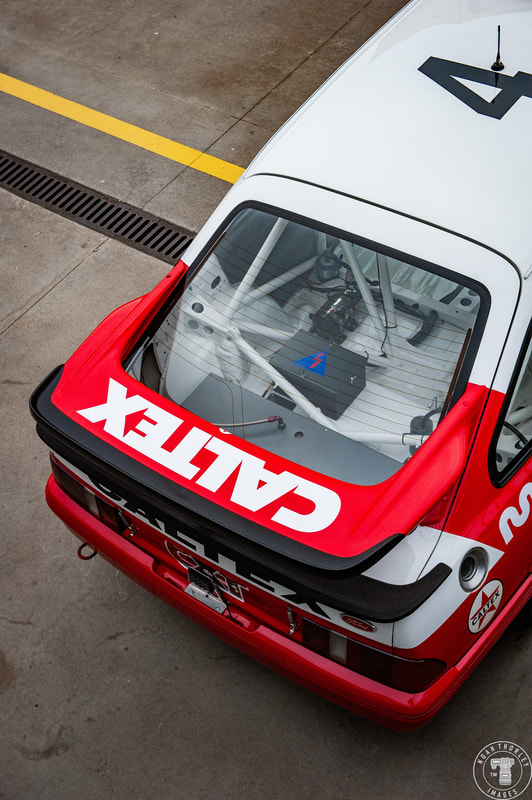
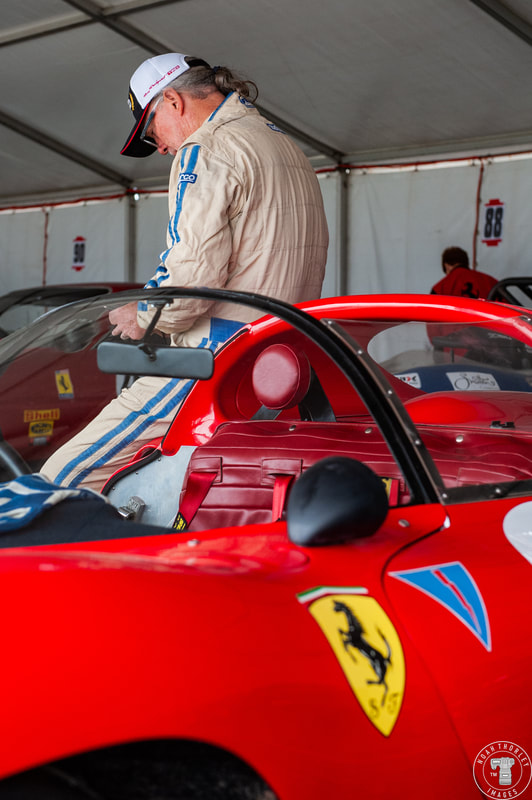
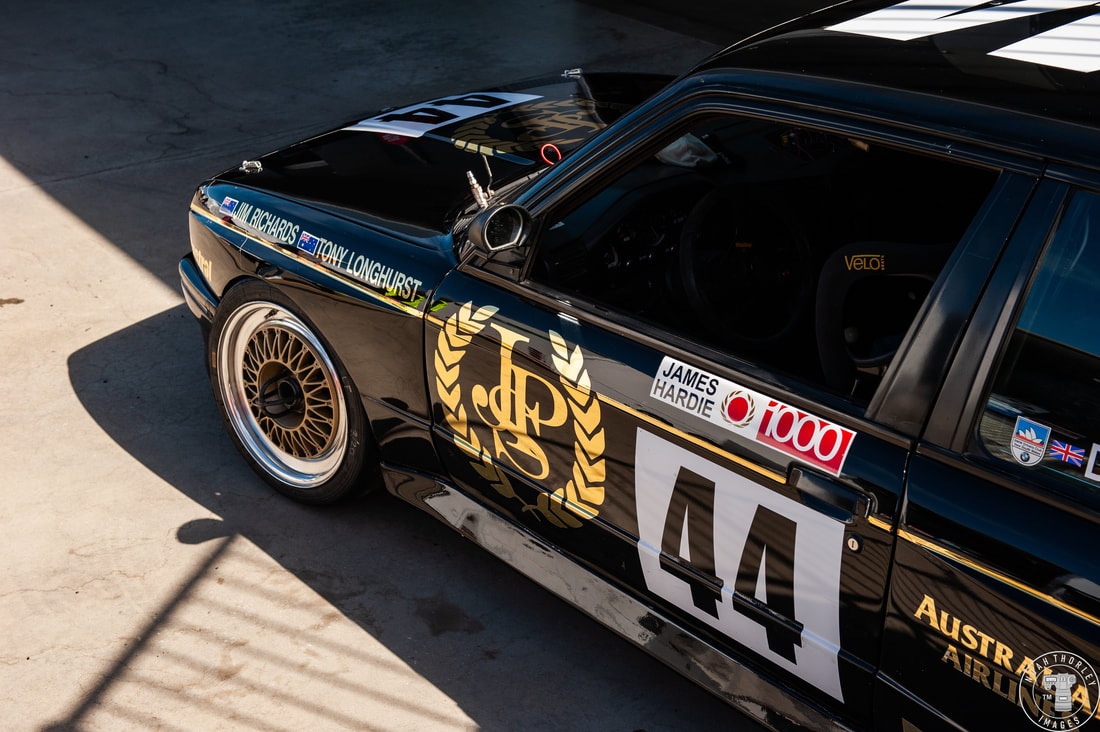
Since the cars journey to the U.S, this year’s Phillip Island Classic would be its first race meeting. It was pretty scary in the first session, it was all over the place. The springs were totally wrong, so we’ve got what we think is a setup that will change the handling characteristics. It’s not that fast, only 270hp and 1100kg… but it’s a ball to drive.” - Andrew Miedecke 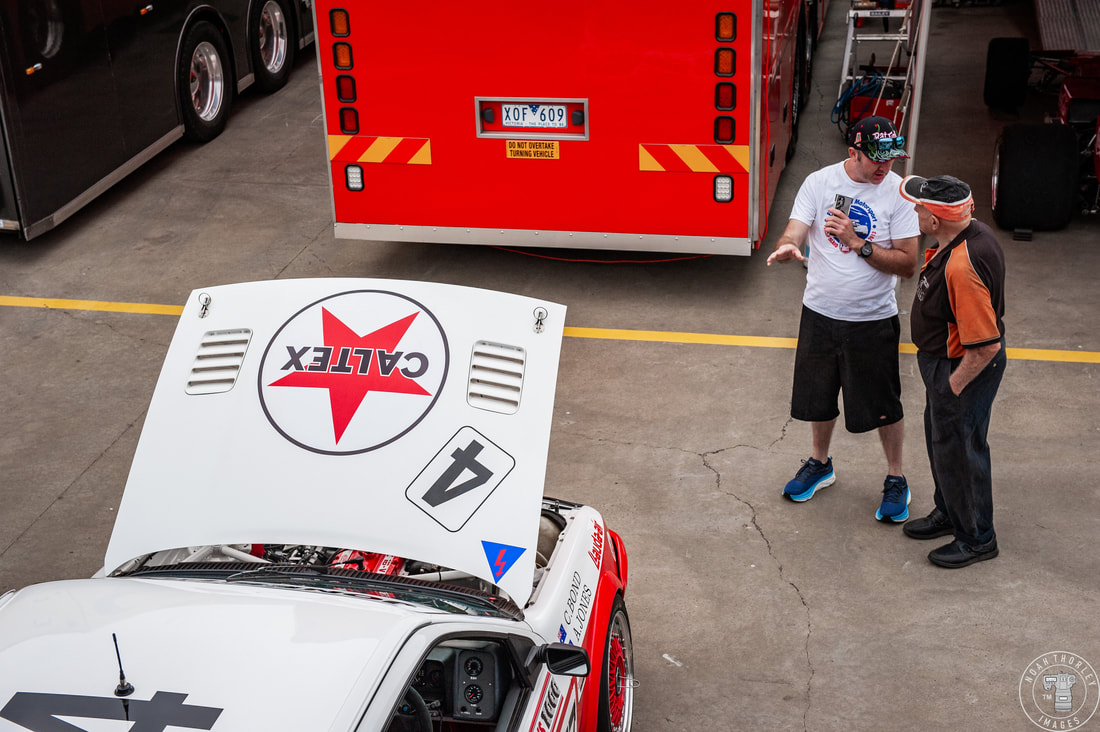 Both Scott O’Donnell’s Wolf Mondeo and Andrew Miedecke’s 190E would be put into the Group A category during the Phillip Island Classic and wouldn’t be the only Group A car I’d dive into. Colin Bond’s 1988 Ford RS500 Sierra is a popular sight wherever it goes. In the Historic Group A category, you have to nominate a race meeting that your car will appear as, meaning this Ford RS500 Sierra is in its 1988 Bathurst 1000 specifications. 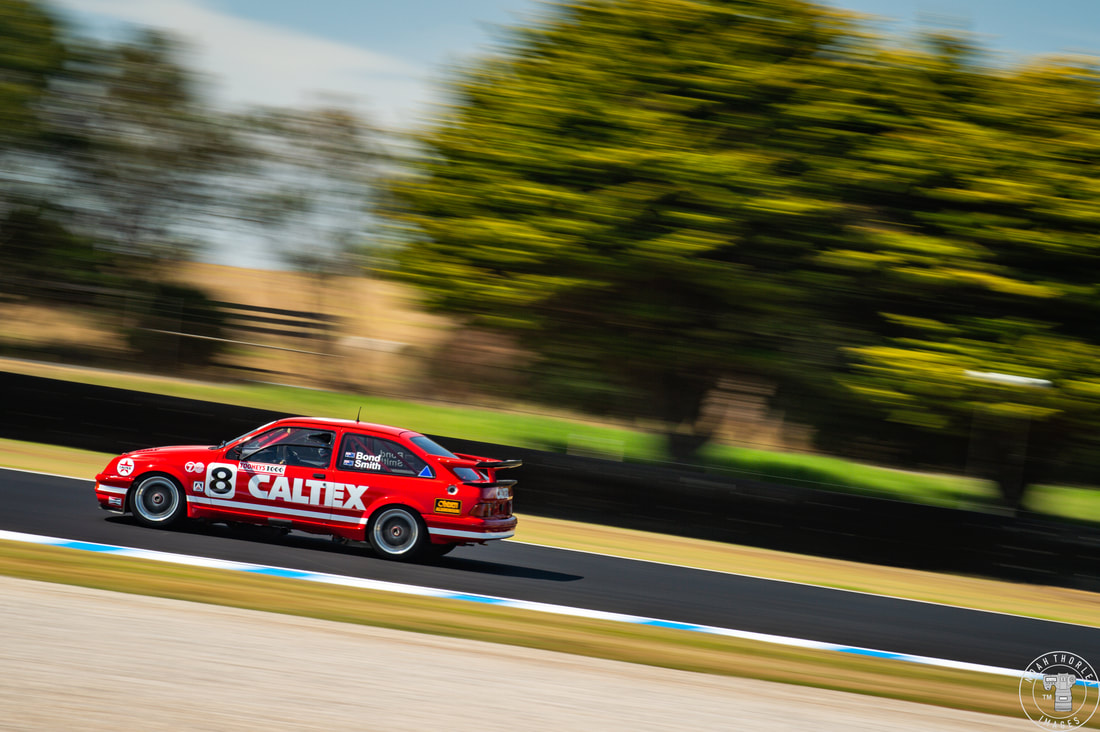 Colin Bond raced a Ford Sierra in 1987, yet this was the first RS500 Sierra that he built, with the second car now being owned by Jonathon Webb and his family. 2016 Bathurst Winner Jonathon Webb was also here at Phillip Island in the full red Caltex coloured RS500 Sierra. 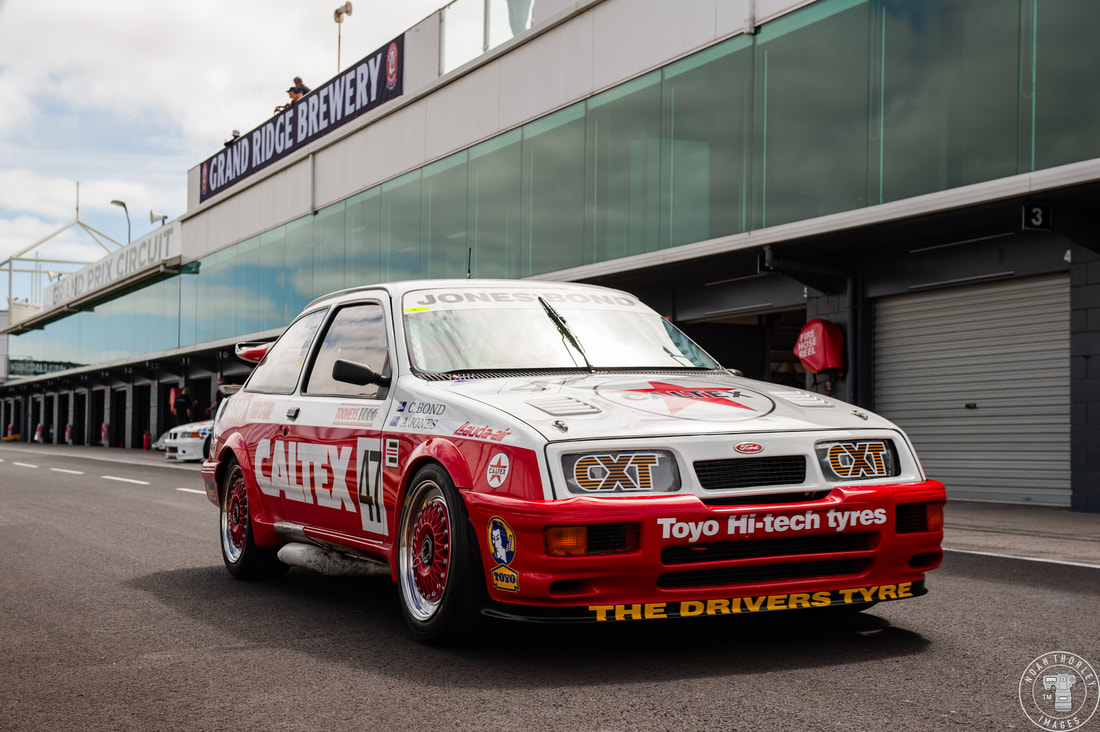 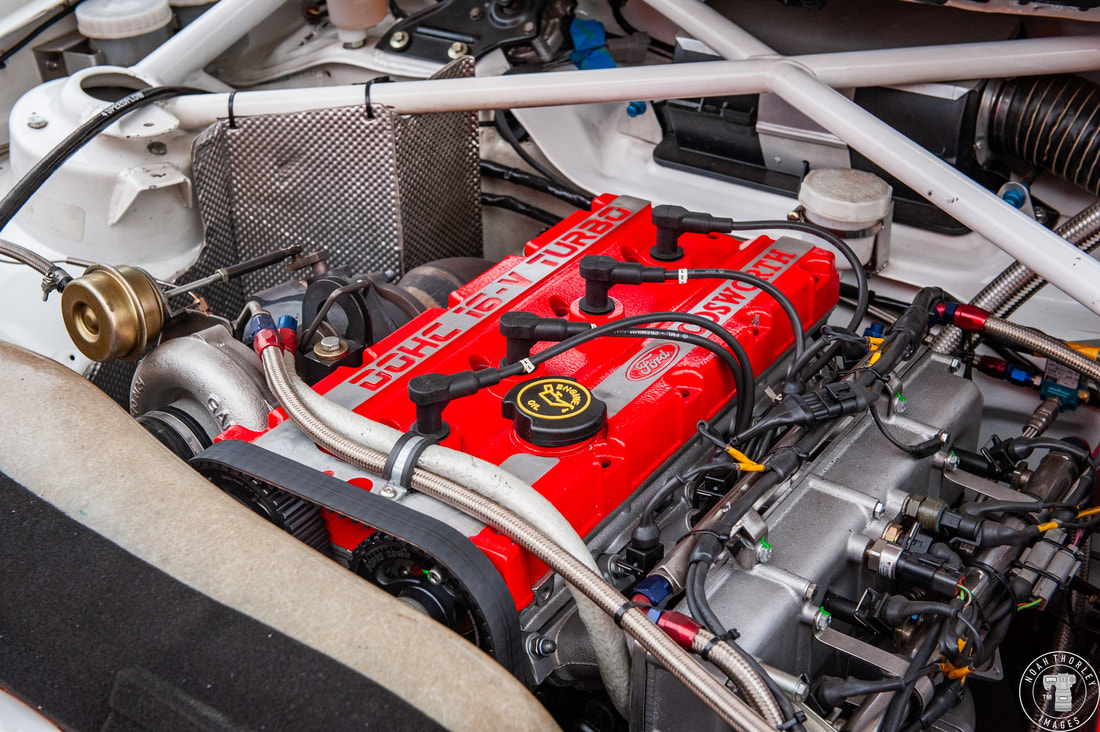 The car competed from 1988 to 1992 in ATCC Group A, before Colin Bond sold the car to one of his sponsors, where the car competed in Sports Sedans. During its time in Sports Sedans, the Cosworth engine was removed, and a Buick engine was mid-mounted in the car. A collector bought the car with aspirations to restore it he found the Sierra in a shed, but that never materialised. So, after an extra 15 years collecting dust, current owner Chris Stillwell bought the car. What we started with was a bit tragic, [now] the car is a really genuine representation of what it was like at Bathurst in ‘88.” - Chris Stillwell 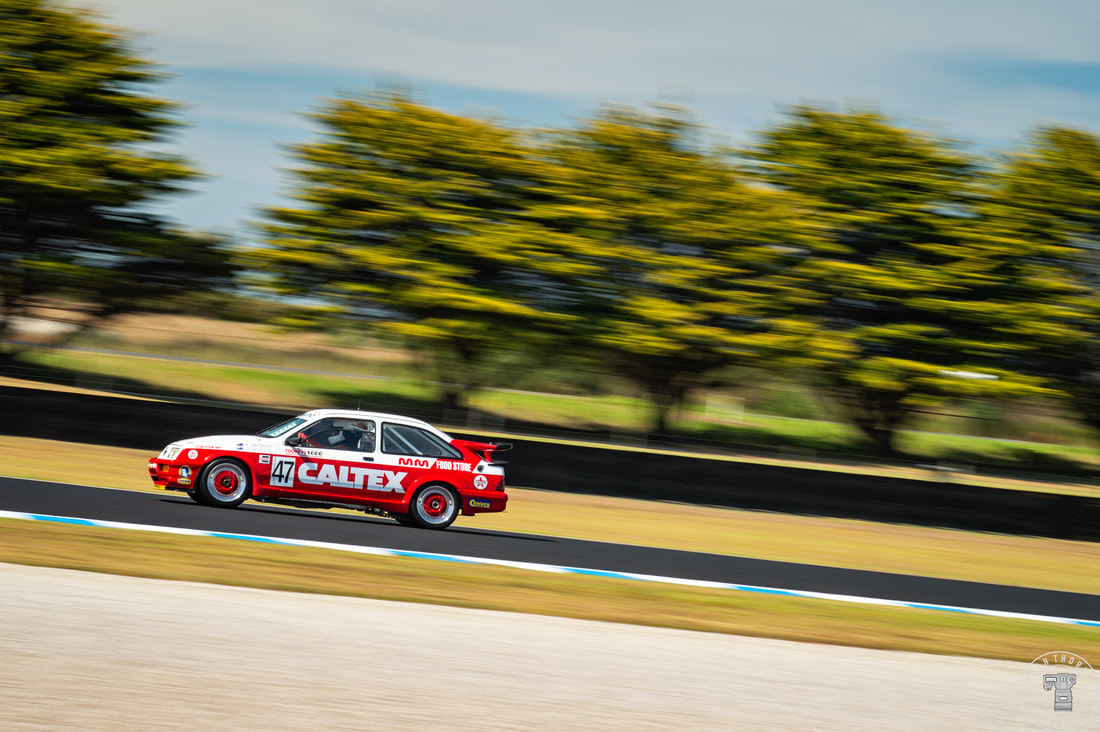 Chris’ aim was to restore and retain the authenticity from multiple seasons of Group A competition. After four years of work with assistance, the result is a 500ph historic Bathurst 1000 competitor. You might be wondering how one goes about restoring a car to exact race specifications, well Chris has to thank Colin Bond and others for that. We were very lucky that we had the last of the DJR Sierras we were racing while we were restoring this. Colin came down to the shop one day… and went through and said, ‘Yeah my car was exactly the same as Dick’s so copy that’ or, roll bars for example he said, ‘no we didn’t do that, we did it this way’. Colin was really generous with his time.” - Chris Stillwell 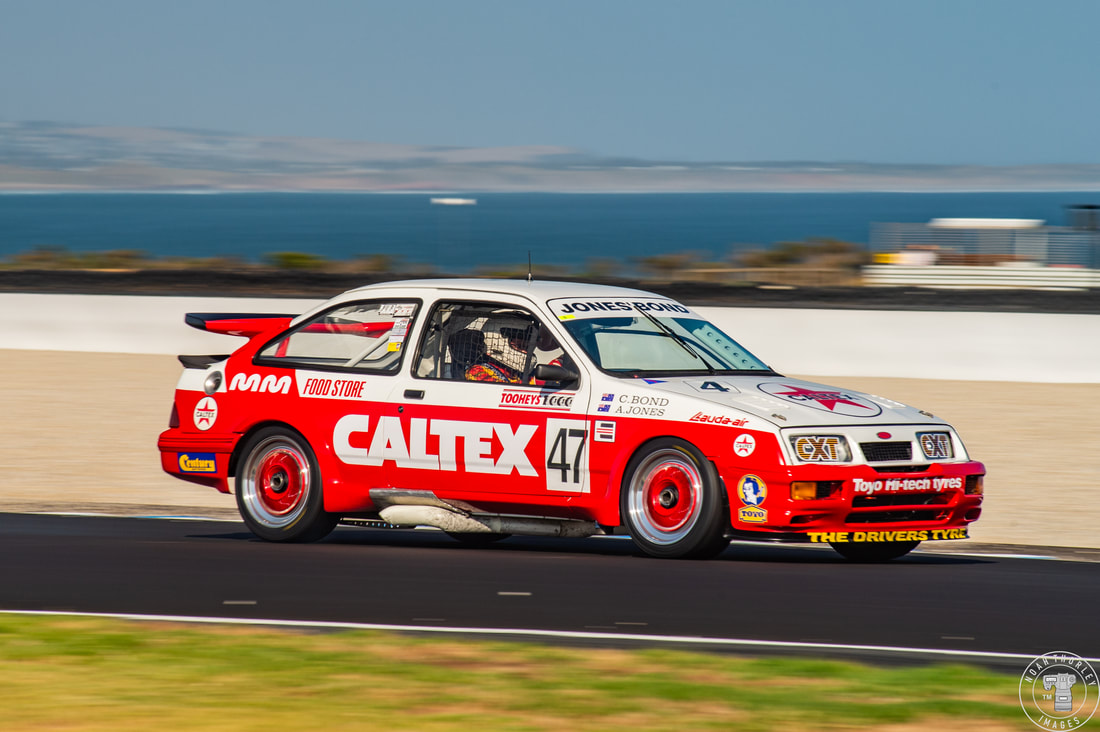 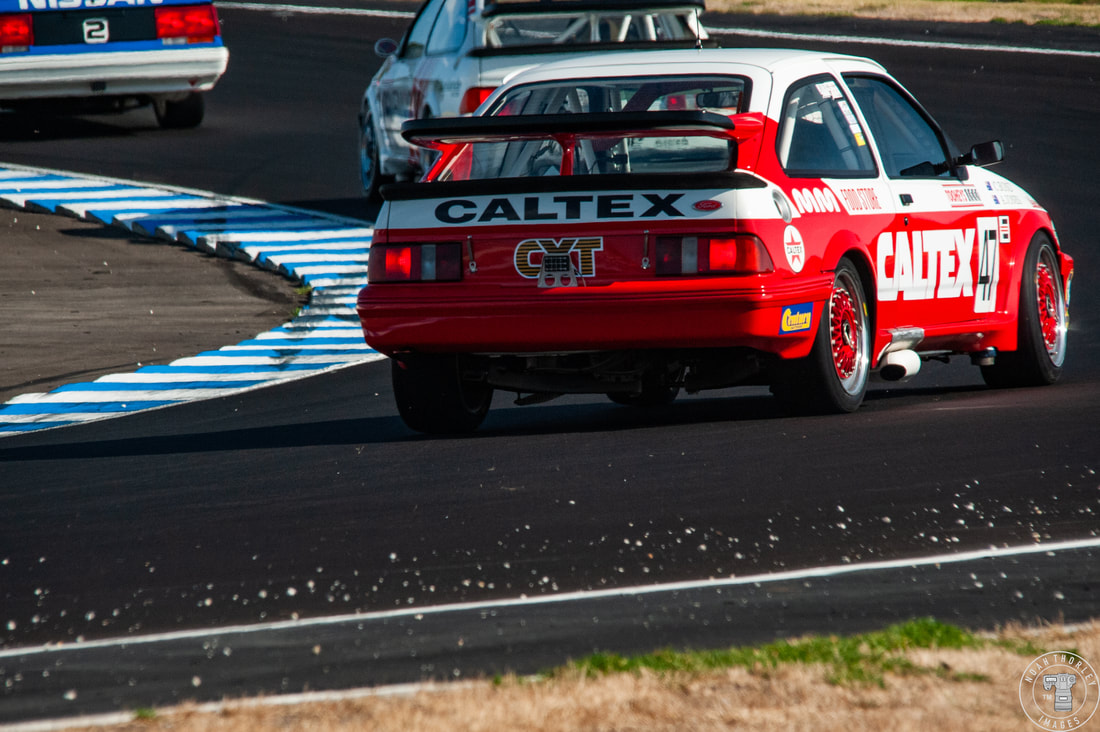 Colour photographs taken inside and out from a motoring magazine who completed a road test with this Colin Bond Sierra, also helped in the restorations. As others found out about the restoration of the car, parts that had been owned by collectors were also bought back. I’m a Ford guy, I’ve raced Mk1 Cortinas, Mk1 Ford Escorts, and it’s interesting when you get in the [RS500 Sierra], you immediately know that it’s a Ford product because of the [engine] vibrations its got… The immediate reaction when I first drove this car was ‘Yeah it’s a small Ford’, it’s amazing.” - Chris Stillwell 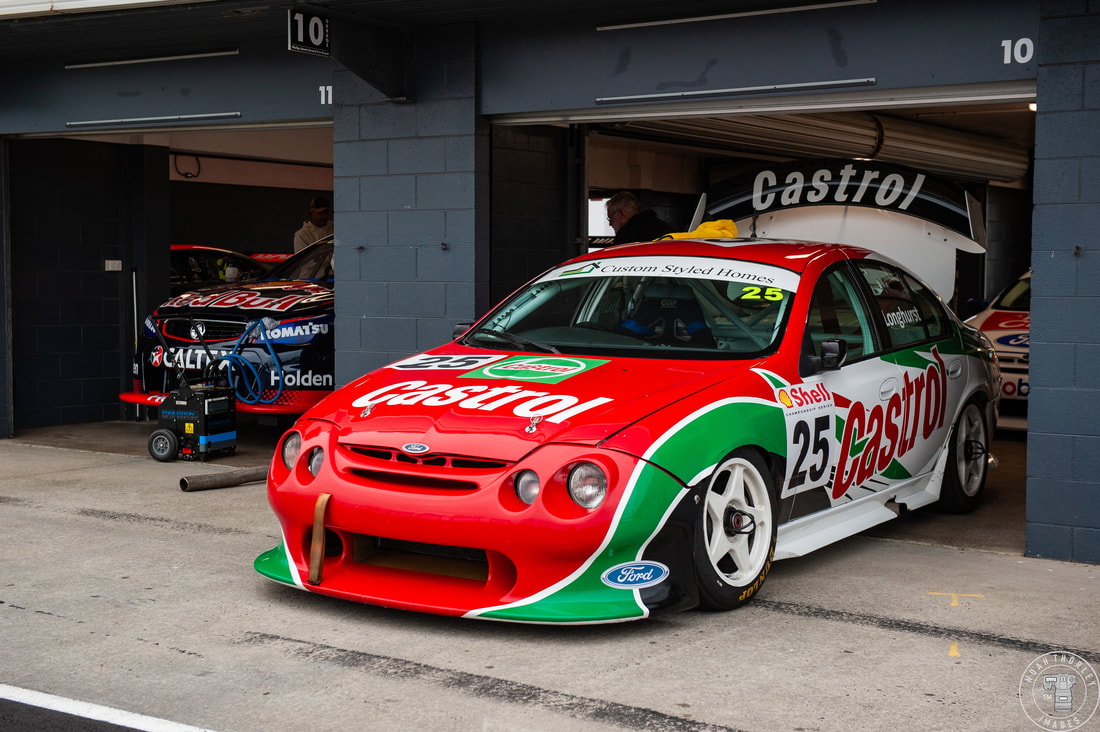 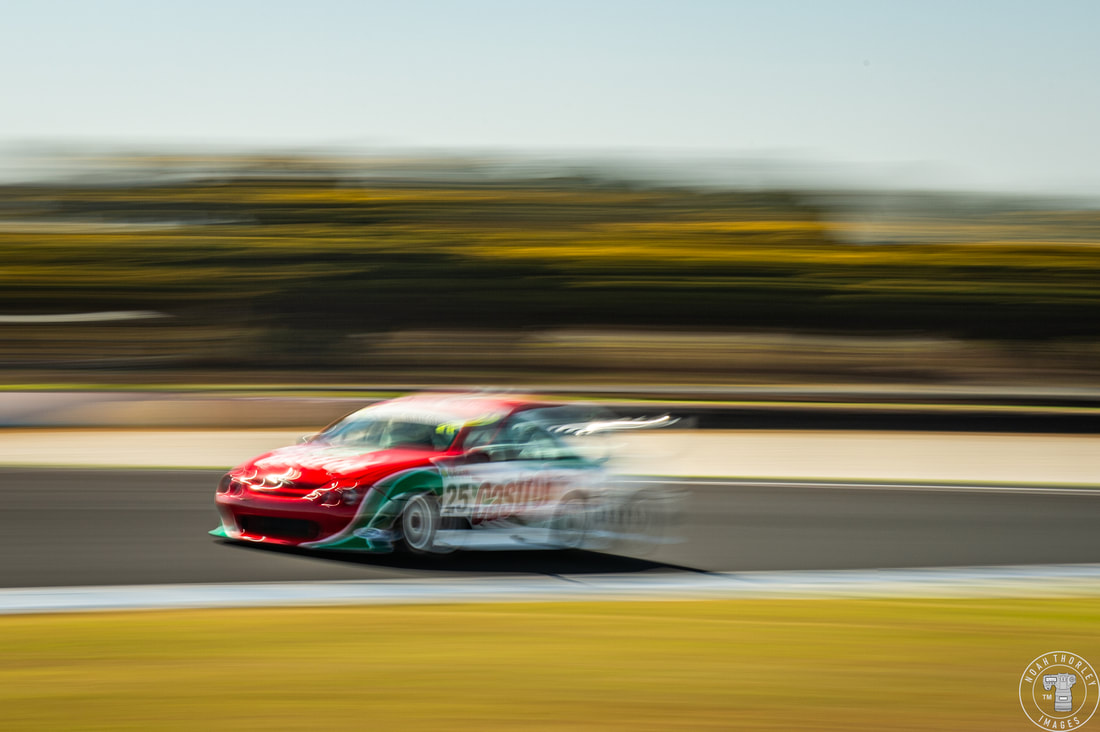 The Group A field is always strong at the Phillip Island Classic, but this year, a special collection of V8 Supercars would also hit the track. I’m a sucker for anything in Castrol colours, so from the bunch of modern nostalgia, this beautiful Ford Falcon AU, raced by Tony Longhurst was always going to be my favourite. 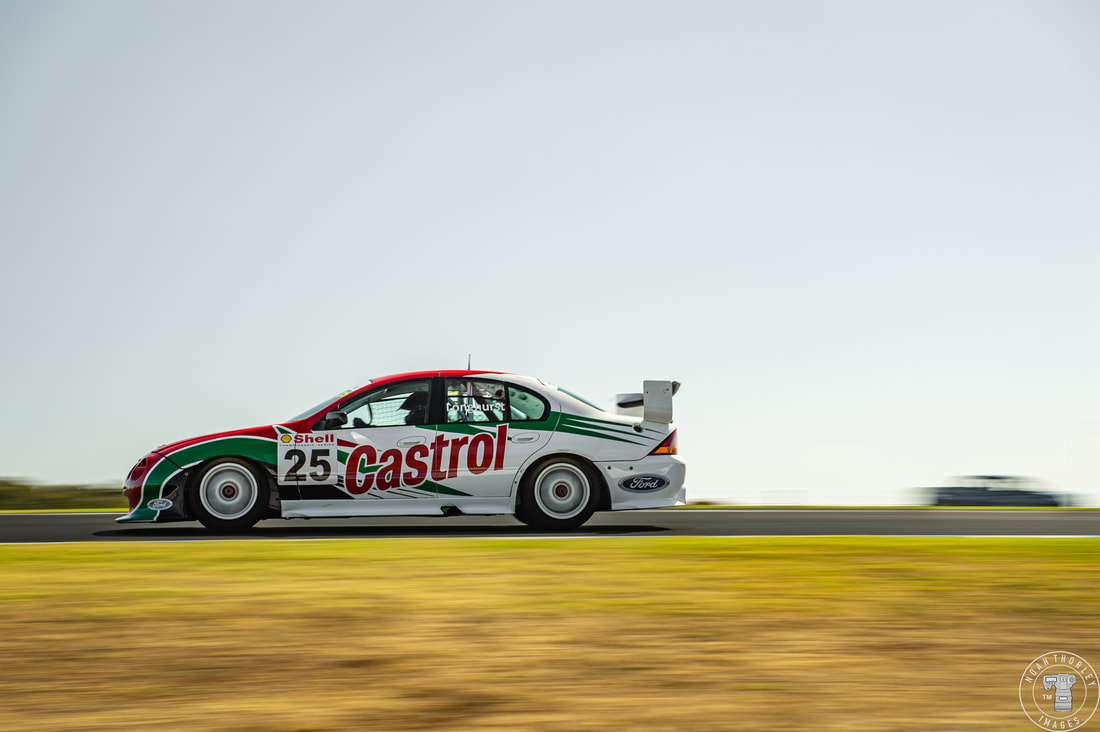 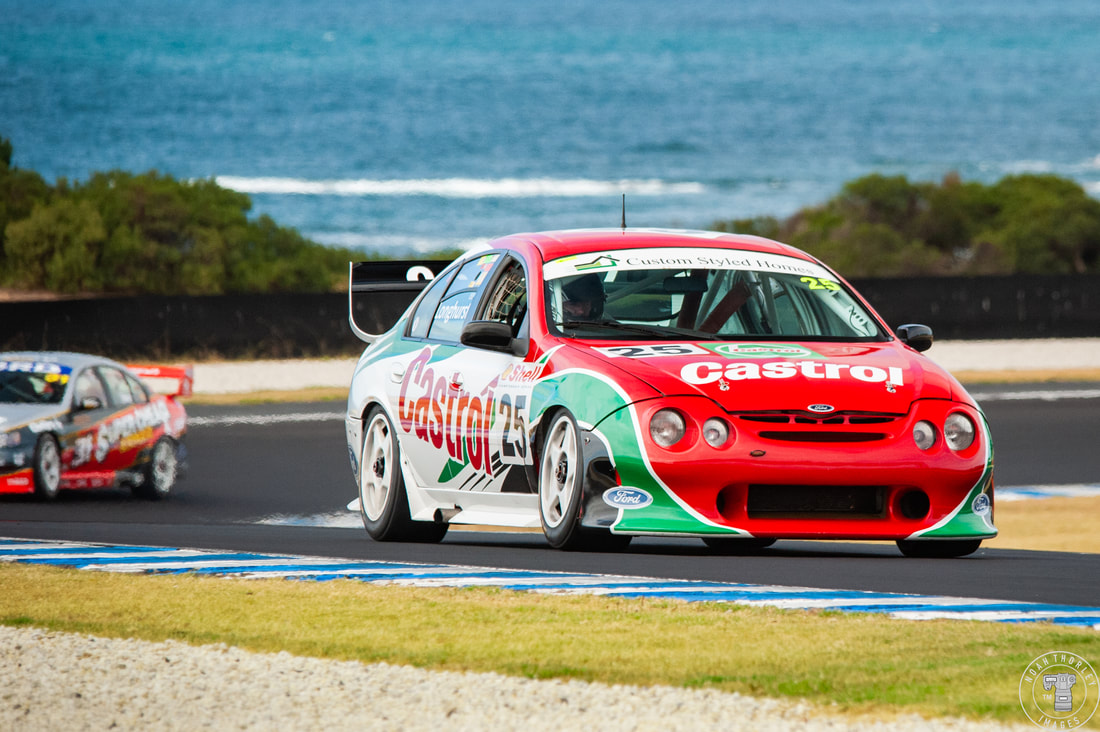 Two-time Bathurst champion Tony Longhurst competed in chassis LR0199 in 19 rounds of the V8 Supercars championship between 1999 and 2001. The car was used in all 13 championship rounds of the 1999 season, with Adam Macrow joining in as co-driver for Bathurst and the Queensland 500. 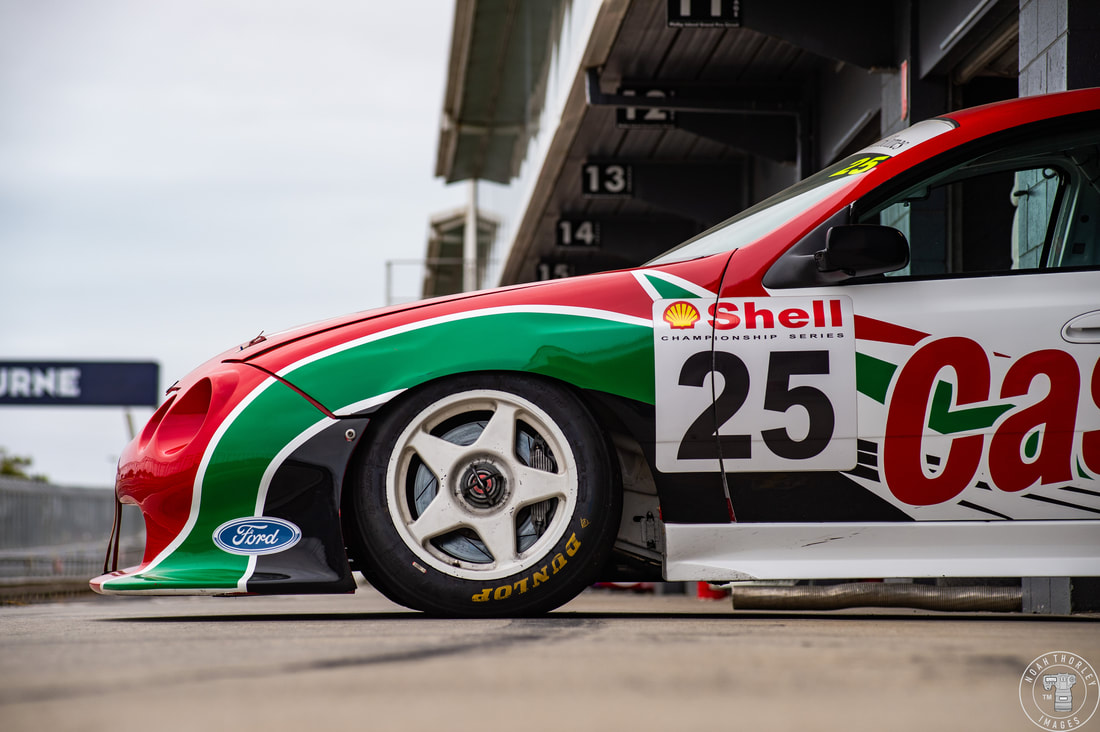  The car was then sold to Alan Heath, who drove the car in 4 rounds of the 2000 season and at Adelaide and Bathurst in 2001, whilst also using the car to compete in the 2001 Konica Series (now known as Super2). 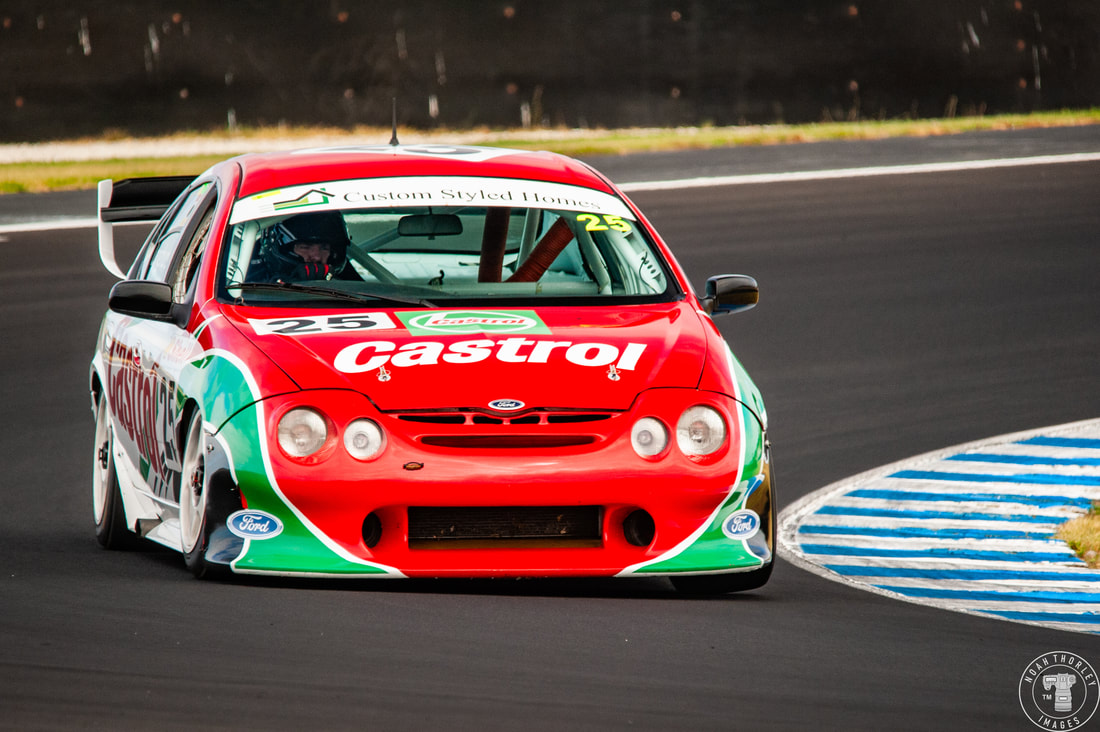 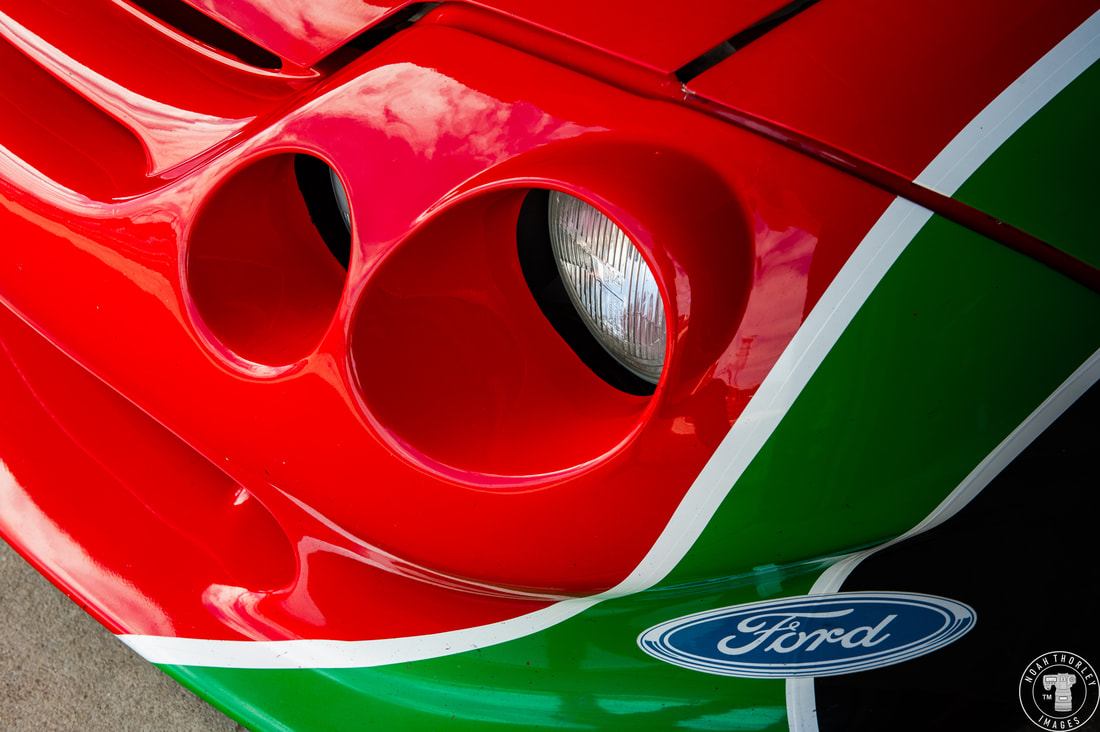 After its racing career, it would be owned by multiple private owners, who restored the car from the ground up, keeping all the original parts. This is where current owner Paul Smith enters the picture, purchasing the AU Falcon when it came up for auction in 2021. 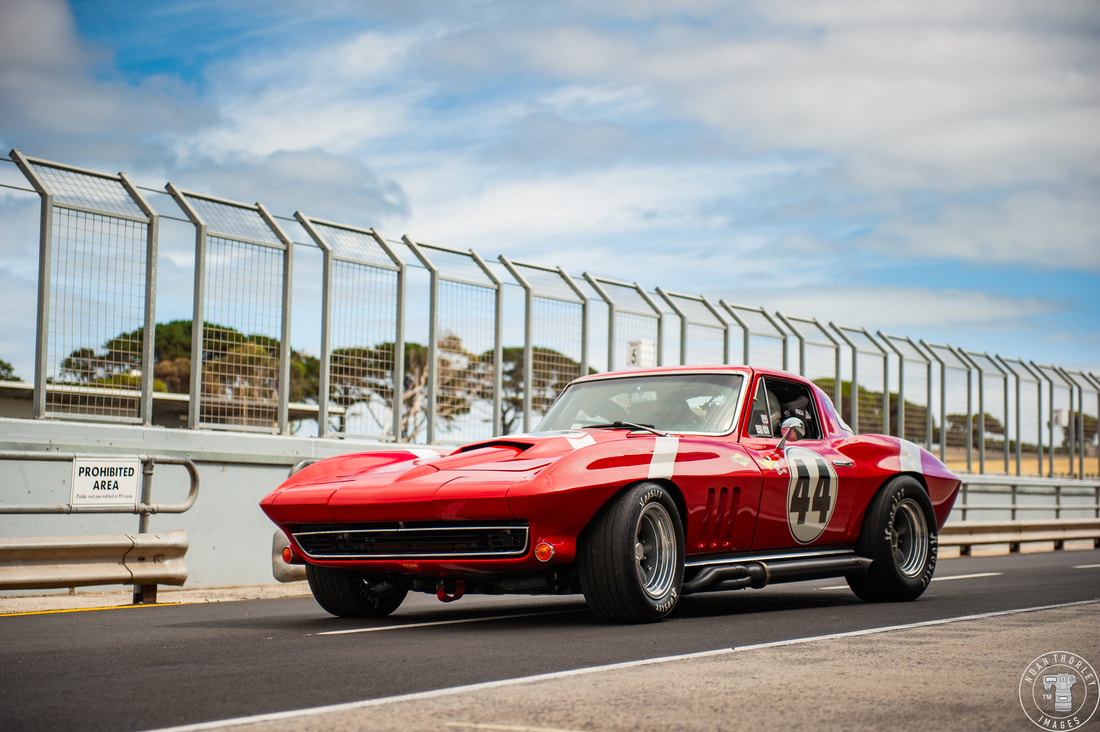 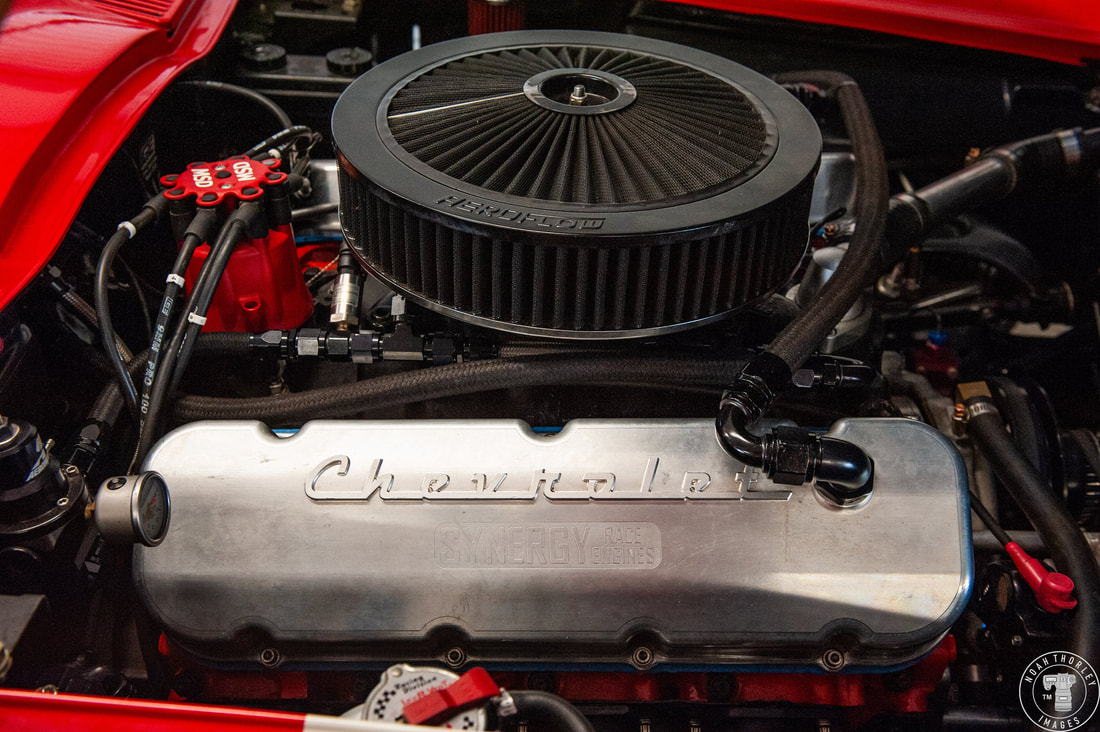 One car that has caught my eye before, both at last year’s Phillip Island Classic and at the Rob Roy Revival was Joe Calleja’s 1965 Chevrolet Corvette with a mighty 7-litre V8 making all the right noises. 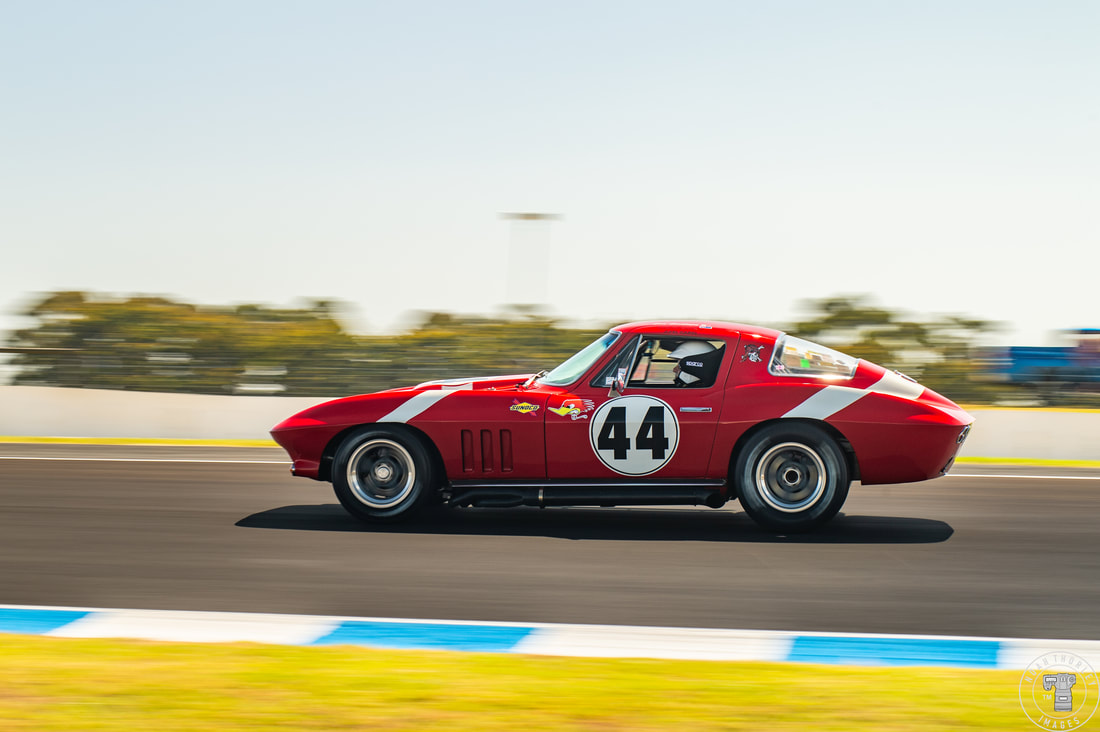 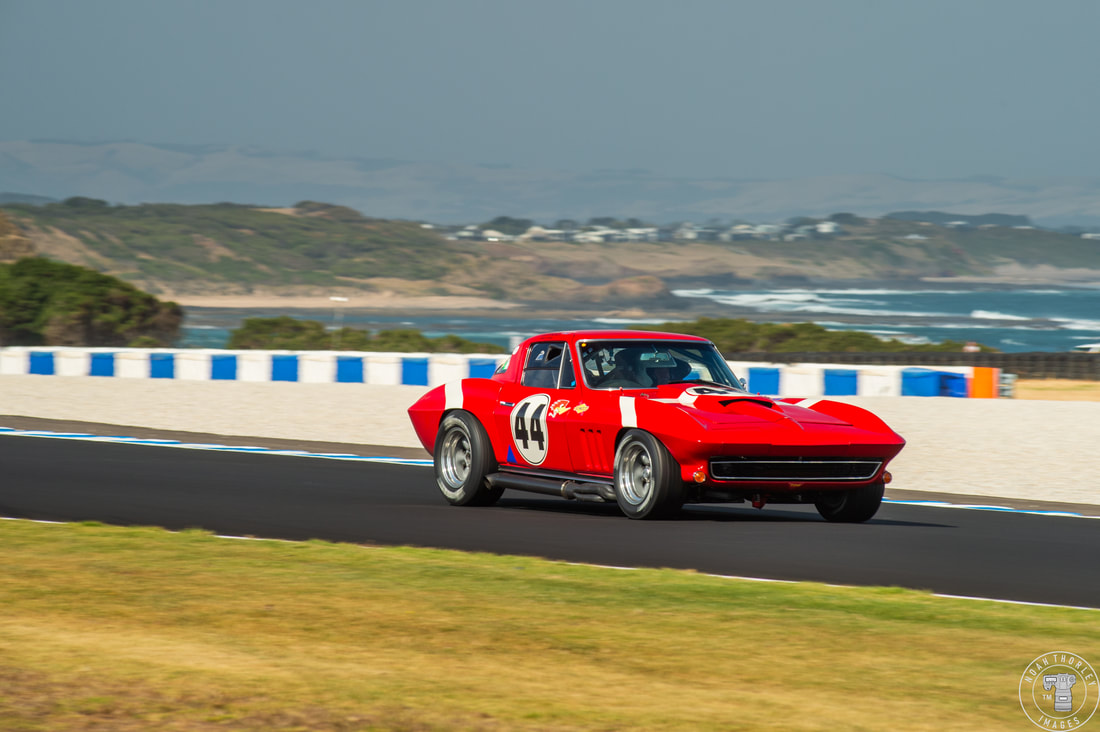 As most Corvettes do, it began its racing career competing in the U.S.A however it was then shipped across the Atlantic. The big red Corvette raced across Europe including Portugal and Belgium and was owned by Jason Robinson (the English Rugby Union Captain at the time) who contracted Australia’s own Peter Brock to drive the car at Goodwood in 2005. 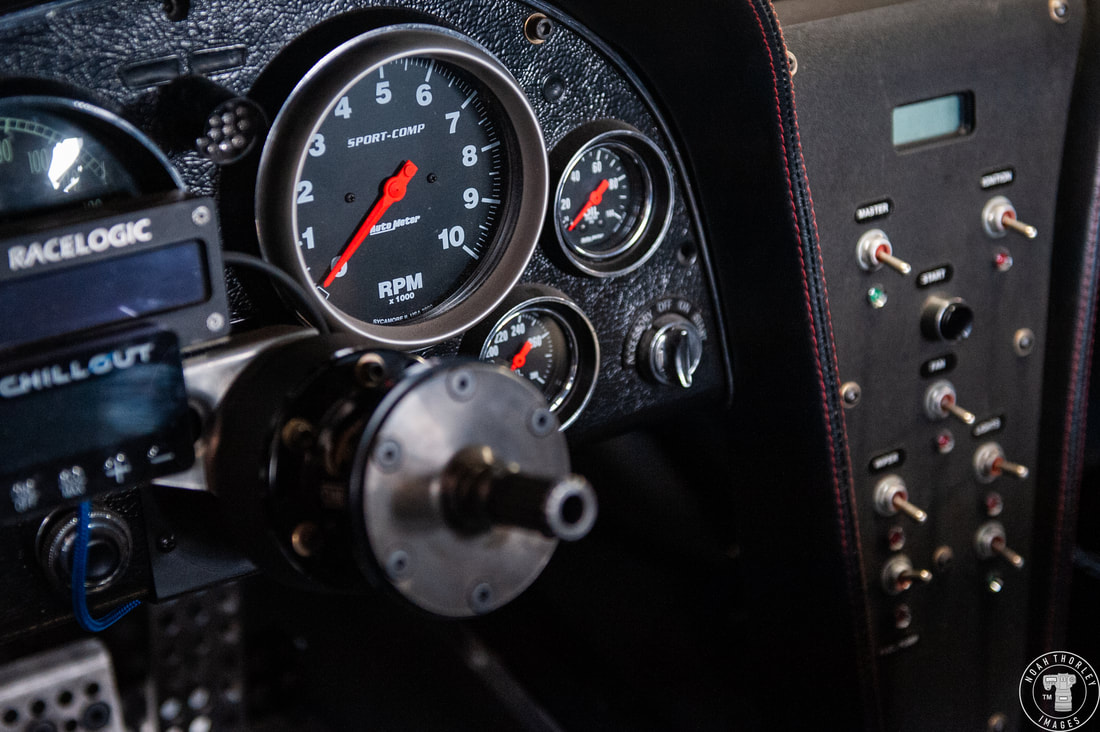 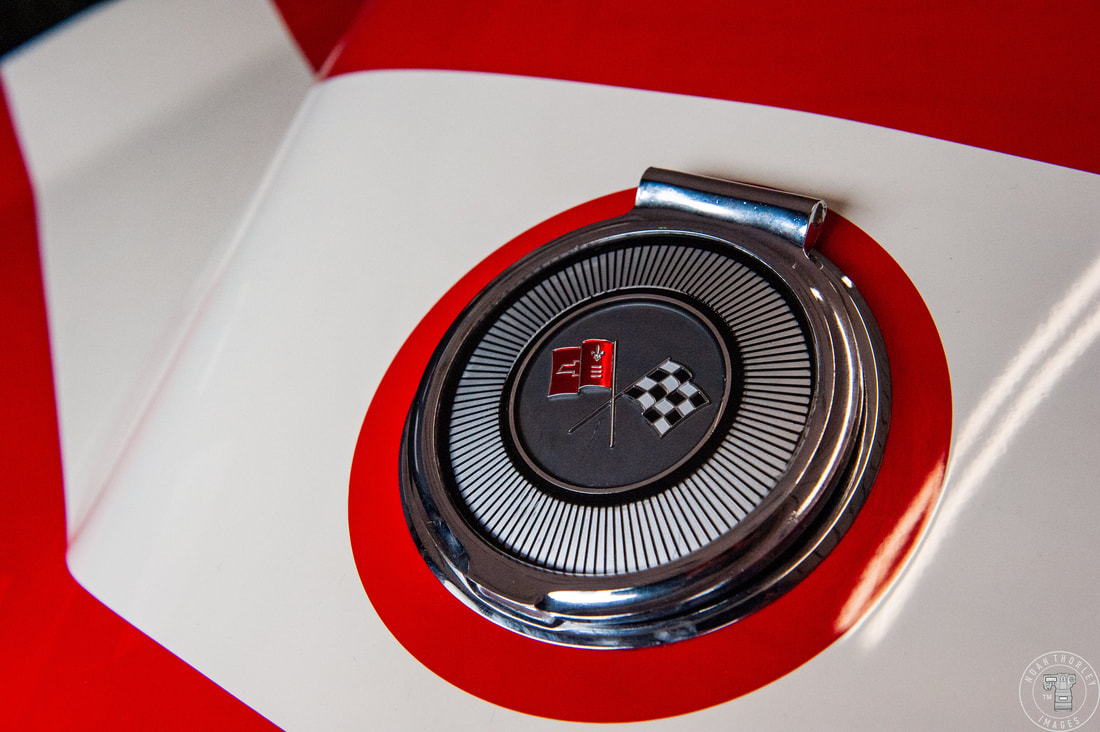 Joe Calleja bought the car in 2010 in race ready condition and has also raced the car at Goodwood and additionally at Laguna Seca. During the Covid pandemic, Joe used the time to completely rebuild the car, which is now when I should mention that the 7-litre monster under the bonnet isn’t the original motor, rather bolted in by Joe and his team. It has got disc [brakes] at the front. They came out with discs in ‘65 so that’s a plus, but you know, there a difficult sixty-year-old car to drive. Great car to drive, a lot of fun.” - Joe Calleja 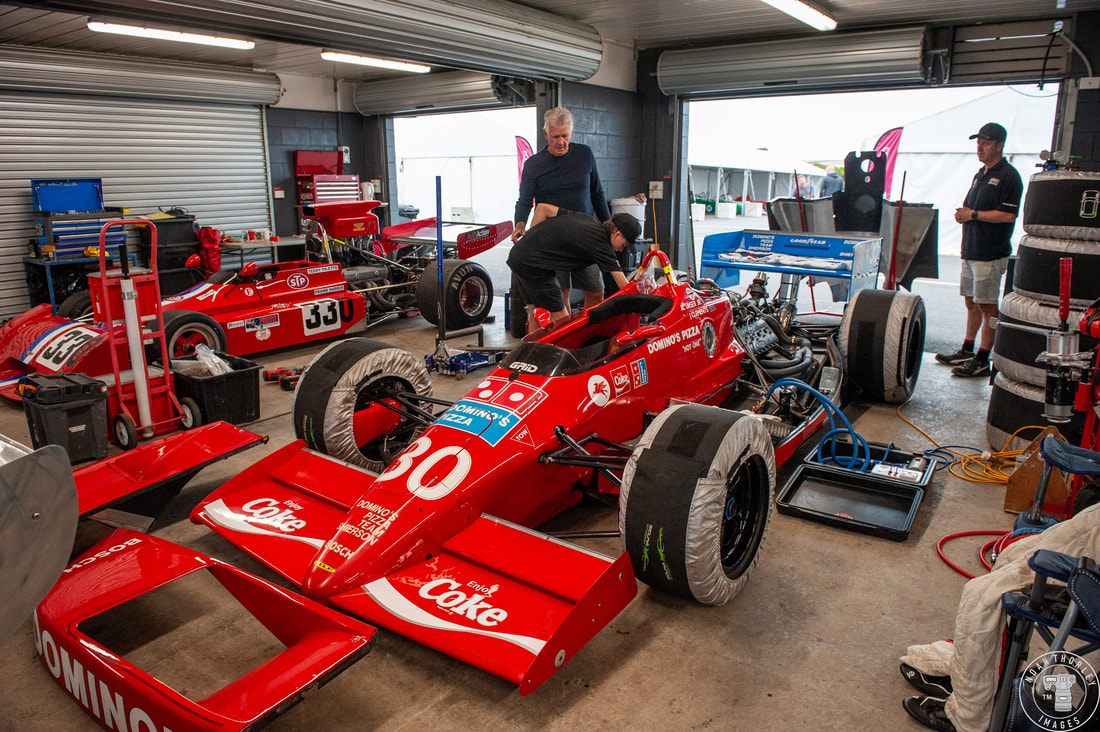 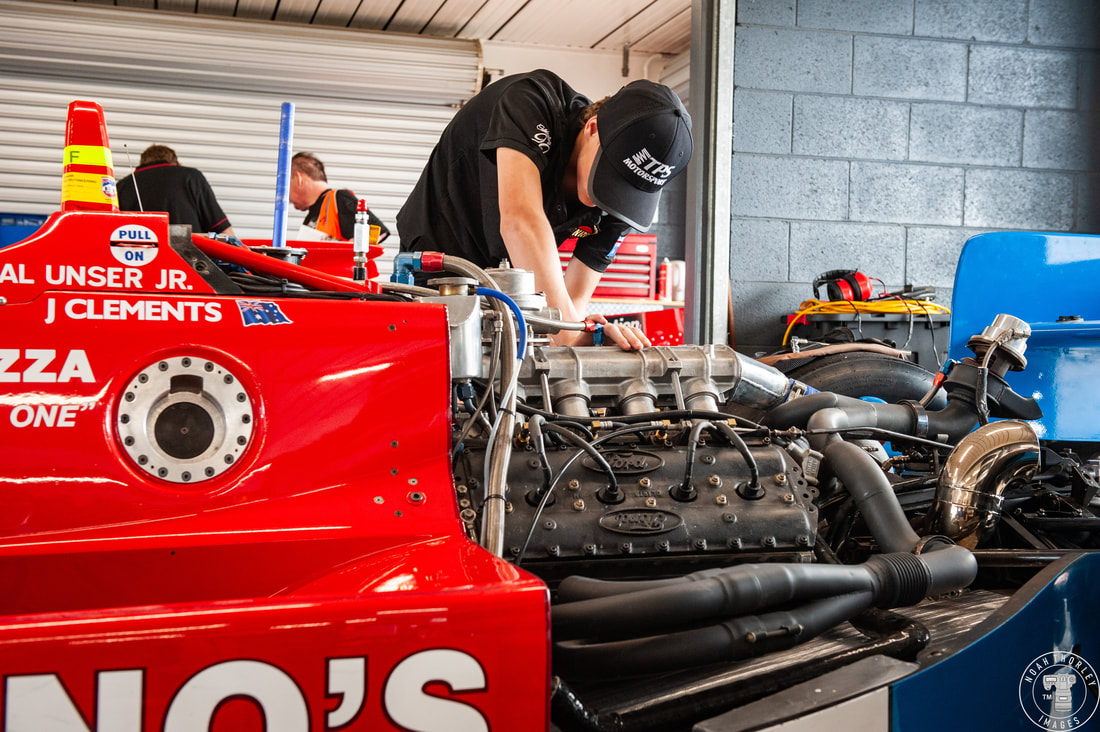 Last year, my favourite car was an Indycar, and this year is no different. This Lola T8600 is the car that Al Unser Jr drove for Domino’s Pizza Team Shierson during the 1986 season, powered by the dominant V8 Cosworth powerplant. 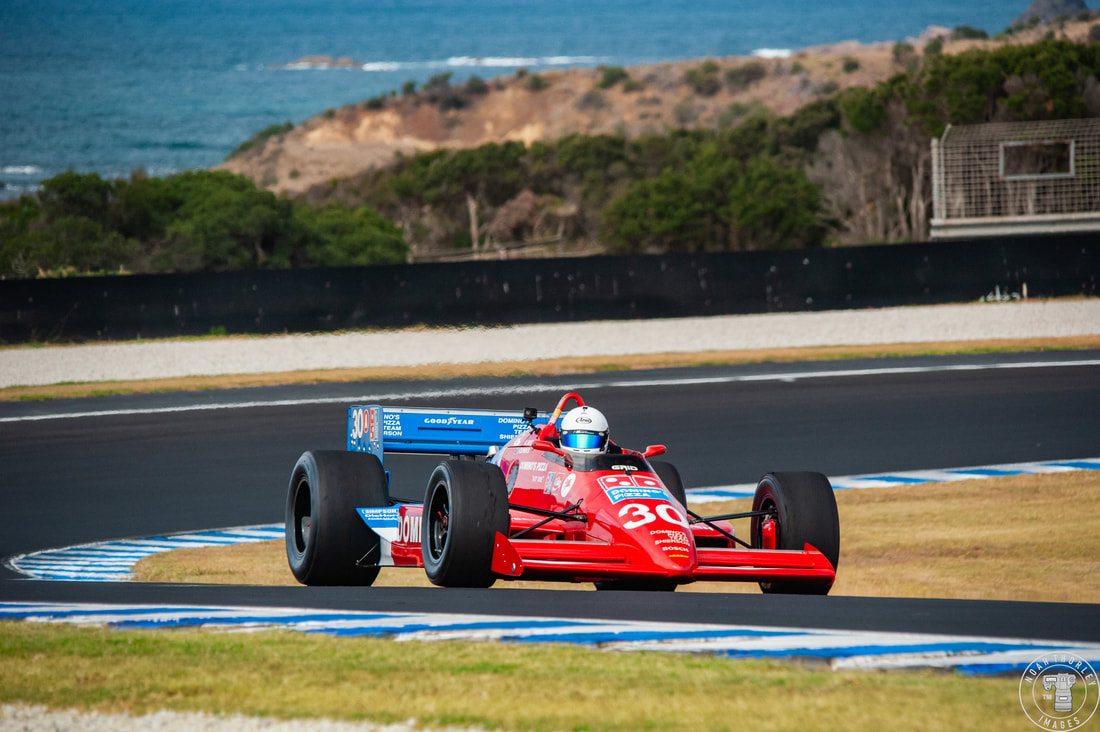 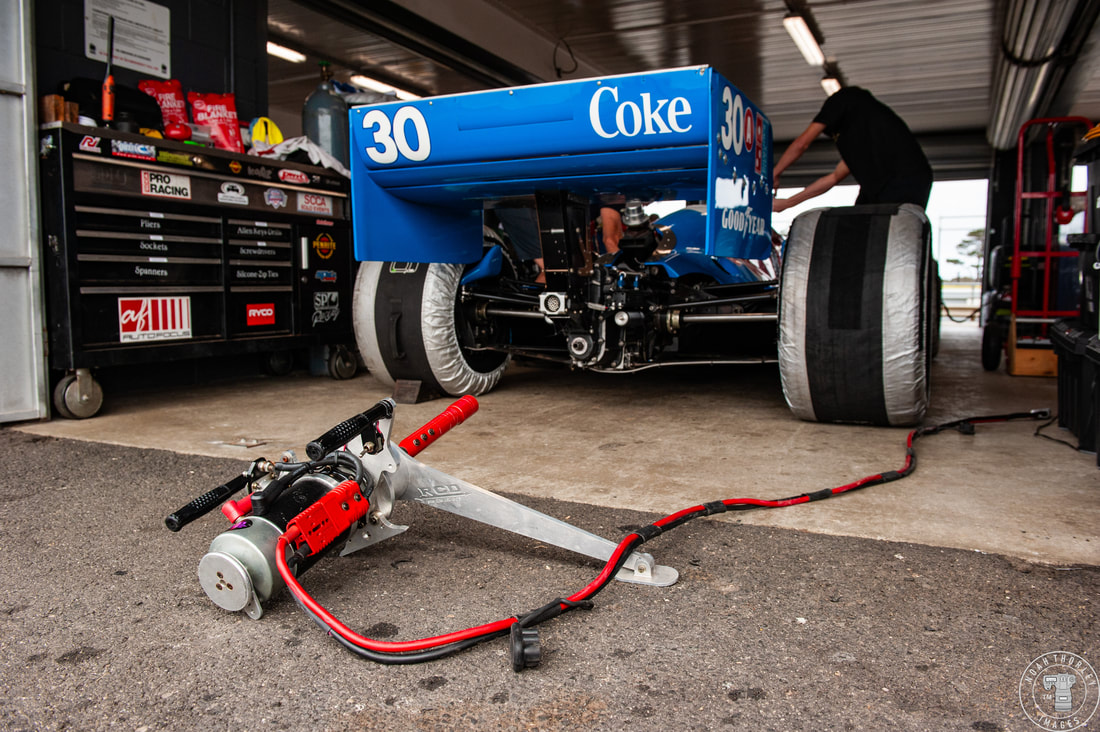 Al Unser drove in that year's thrilling Indianapolis 500, leading six laps to finish 5th. During that year, 'Little Al' scored three podiums (Long Beach - 2nd, Quebec - 2nd & Portland - 3rd) as well as a win at the final round at Miami on his way to 4th in the championship standings. It’s amazing, it’s got so much power, it’s sensational.” - Jason Clements 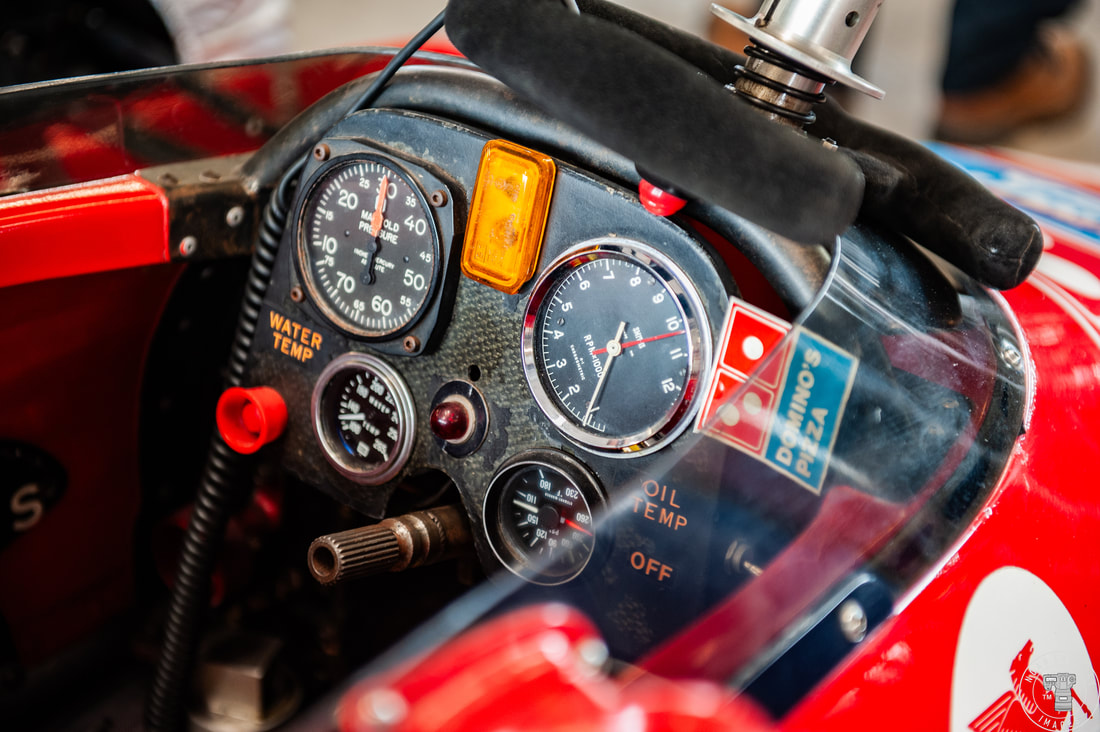 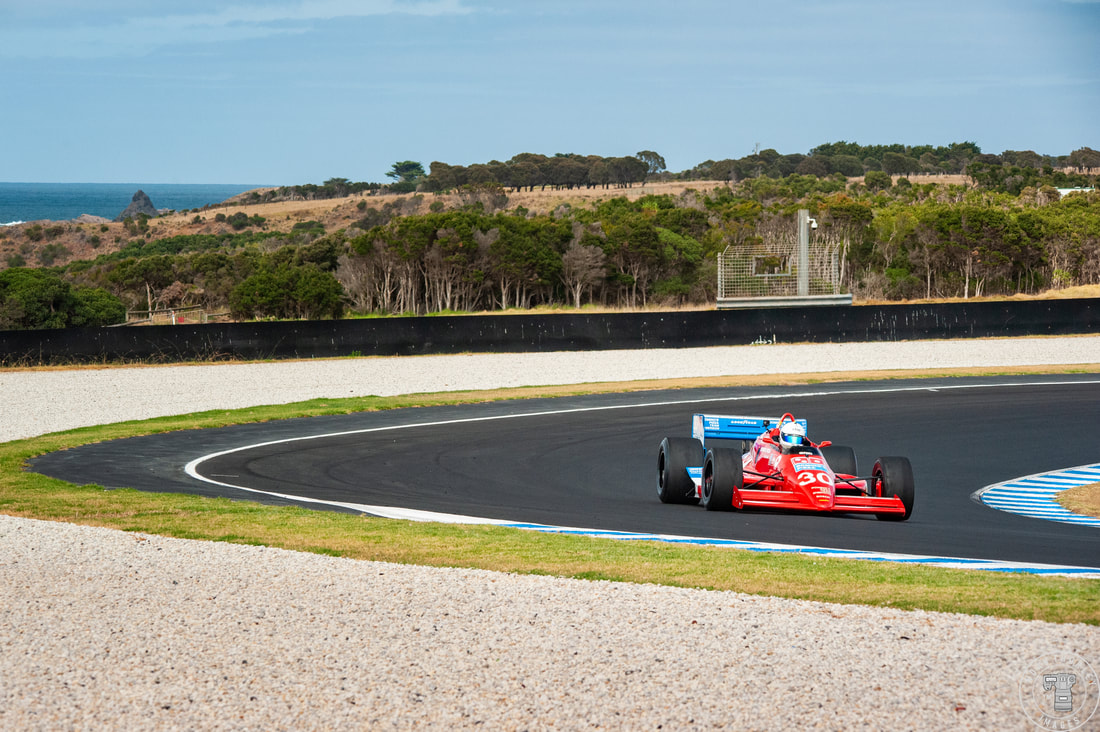 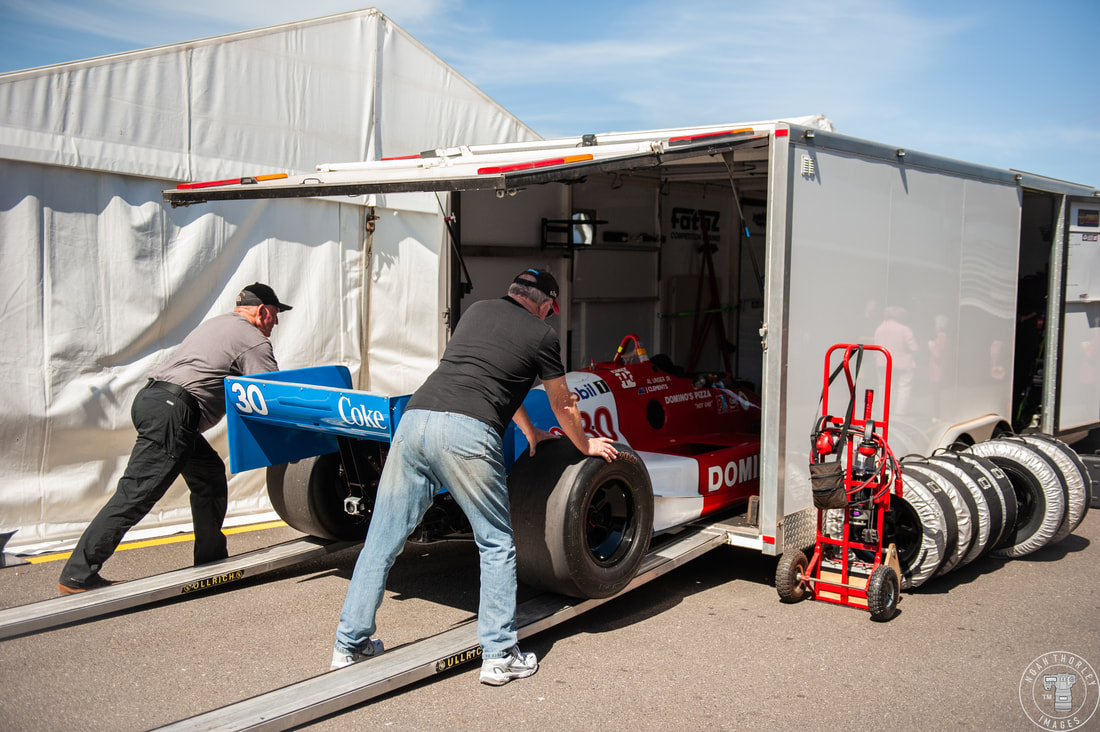 At seasons end, team owner Doug Shierson would put the Lola in his private collection. Doug would pass away in 2004, and the car would be owned twice and used for the occasional club series event, before Graham Mein from NSW purchased the car in 2009. Jason Clements has been the man behind the wheel ever since, but unfortunately only managed two laps at this year’s Phillip Island Classic. Unfortunately, we’ve had a turbo fail on us this weekend, that’s why it’s in the trailer, but we’ll get it fixed and go again.” - Jason Clements 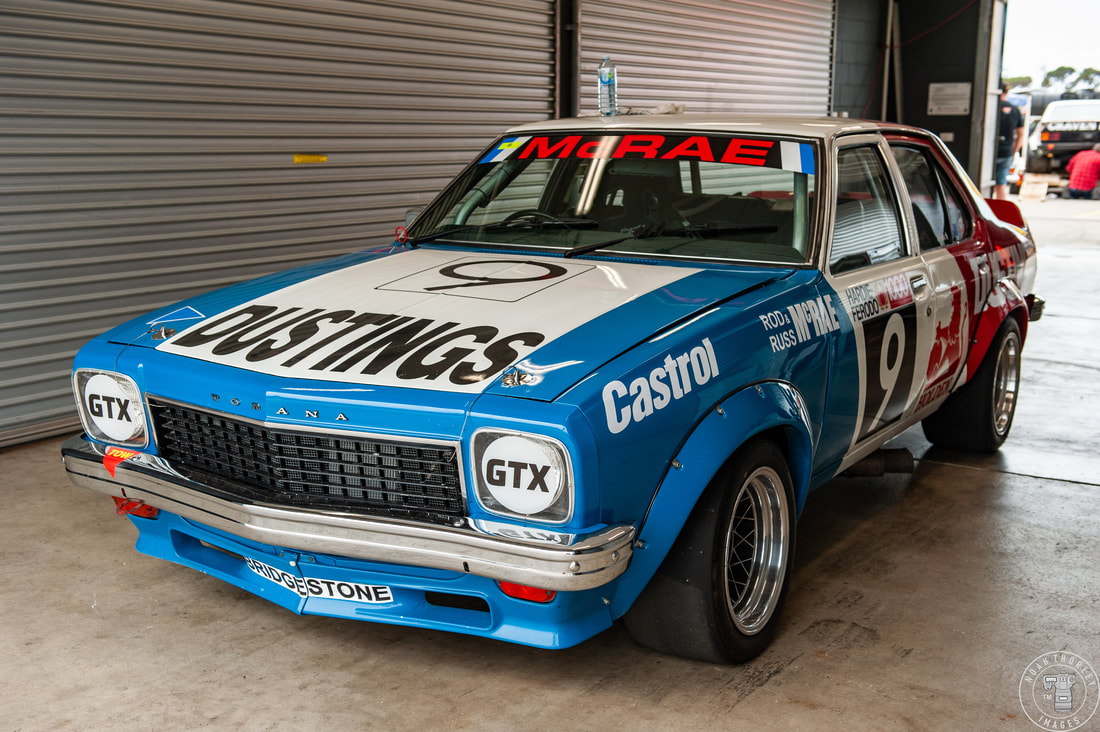 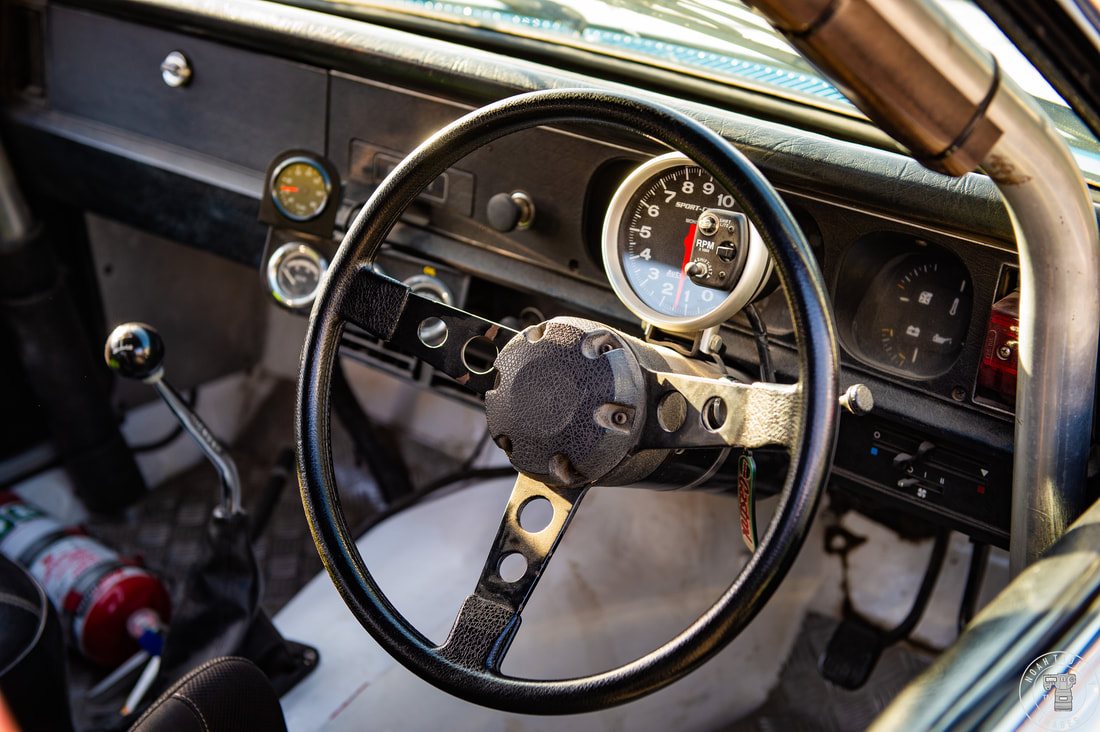 2024 would mark the 50th anniversary of the L34 Torana, and there were plenty of road going versions parked up around the Phillip Island circuit during the race weekend. Rodney Hatfield and his L34 Torana are common sights at VHRR events, so I knew I had to feature his car for the anniversary. 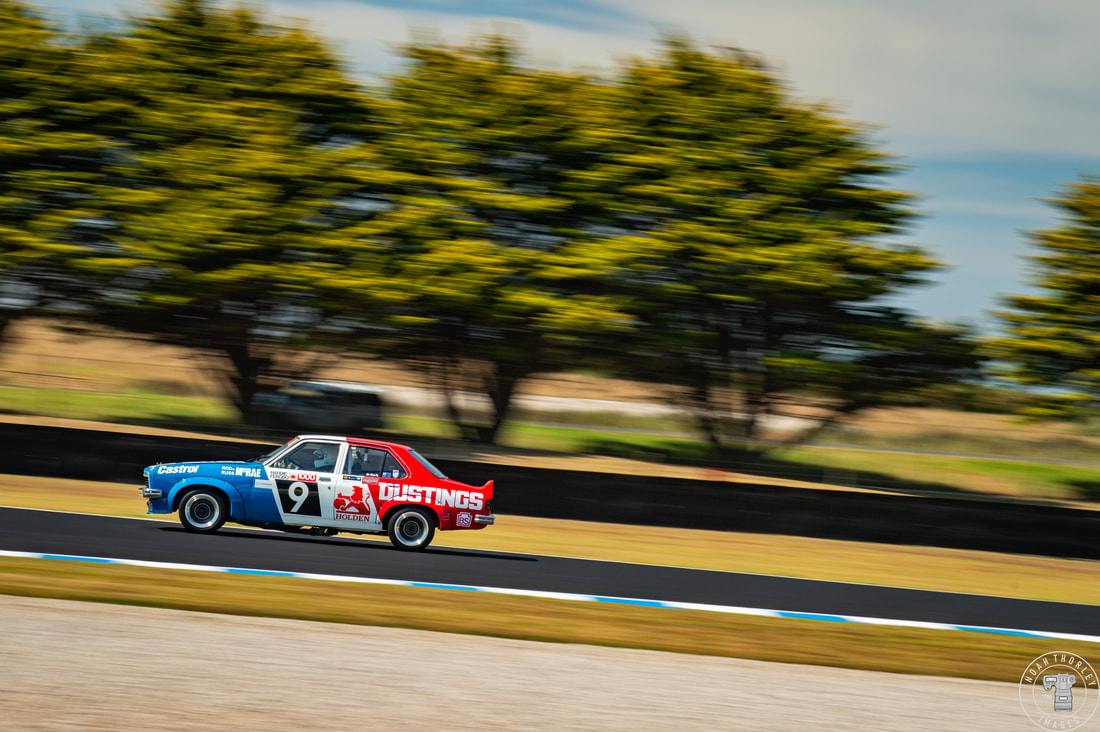 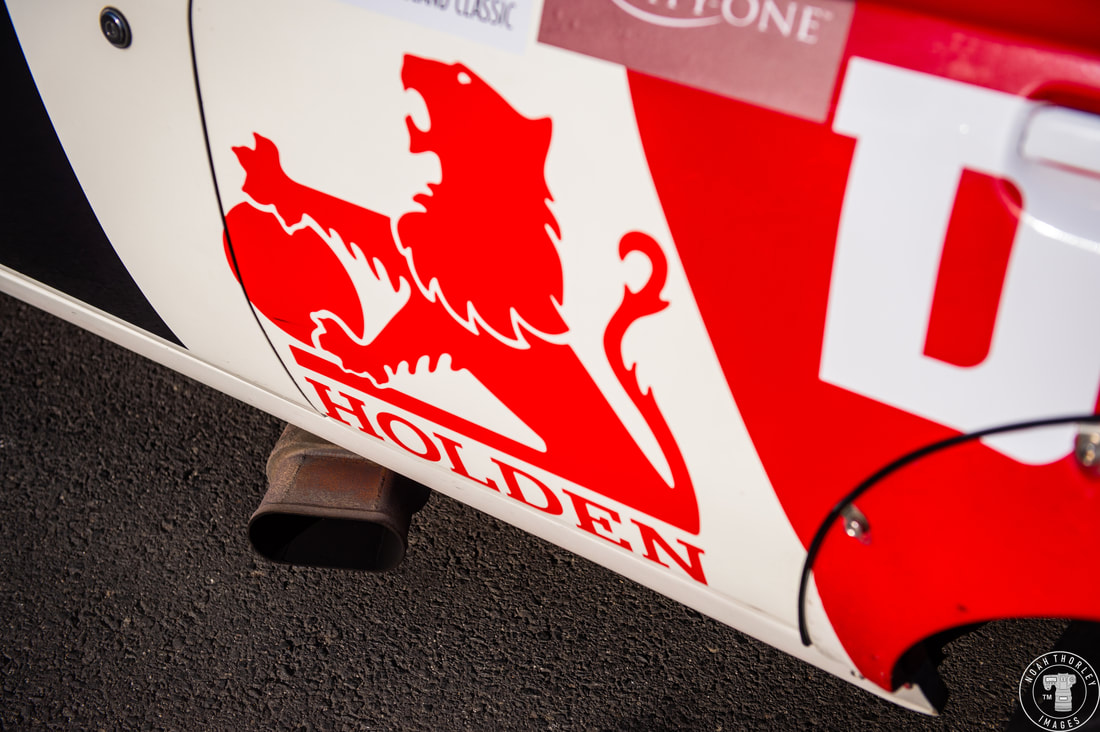 This is the second Dustings Holden Dealership car after the first was written off at Bathurst. It was raced in 1976 before being sold to Ian Mitchell who raced it for approximately 12 months. The car was then sold as a road car, changing hands a couple of times before heading to Tasmania where Ian Johnson would set up the car for the Targa Rally before unveiling its history. It was all yellow then, [Ian Johnson] rubbed the paintwork and found out it was three different colours. One of the blokes over there sussed it out and found out it was Dustings.” - Rodney Hatfield 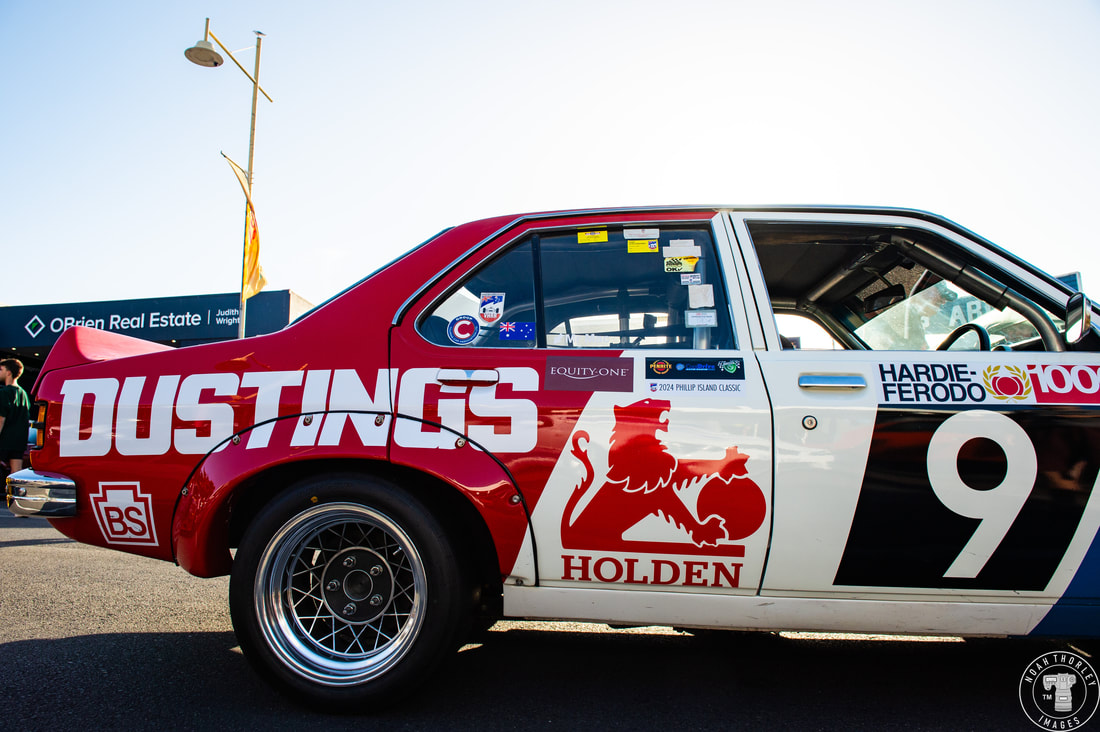 Rodney bought the car back in 2002 and has simply maintained the car, refreshing the motor every 250 hours, although parts are becoming tricky to find. 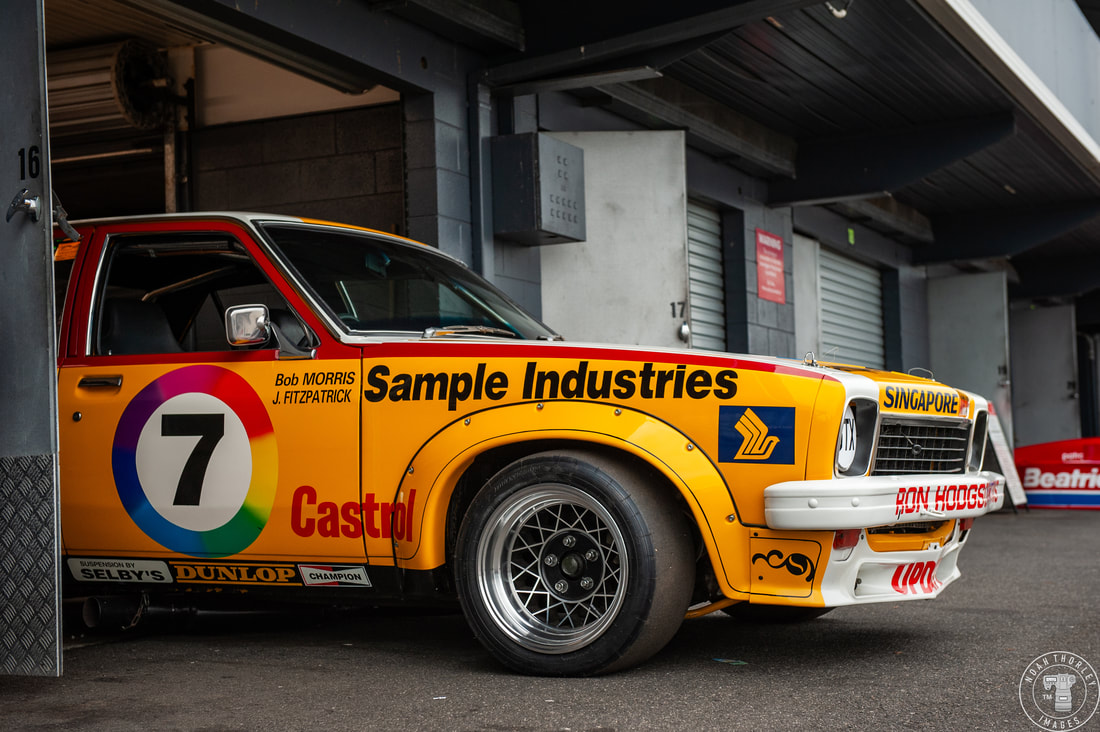 Another special L34 Torana would be in attendance, just not on track; the 1976 Bathurst winner driven by Bob Morris and John Fitzpatrick on display during all four days of the Phillip Island Classic. 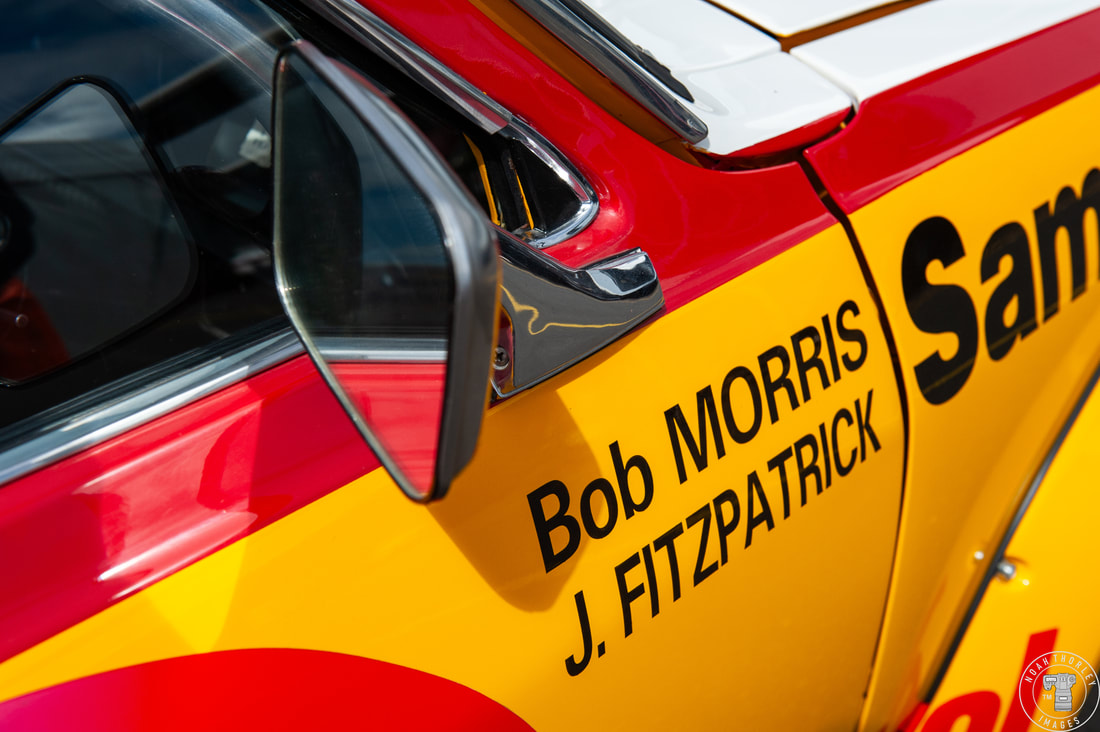  It was a nail-biting finish to the1976 edition of 'The Great Race', with John Fitzpatrick nursing the smoking Rod Hodgson backed Torana SLR/5000 to the finish as Colin Bond in another L34 closed in, but to no avail. 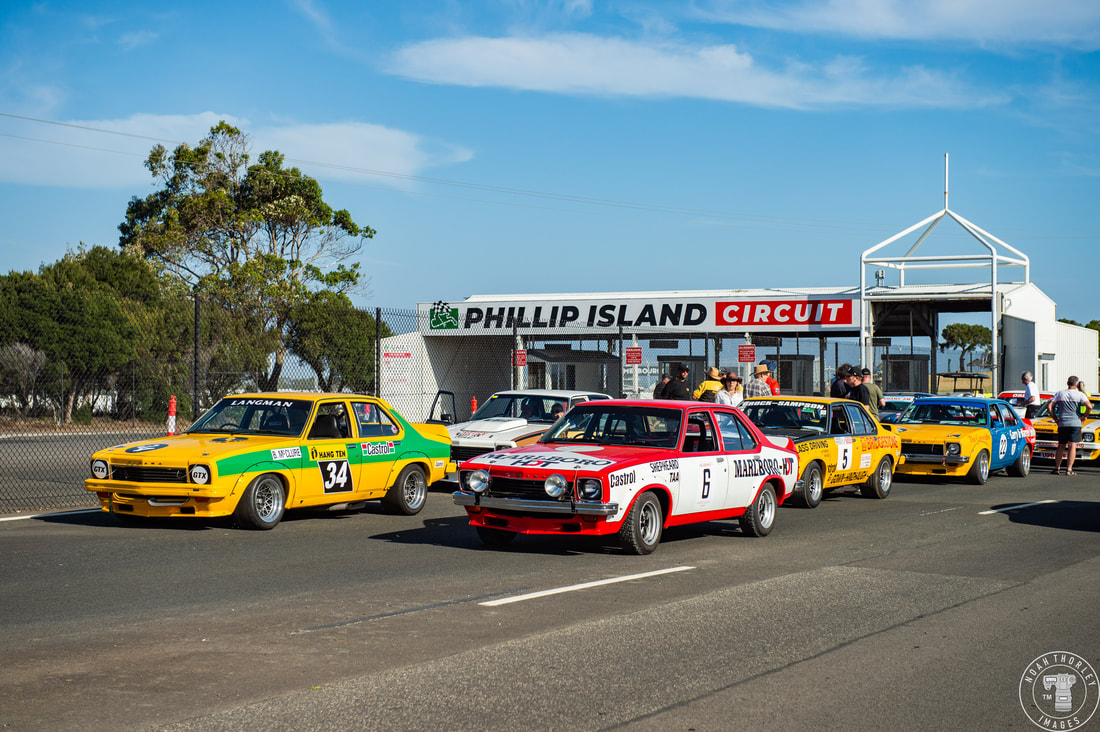 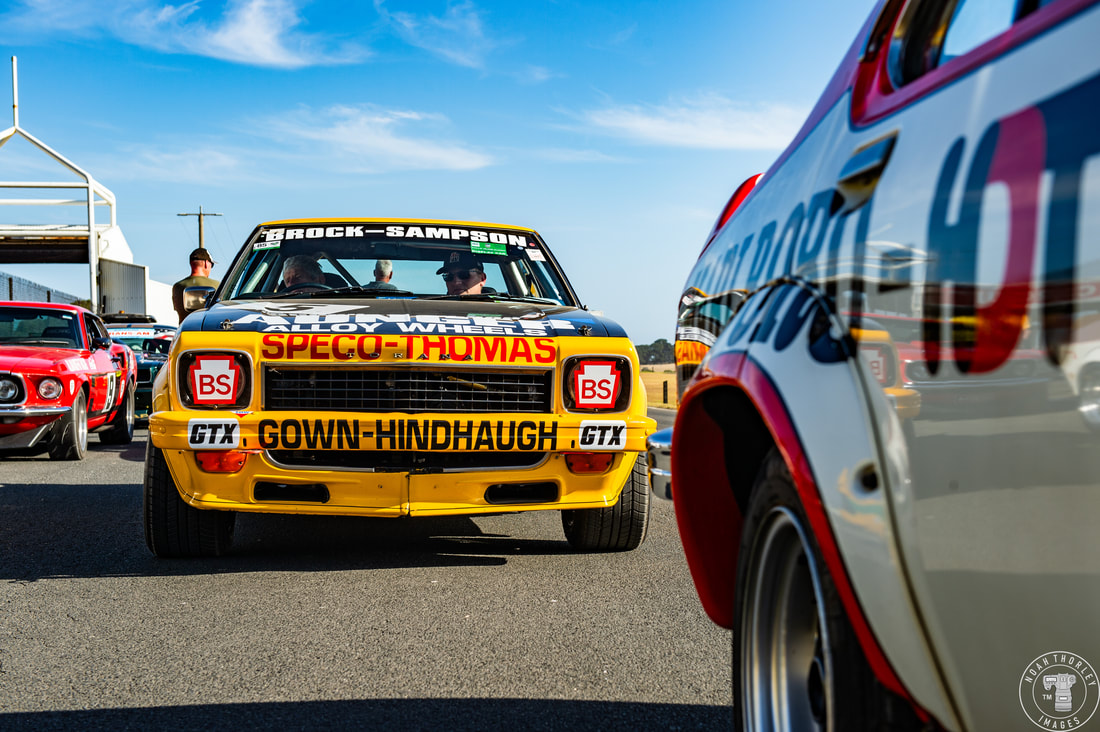 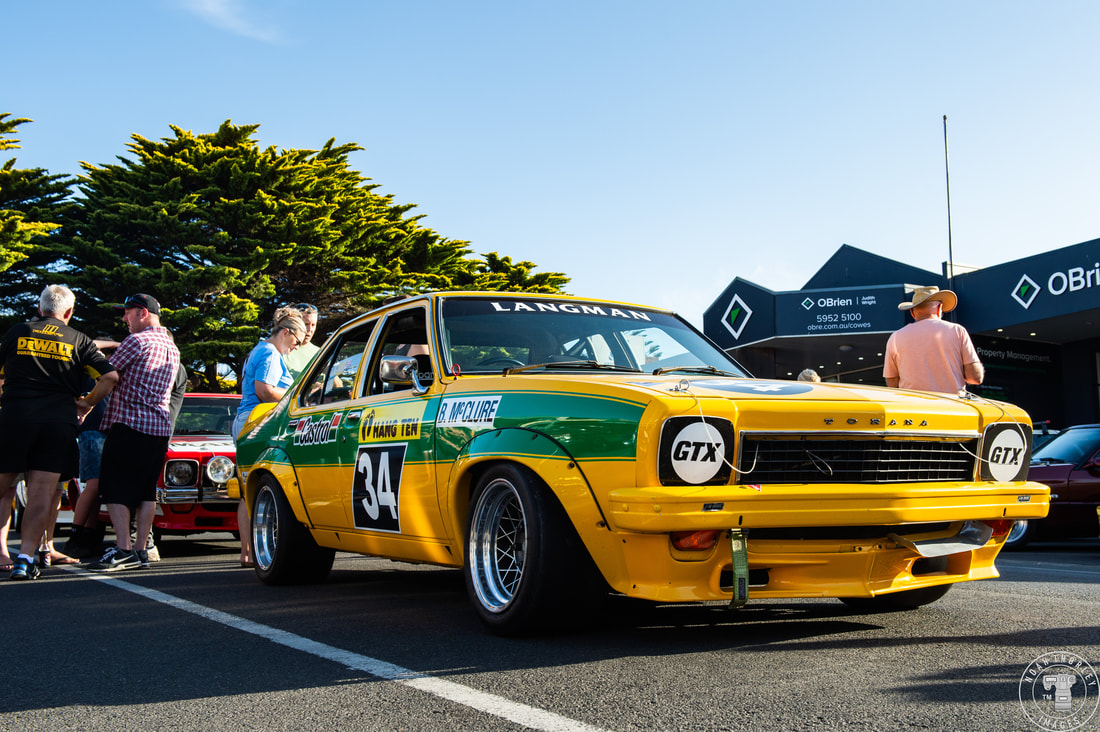 To end Friday, a group of colourful Aussie touring cars and others would drive from the track to Cowes for the yearly car show, with the L34 Torana being the main theme. 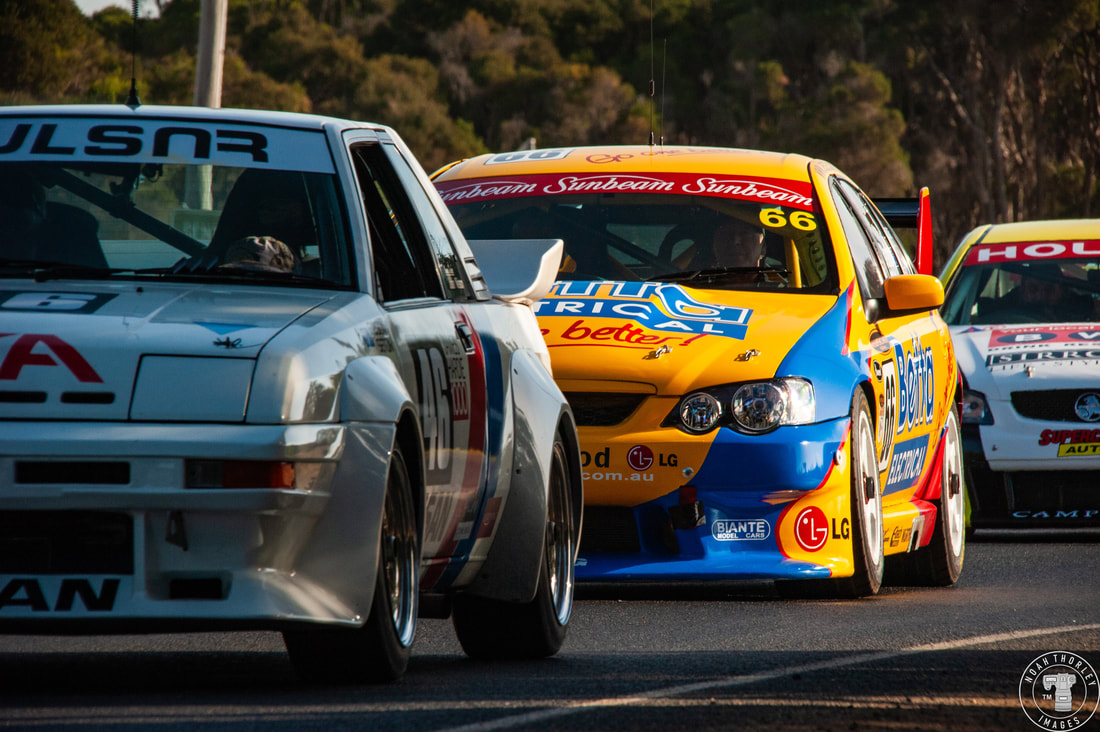 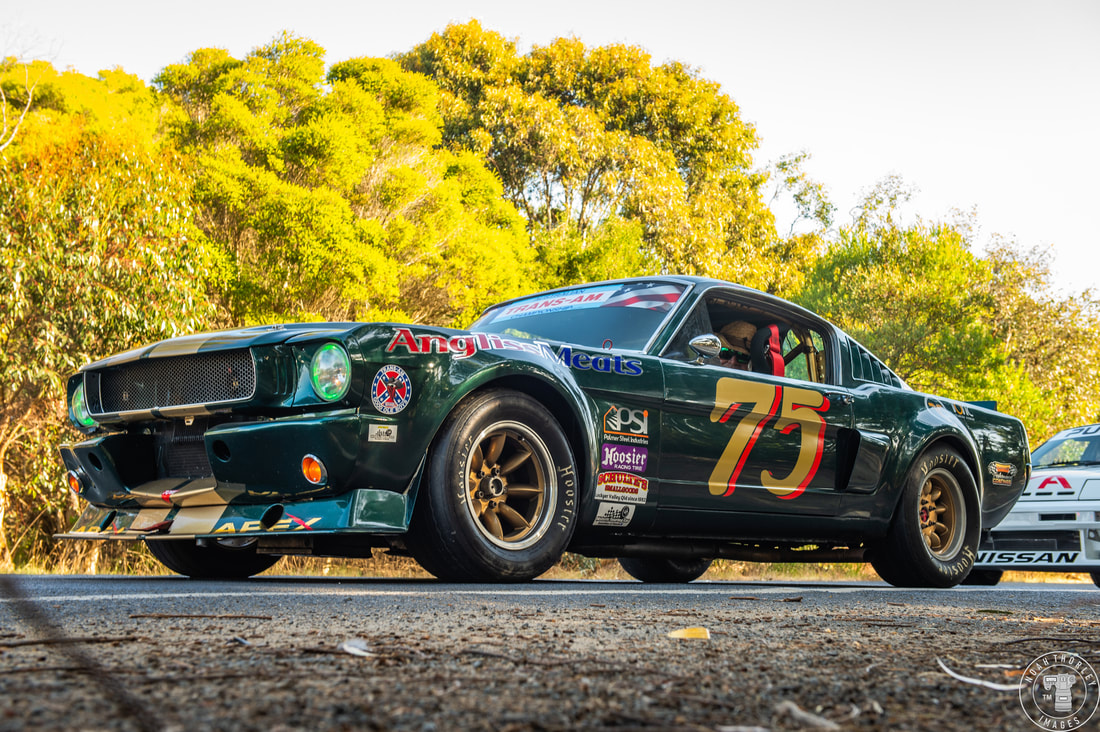 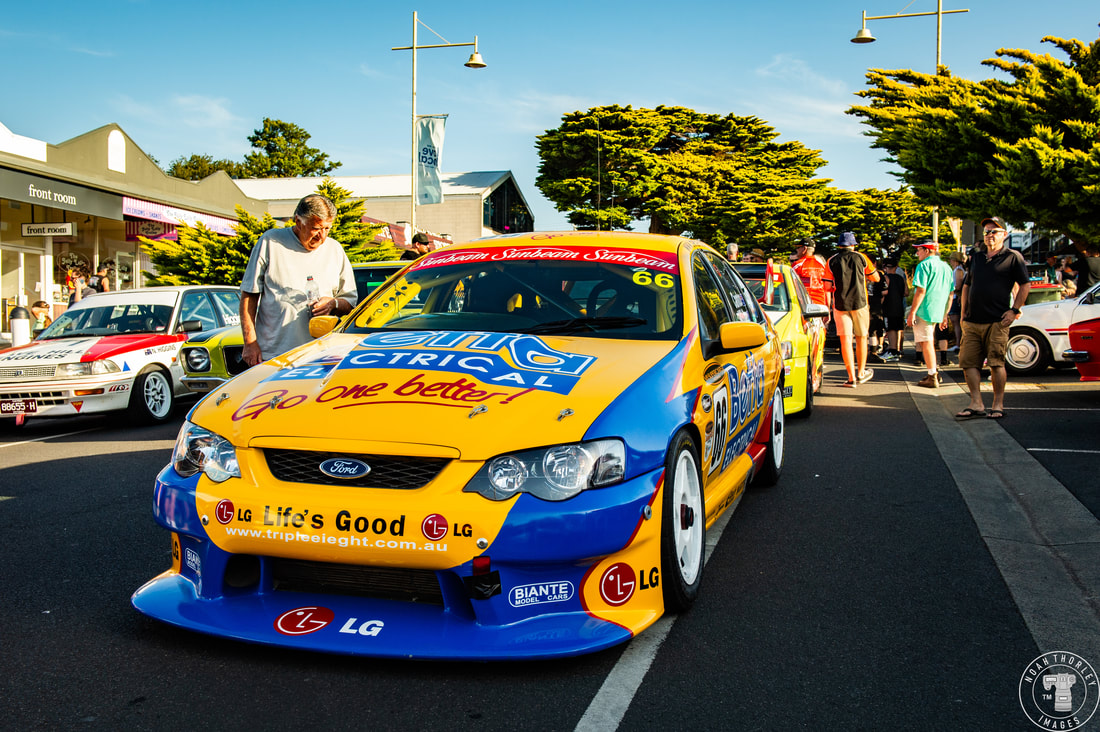 I'm not sure there's anything cooler than purpose-built racecars driving through the streets among normal traffic. 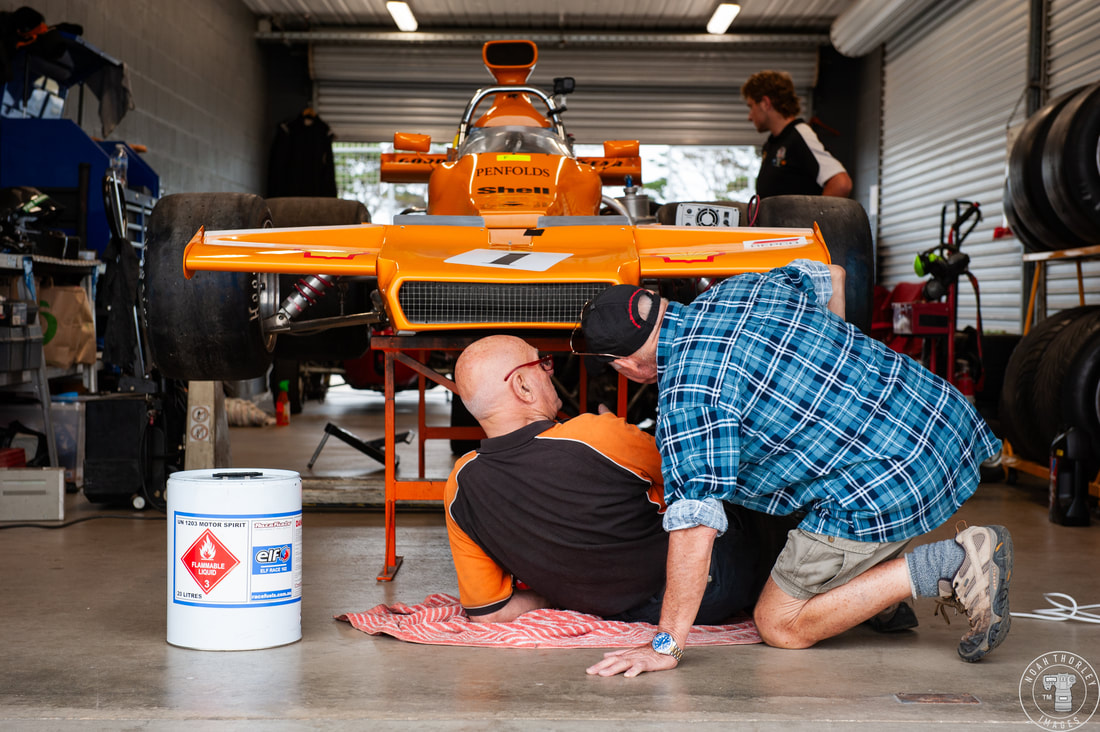 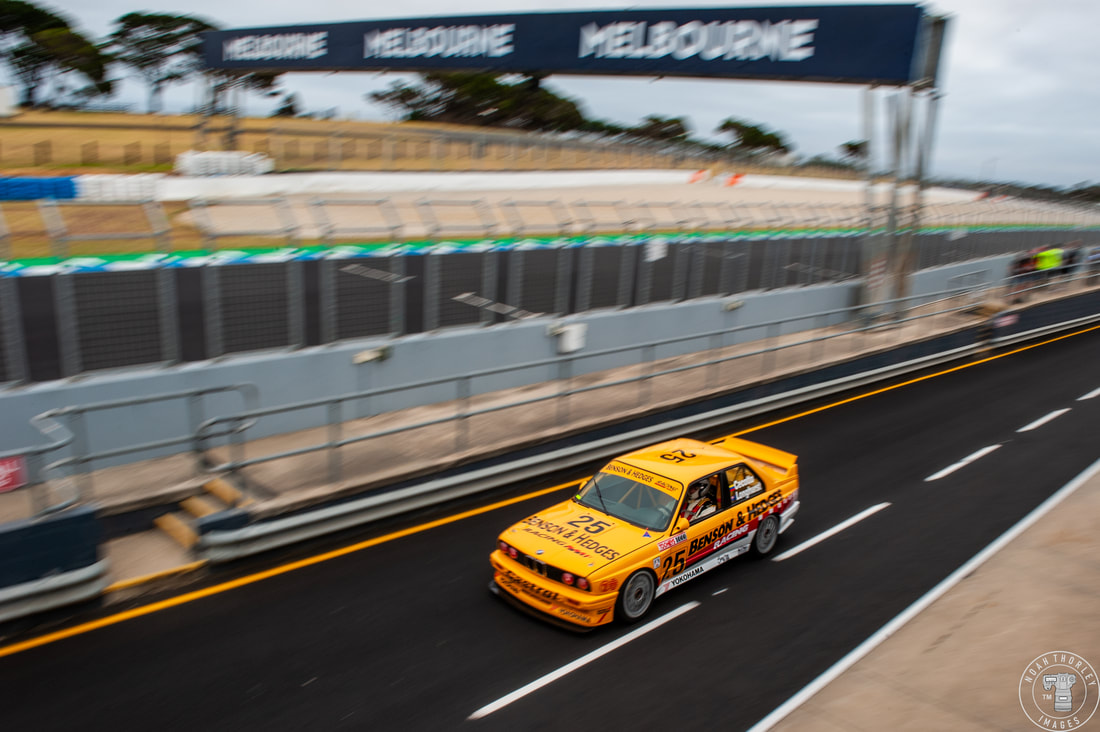 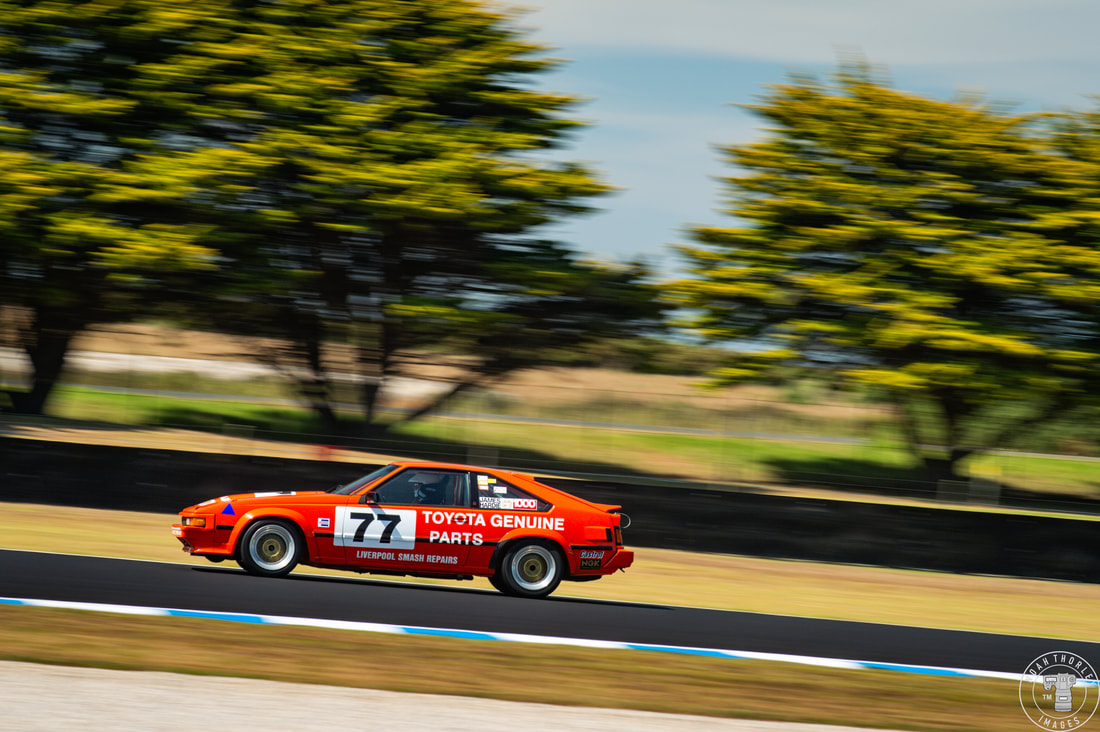 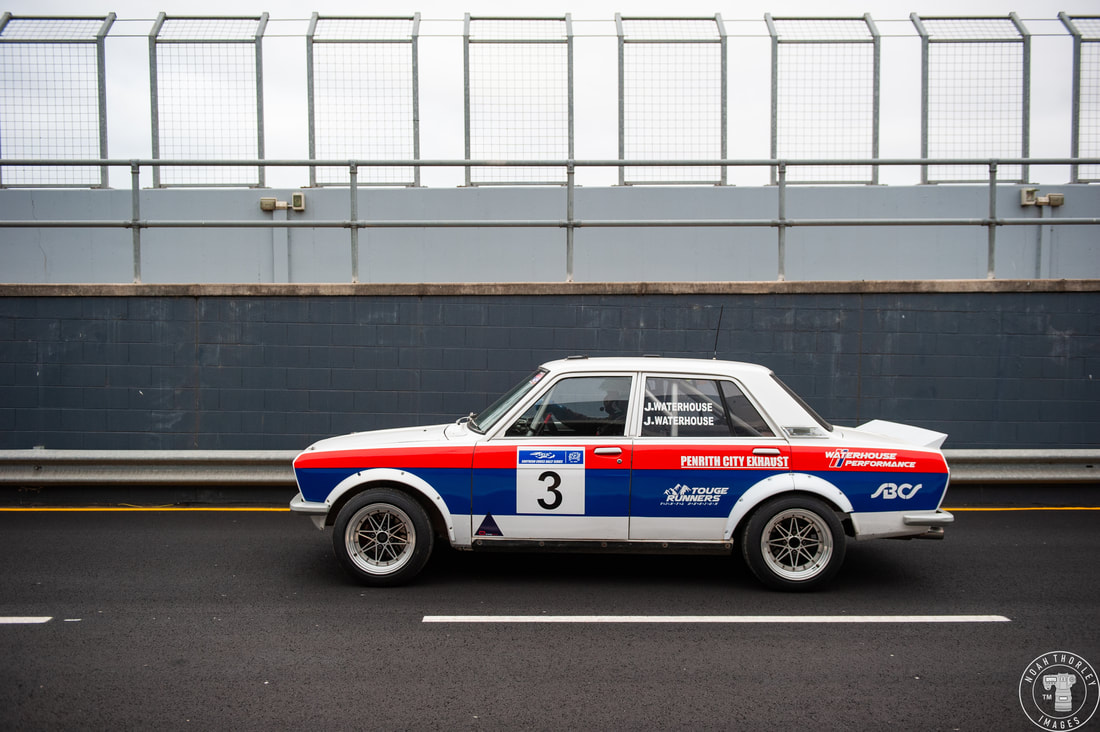 There were still plenty of cars I wish I could have gone in depth about; the Gold Star winning Matich A 50, the Benson & Hedges sponsored E30 M3, a Group A Toyota Supra MK2 and quite a few Datsuns. I could have planned it all out, but there was always going to be something else that caught my eye. That’s why I’ll keep coming back. Bonus Gallery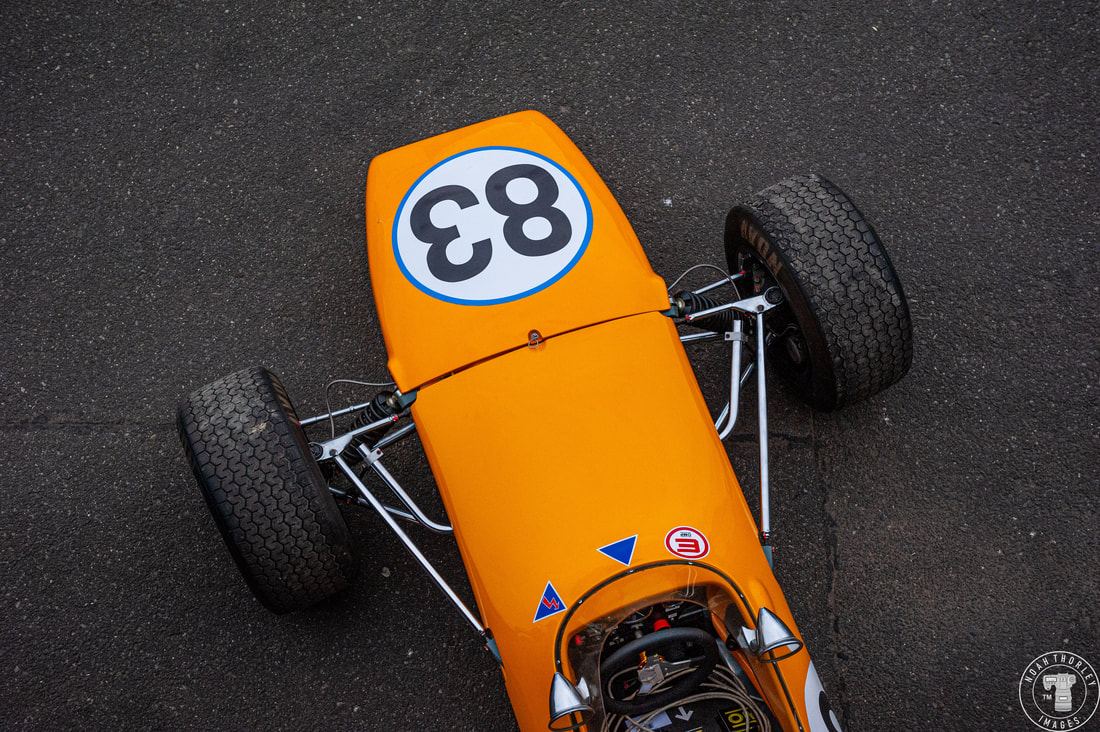
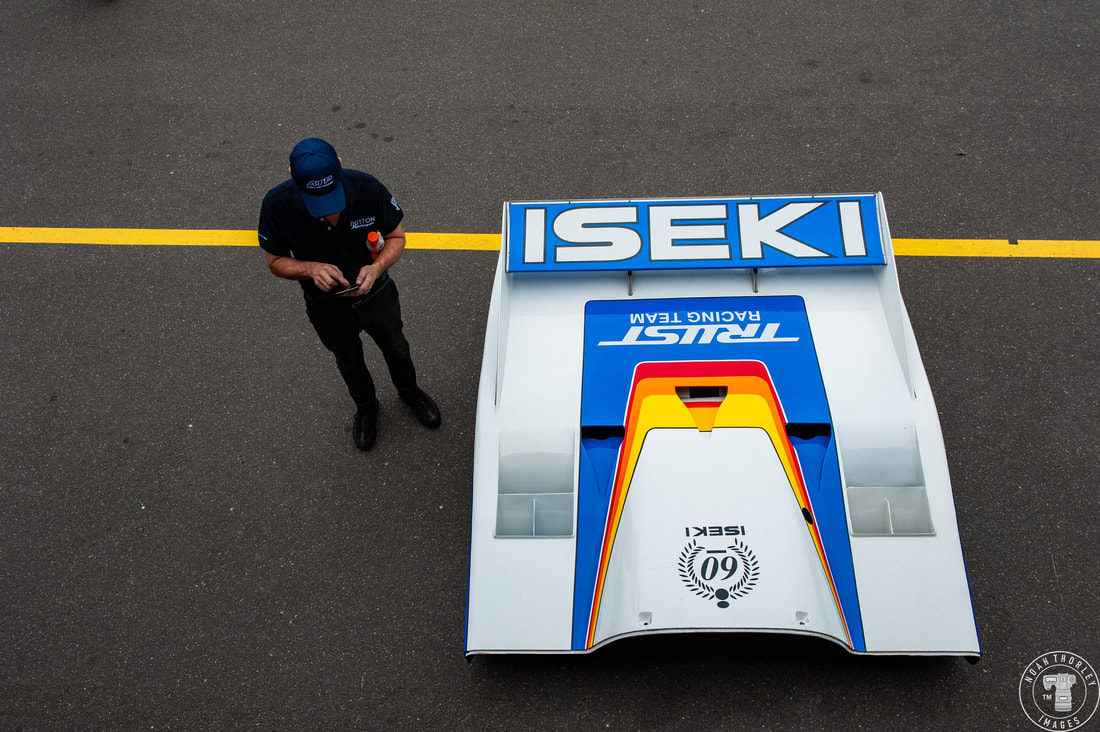 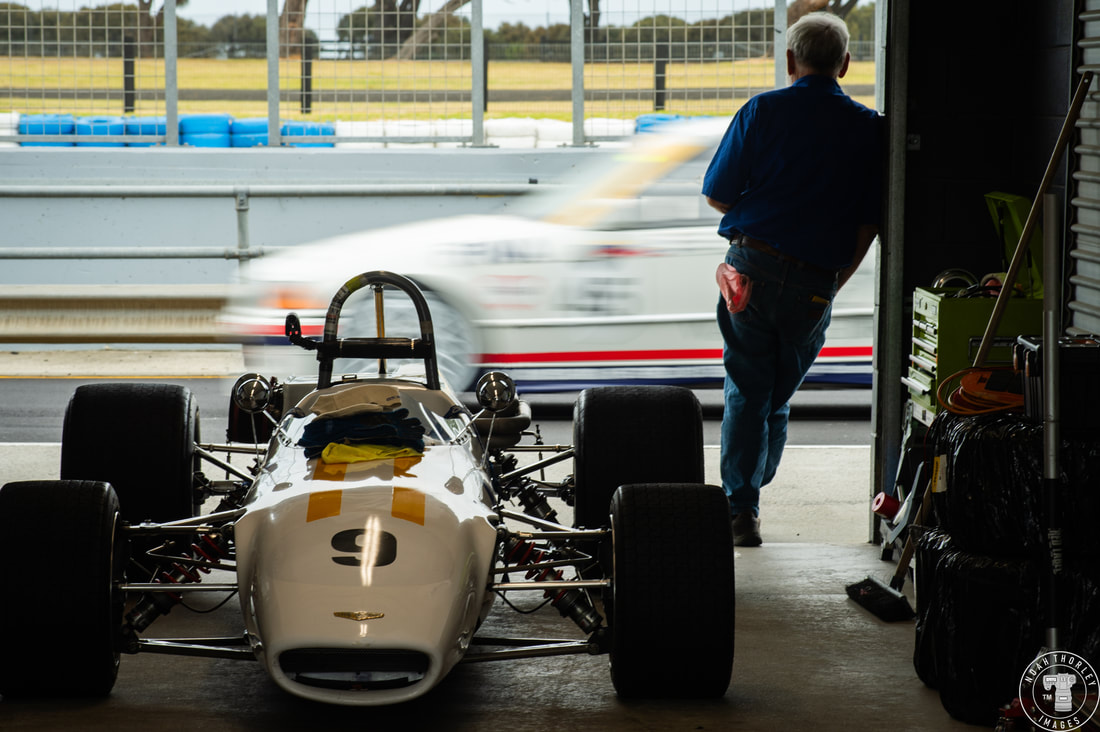 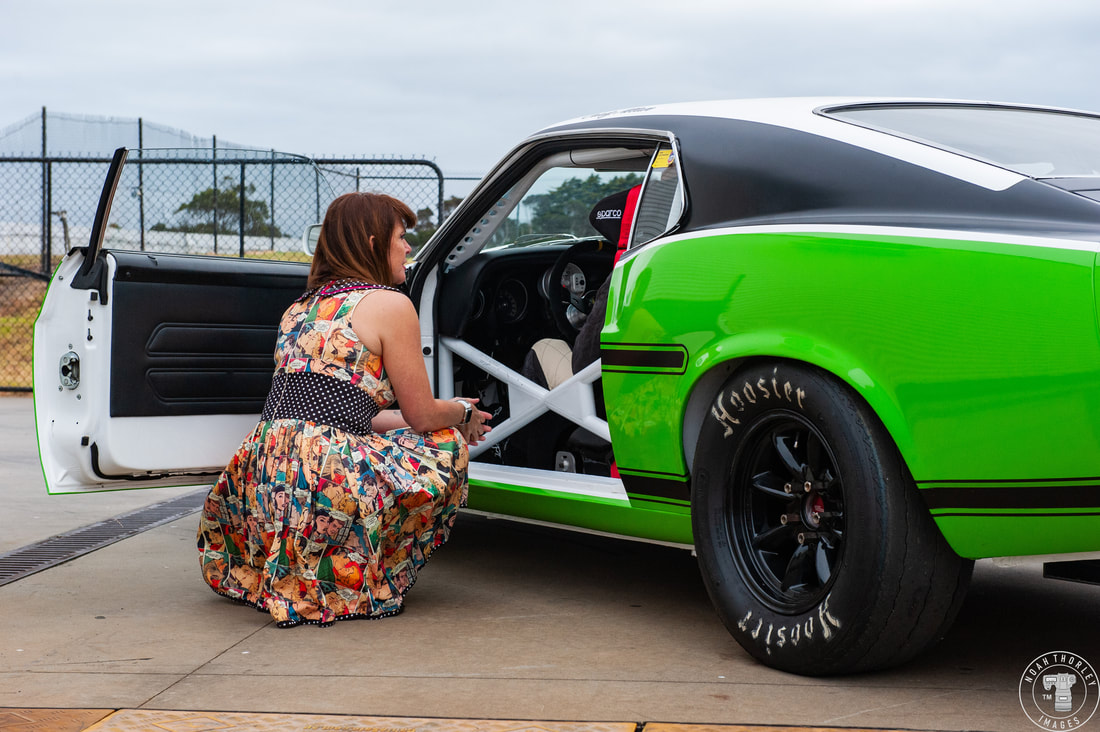 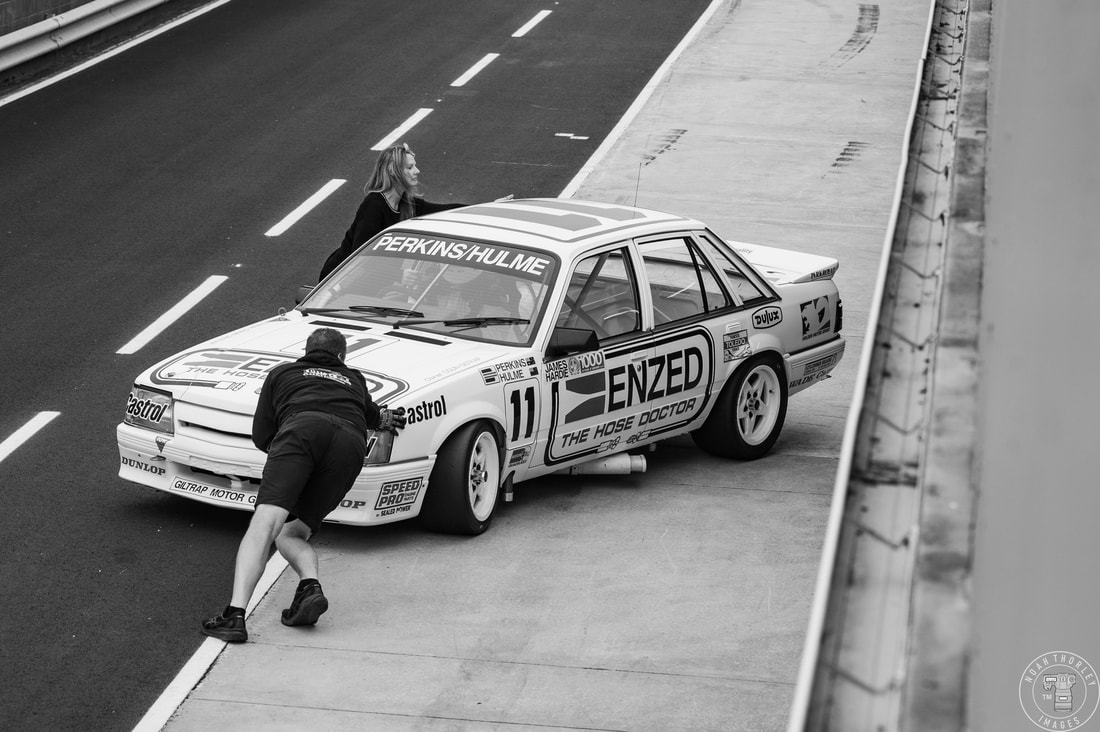 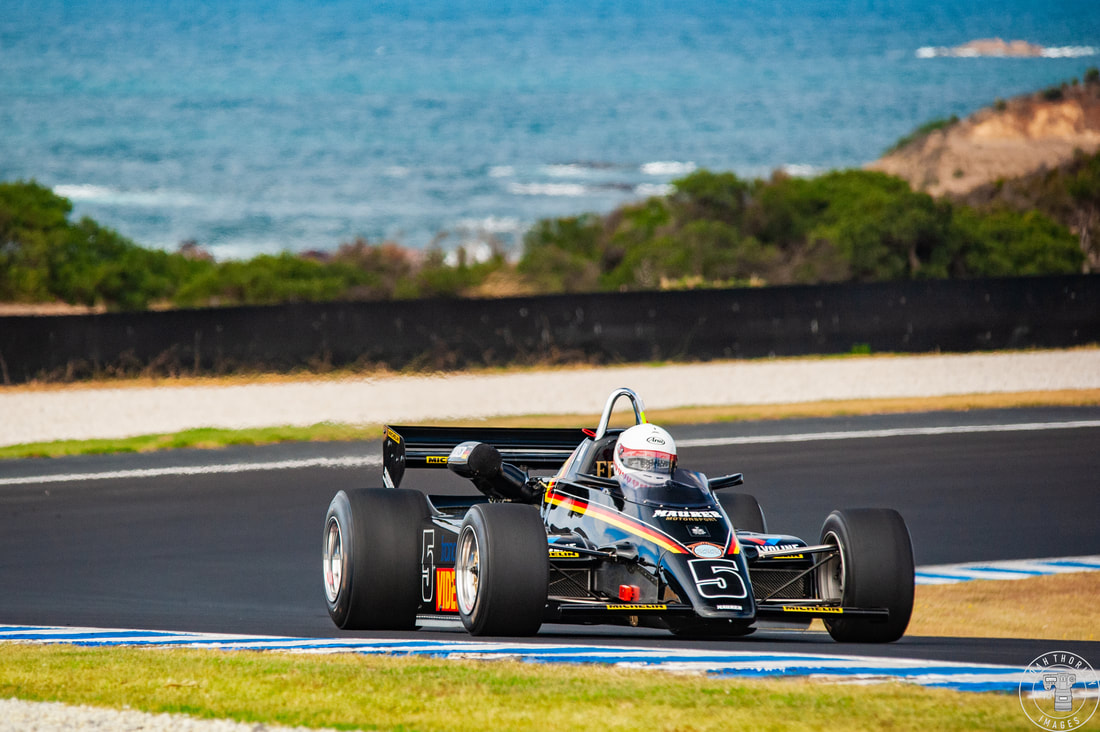 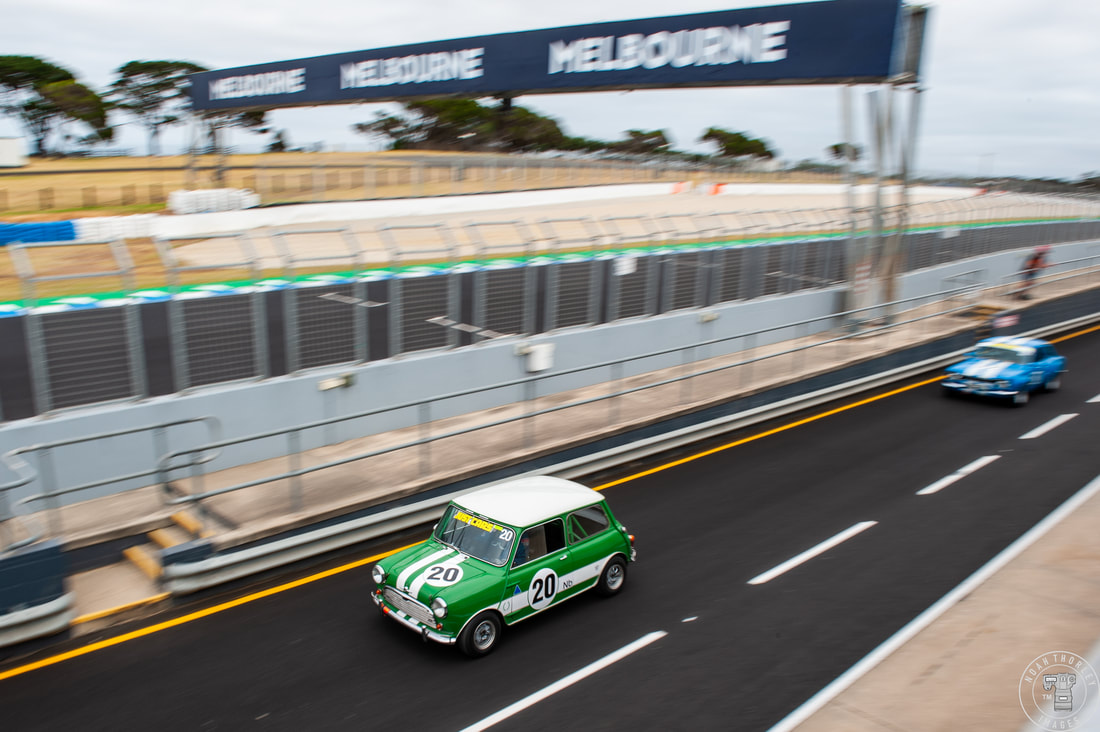 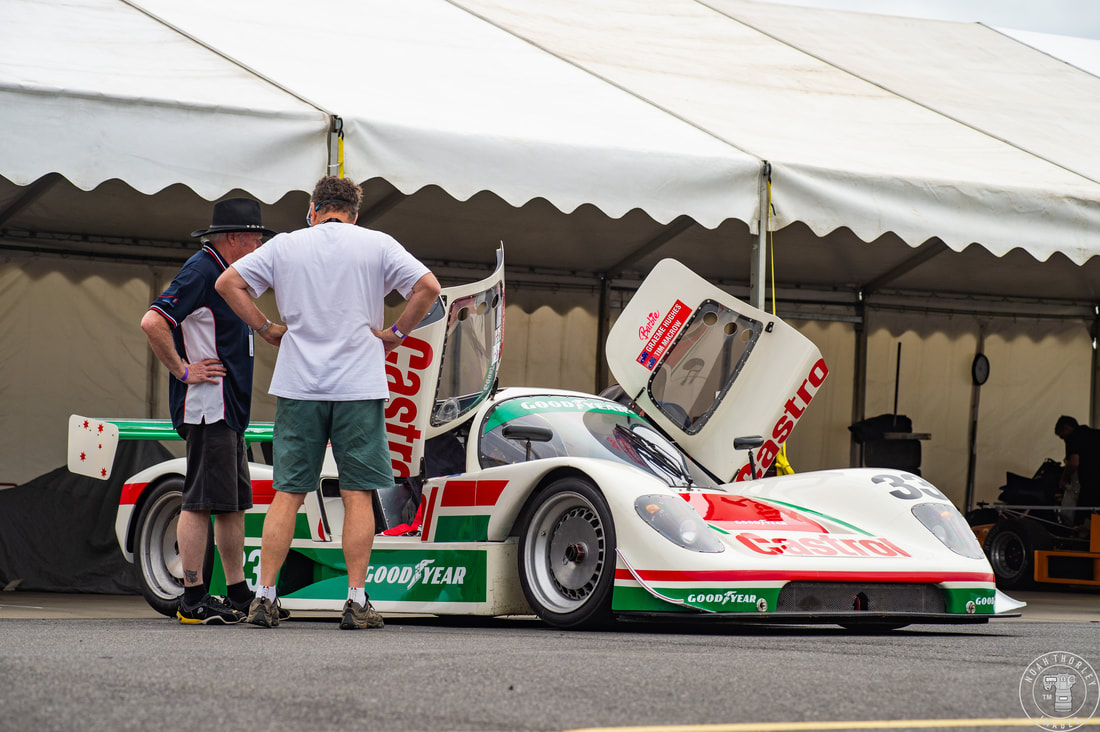 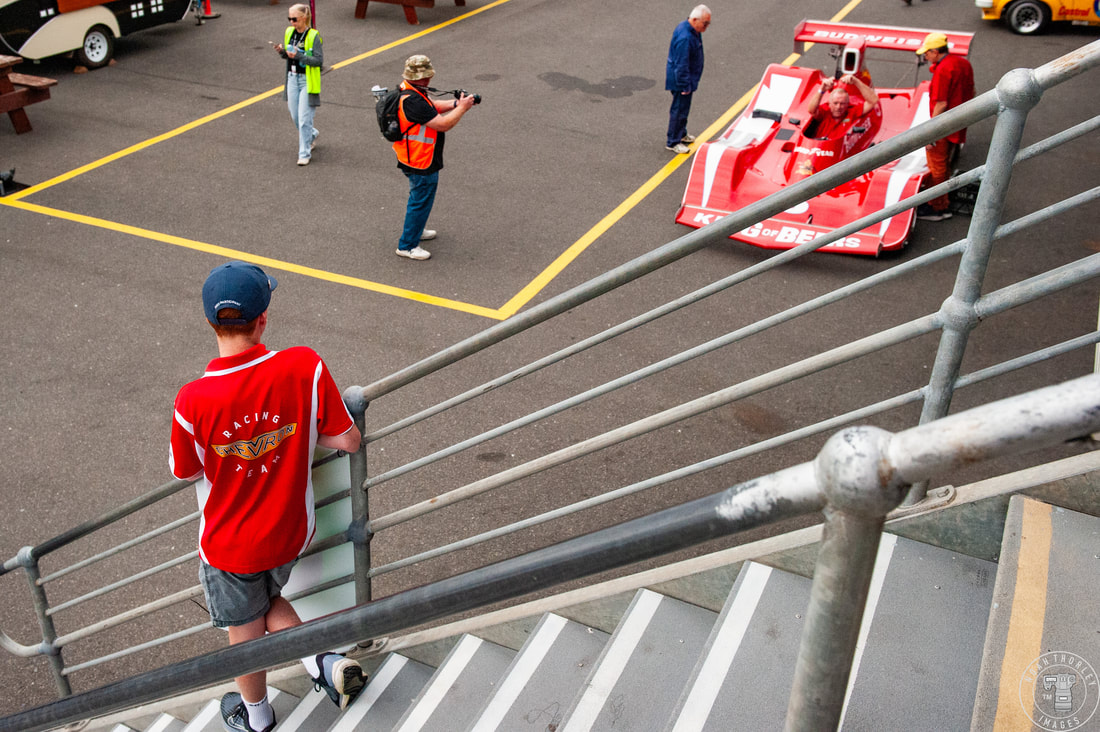 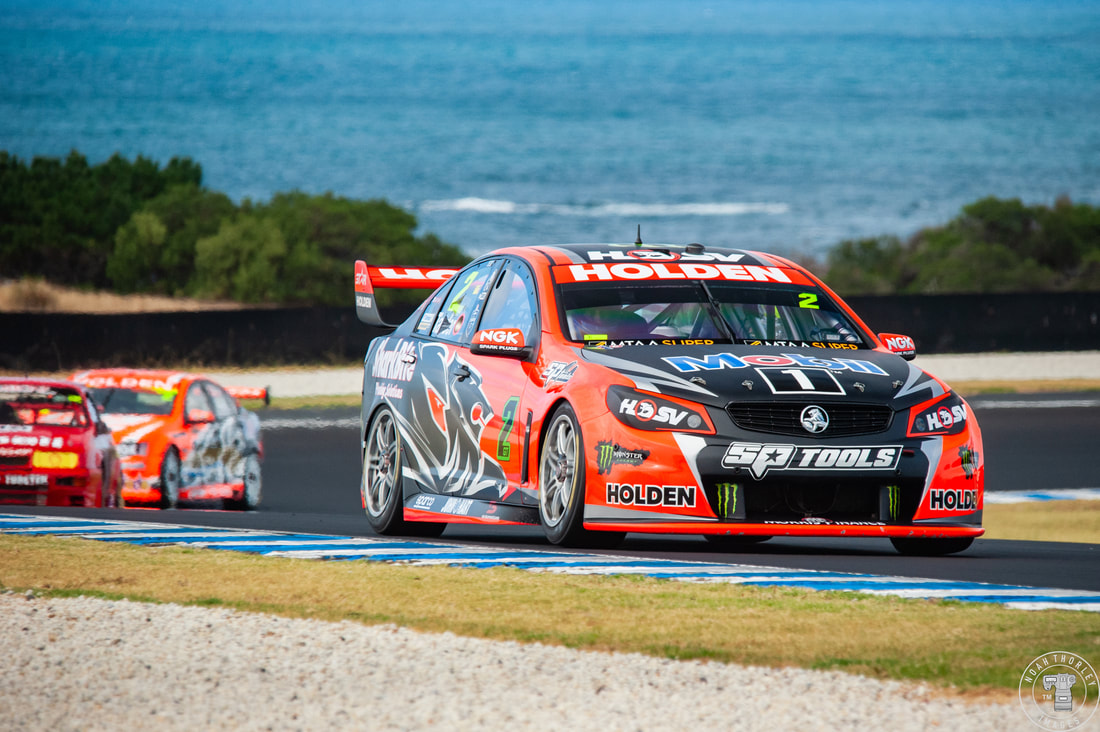 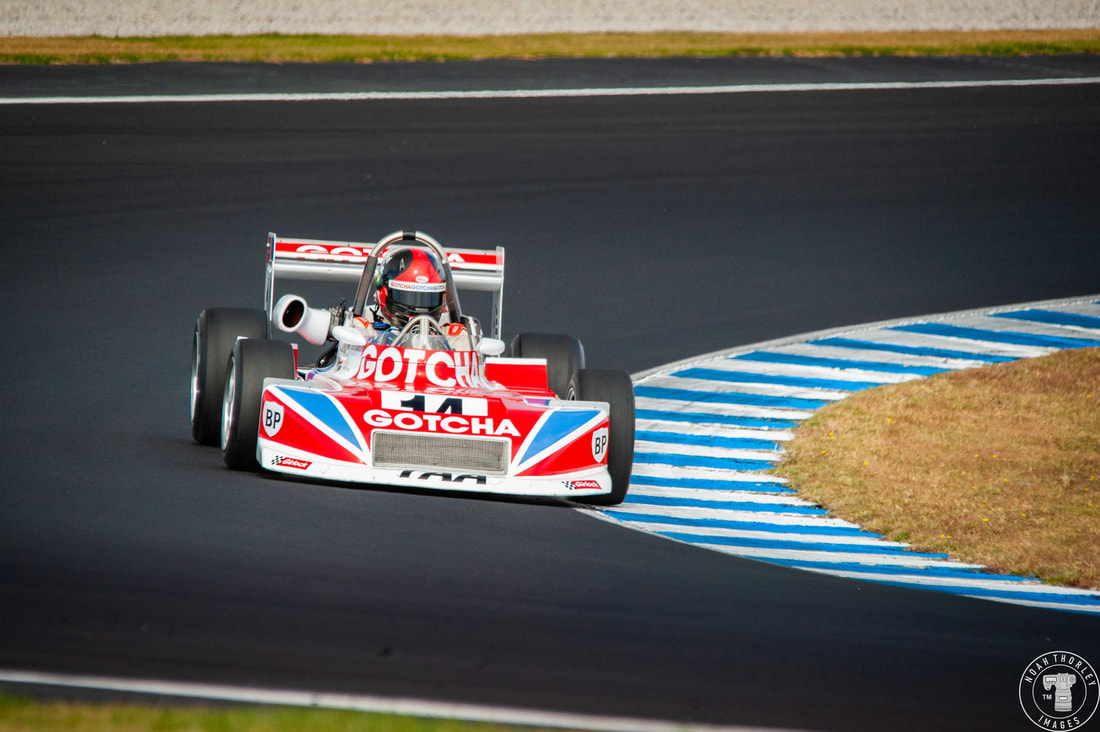 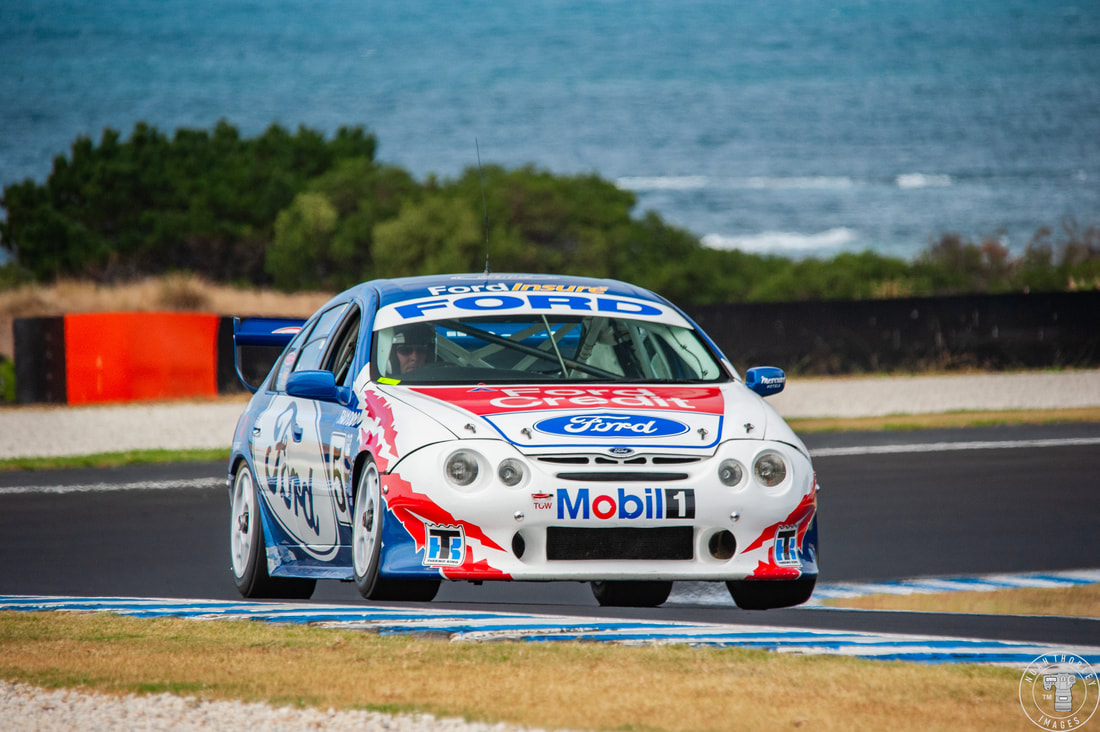 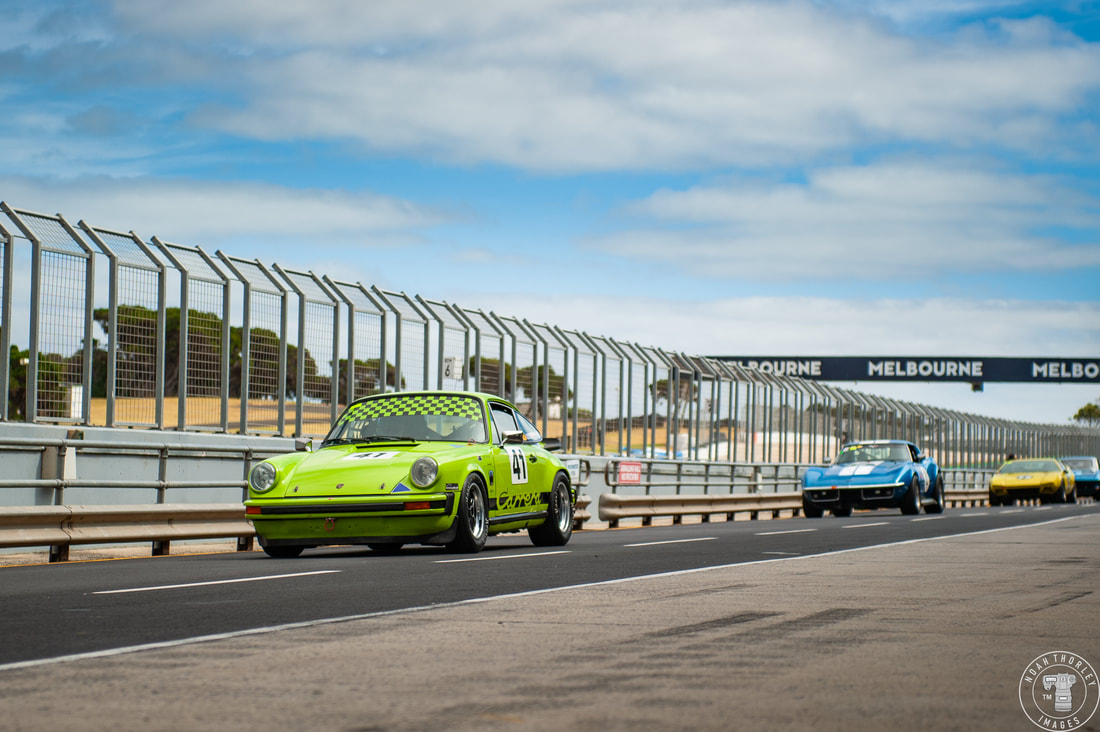         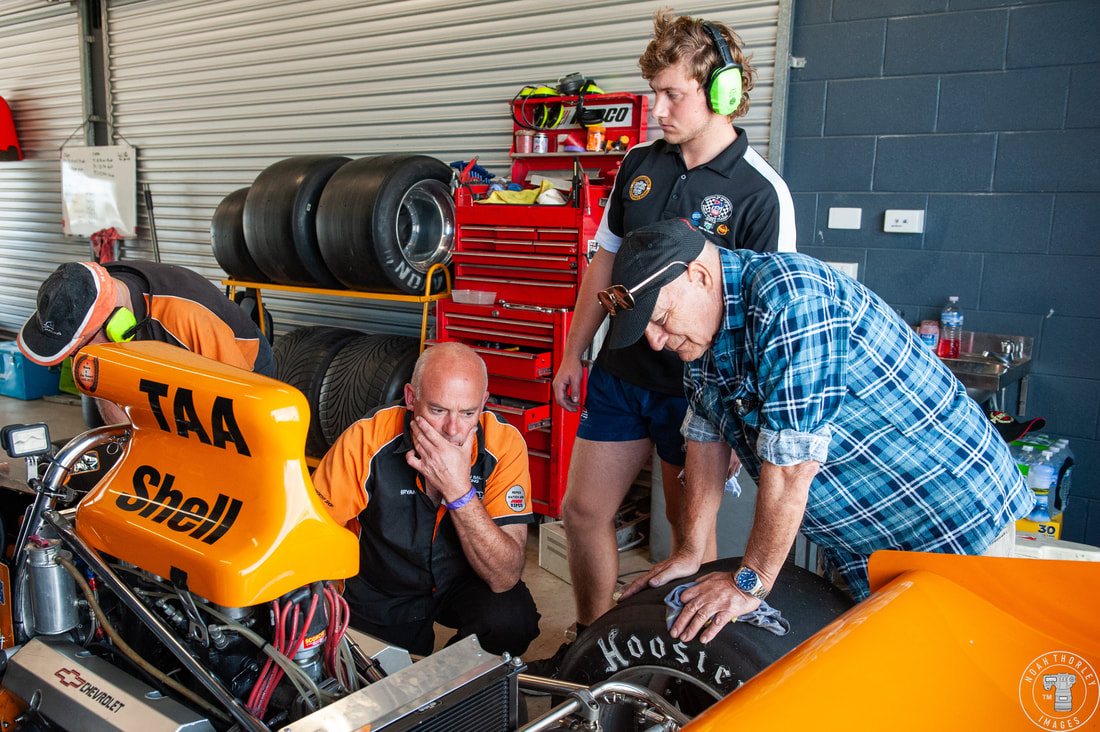 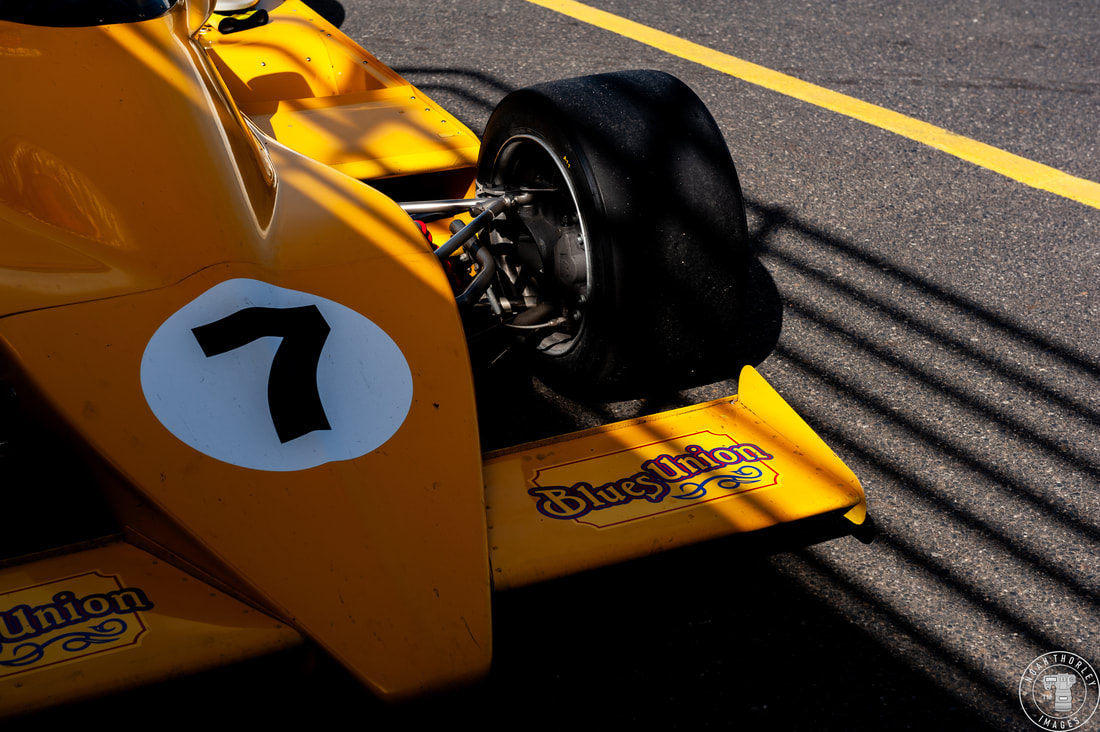  
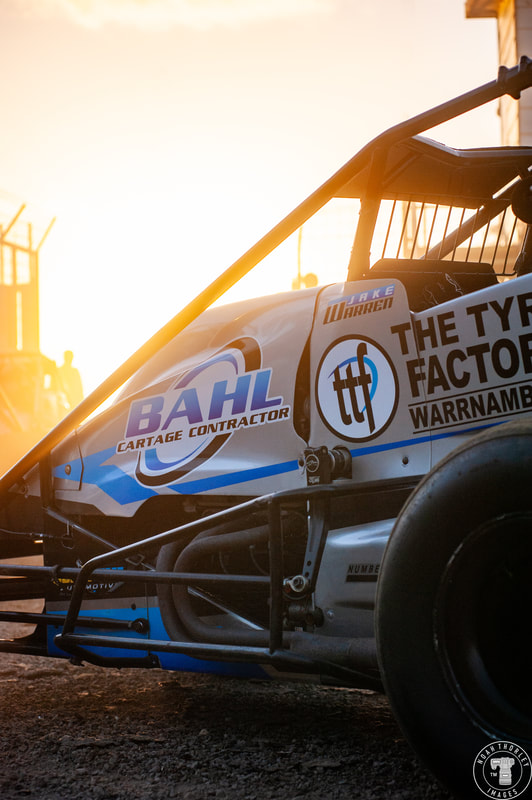
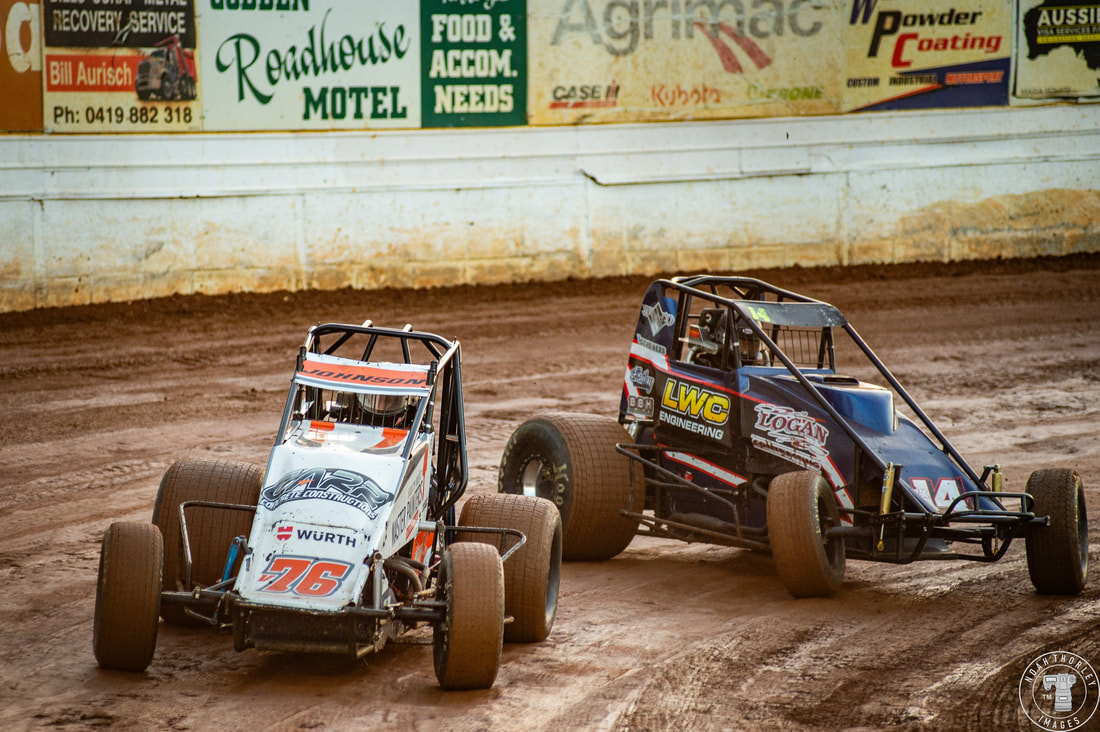
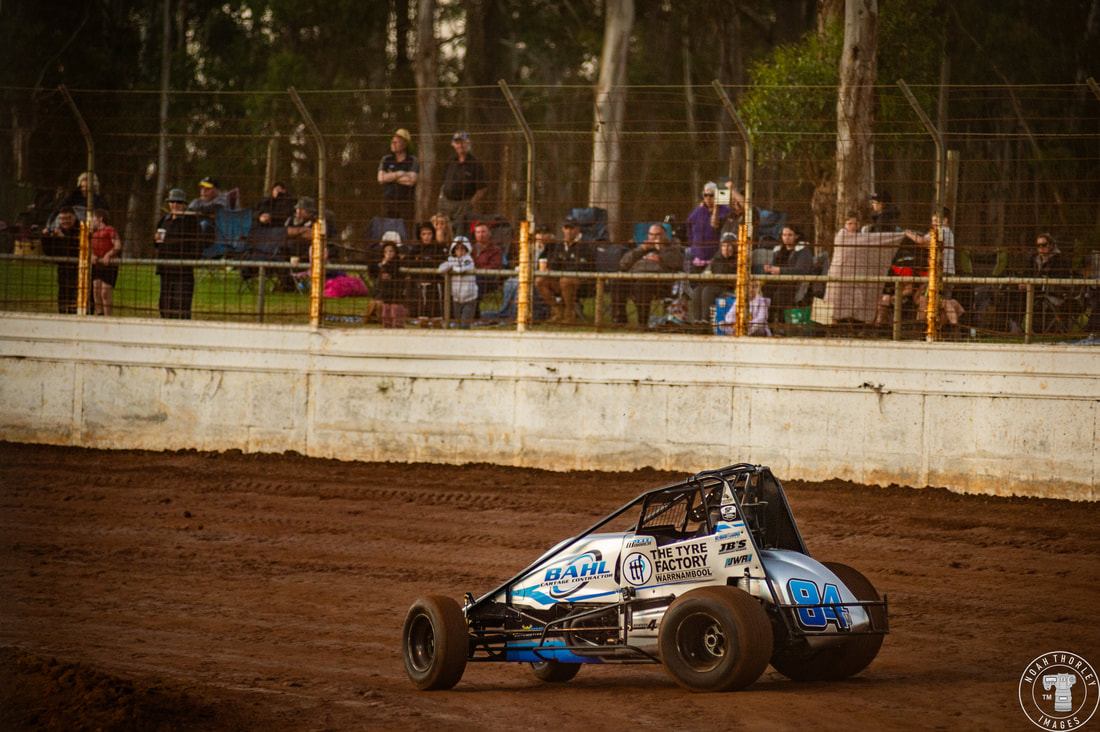
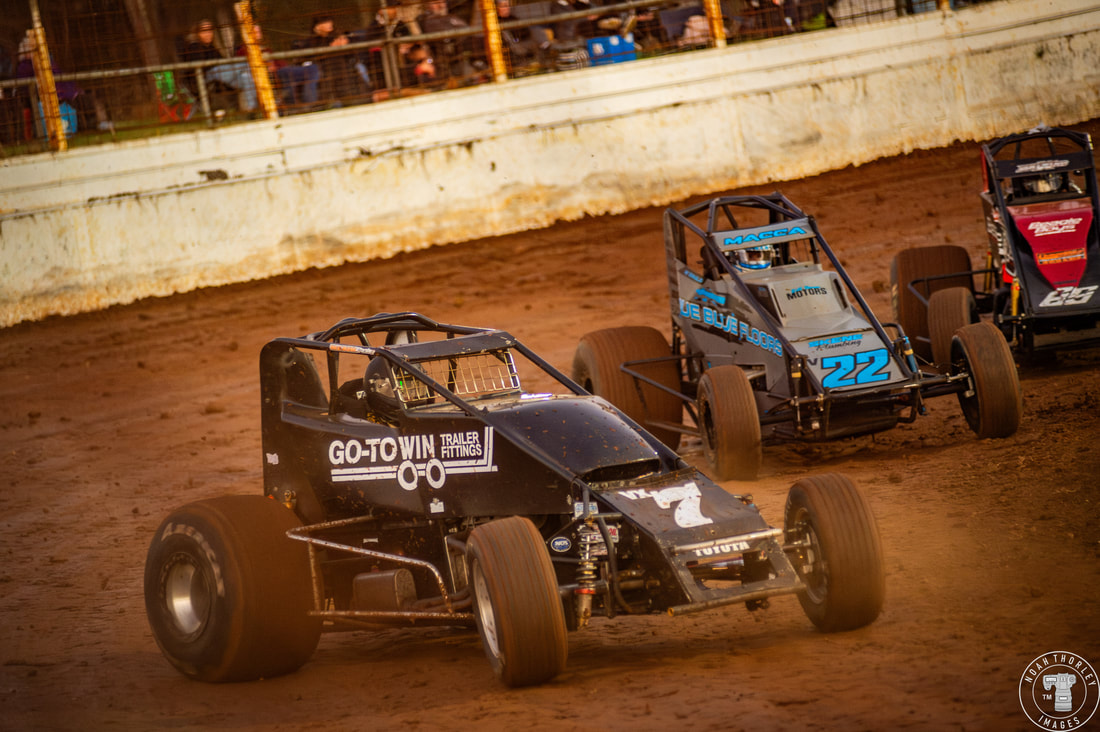
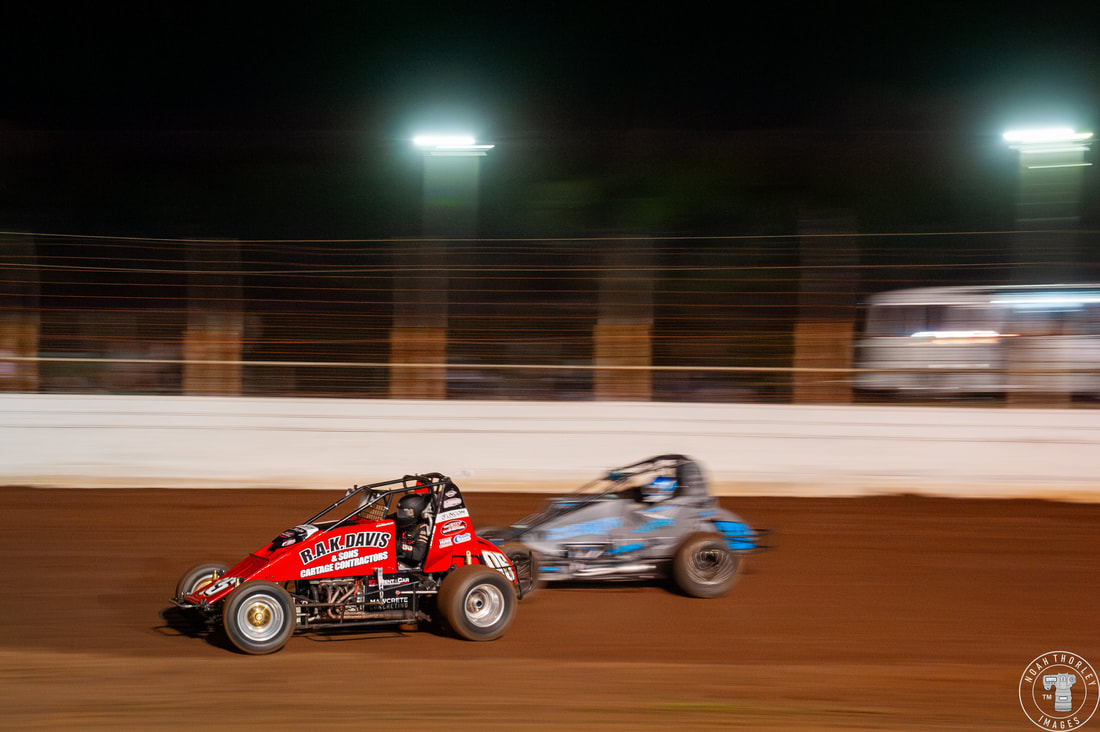
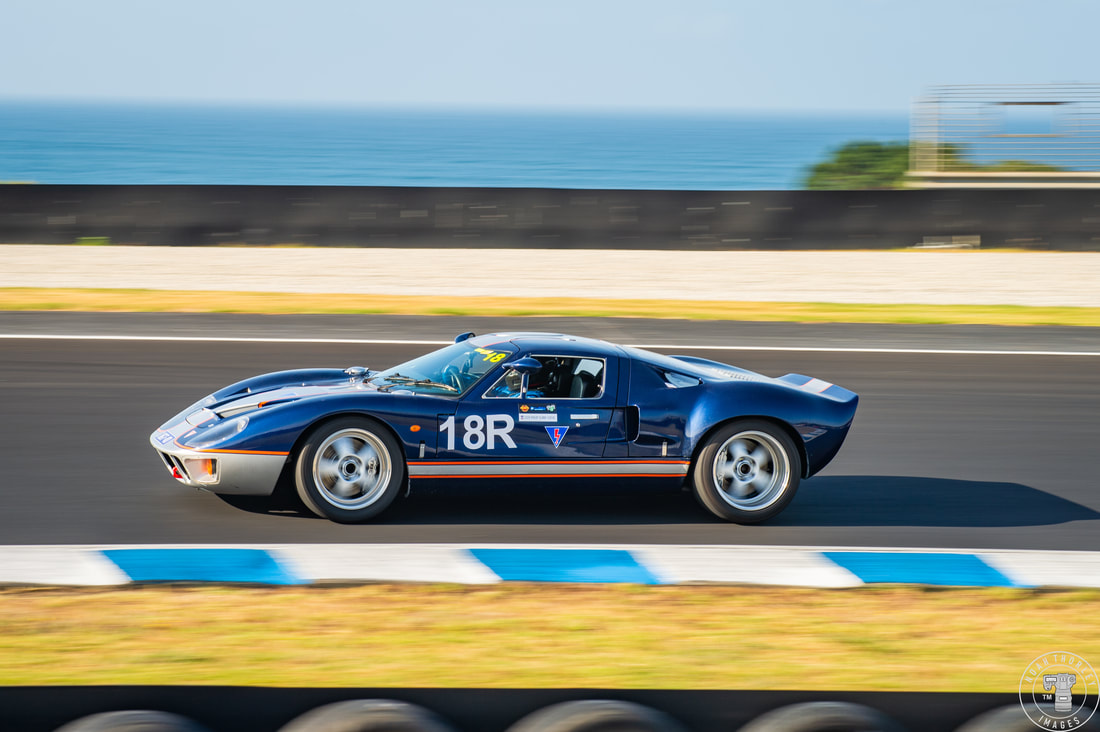 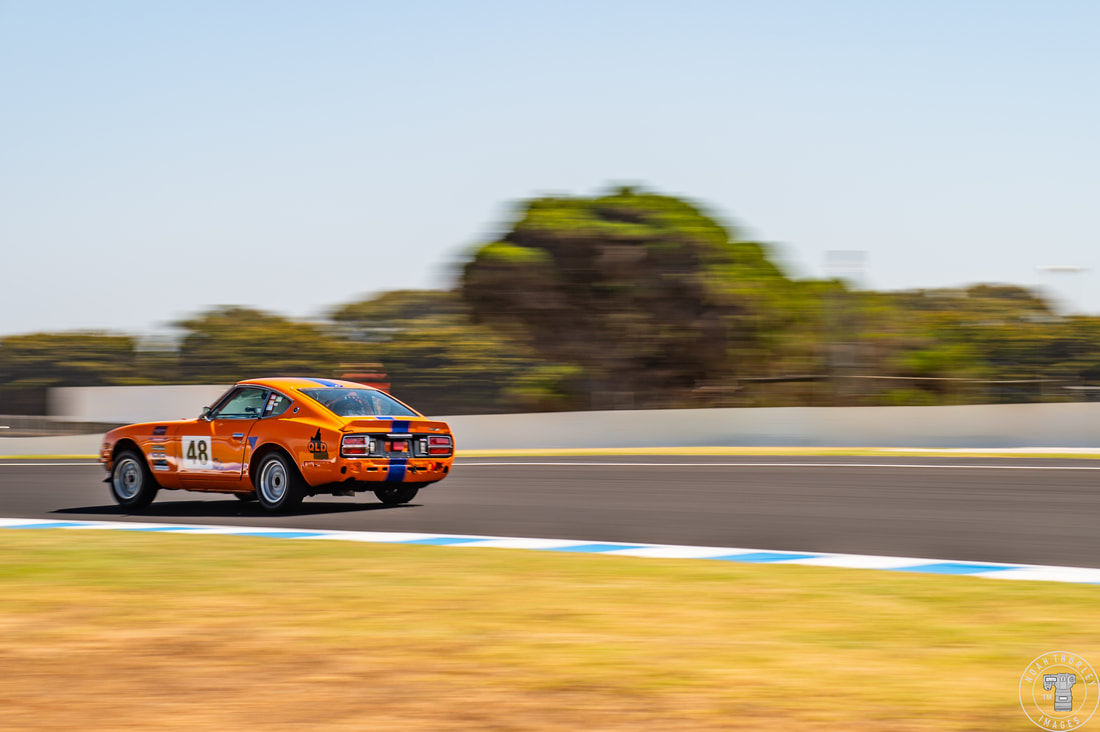 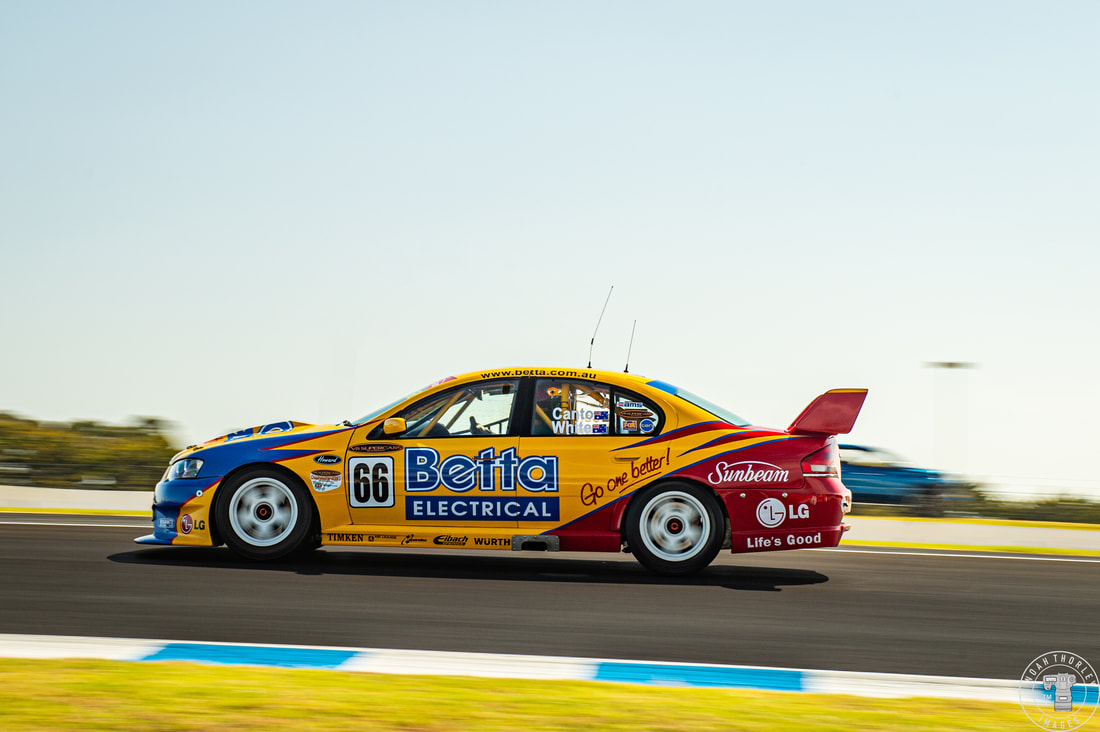 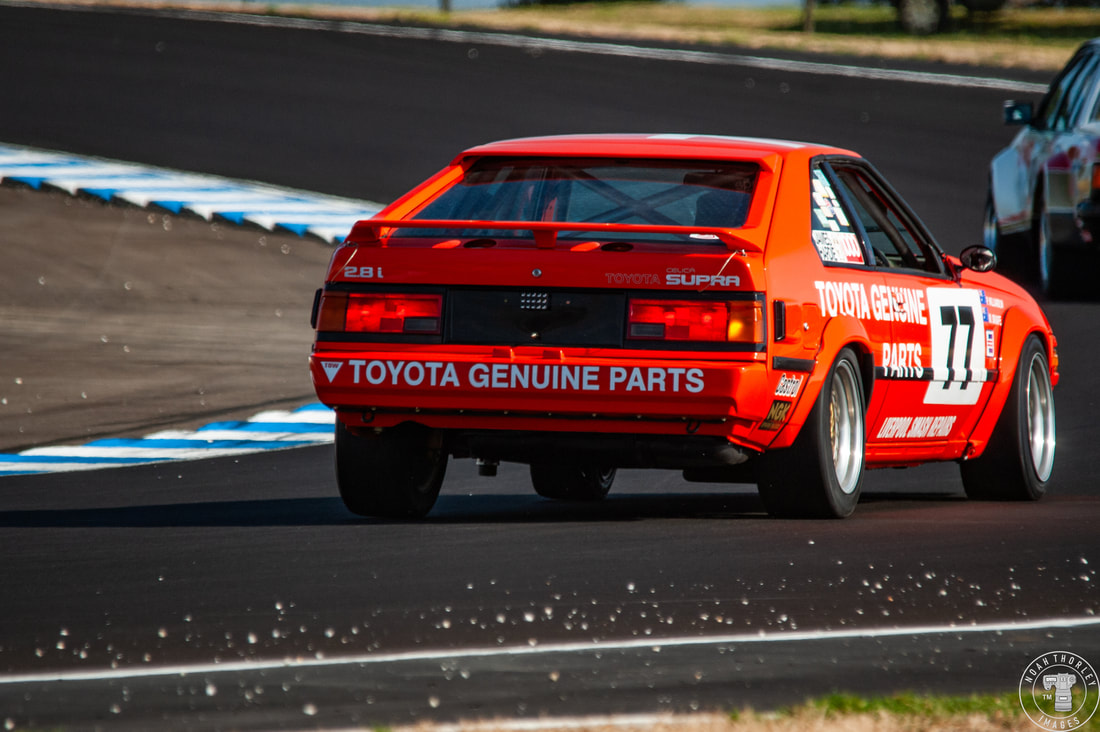   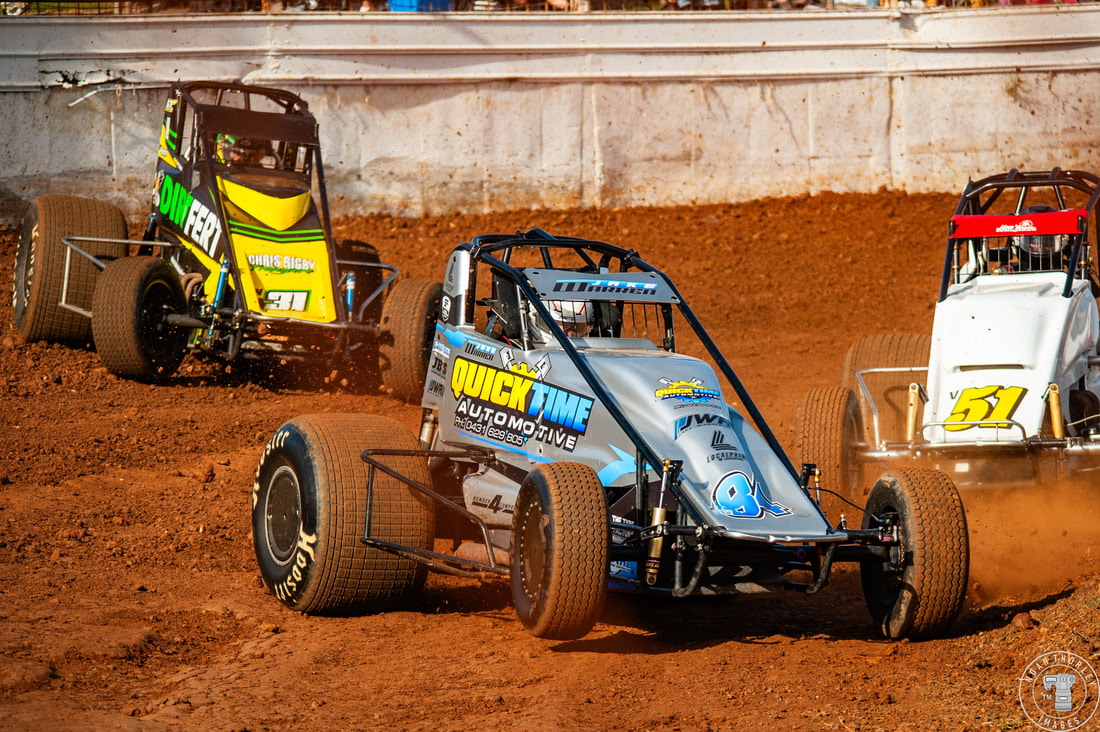 Across the south midwest of Victoria, there are four speedways that dot the landscape. The double layout Darlington Speedway, the home of the Sprintcar Classic; Premier Speedway outside of Warrnambool and the egg-shaped Simpson Speedway. The fourth is in between both Sprintcar powerhouses of Premier and Simpson; Laang Speedway. 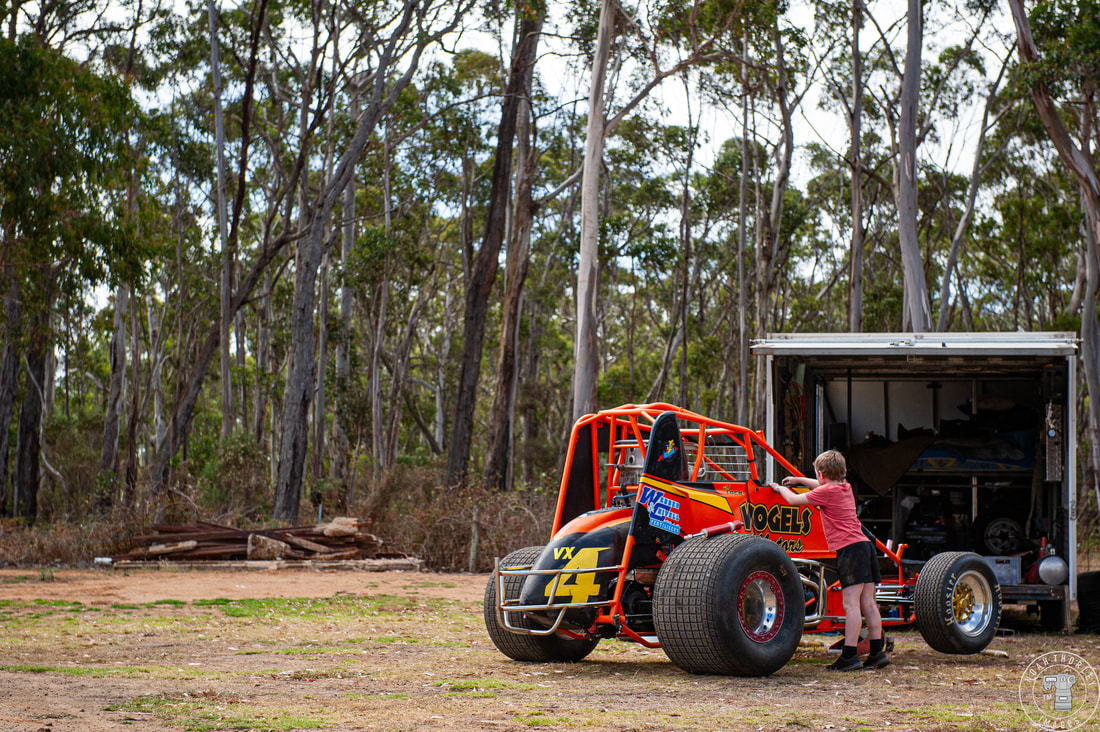 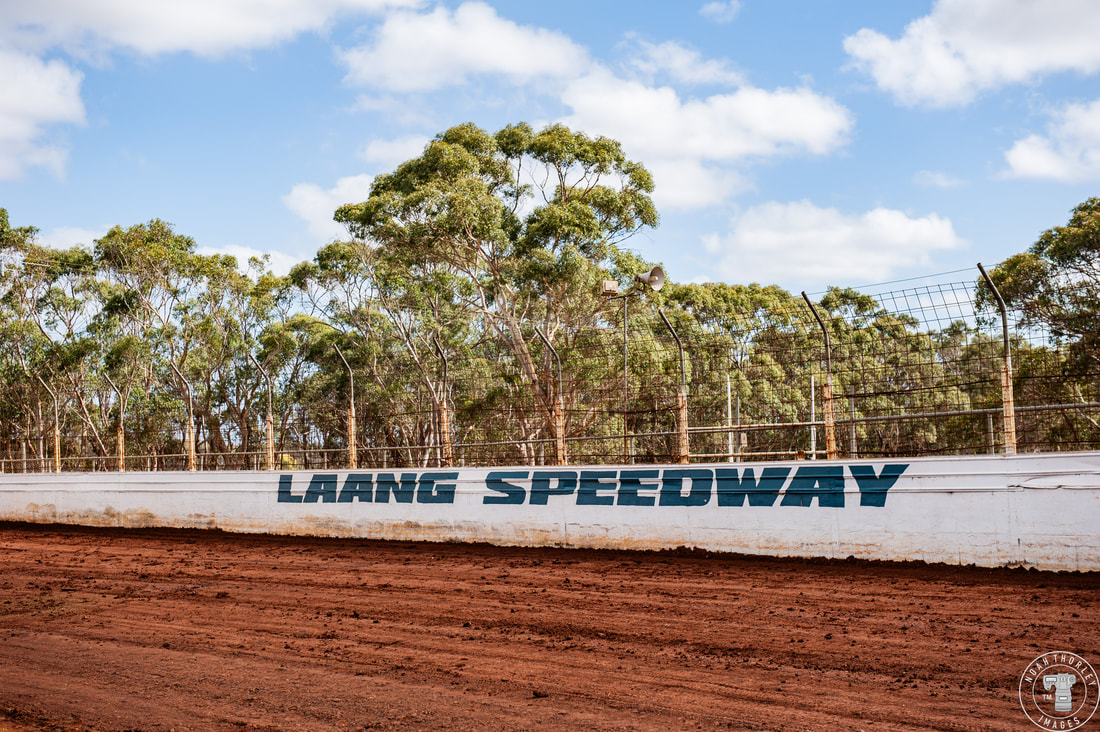 For more than 60 years, Laang Speedway has held race meetings and my first trip to the track would be for the annual Wingless Gold Cup. 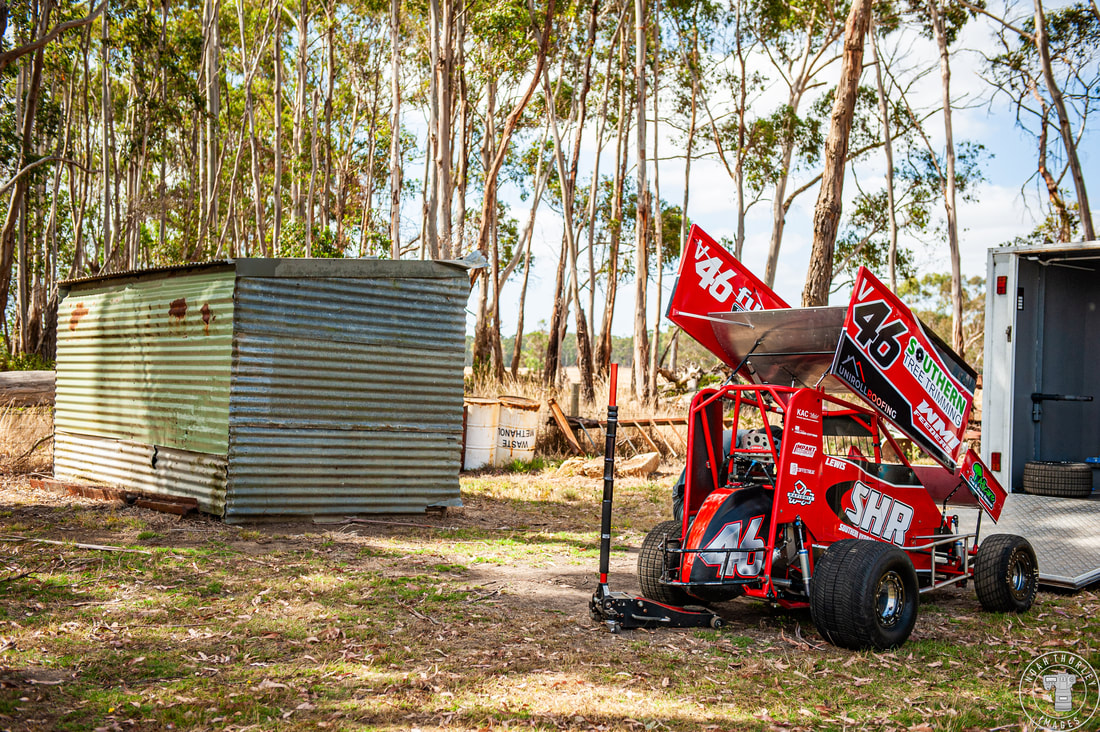 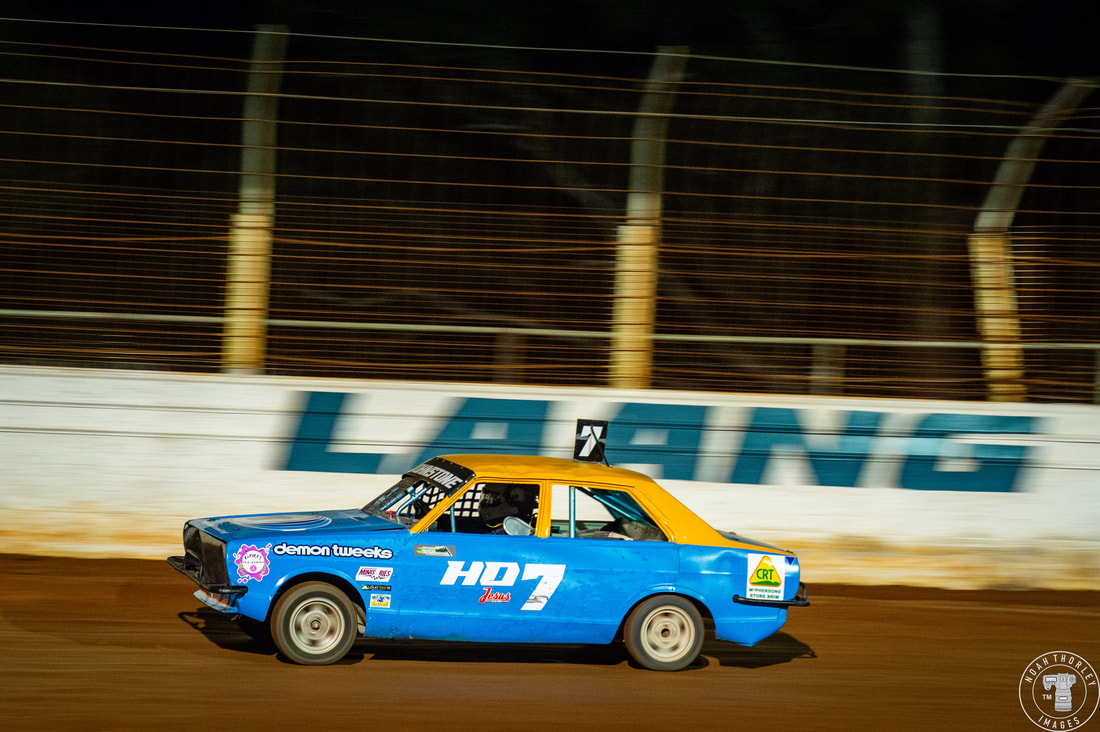 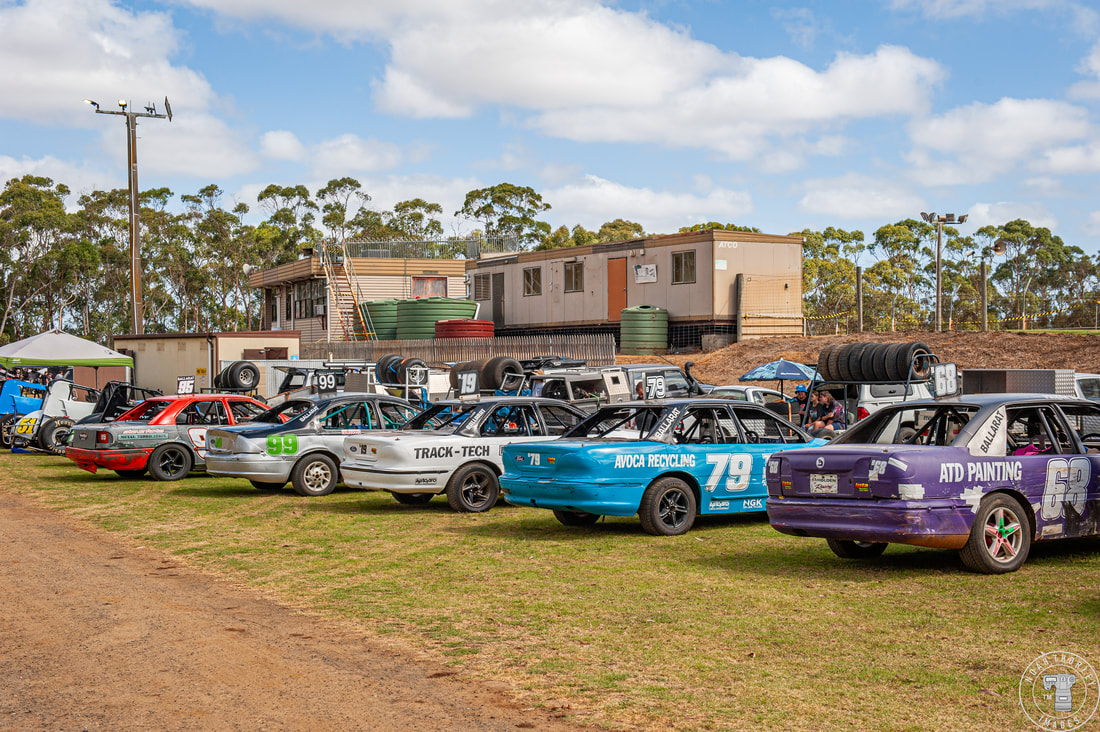 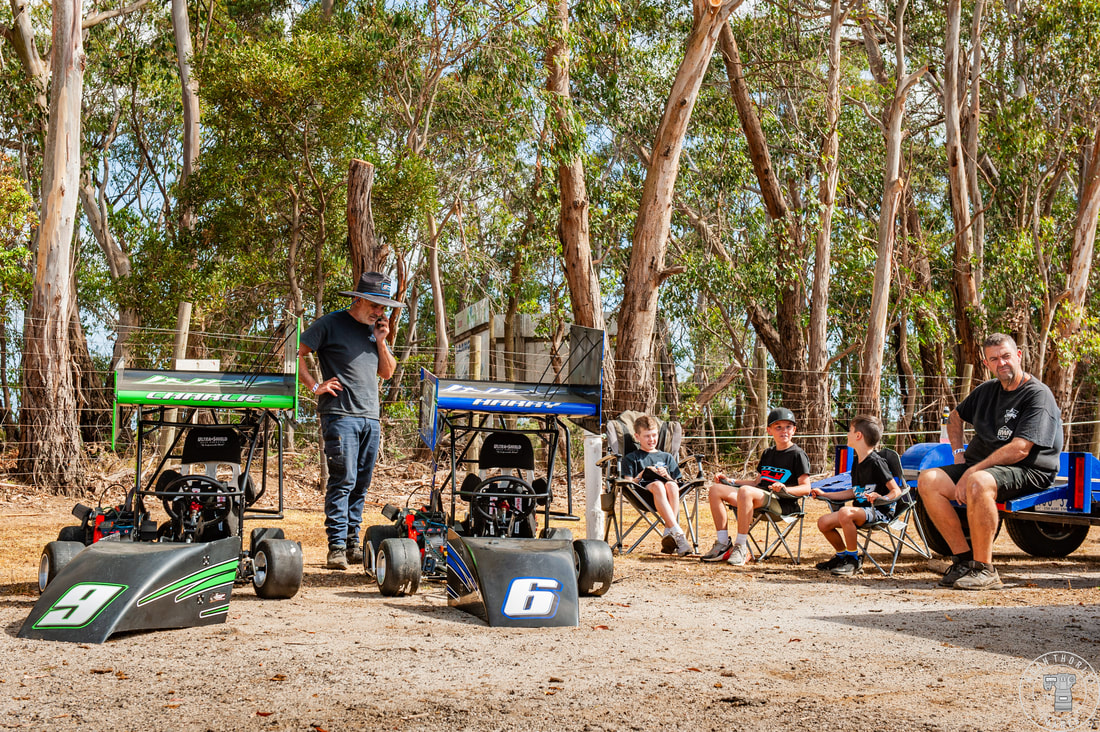 F500’s, 1200 Juniours, Standard Saloons and Outlaw Karts would join the 26 car Wingless field for a night of racing. 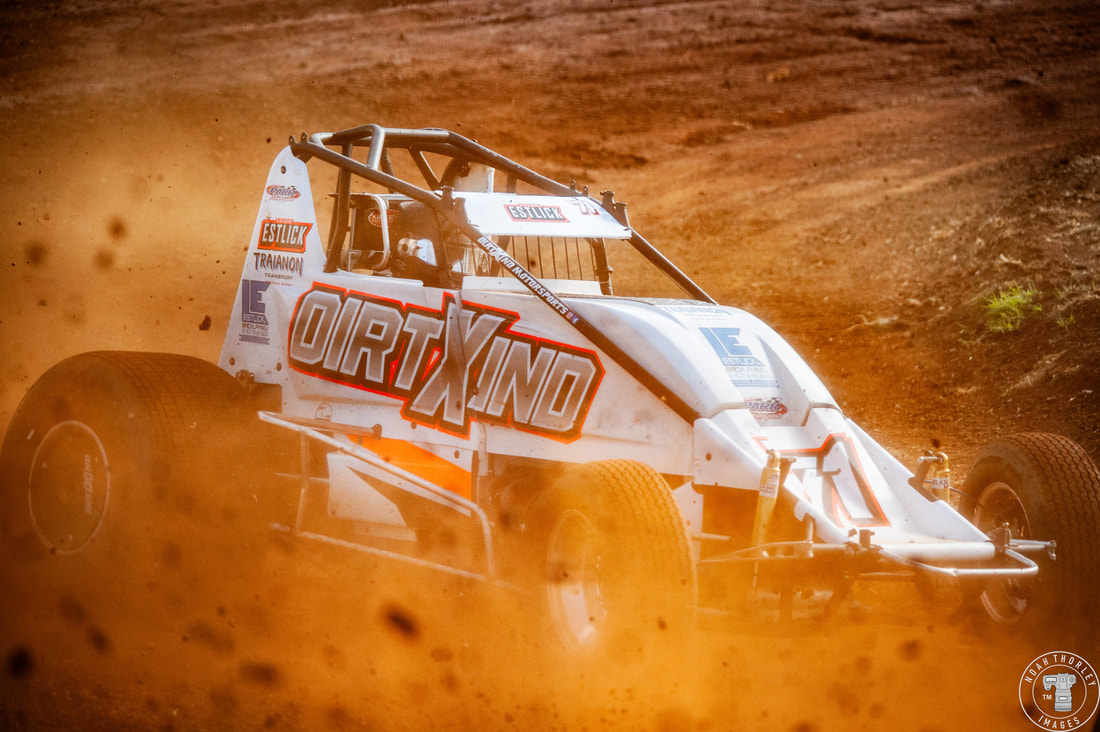 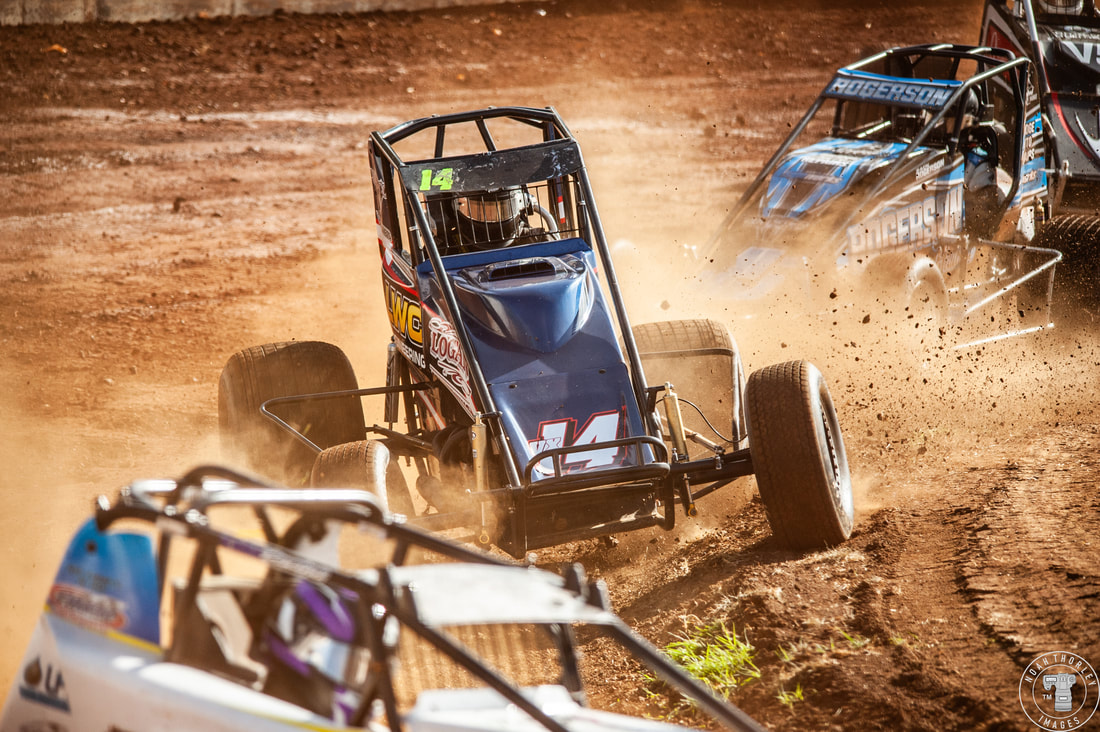 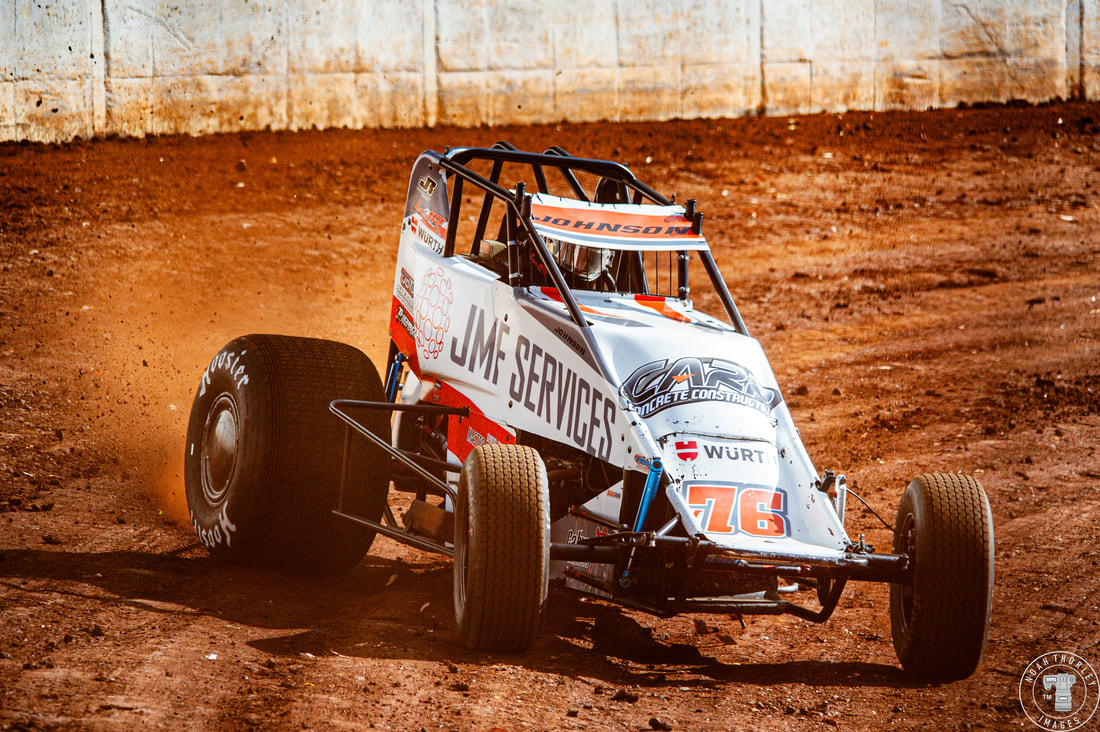 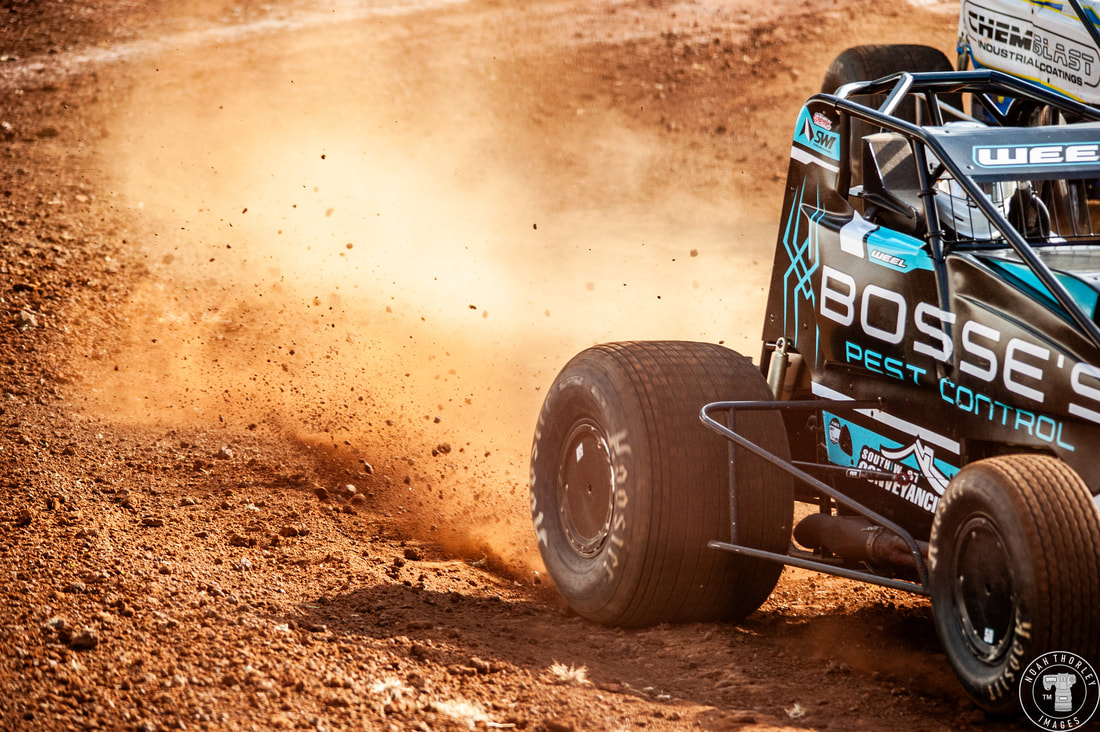 In recent years, Laang speedway has switched from a clay surface, to sand, then back to clay, with drivers favouring the latter. However, after the first Wingless heats, it was clear that the track was in terrible condition. It was more like a rally stage, with constant dust making it difficult to photograph the cars. As Luke Johnson won the first heat, Luke Weel would take victory in the second as there were many spins and subsequent yellow flags. 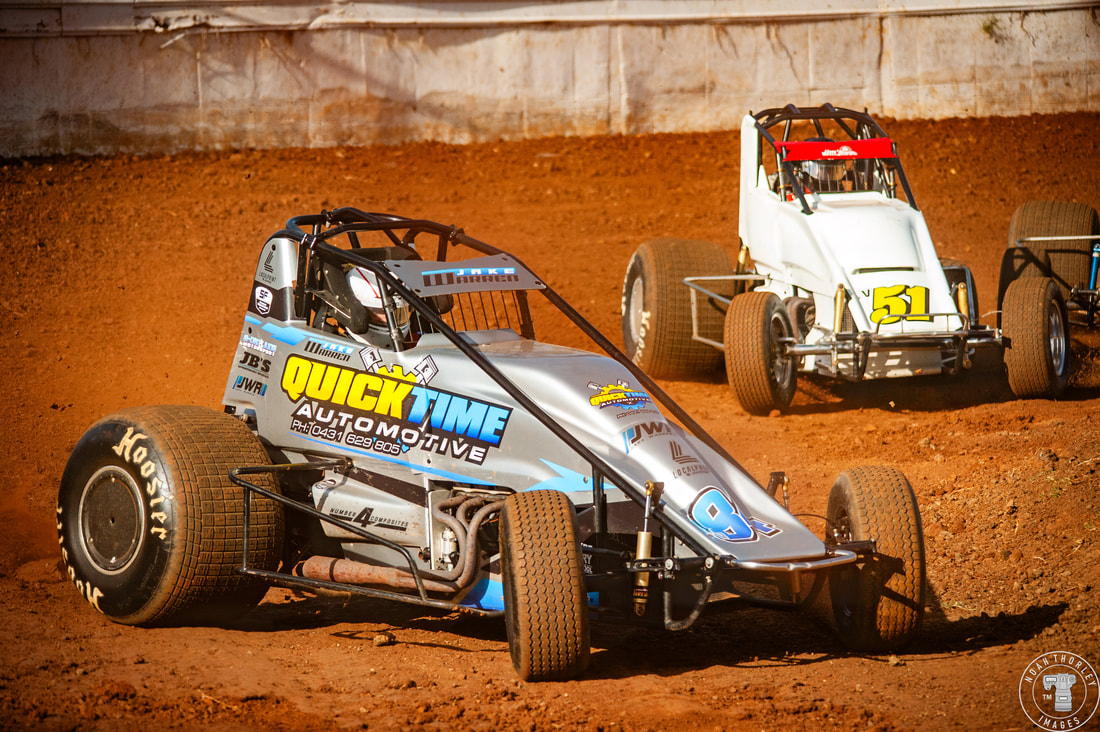 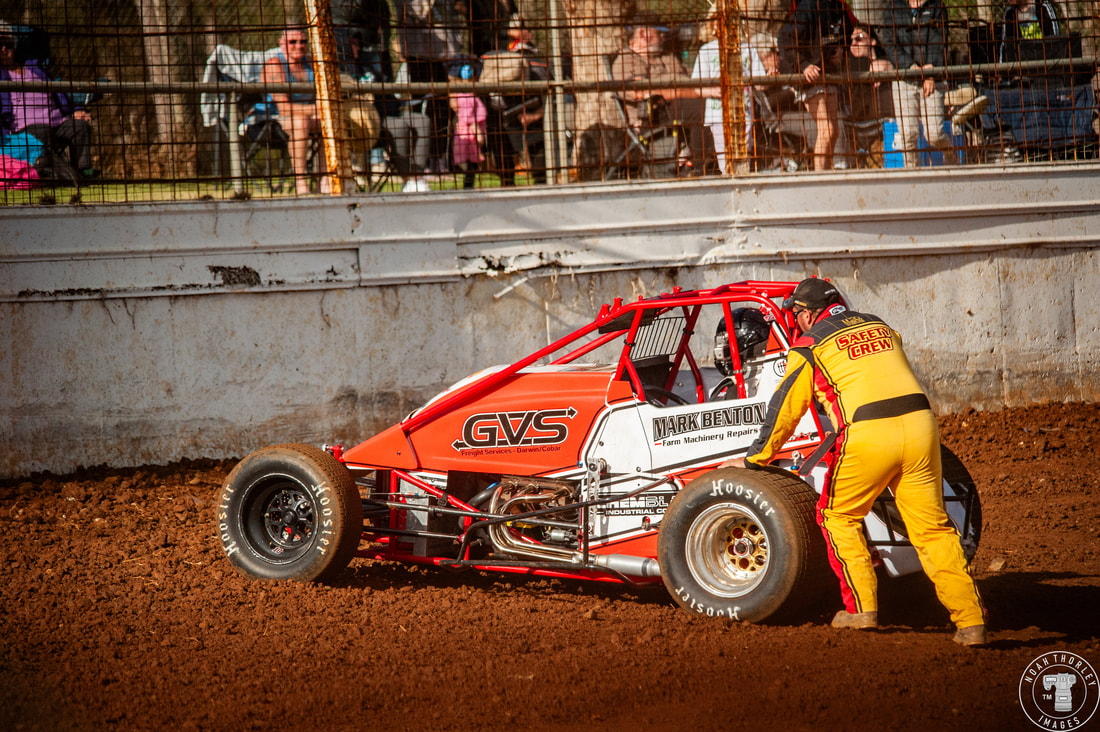 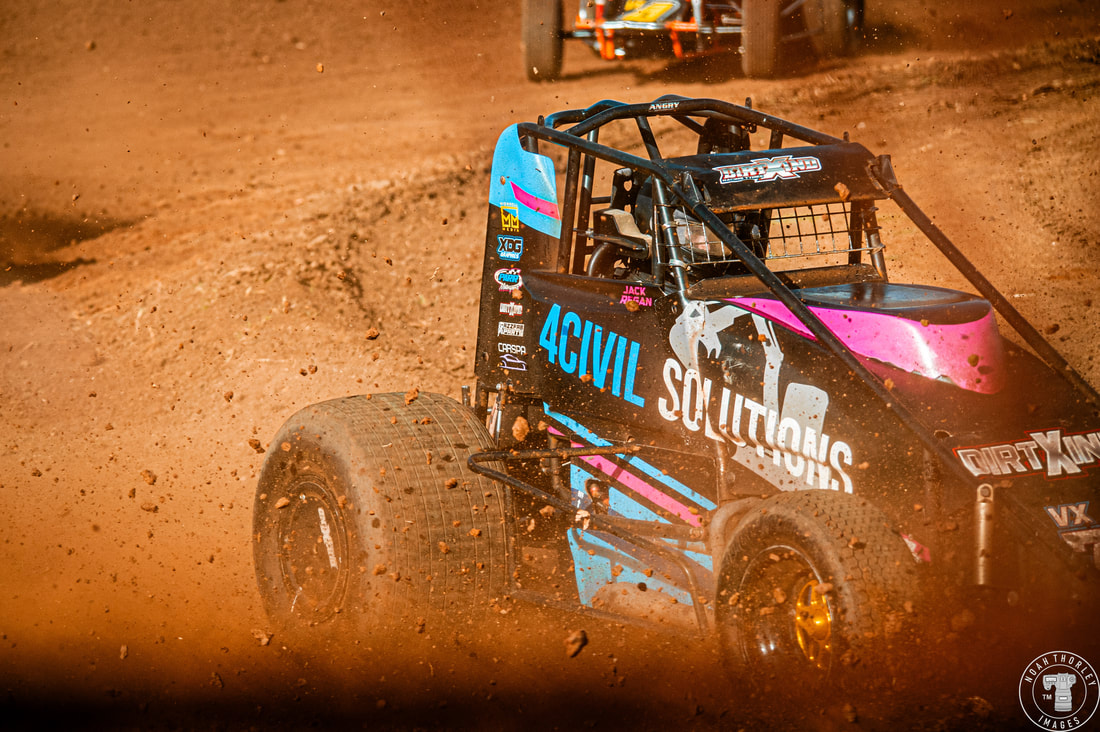 Jake Warren would have a great start on the outside of Jordan Nicholas in Heat 3 during both attempts to start, as Ray Wallis spun twice before being brought into the infield. Jarrod Payne wrote that the track went to “breadcrumbs”, as Jake Warren said it was the worst track he’d ever raced on. 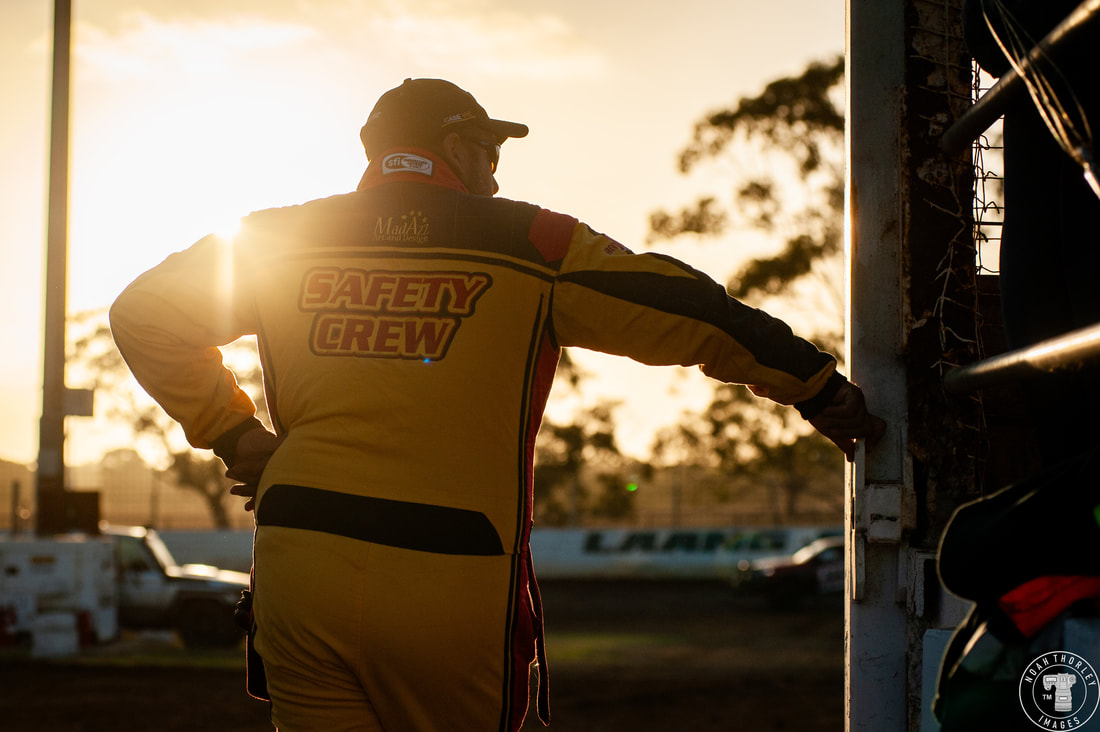 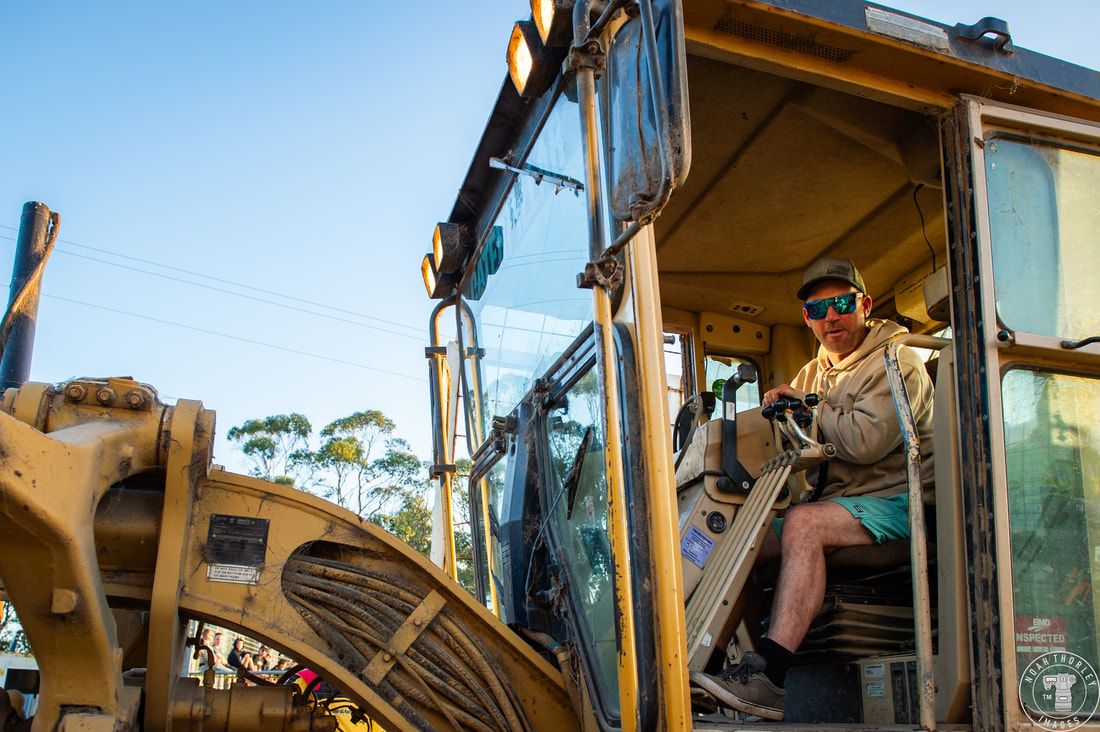 Luckily, Laang Speedway has a great bunch of people running the show, meaning that a grader was brought in, to re-prep the track. Even after the almost two-hour delay, all categories got all their races in, and the track evolved to allow for some great racing. 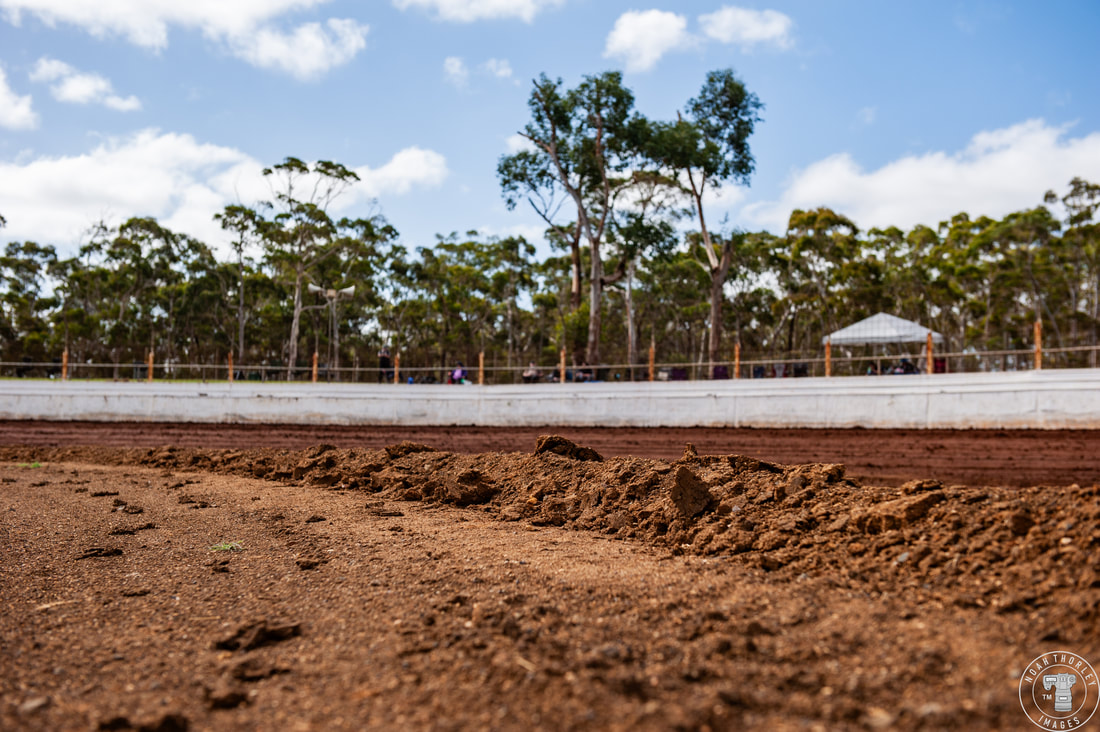 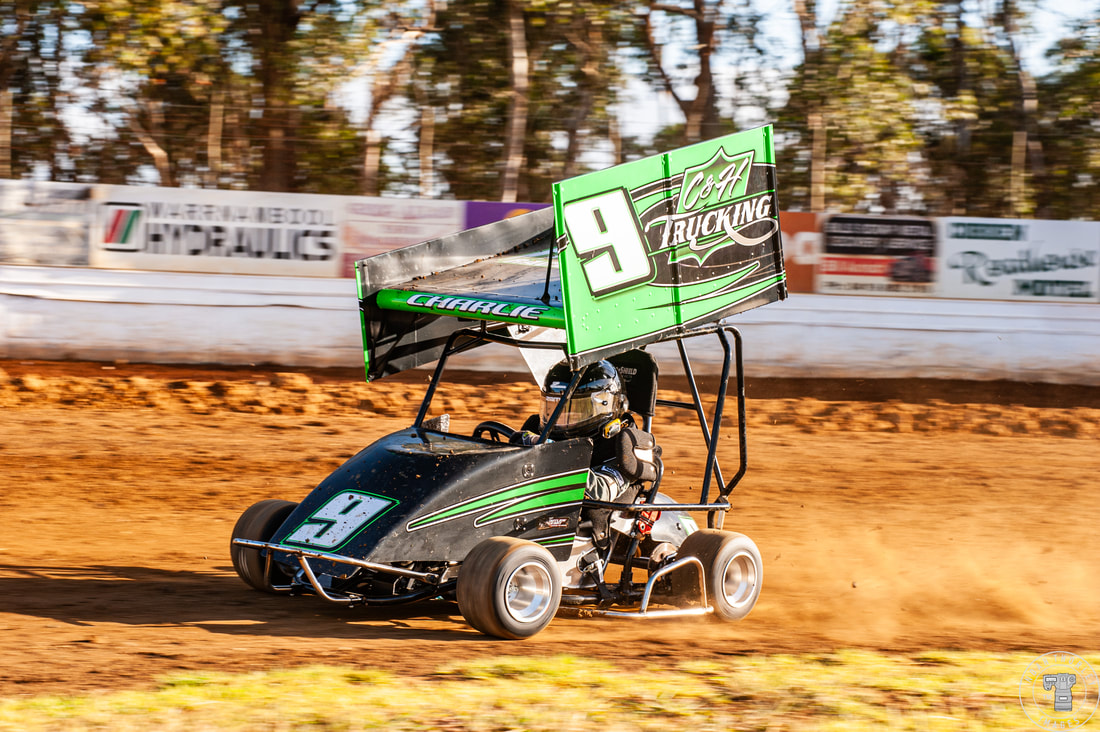 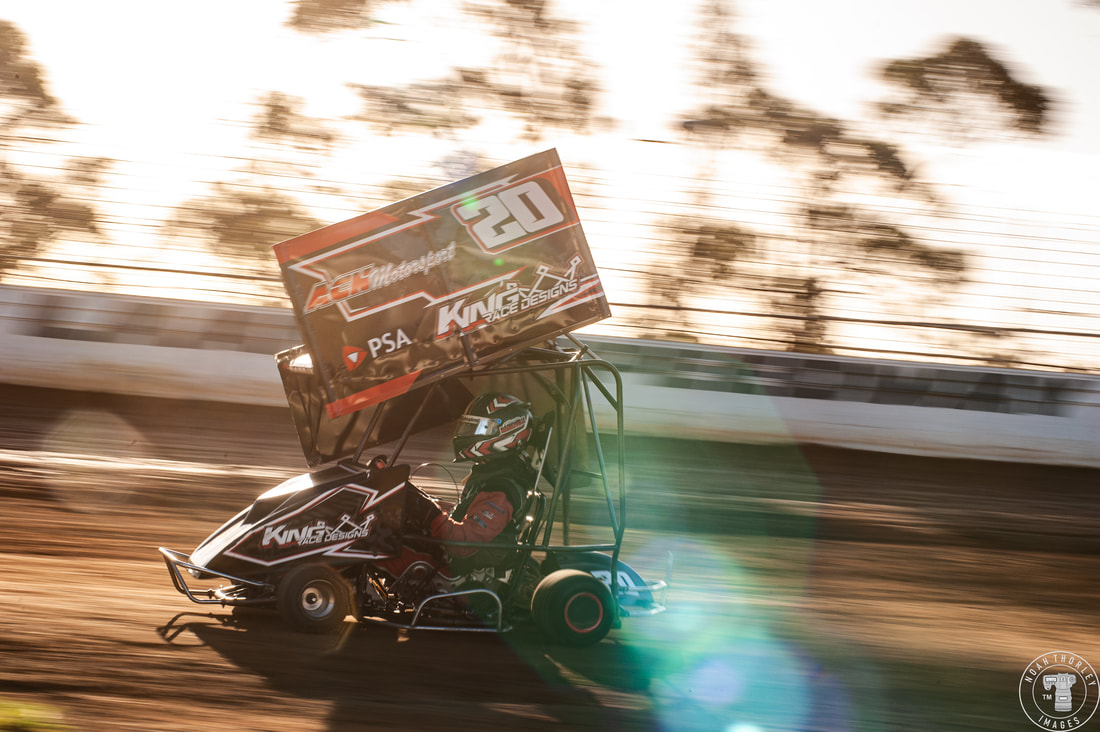 During the time when track was being finalised, the Outlaw Karts would head to the infield for their first heat races. The shorter infield track the Outlaw Karts raced on was quite impressive. Other infield tracks I’ve been to (albeit only a few) have all been quite small, with little space for racing leading to plenty of incidents and yellow flags. The size of Laang’s infield track allowed for plenty of racing room. 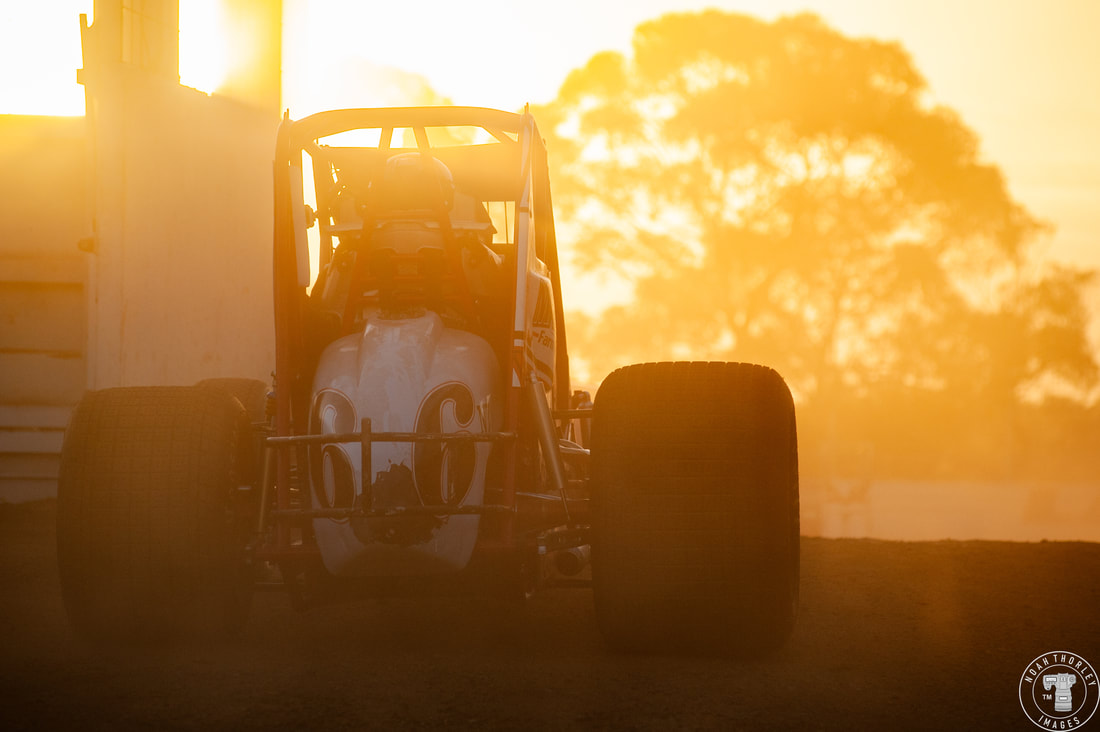 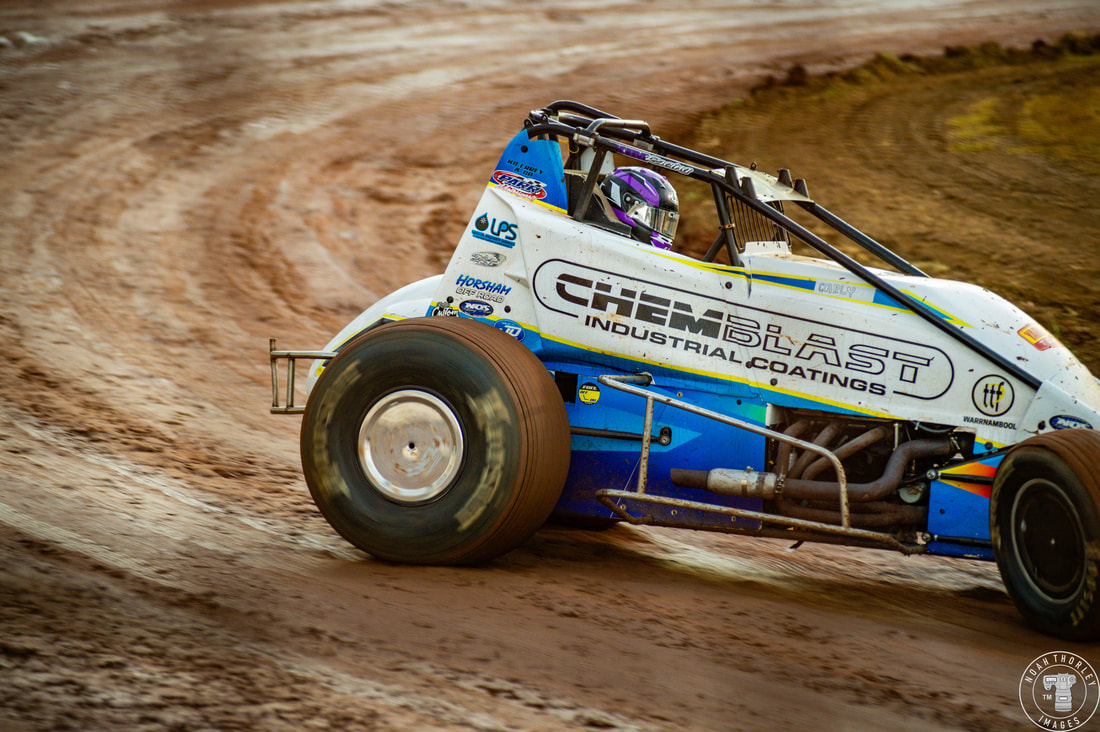 The Wingless drivers were the first back on track, with everyone getting some hot laps under their belts as the sun set. 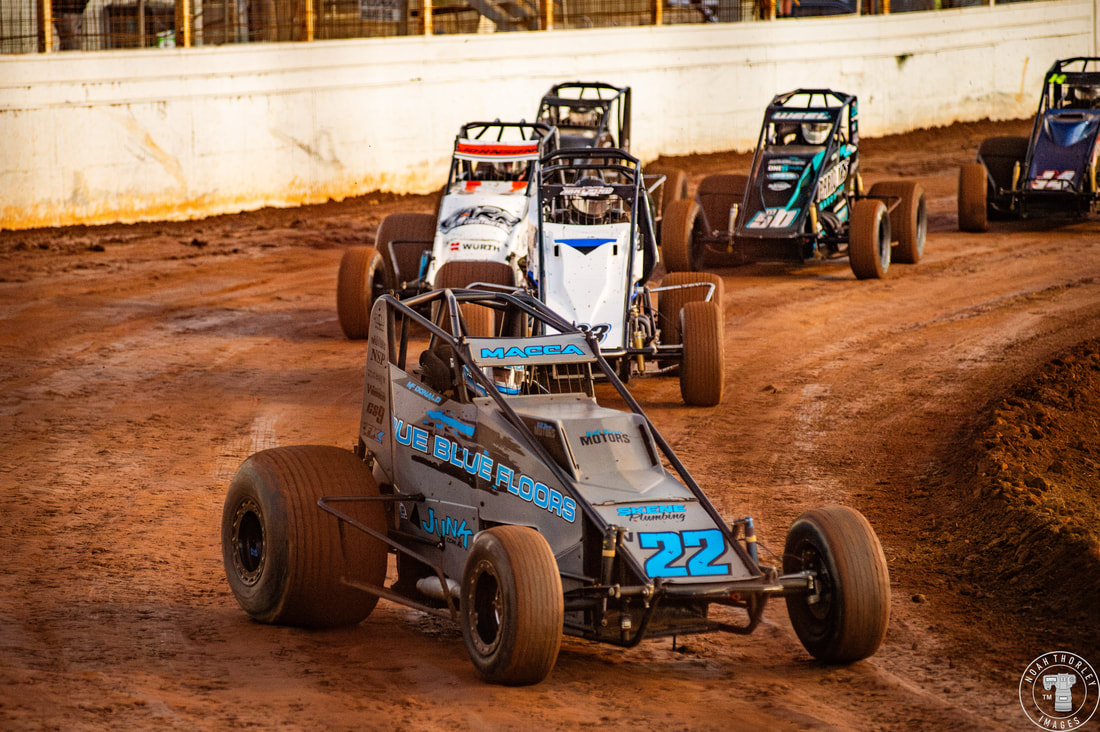 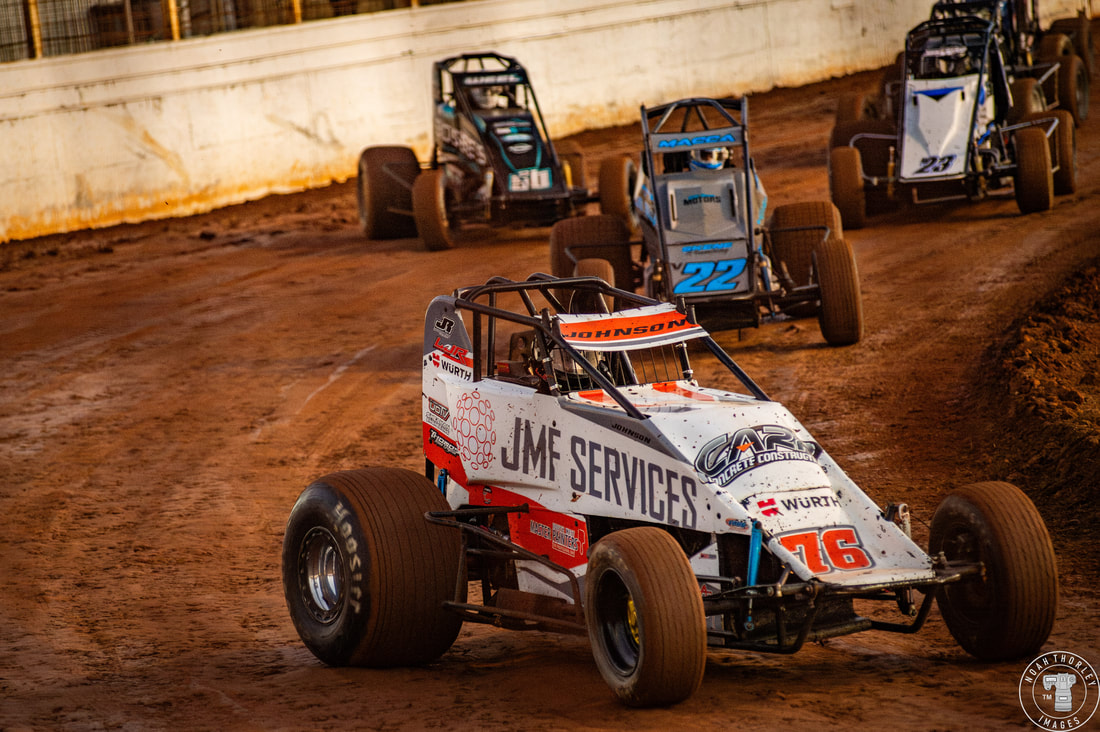 Racing would begin once again with Craig McDonald grabbing the lead in Heat 4 on lap 2 from Jarrod Payne. Luke Johnson would climb up the field from fifth to battle Luke Weel for the lead as Jarrod Payne spun out of contention in Turn 1. Luke Johnson would snag his second Heat win of the night as everyone scrapped for position behind. 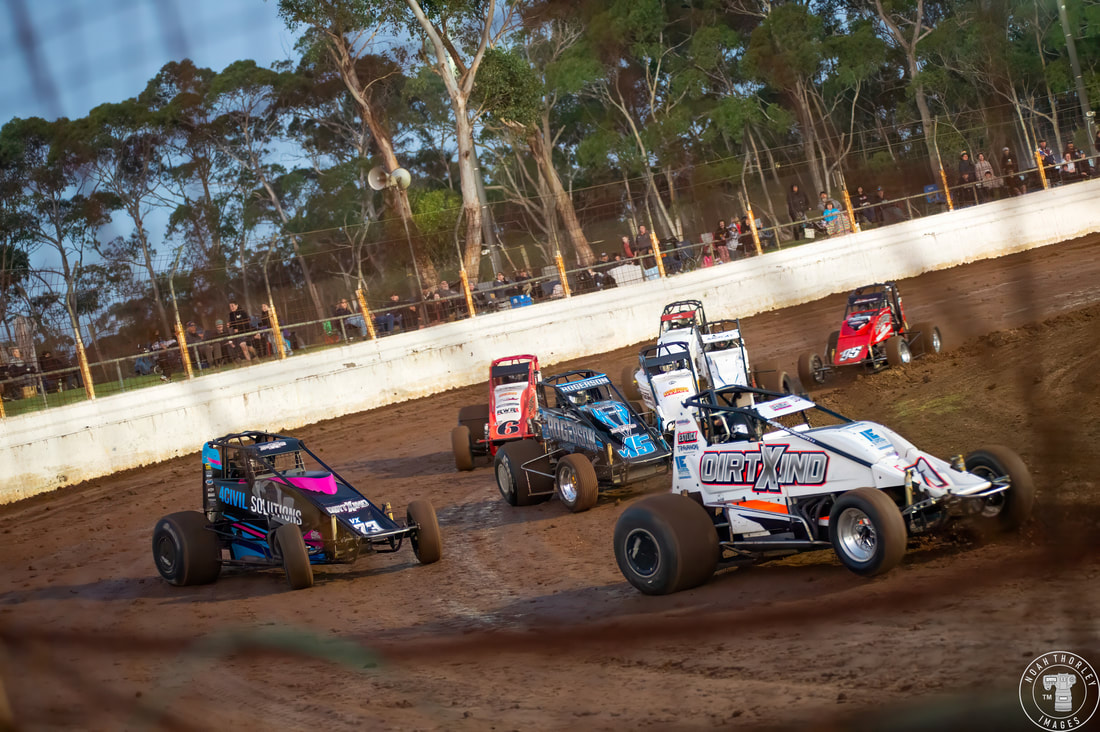 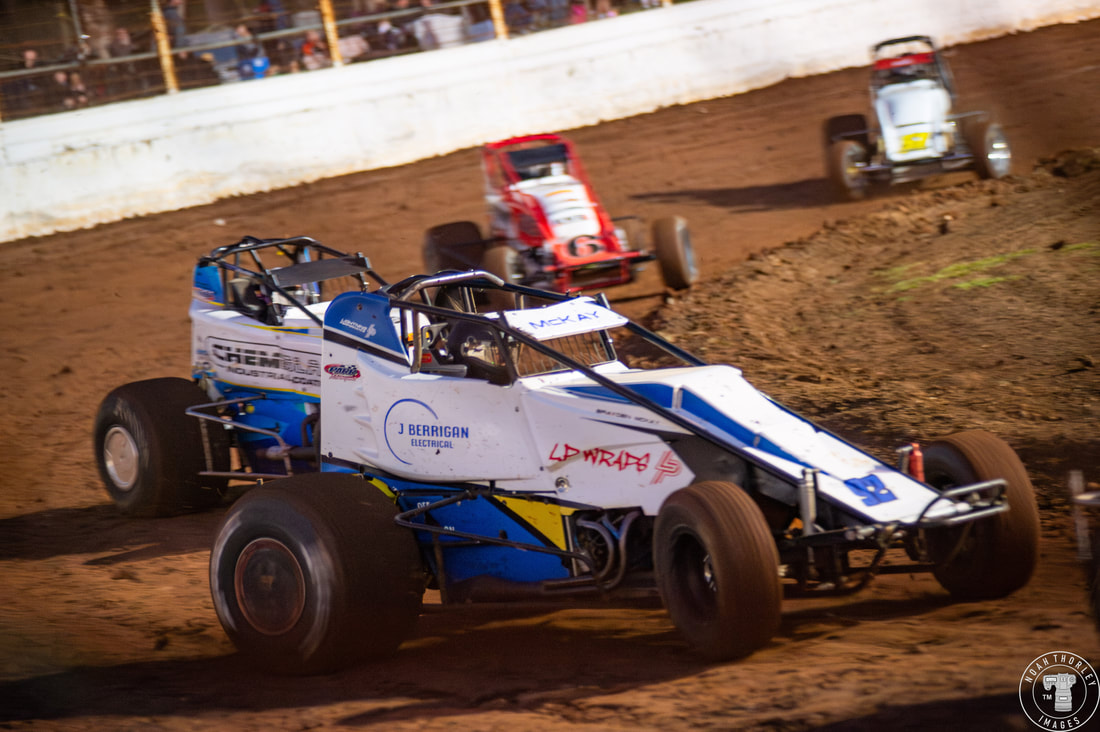 Wingless Heat 5 would see another battle for first place, this time between Jack Regan and Leigh Estwick. Unfortunately, Regan would come to a stop with driveshaft issues, leaving Brandon McKay to drive around the outside of Estwick for the victory after starting sixth. 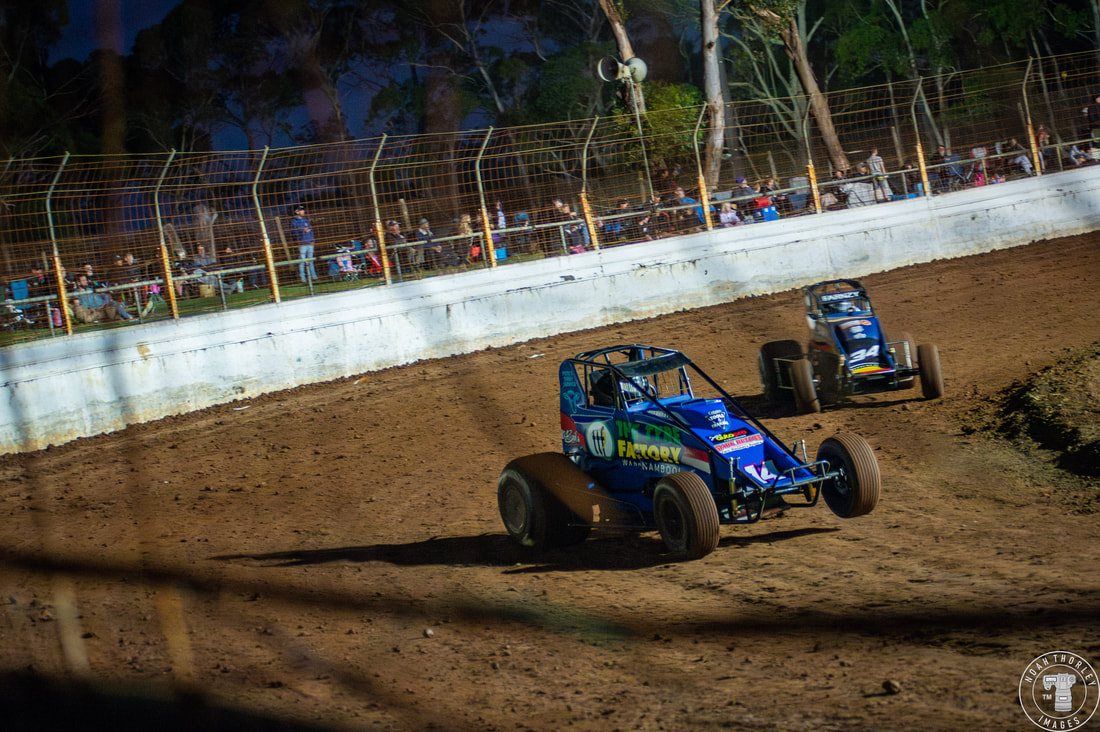 Ricky Bailey would take the win in the final heat race for the Wingless Gold Cup, followed by Shaun Farmsworth and Will Scott. 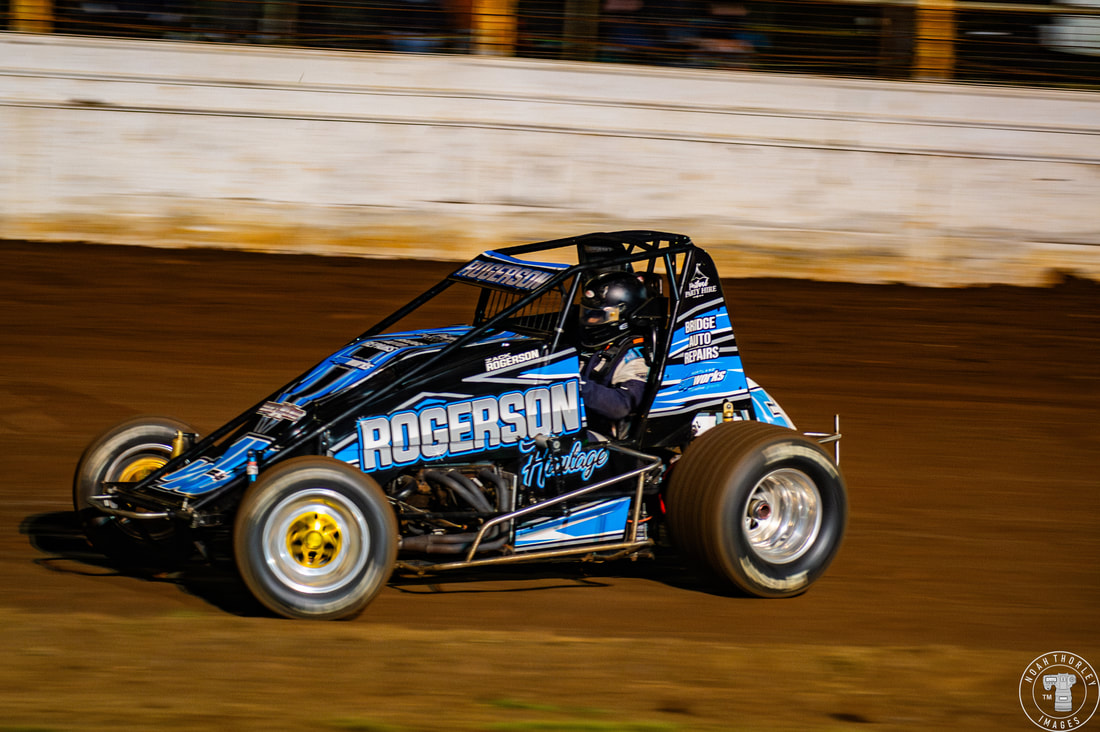 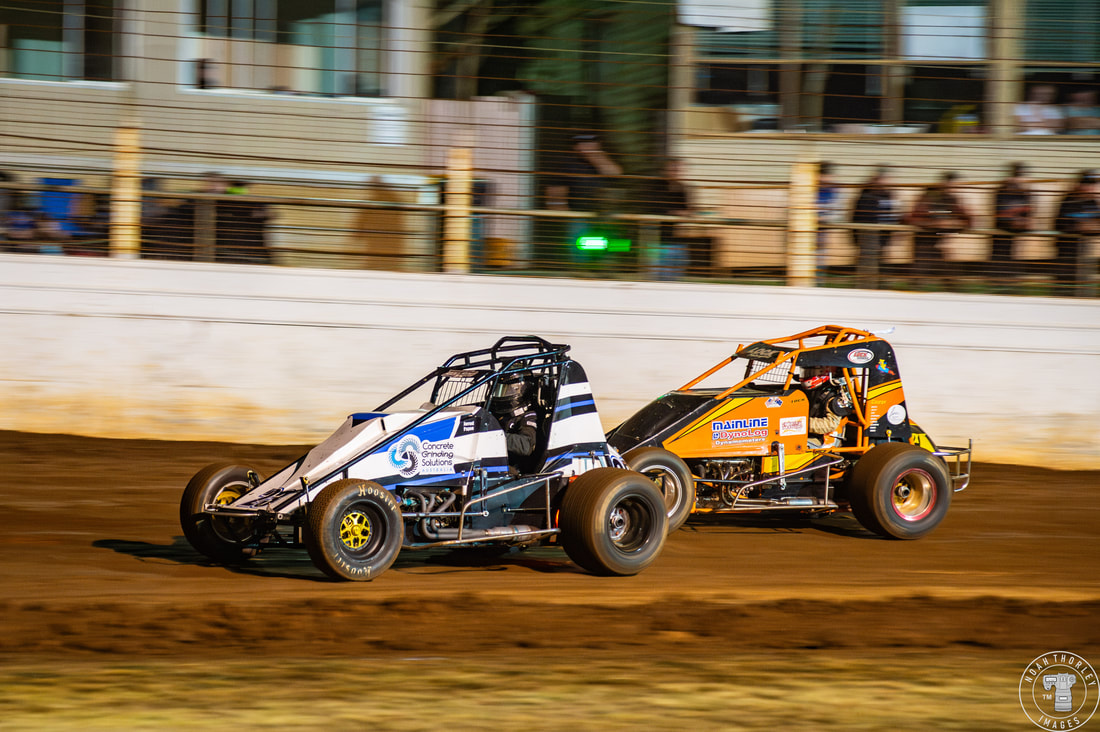 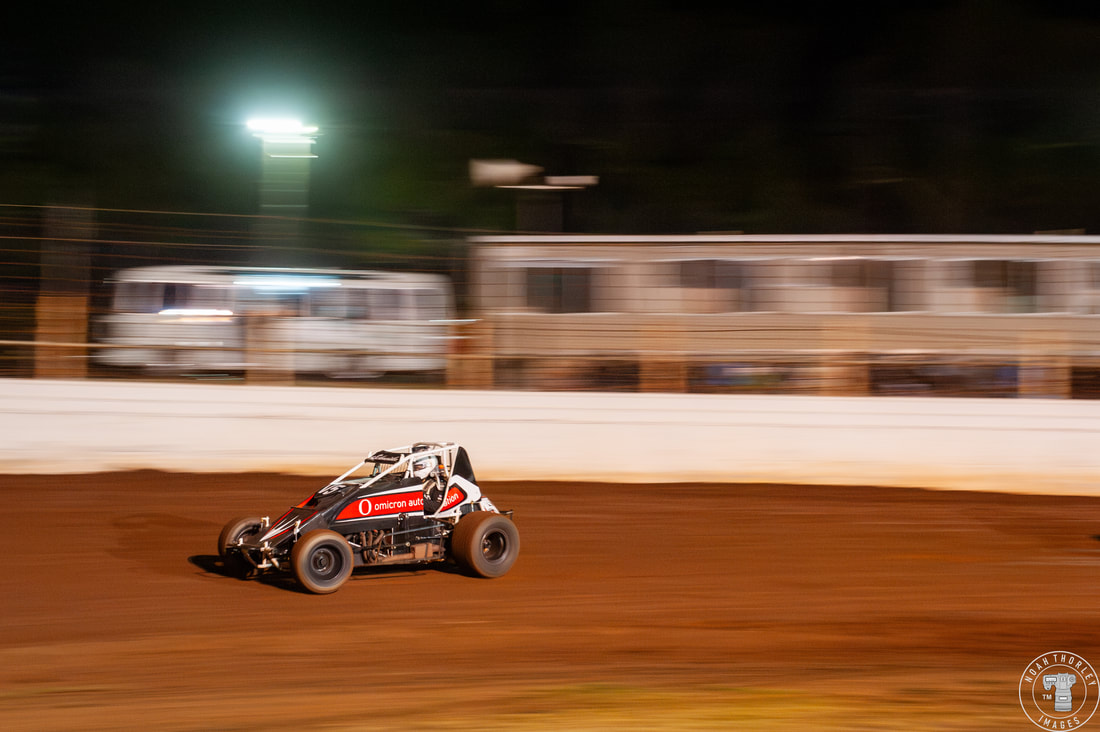 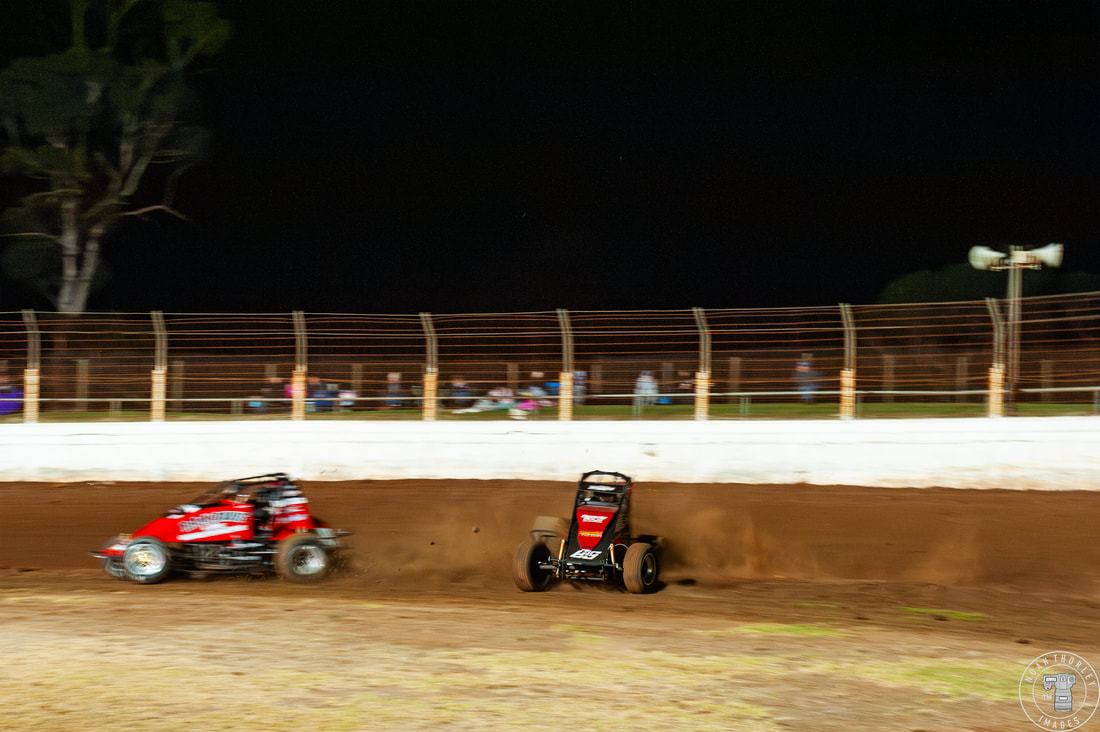 The top four from the B-Main would advance into the A-Main to contest for the Gold Cup. Zach Rodgerson, Jarrod Payne, Jayden Lock and James Schneider would all advance as Nathan Williams and Logan Davis had a moment in Turn 2. 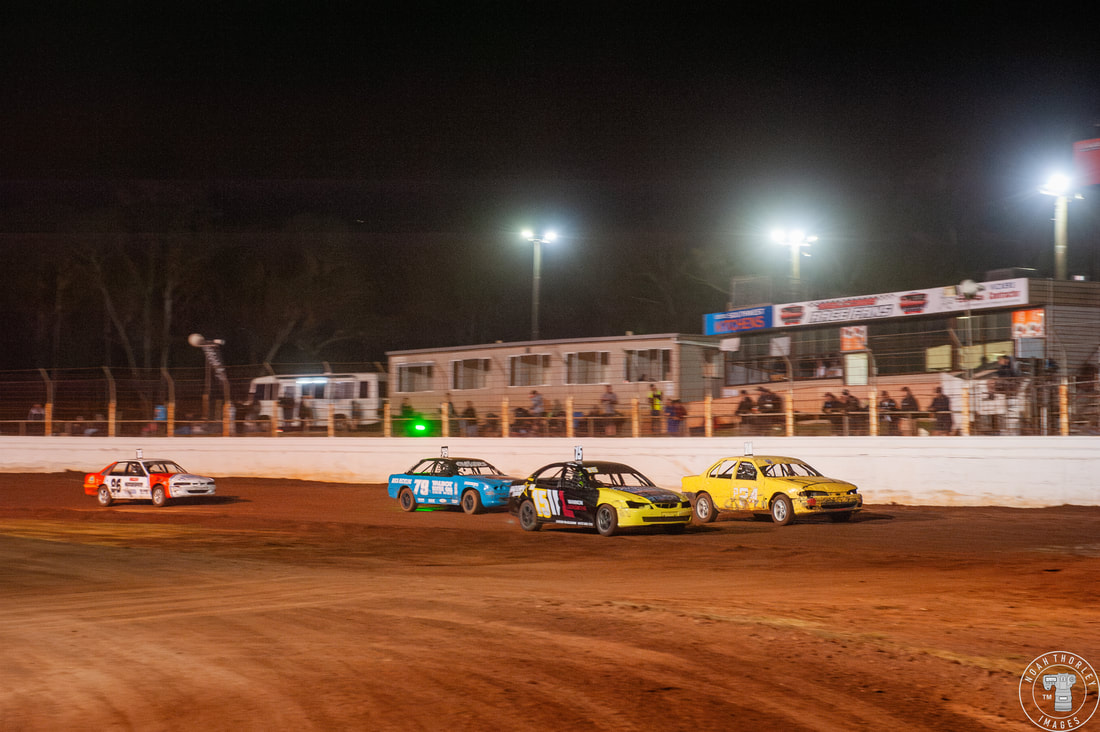 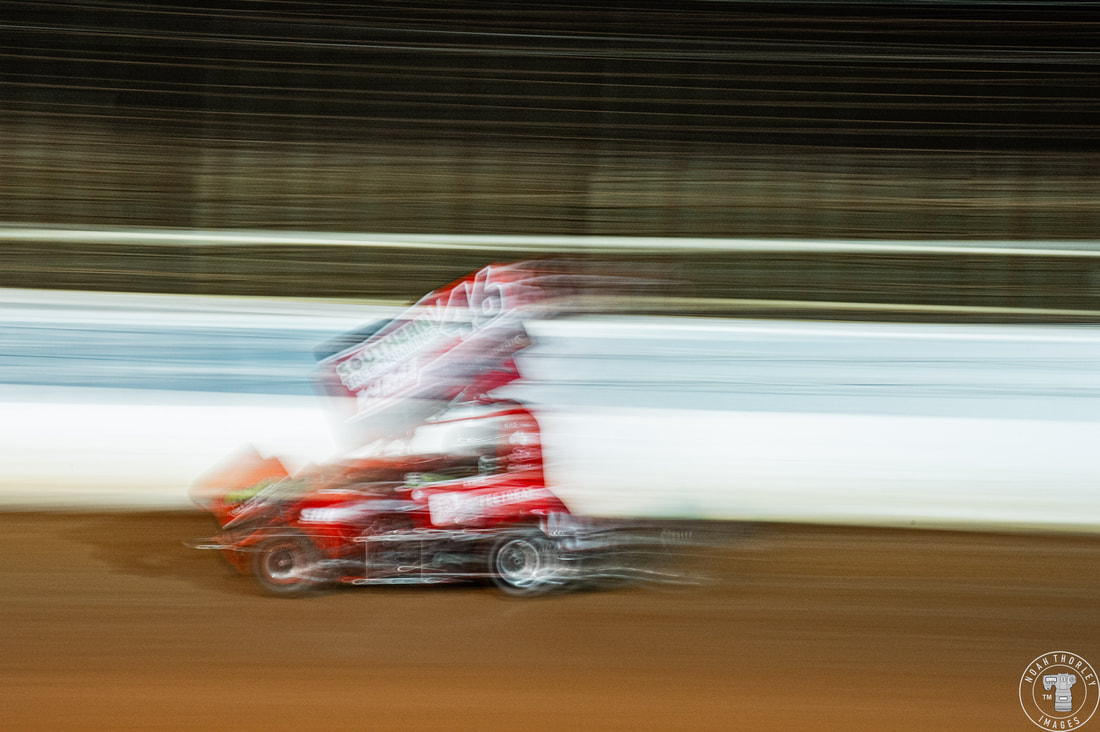 With all the support categories completing all their scheduled races, it was finally time for this year’s Victorian Wingless Gold Cup. 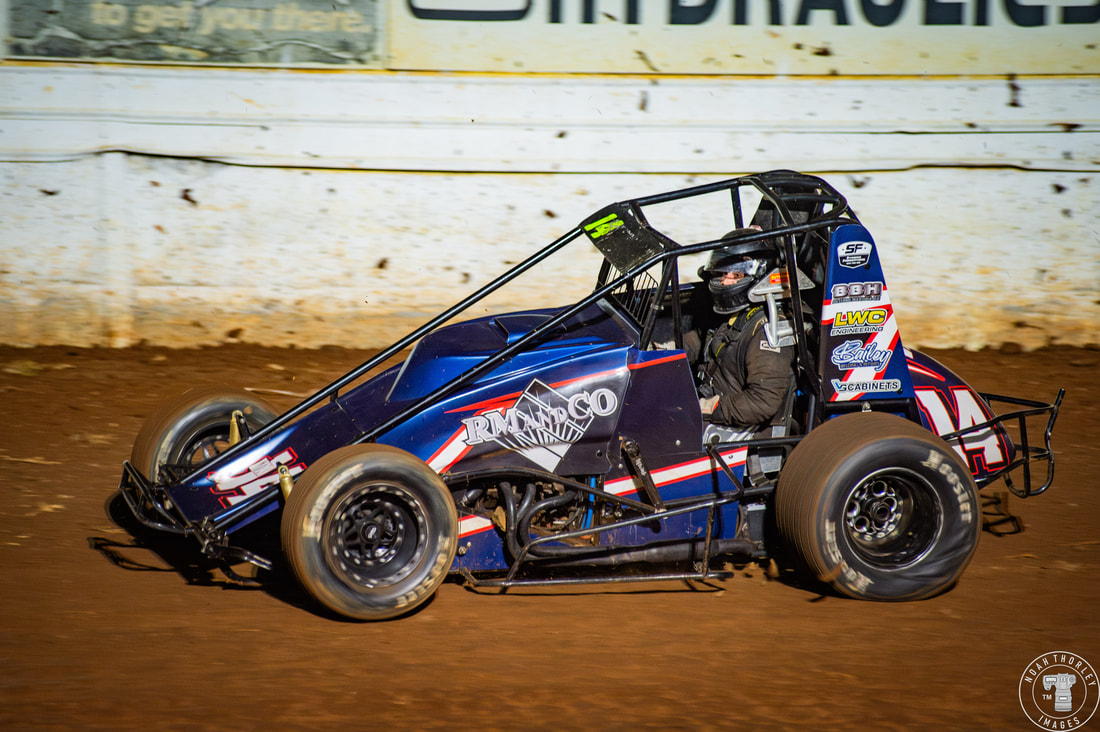 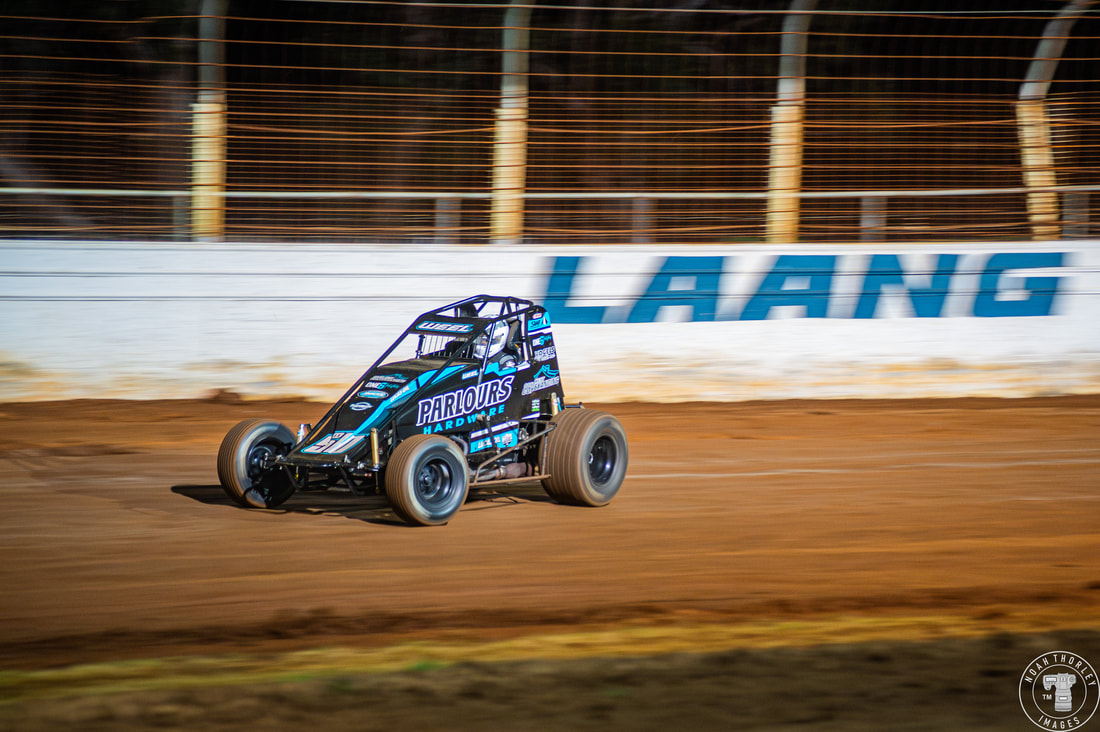 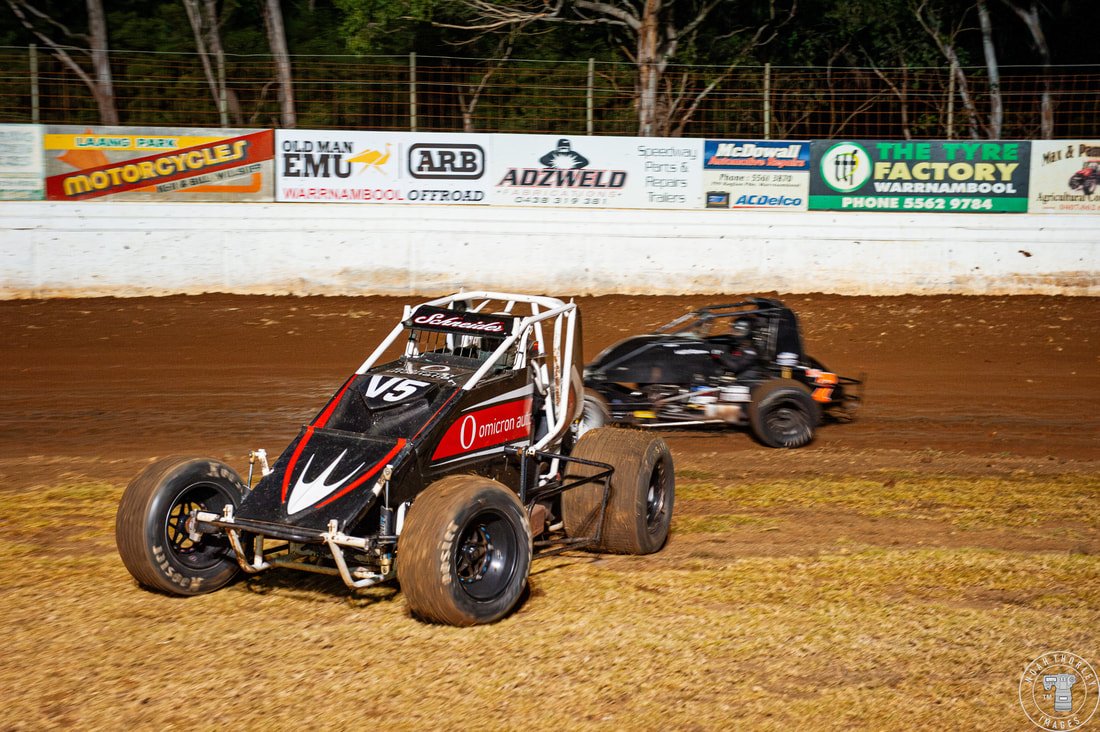 Jarrod Payne would be the first to spin as Ricky Bailey suffered damage on the front left of his Wingless. Out front no one could catch Luke Weel, especially on the restarts as James Schneider and I got a bit too close for comfort. Luke Weel’s control of the race would come to an abrupt end as he slowed on track with mechanical issues. 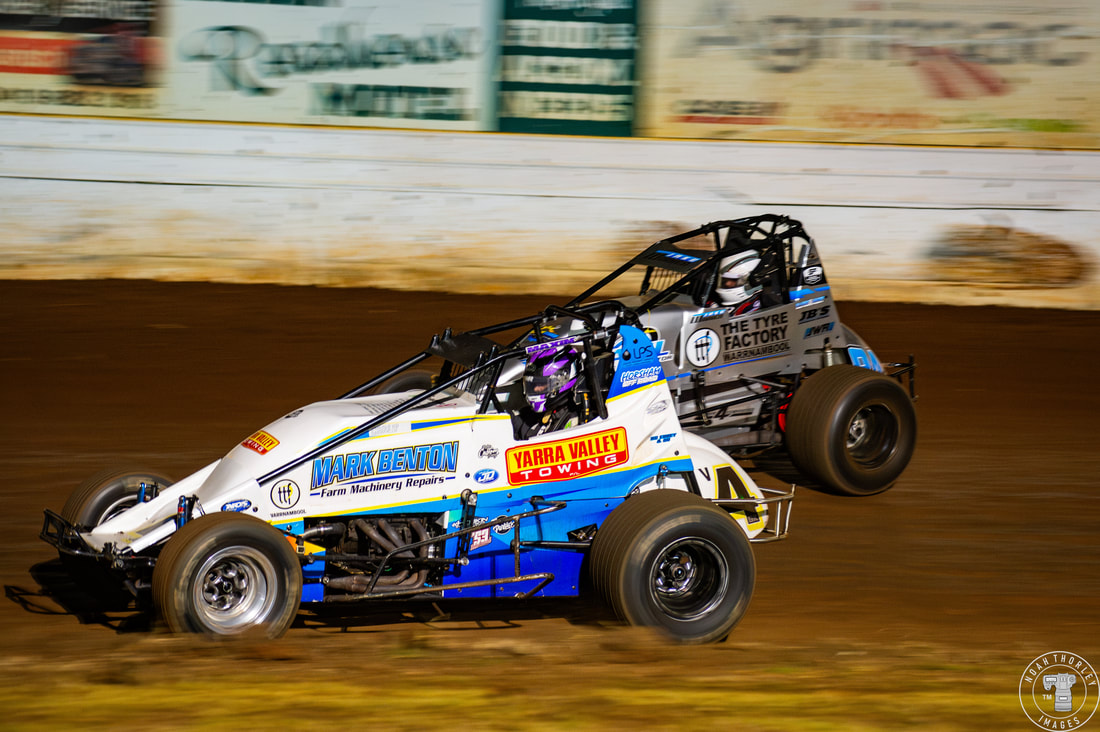 Now it would be a dash for the top positions in the closing laps. The track grip was widening, and drivers were sending it around the outside to move up. 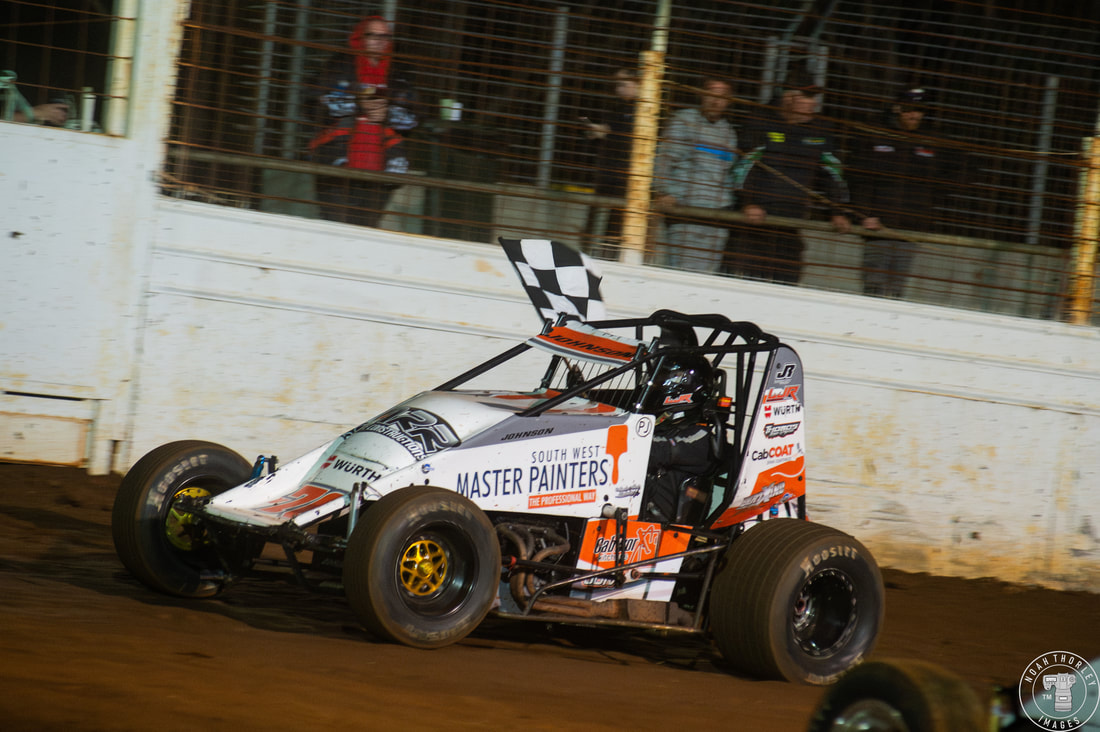 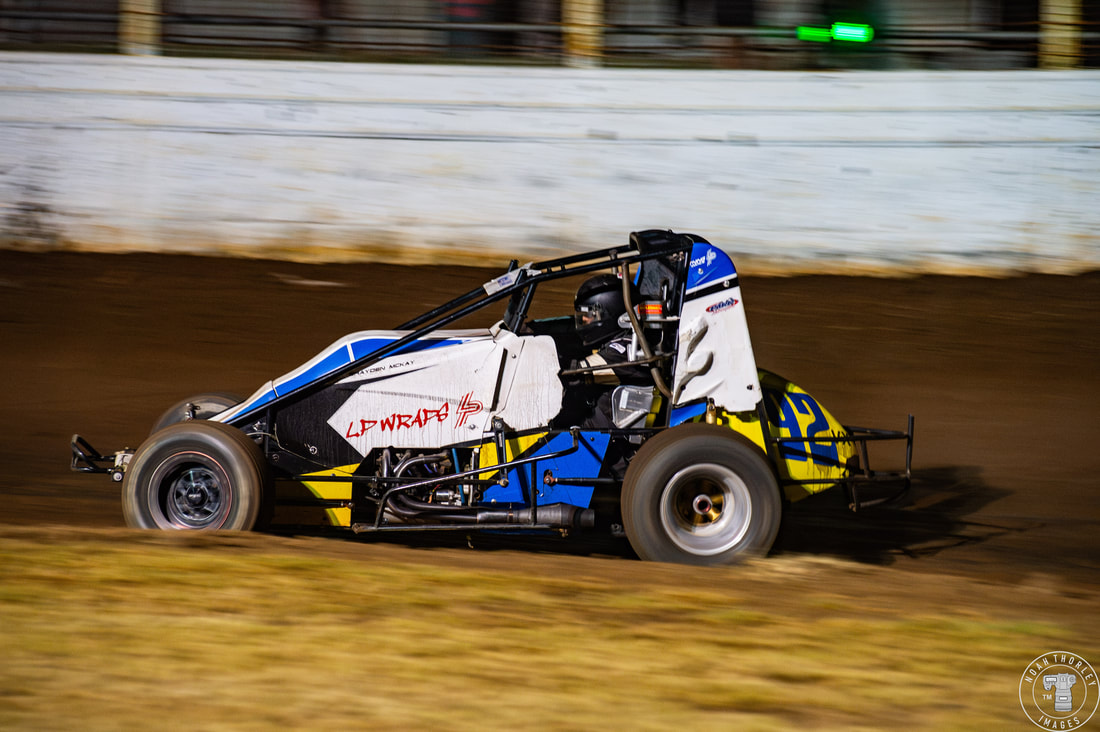 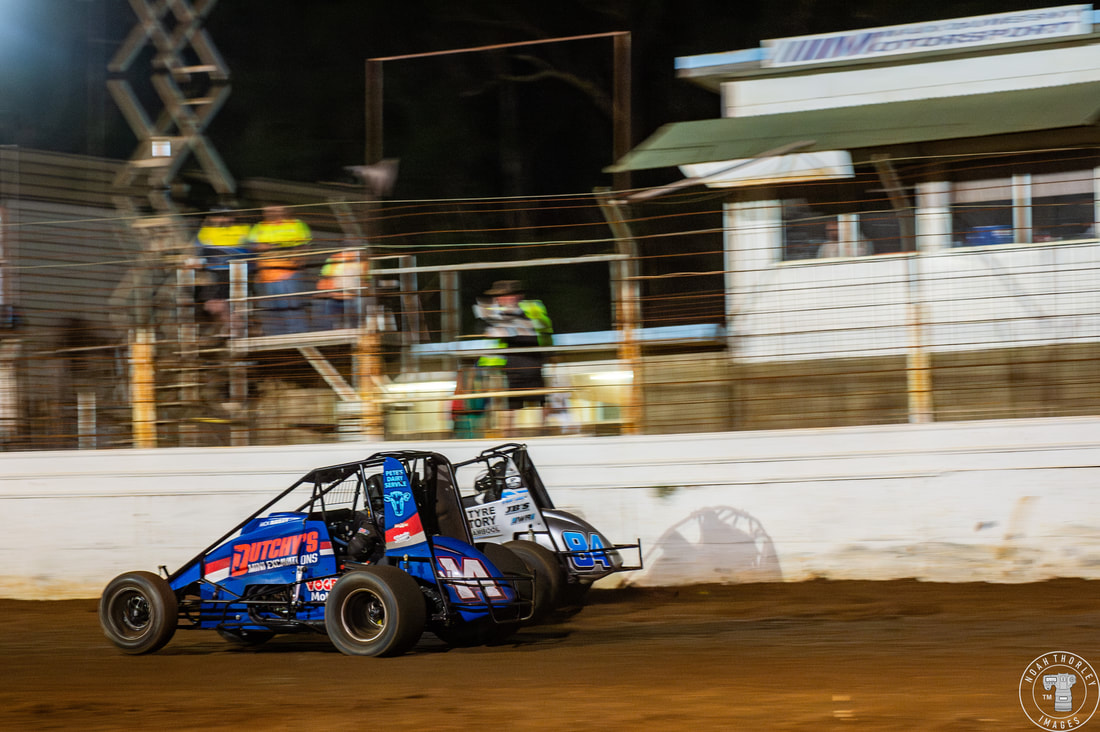 Luke Johnson would grab the chequered flag, becoming your 2024 Gold Cup champion. Branden McKay would nab second as Jake Warren would snatch third at the line from the wounded Ricky Bailey. 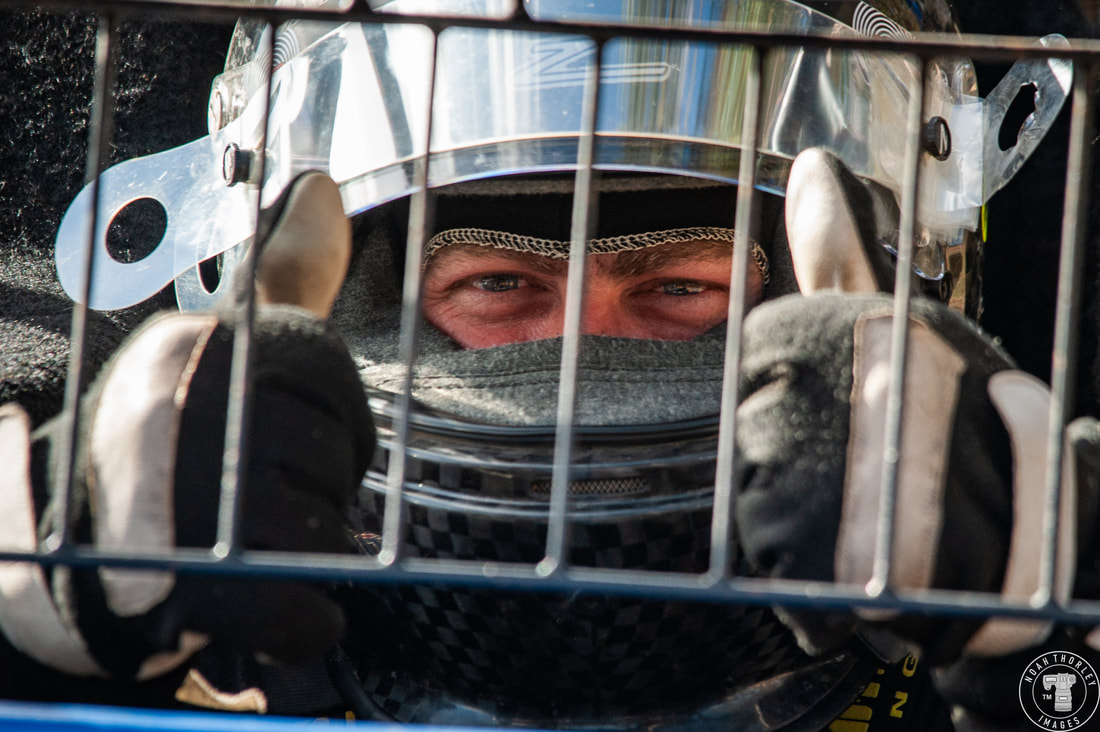 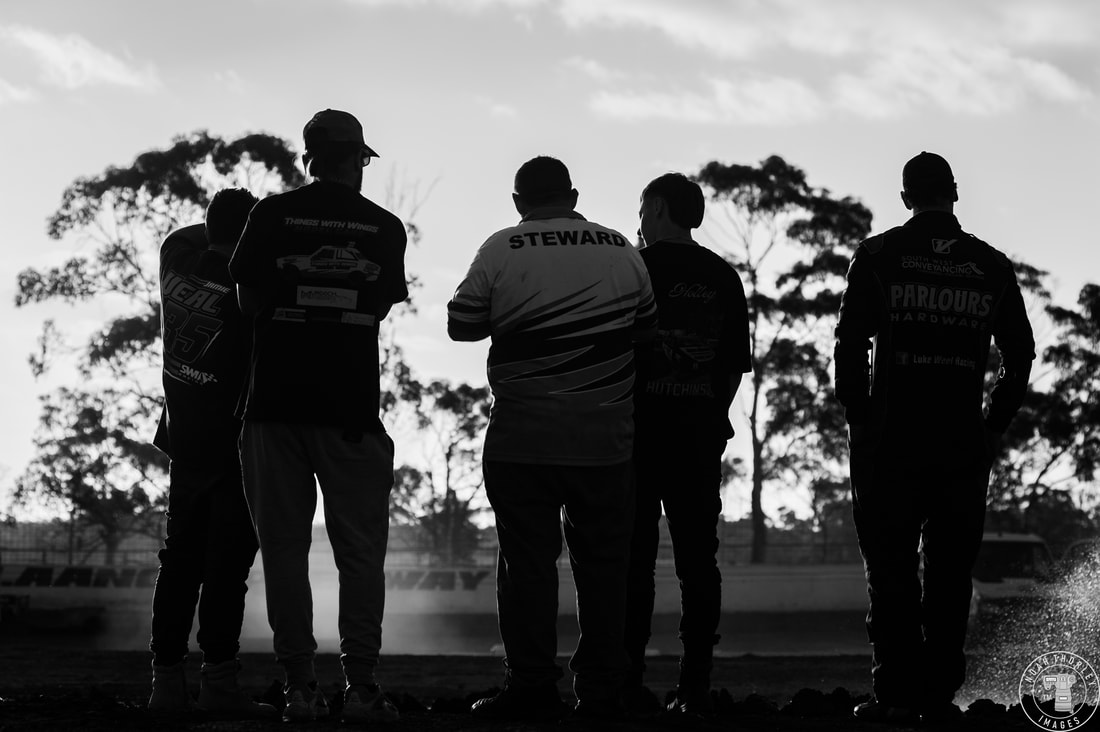 That night was a great example of how a track can evolve from being like one grit sandpaper to providing great racing. The crew at Laang Speedway did a fantastic job at fixing the track surface and getting all the racing complete. Andrew Dorman was also one excited commentator, brilliantly calling all the action. Bonus Gallery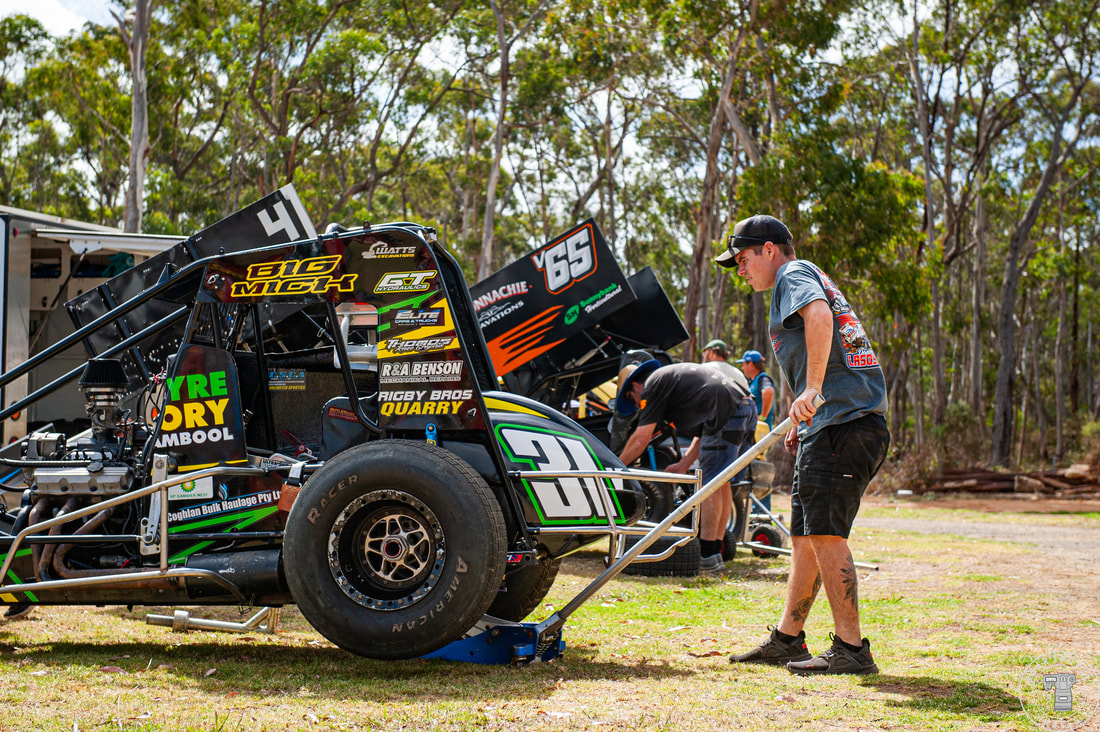 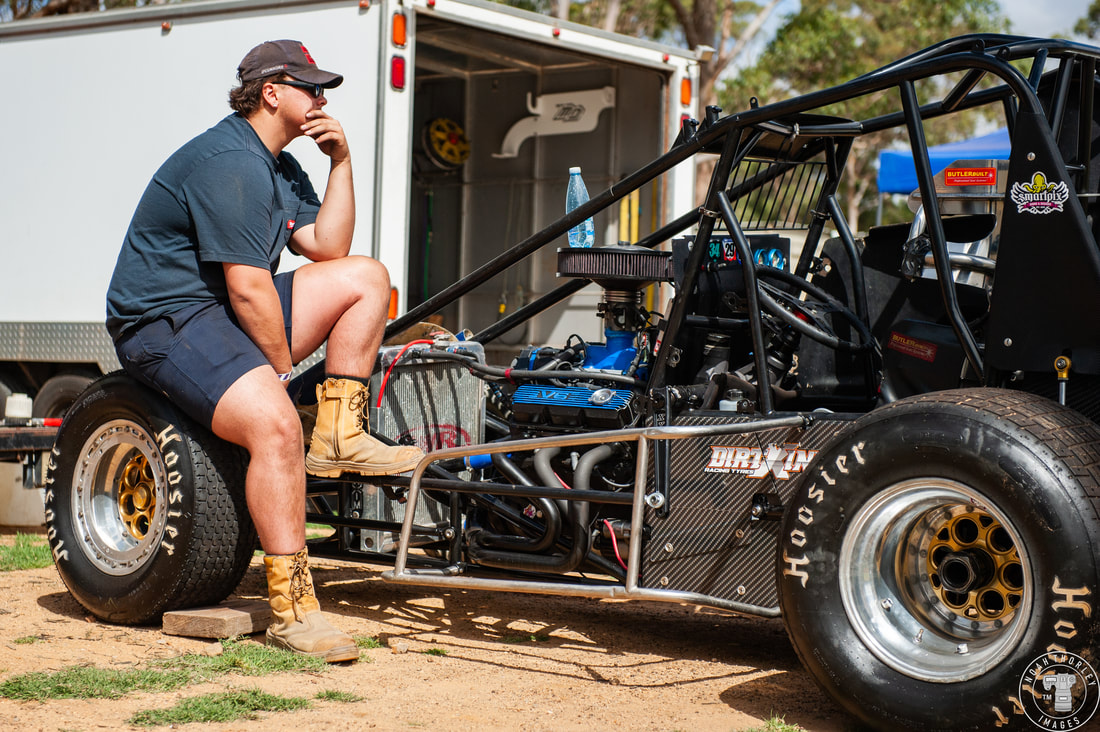 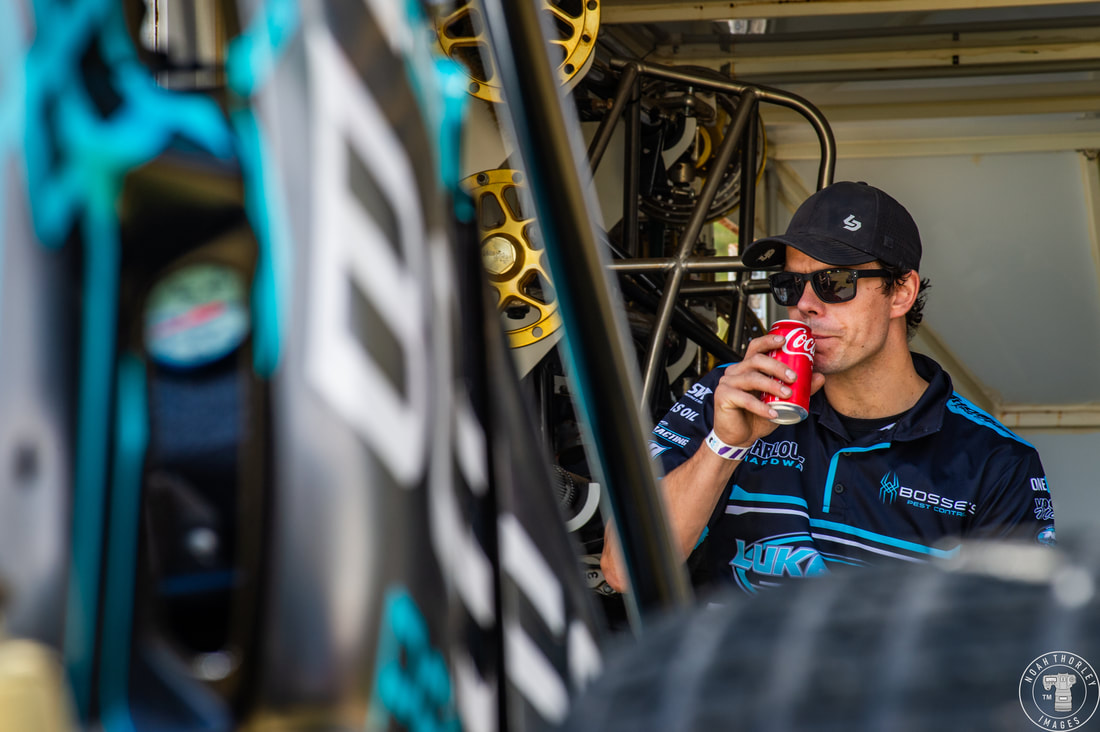 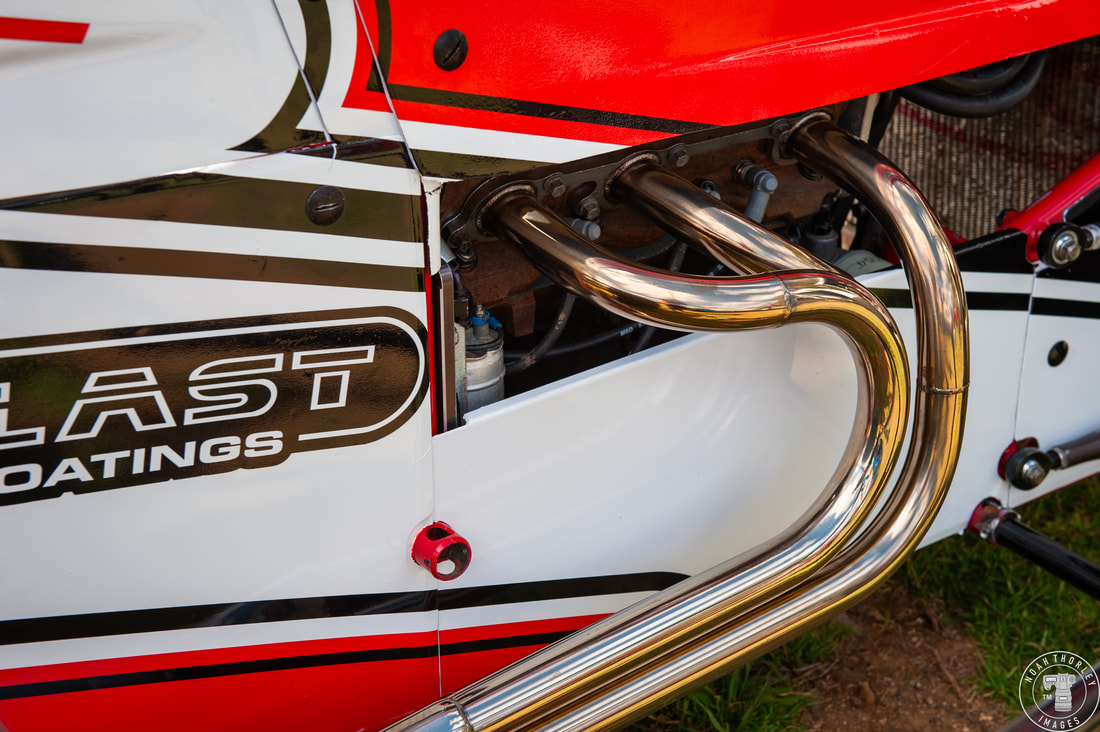 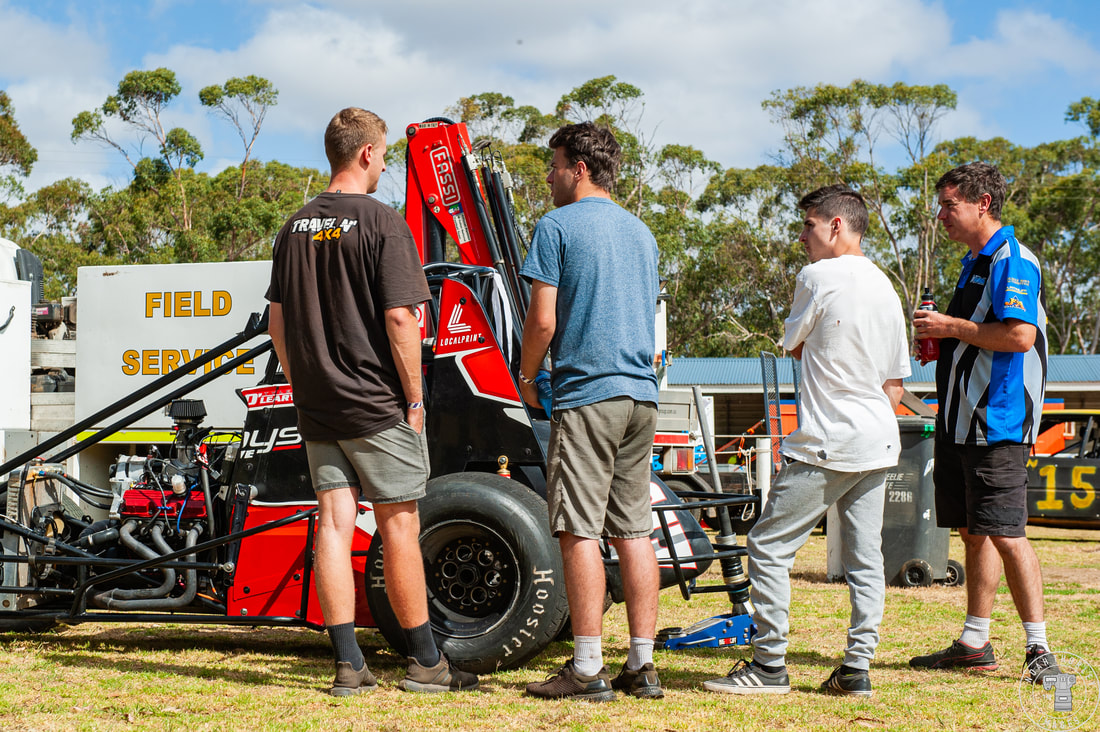   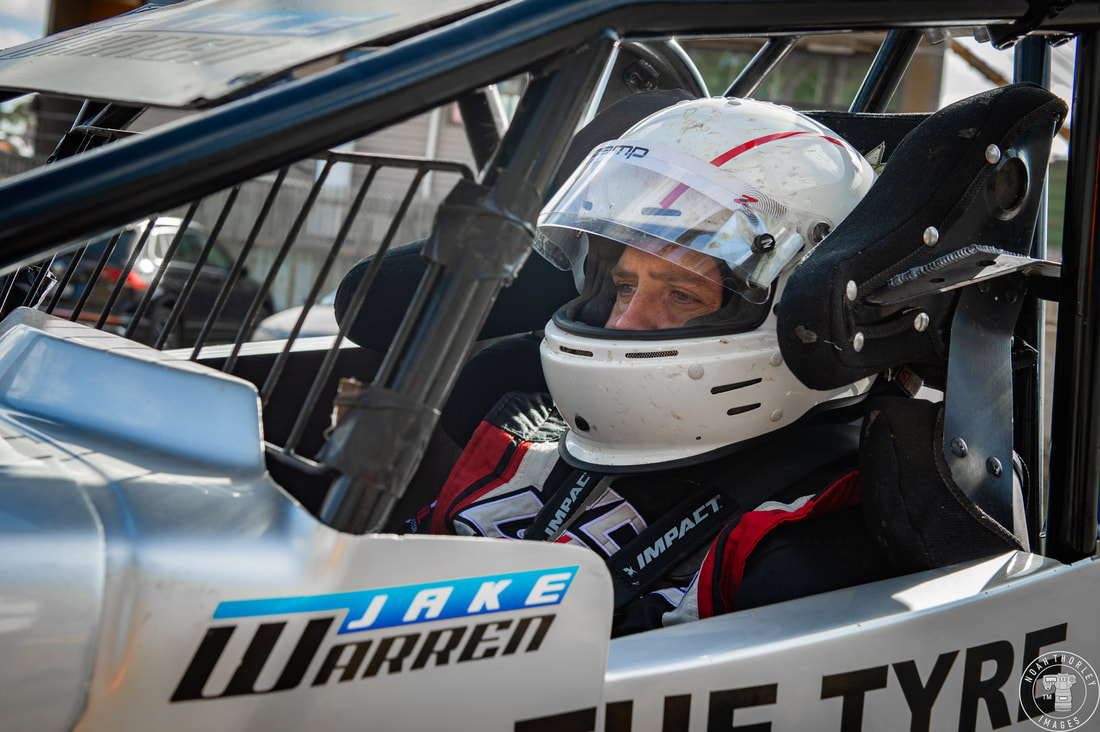 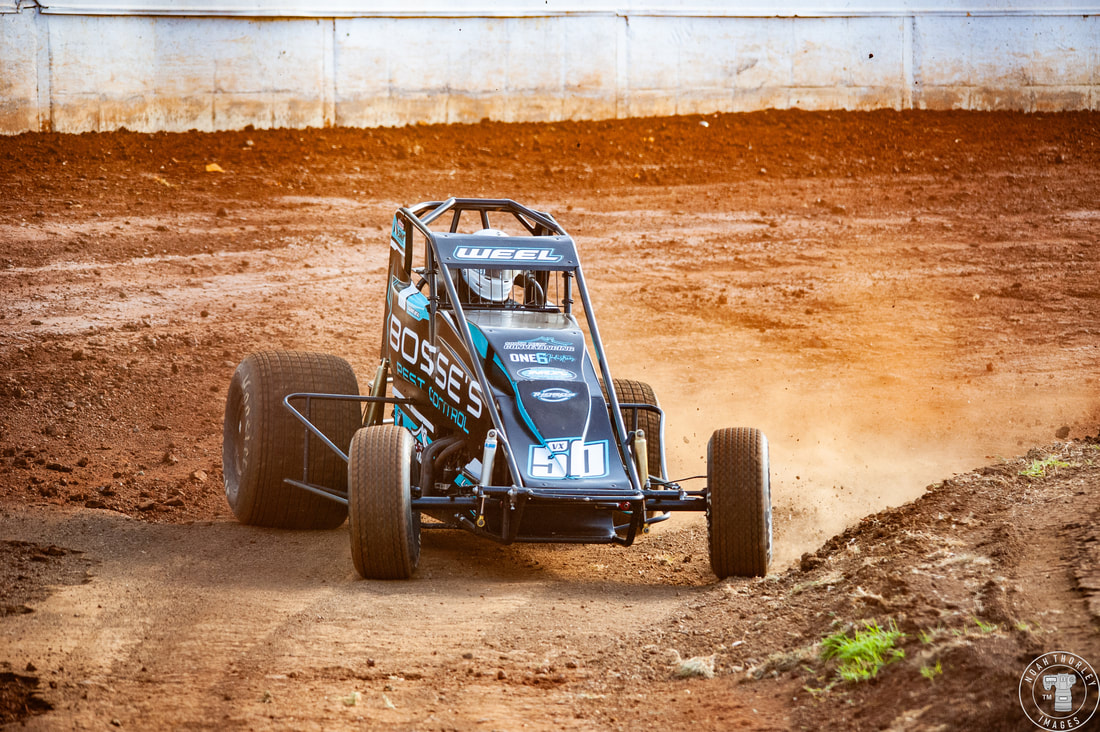 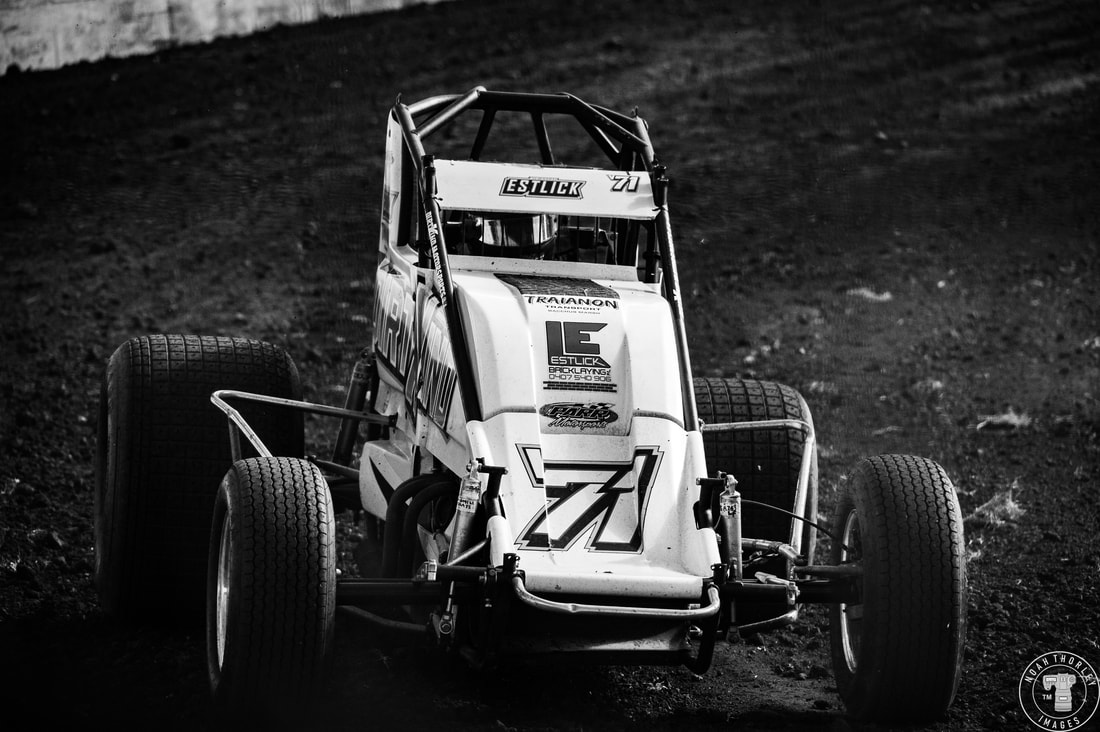 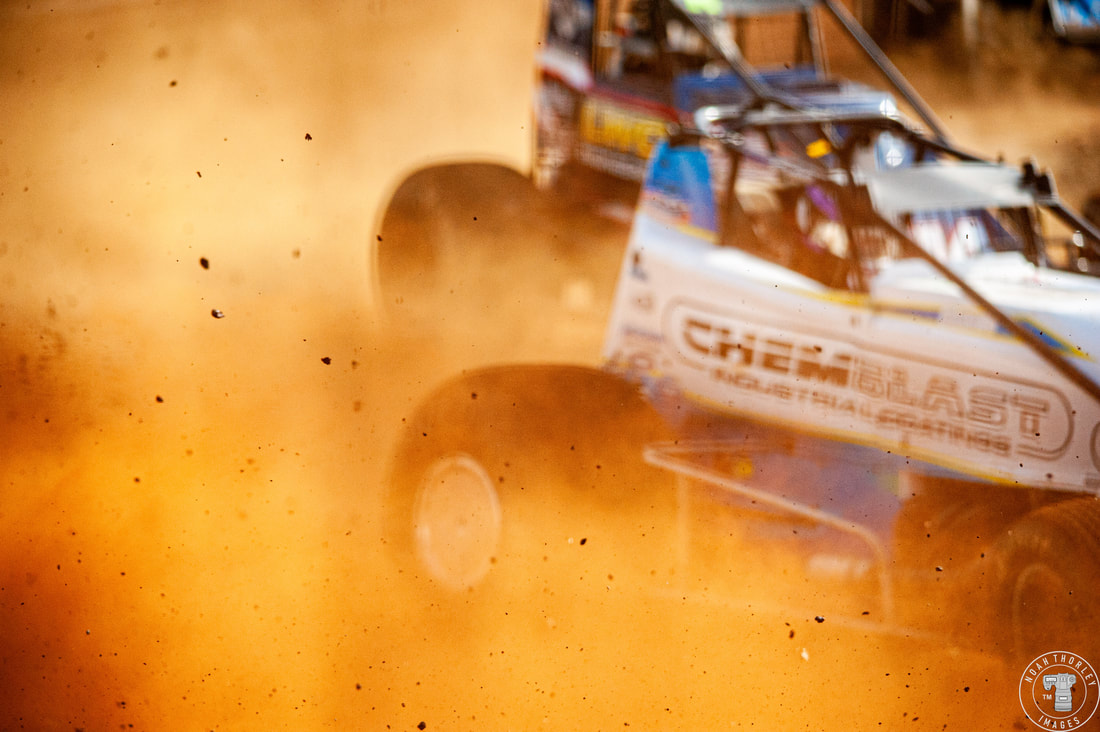 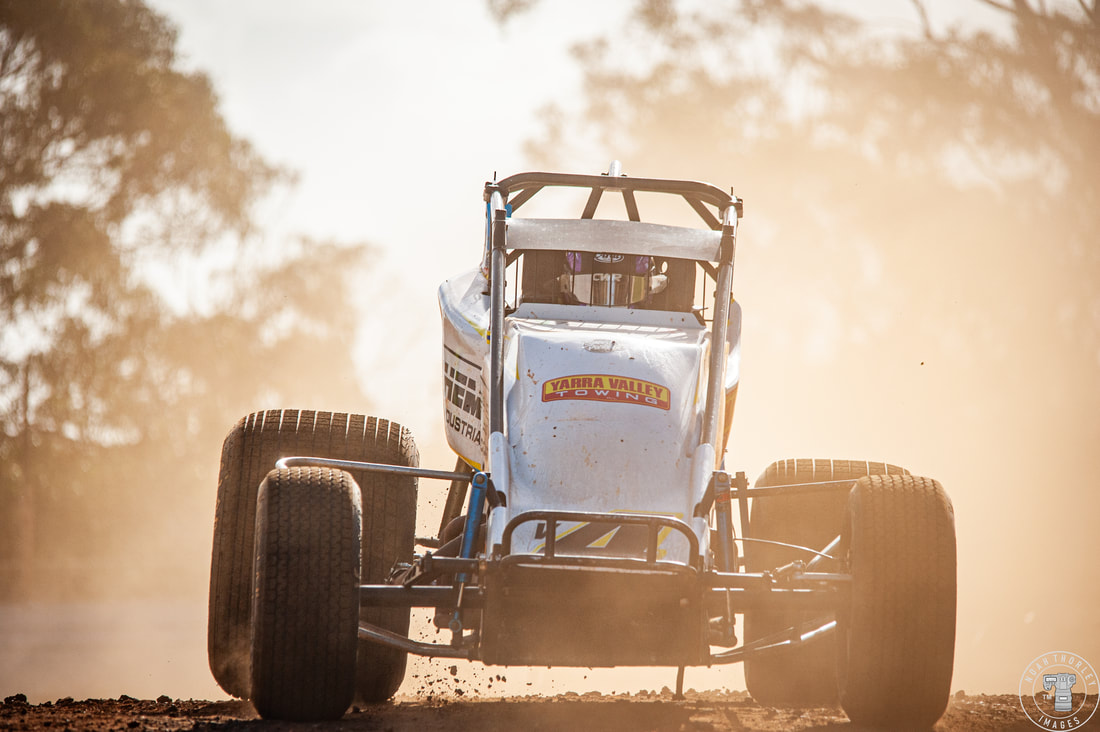 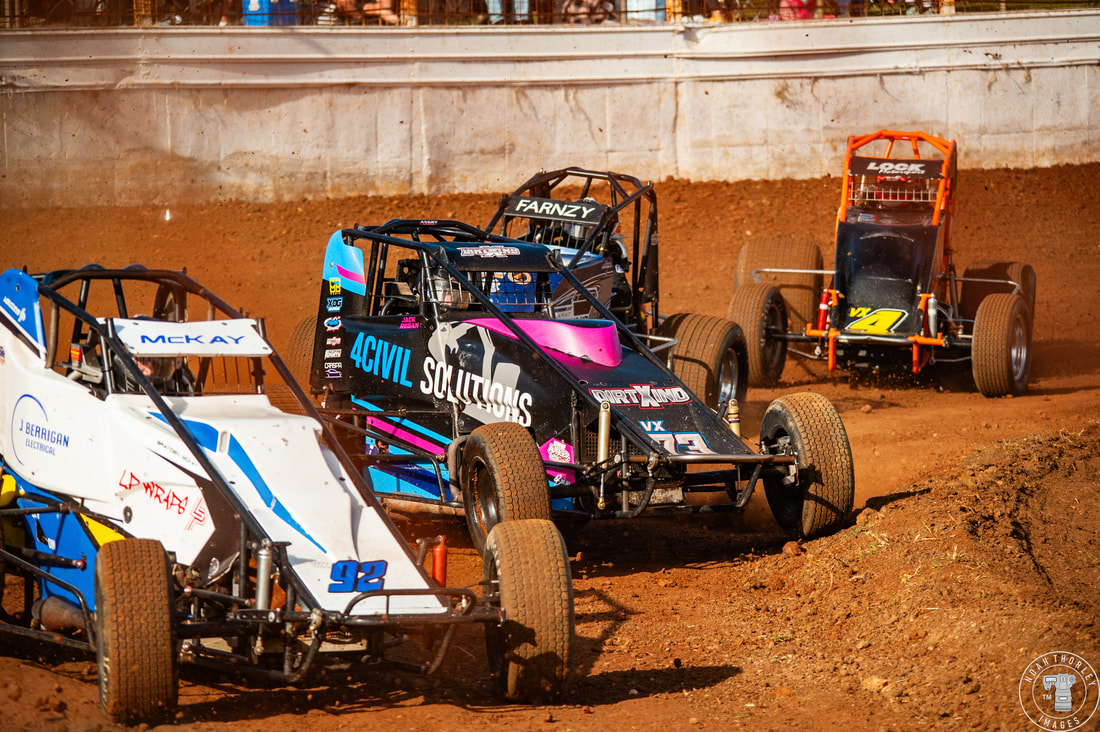 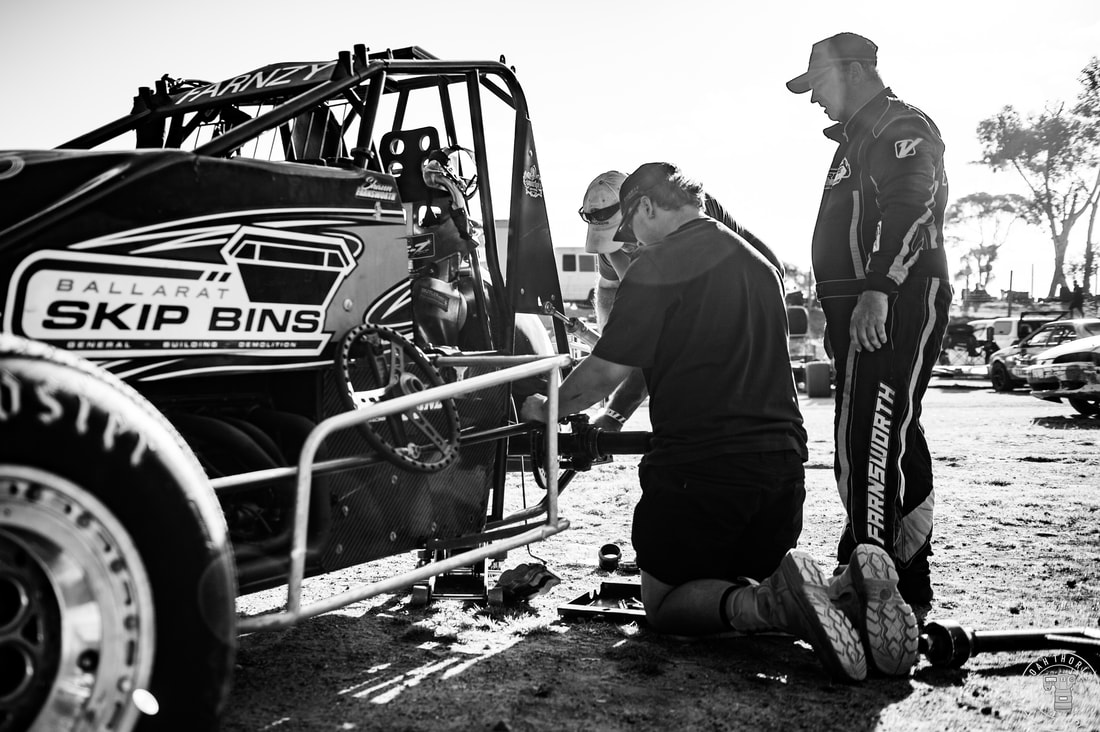 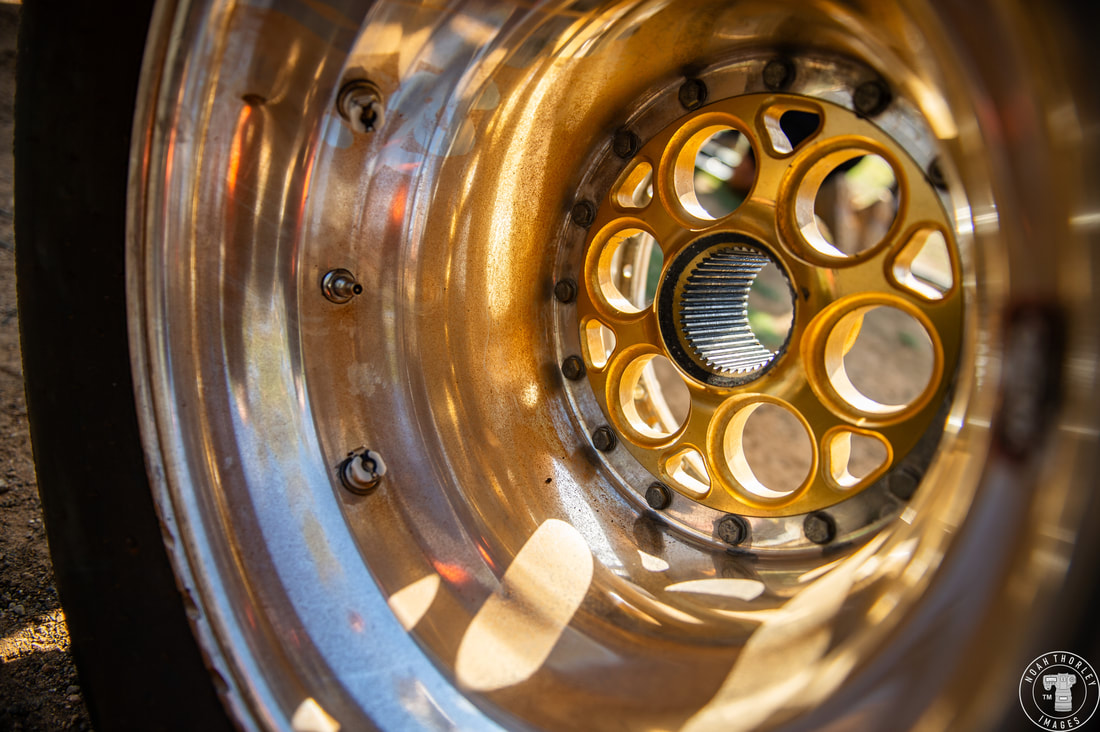 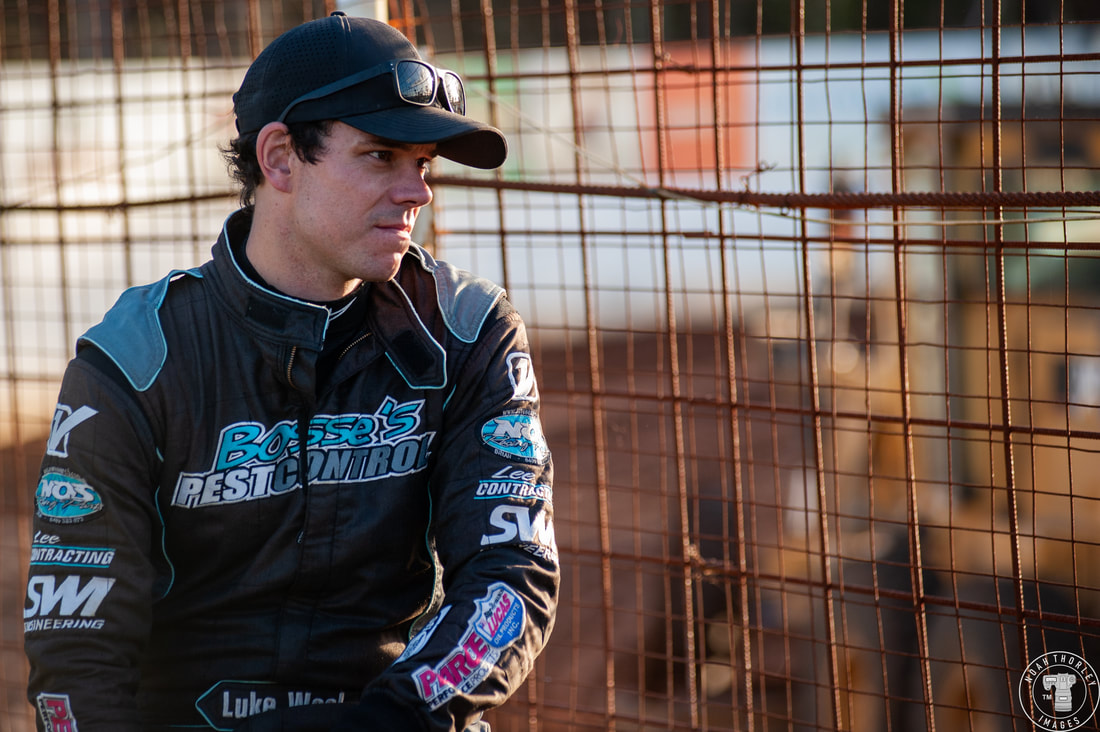  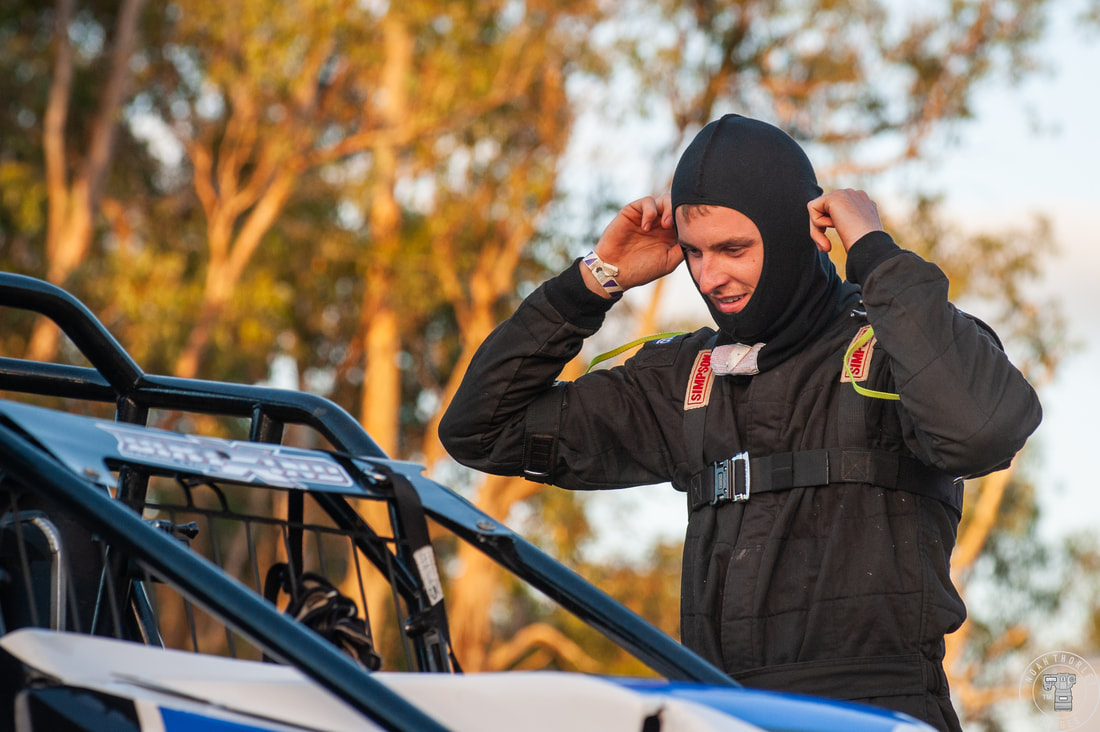 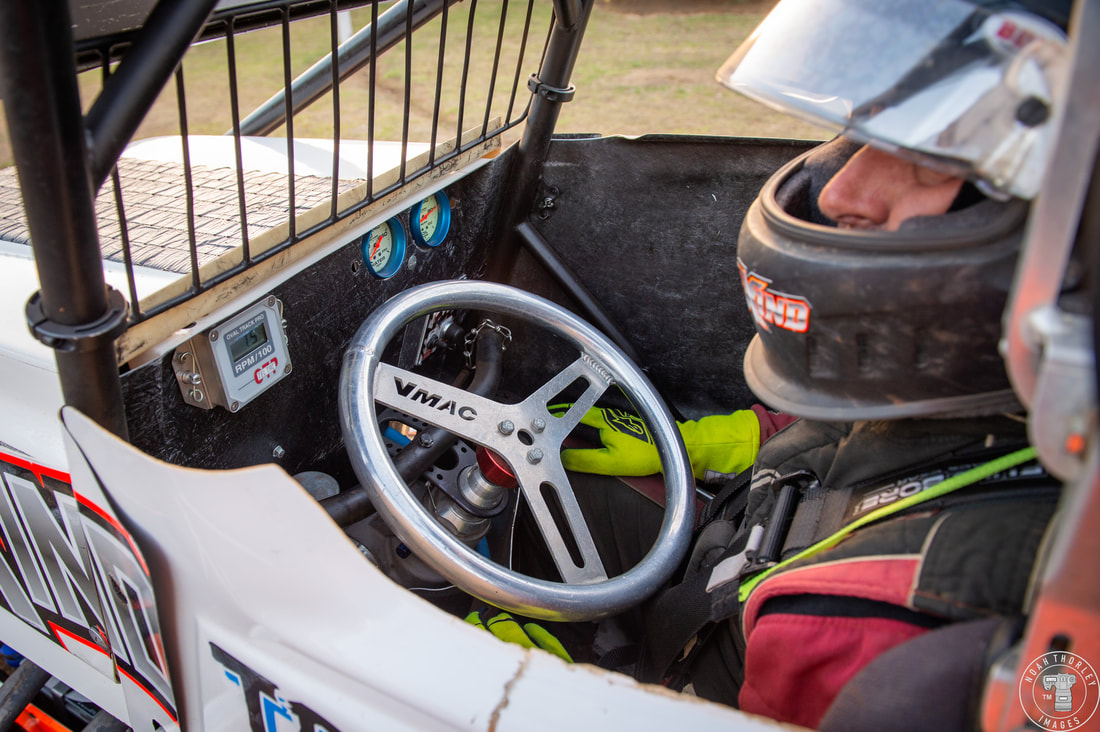 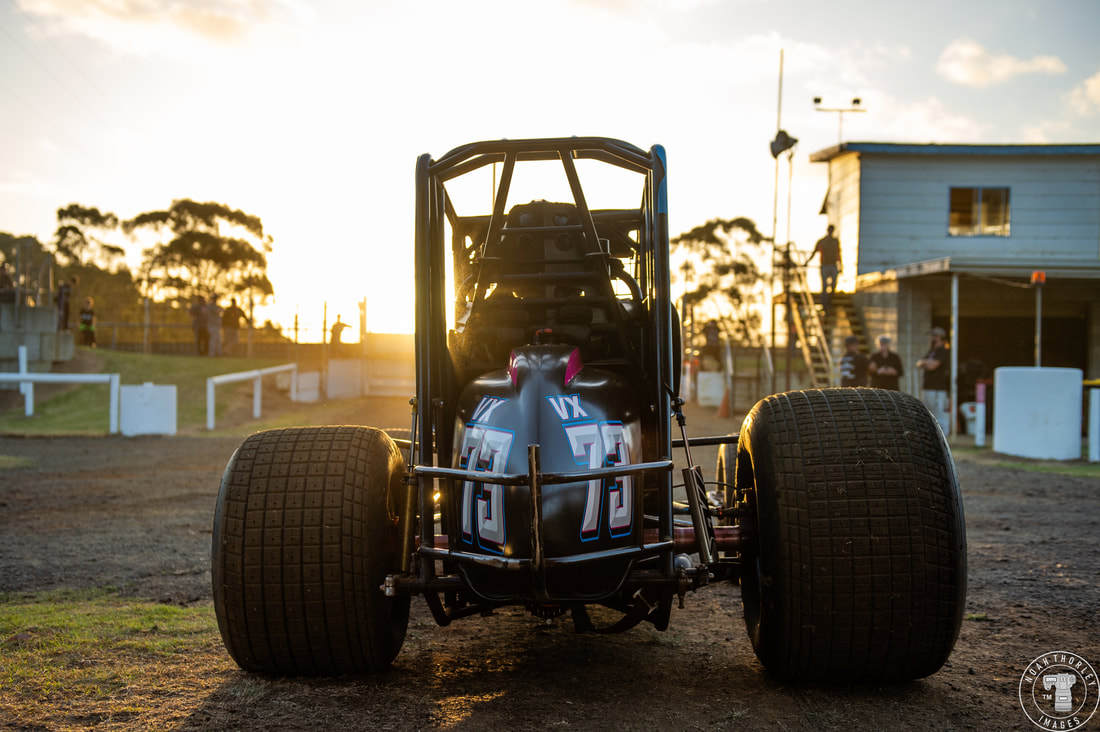
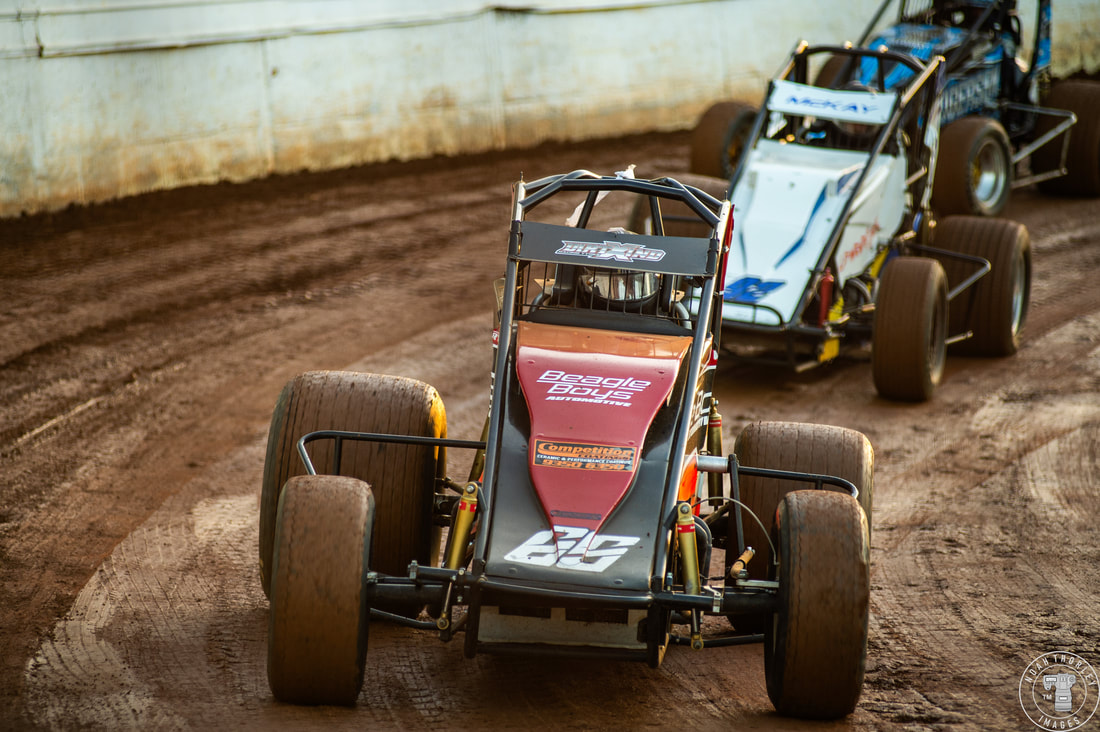 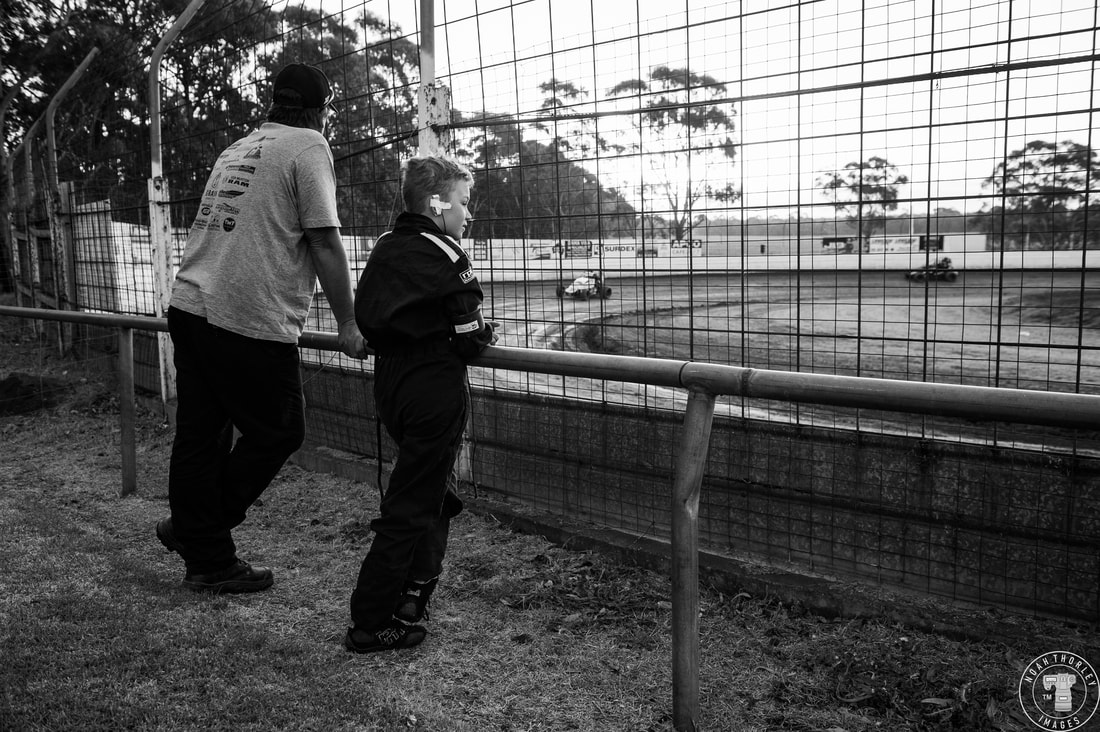   
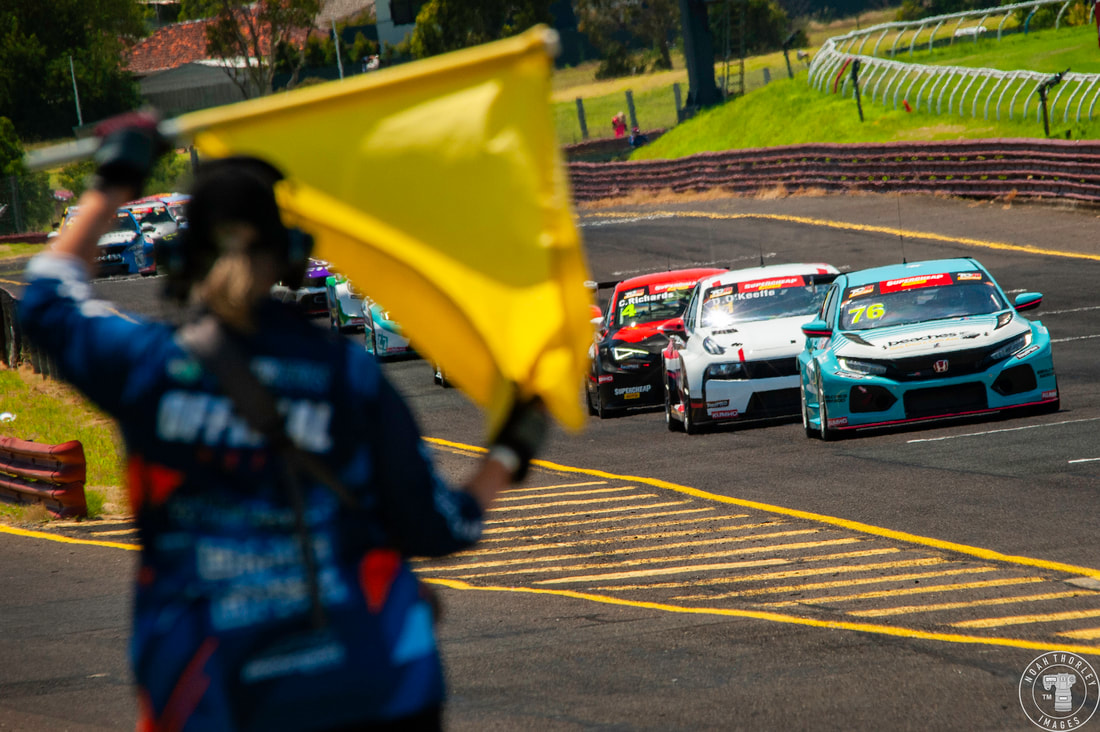
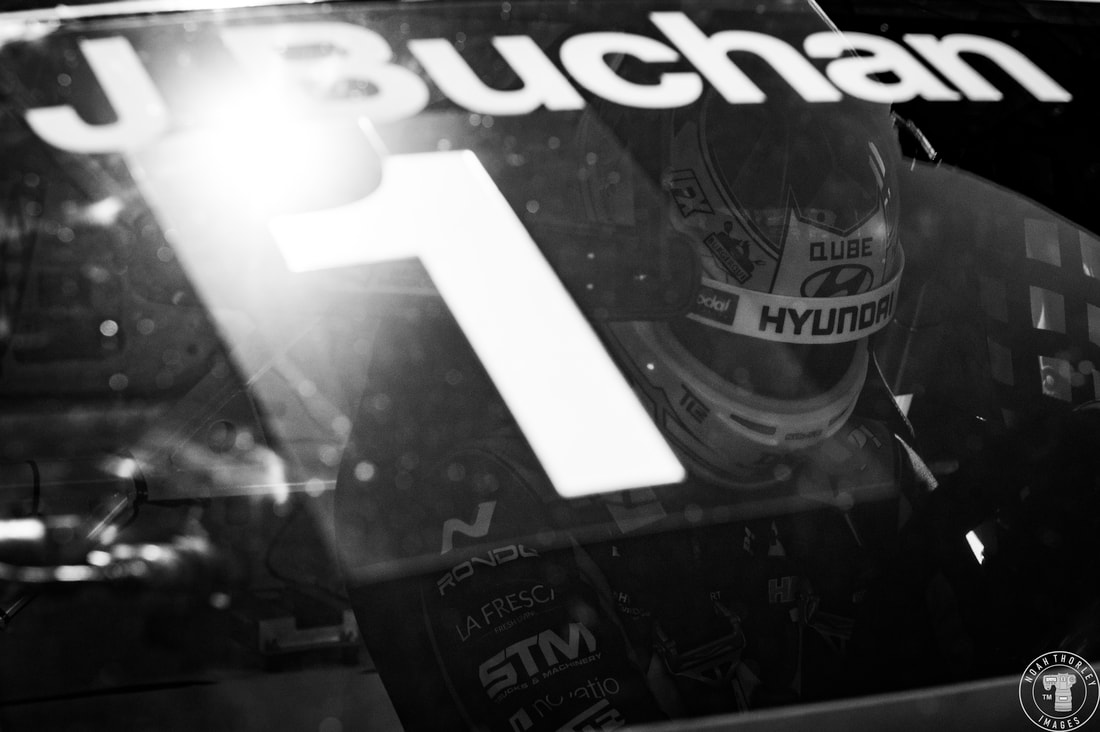
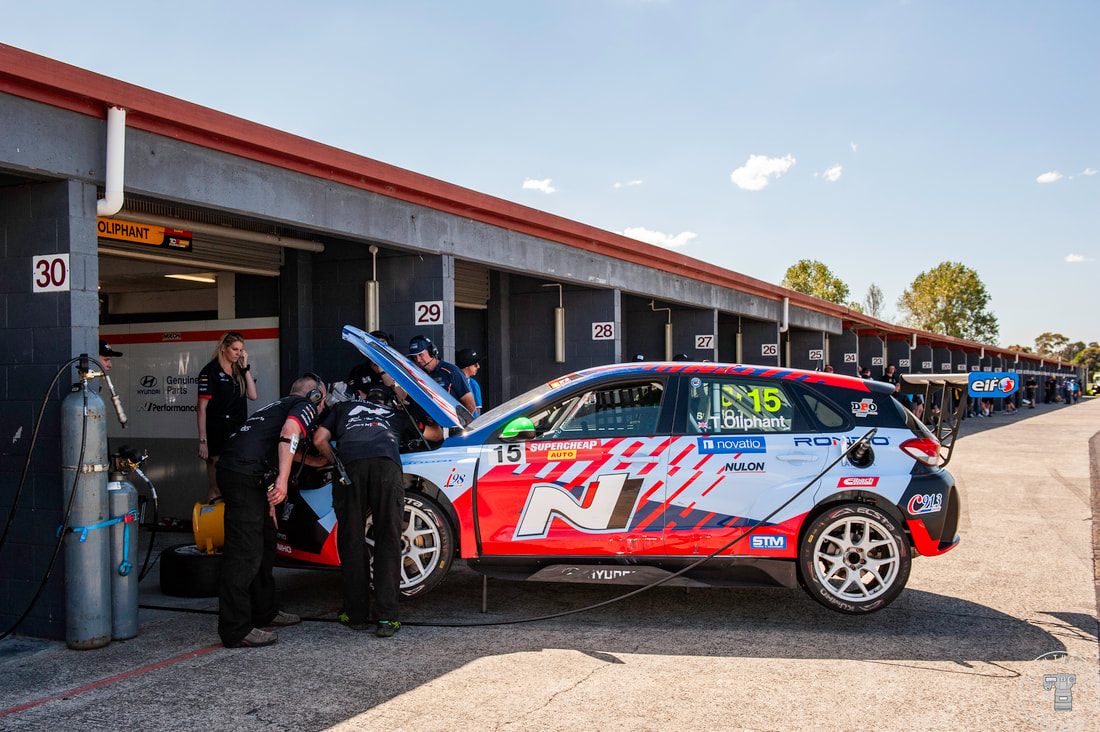
 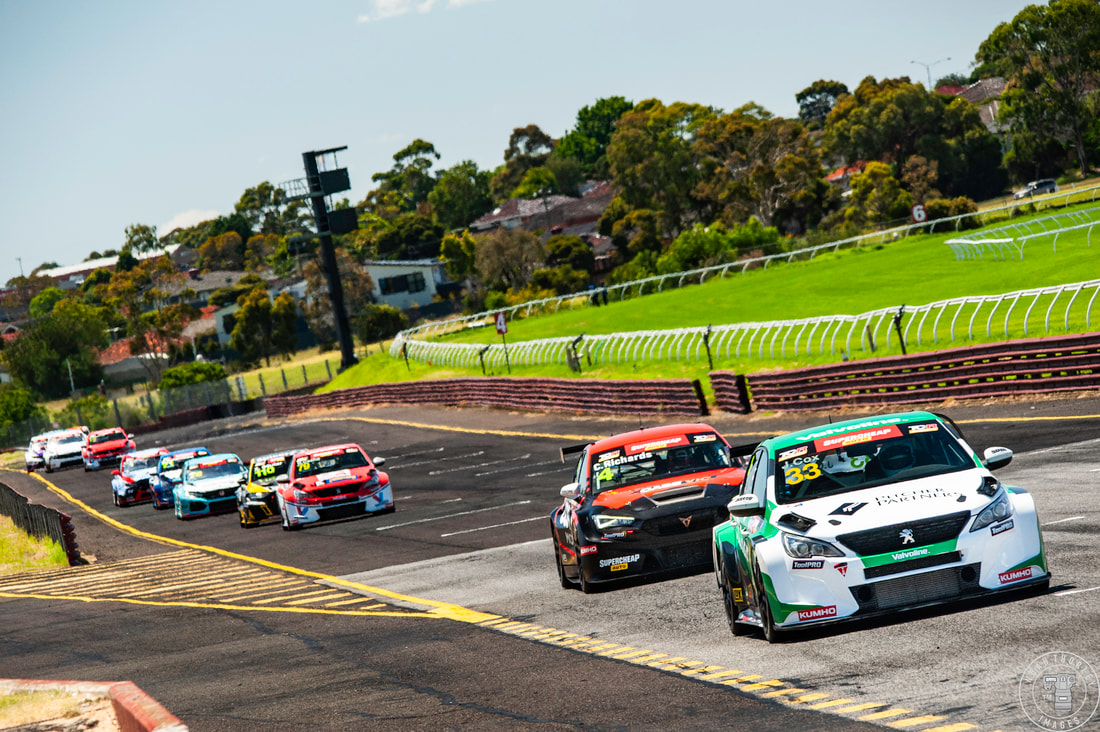 After a stellar season in 2023, that included two TCR World Series rounds, new winners and a championship duel that came down to the final race, the 2024 TCR Season was set to be even bigger. Sandown Raceway would be where the action would begin. 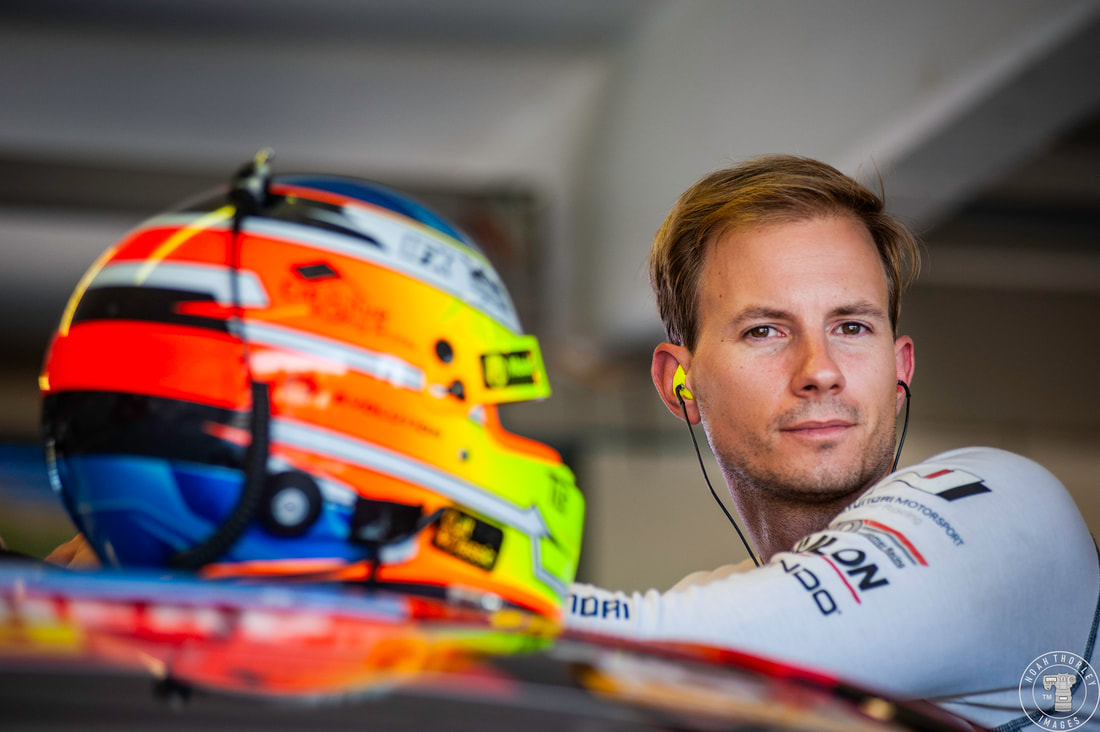 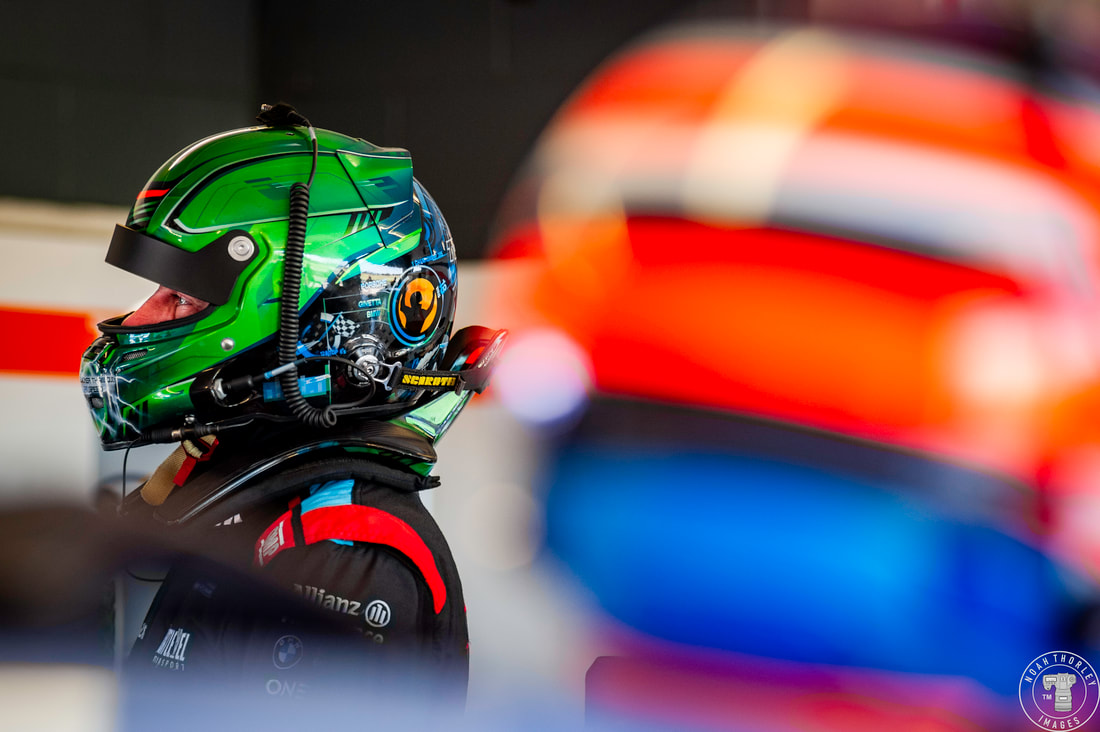 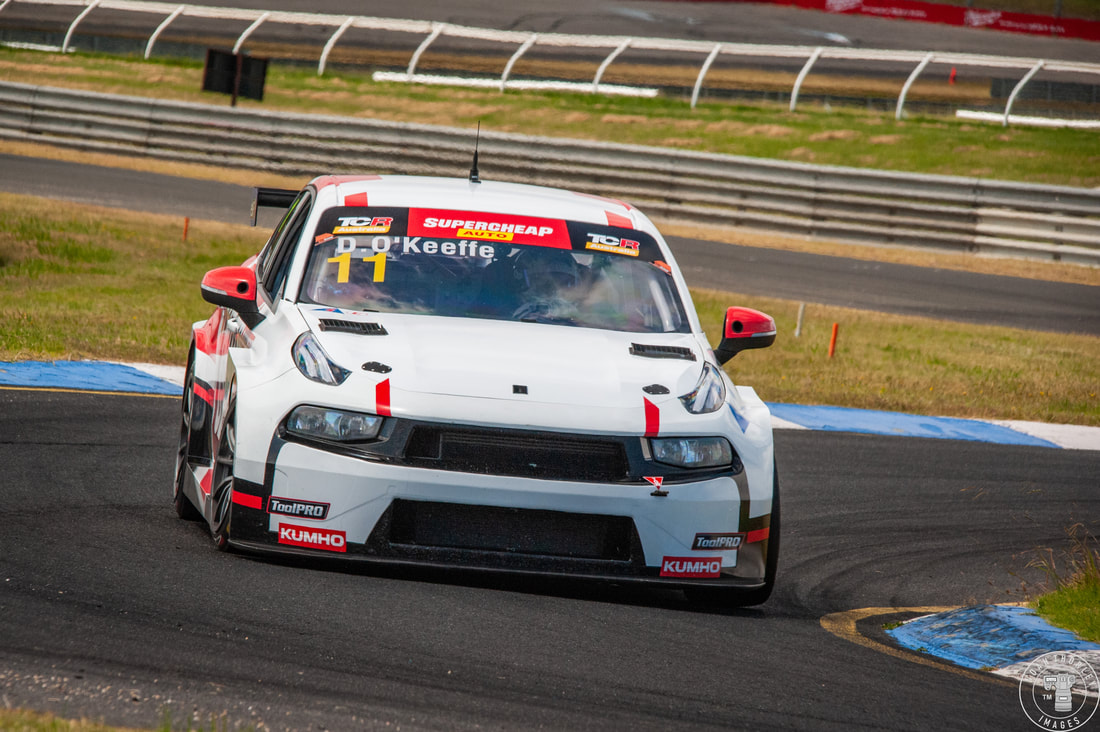 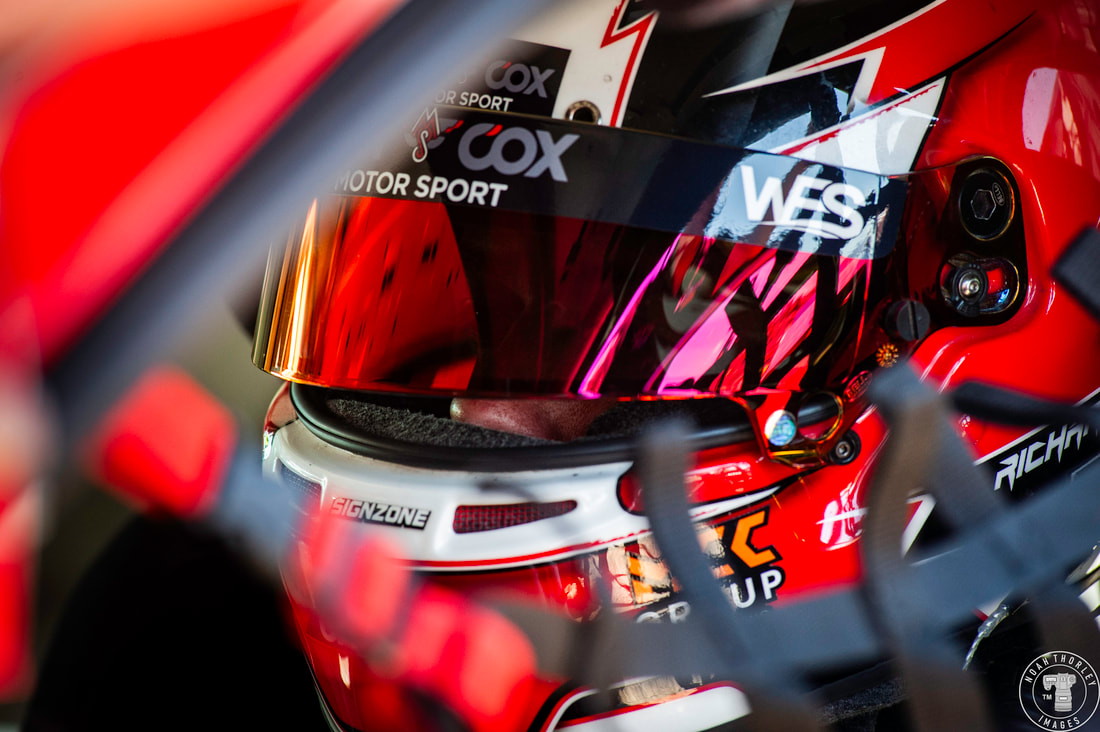 Reigning champion Josh Buchan would be joined by Tom Oliphant at Hyundai as he departed Ash Seward Motorsport. GT racer Dylan O’Keefe would return to replace Oliphant in the Lynk & Co car as Clay Richards would join Carl Cox Motorsport for his first full season of TCR. 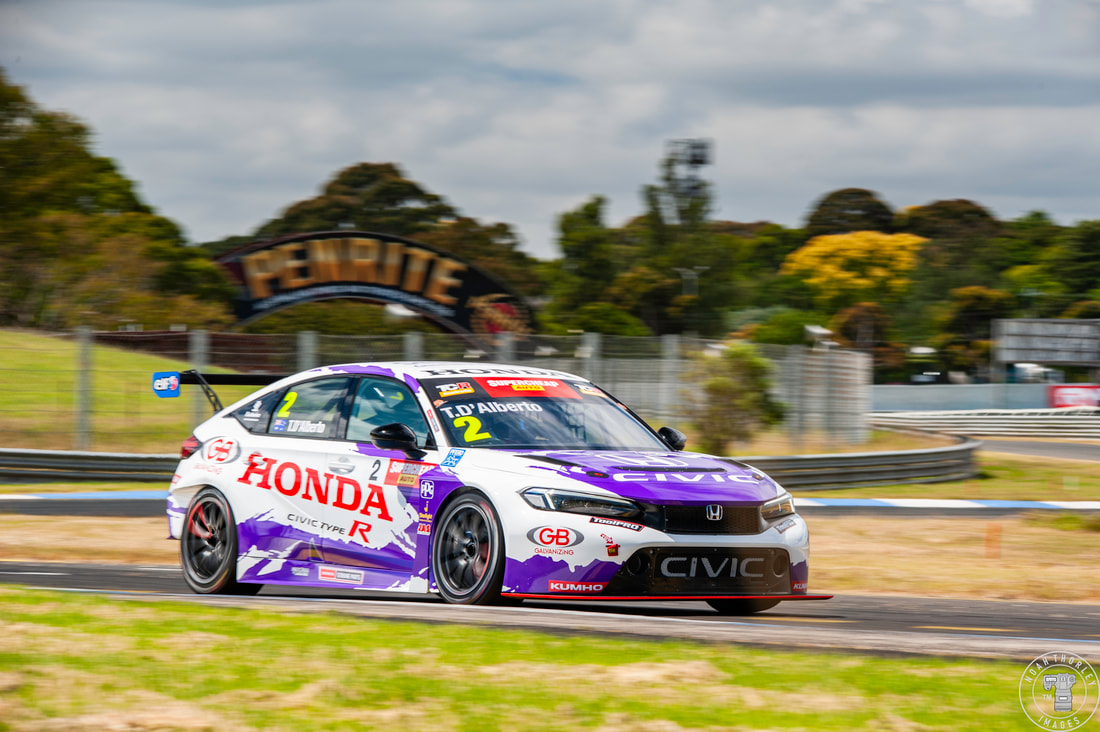 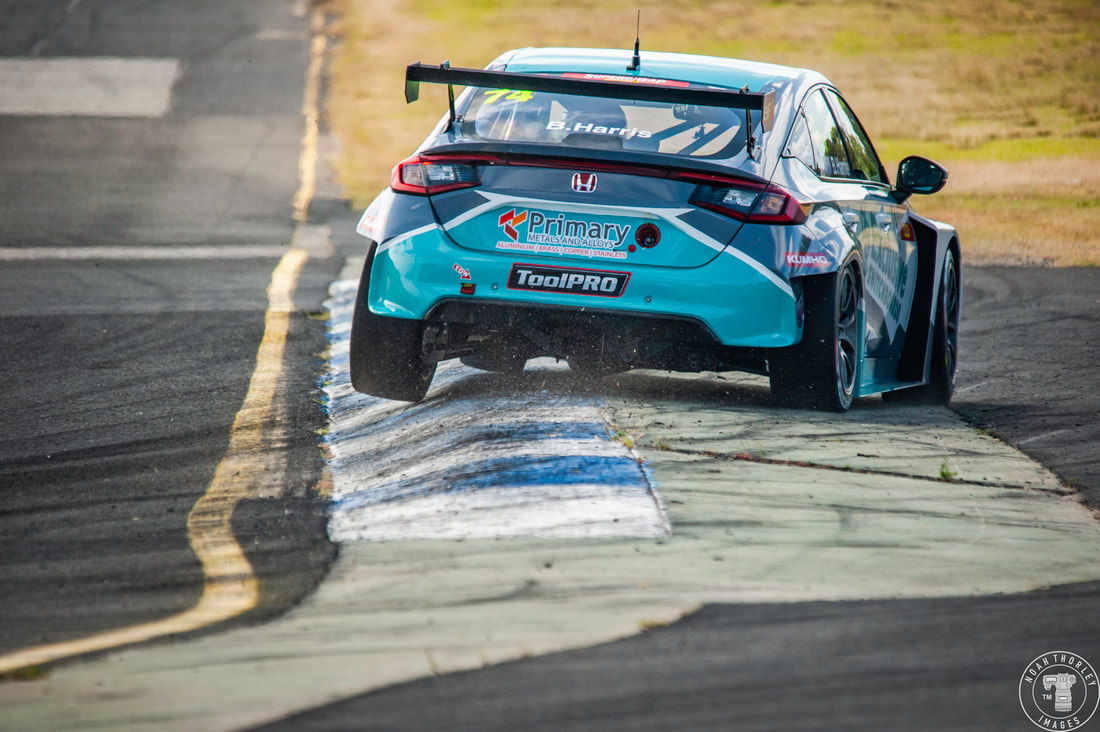 The new Honda Civic Type R would begin its first full season with both 2022 champ Tony D’Alberto and Brad Harris piloting the new car, after it debuted in Sydney last year. 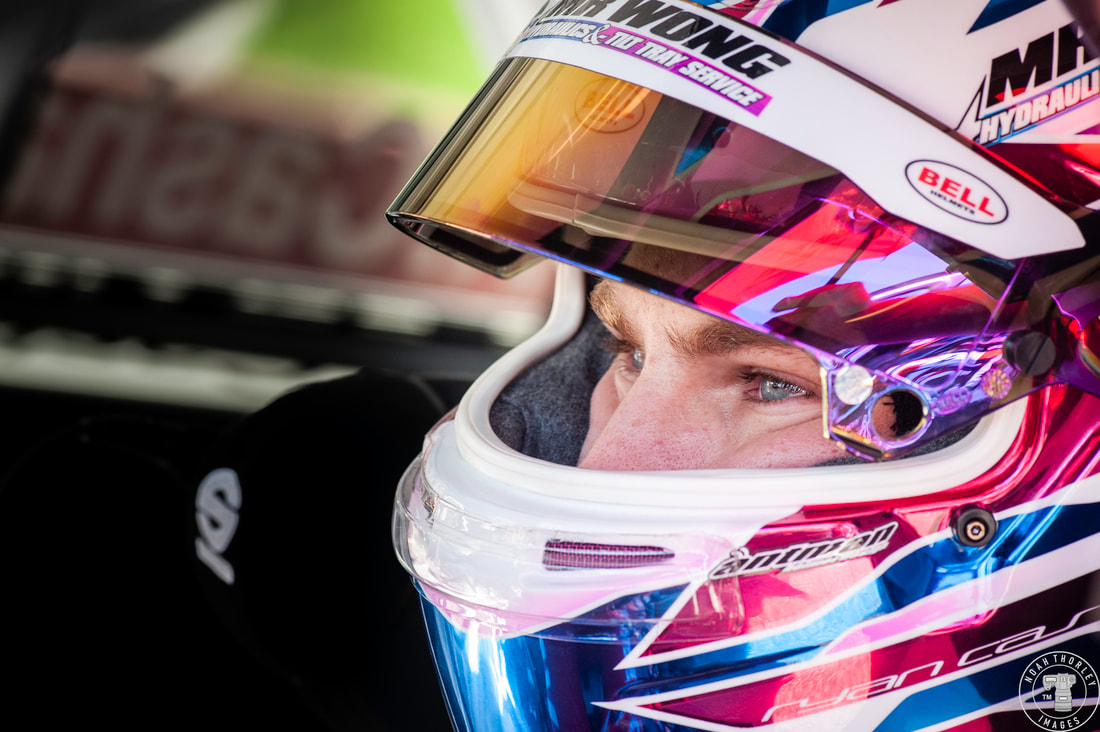 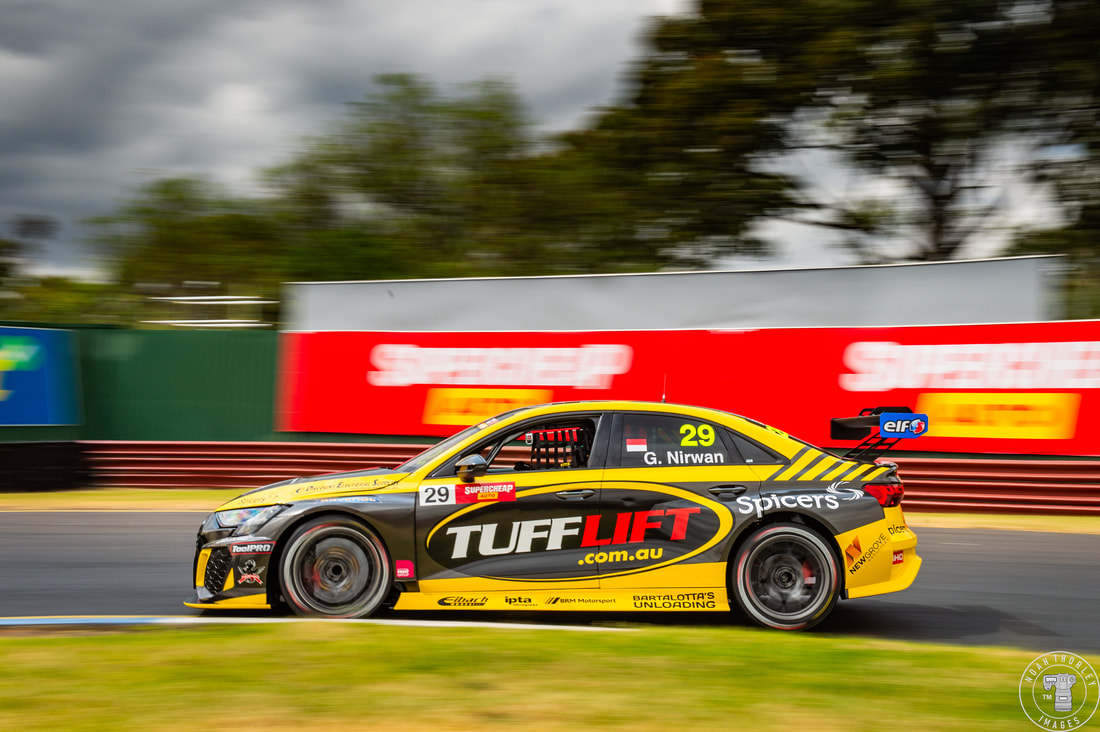 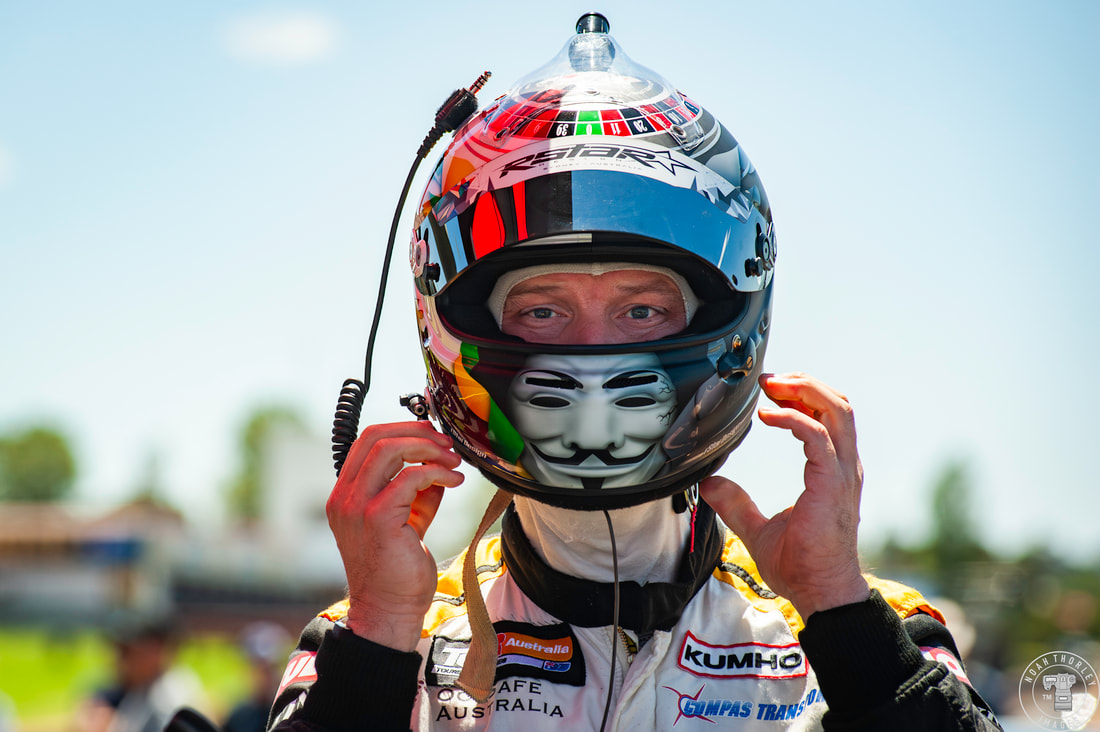 Toyota 86 champion Ryan Casha would jump into a GRM Peugeot 308 and would be joined on the grid by fellow rookies Glenn Nirwan from Indonesia and 99Motorsport team owner Marcus LaDelle, both driving Audi RS3’s. 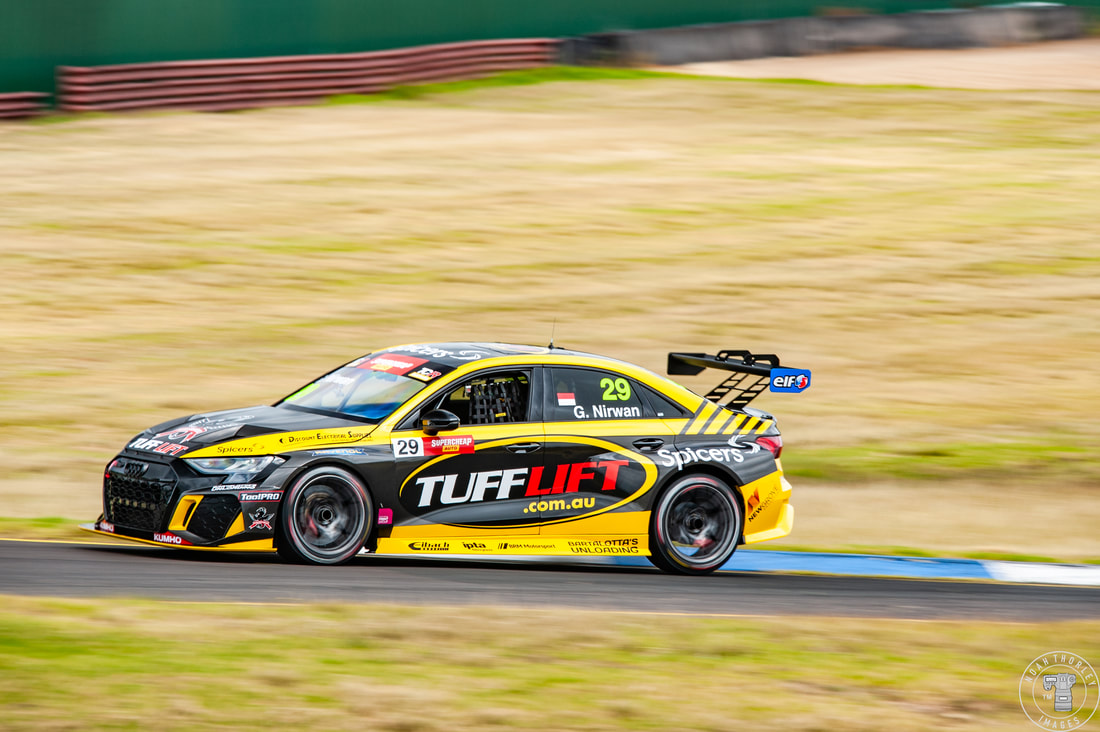 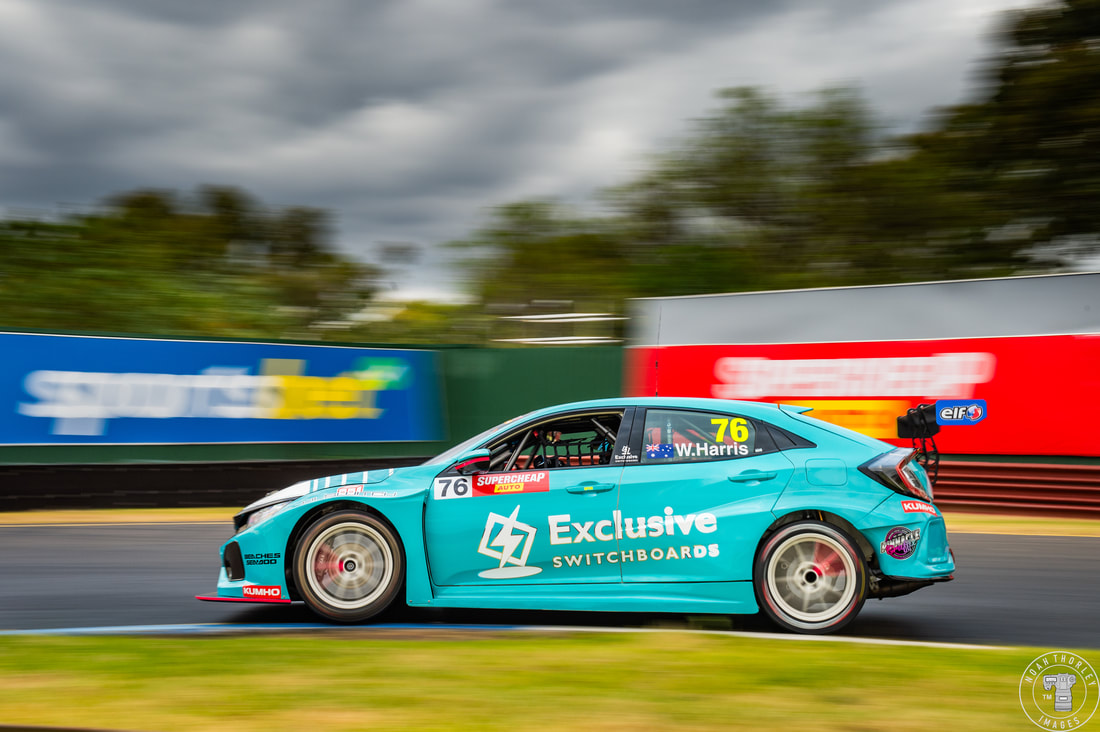 Track action would begin with Practice 1, where two red flags would be brought out, one for William Harris and the other for Glenn Nirwan, both getting stuck in the Turn 9 gravel trap. 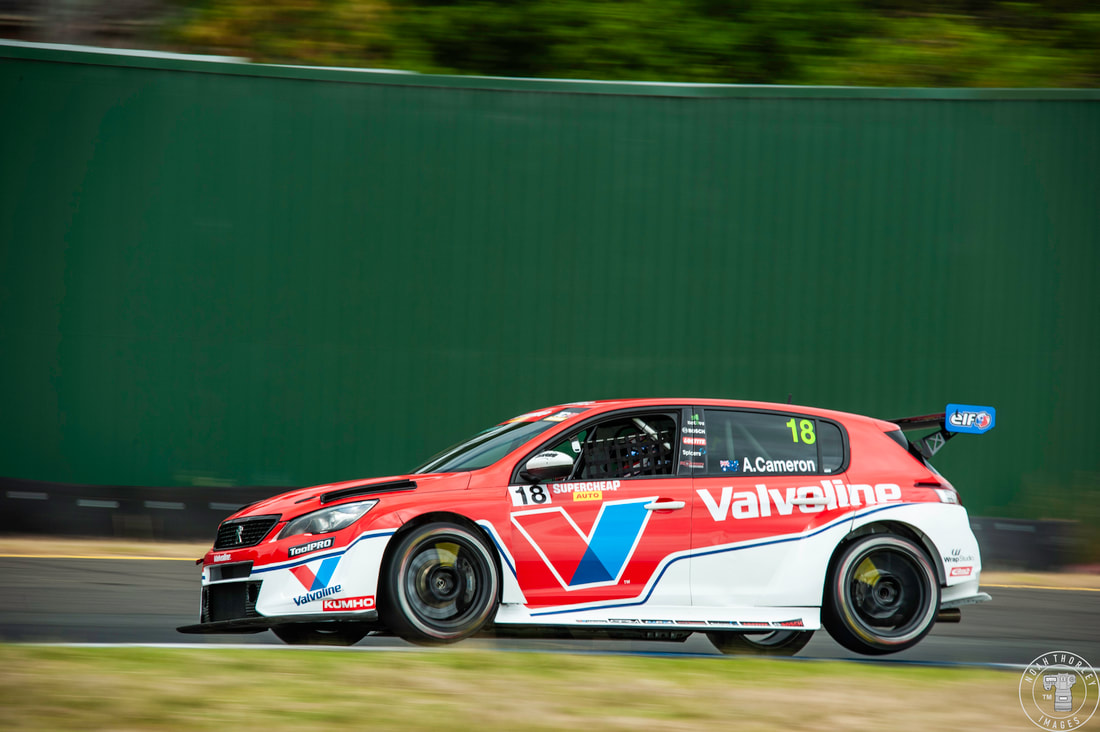 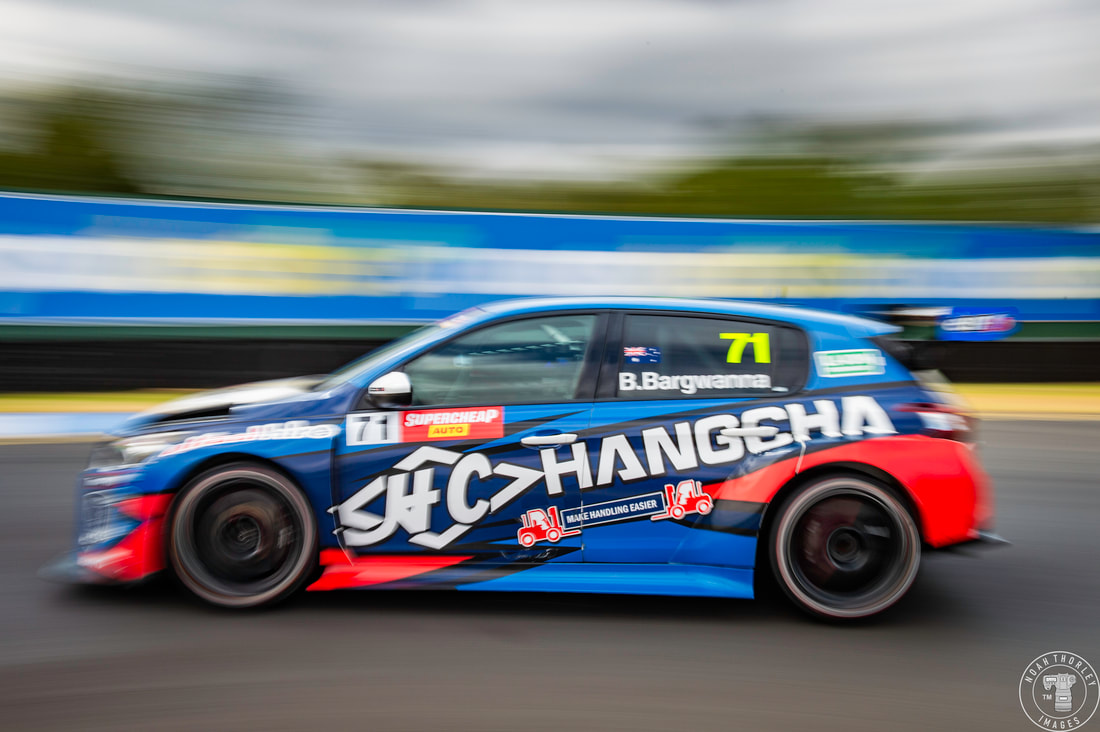 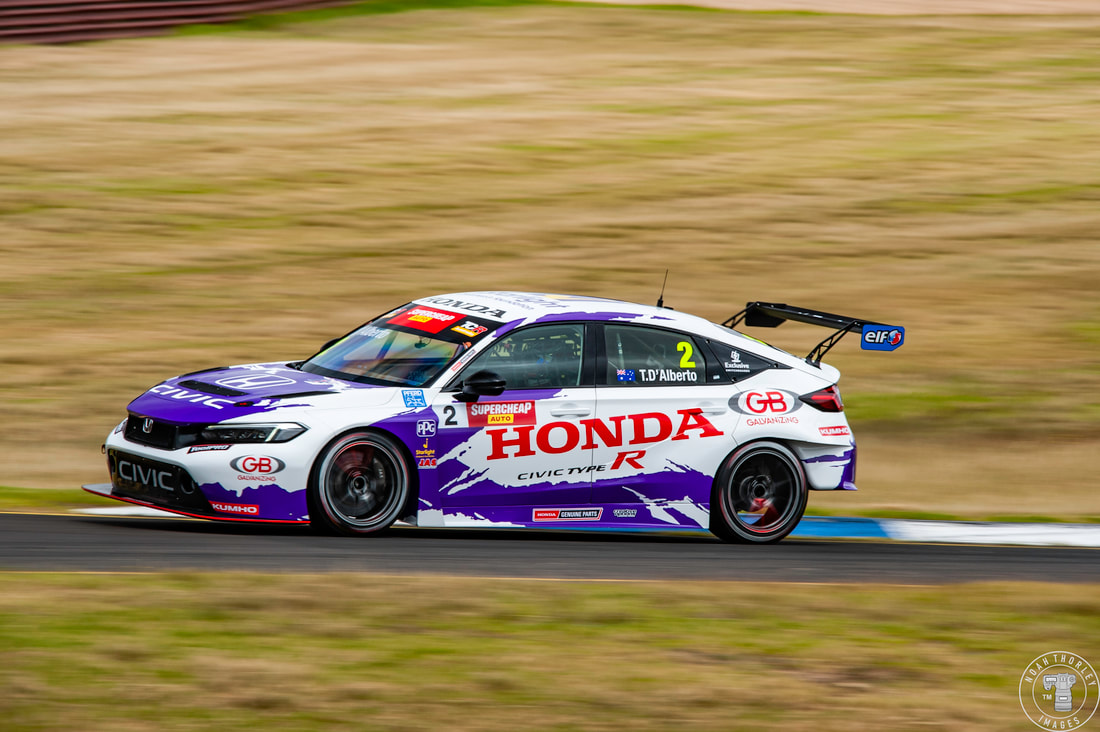 Aaron Cameron would set the pace setting a lap time of 1:14.929, followed by Ben Bargwanna (1:15.237) and Tony D’Alberto (1:15.305) in the beautiful purple Civic. In fact, the top three would be the same in Practice 2, with D’Alberto and Bargwanna trading places. 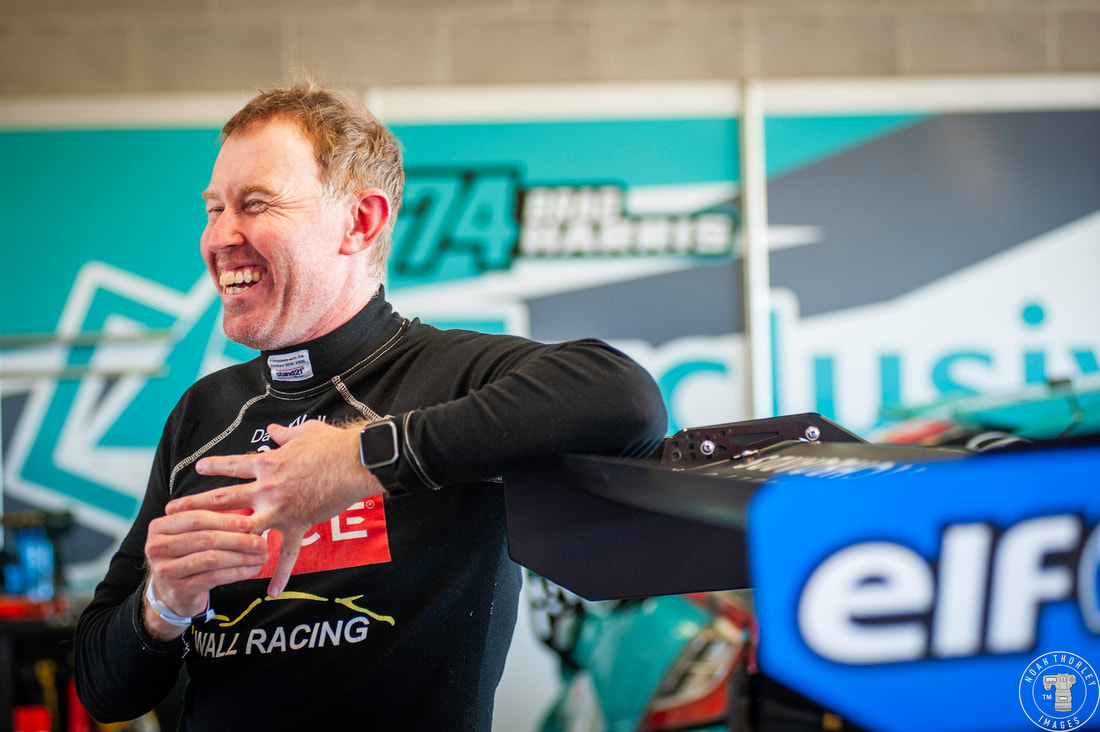 On Saturday, news would break from the Honda Wall Racing Garage. William Harris would withdraw from the rest of the weekend due to a pre-existing injury. His driver coach, former TCR race winner John Martin would be Harris’ replacement. 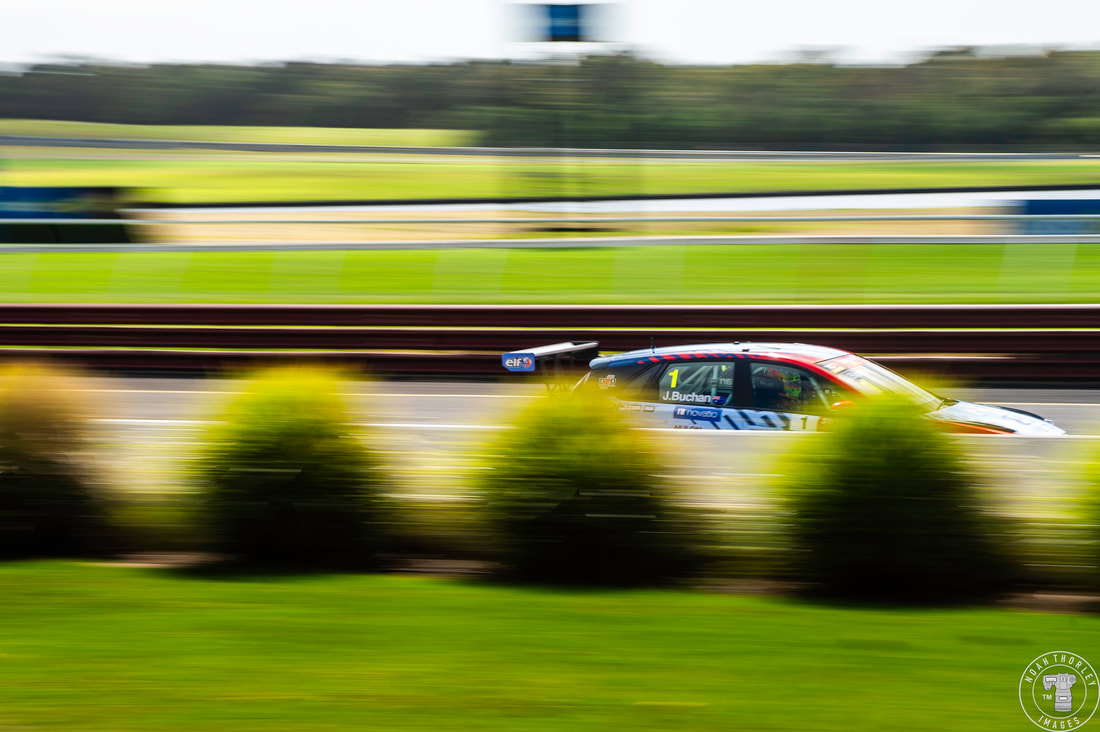 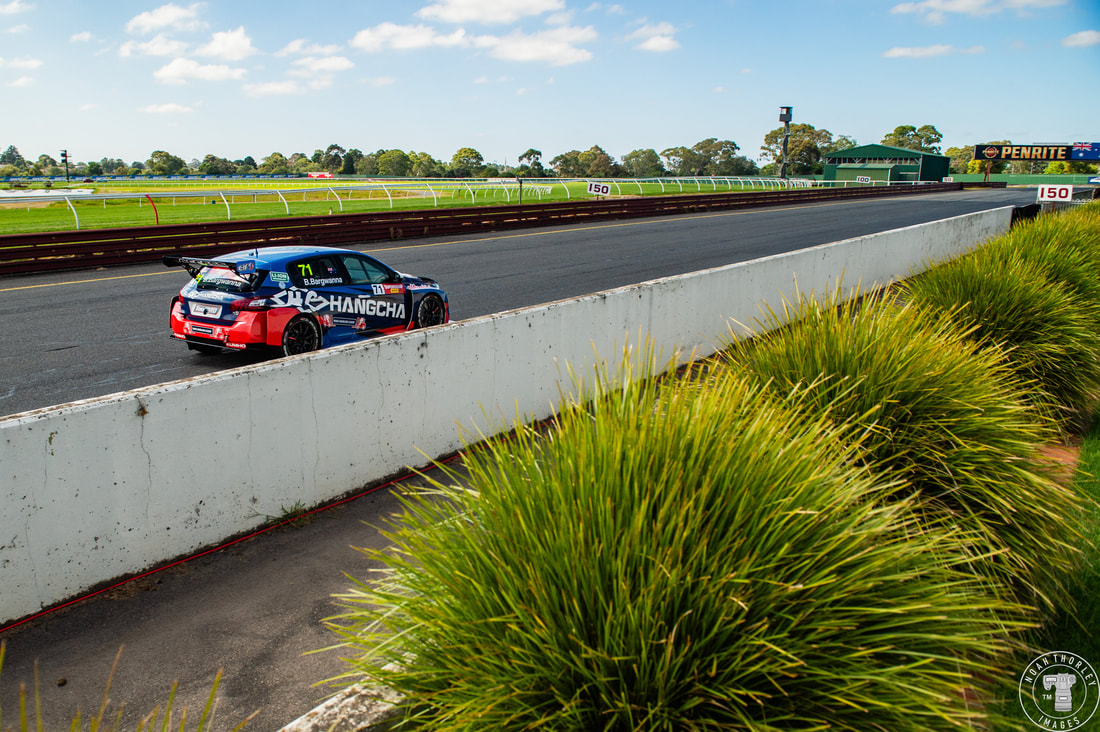 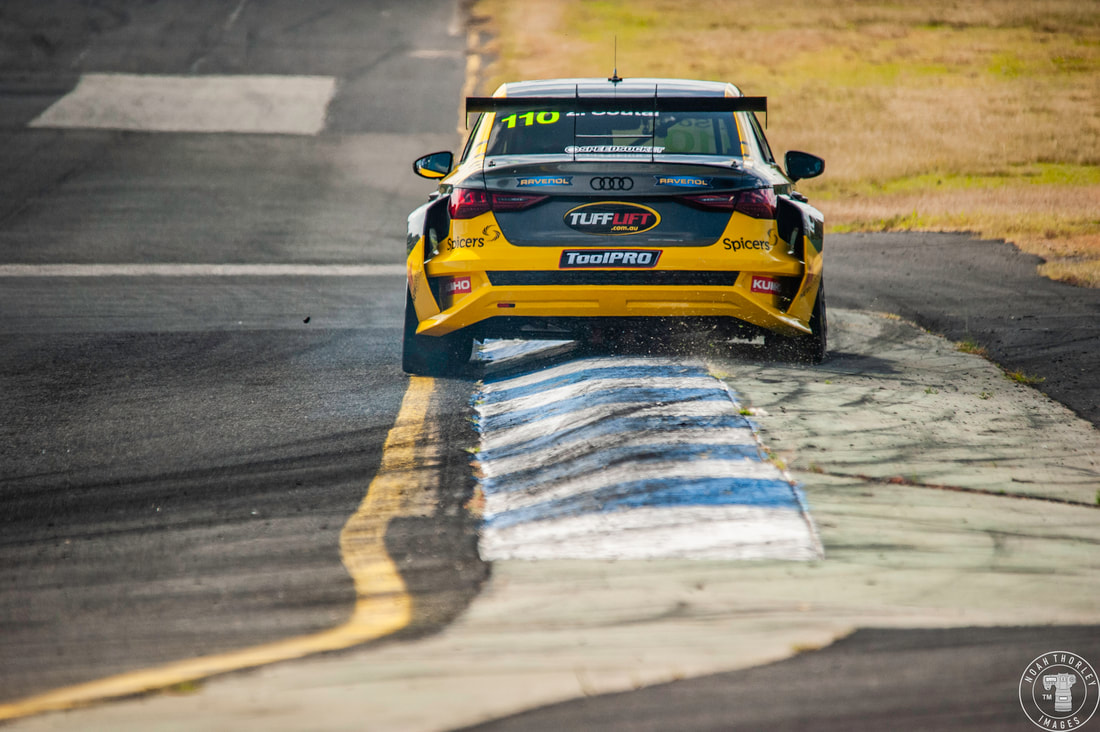 Josh Buchan would nab pole position with a 1:14.768 lap and would have Zac Soutar (1:14.842) line up beside him for Race 1. Ben Bargwanna would qualify third (1:14.856) as fellow Peugeot driver Jordan Cox wouldn’t make it out due to mechanical issues. 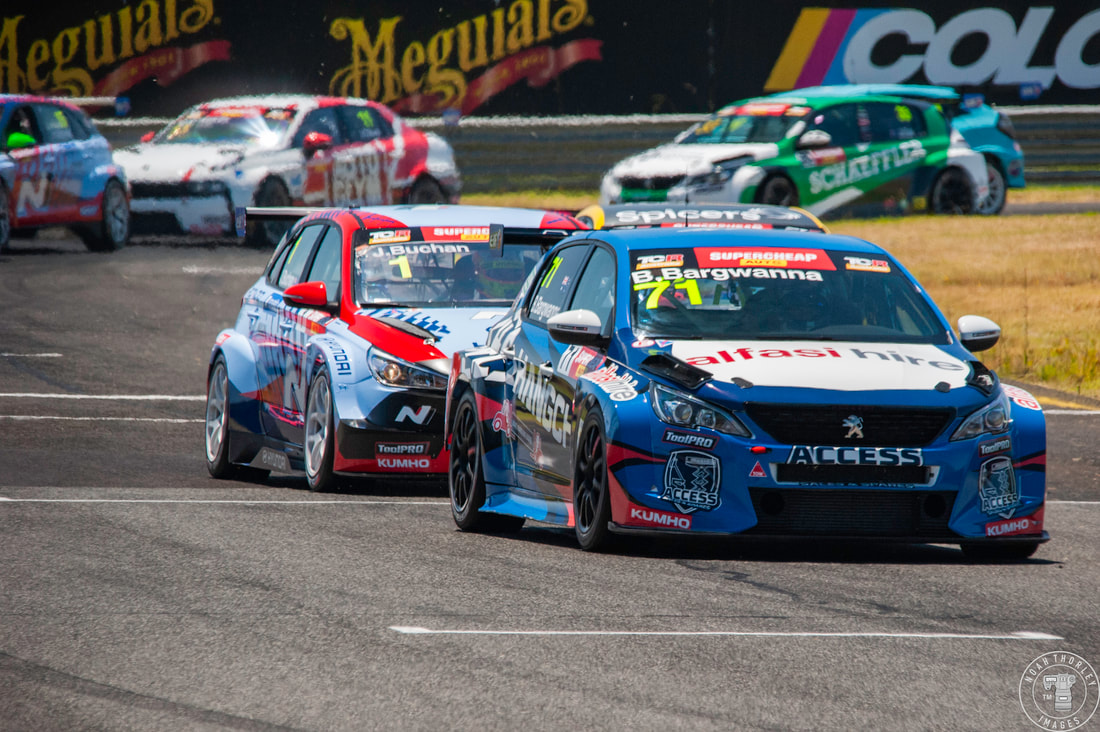 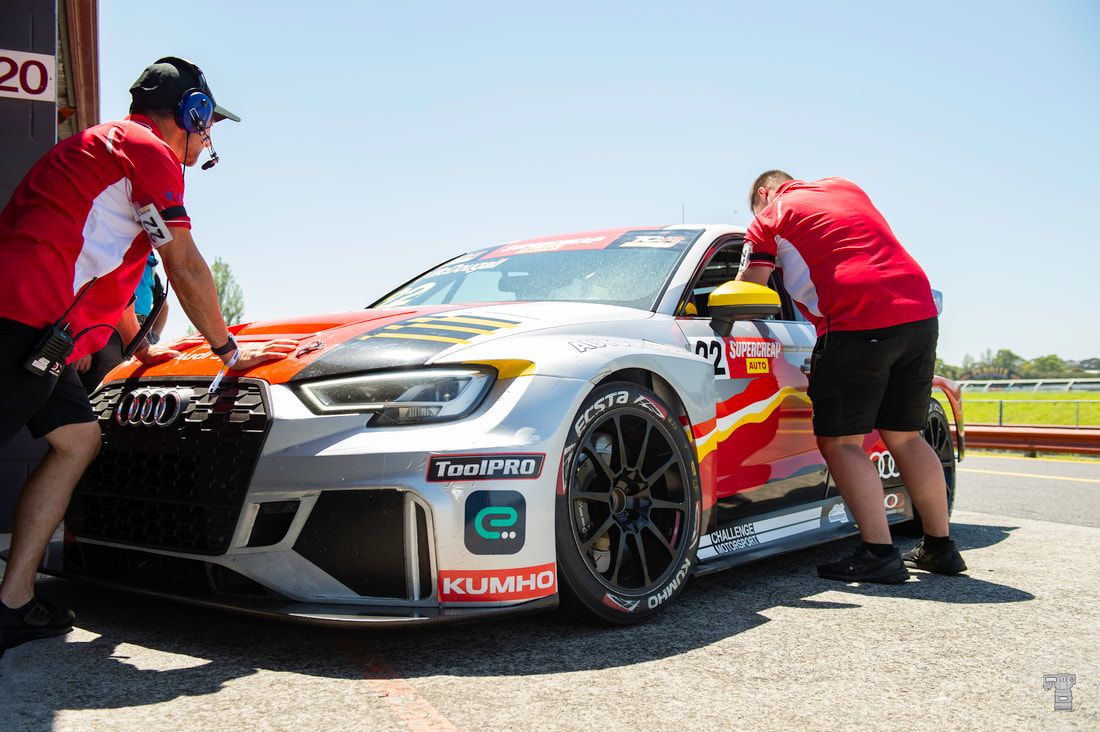 Ben Bargwanna would fight past Josh Buchan at the final corner of lap one to take the lead. Iain McDougall would have to retire with steering damage after contact with Glenn Nirwan as Jordan Cox climbed into the top 10. 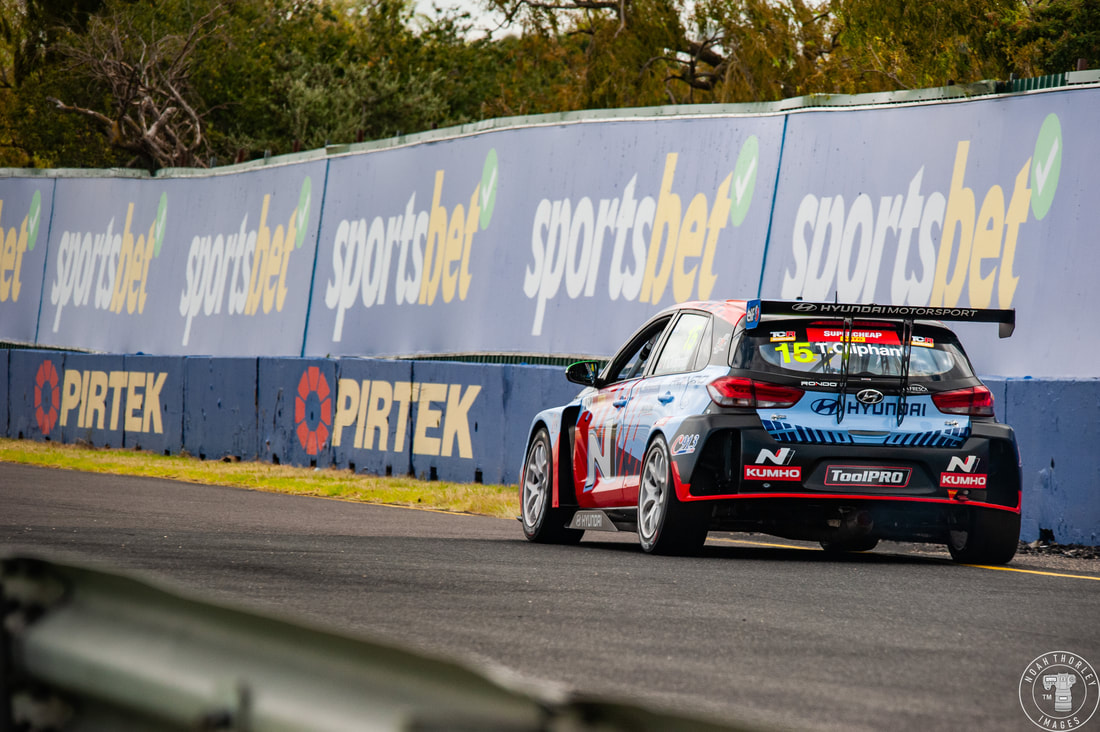 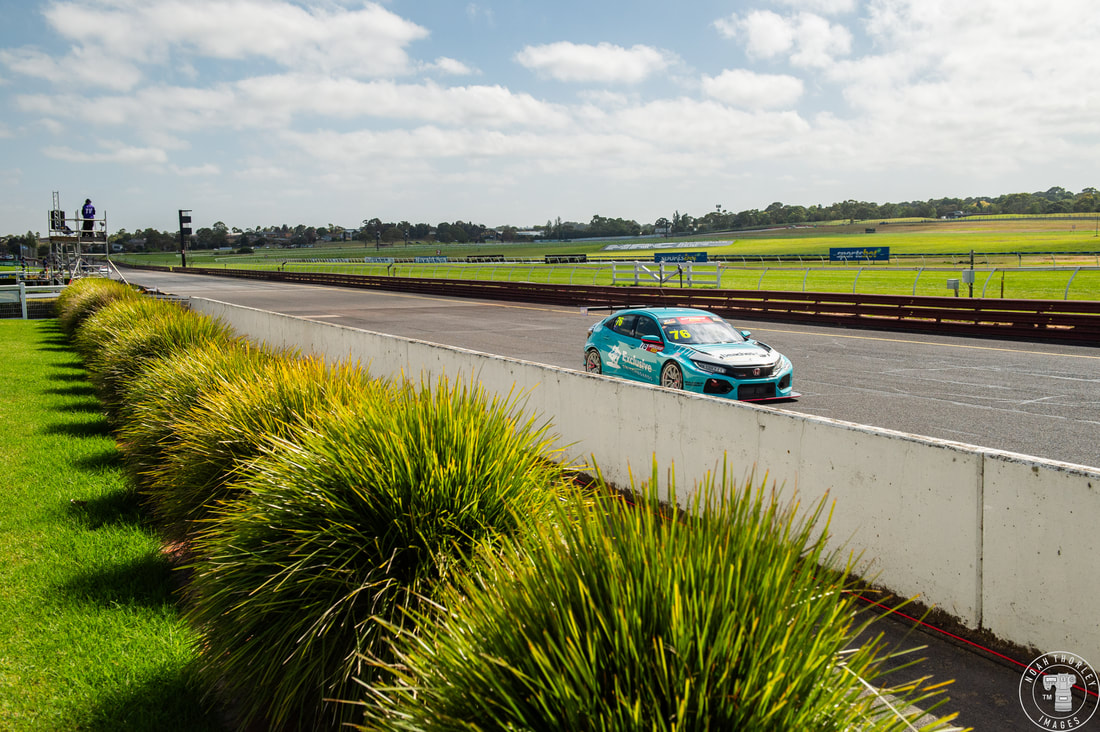 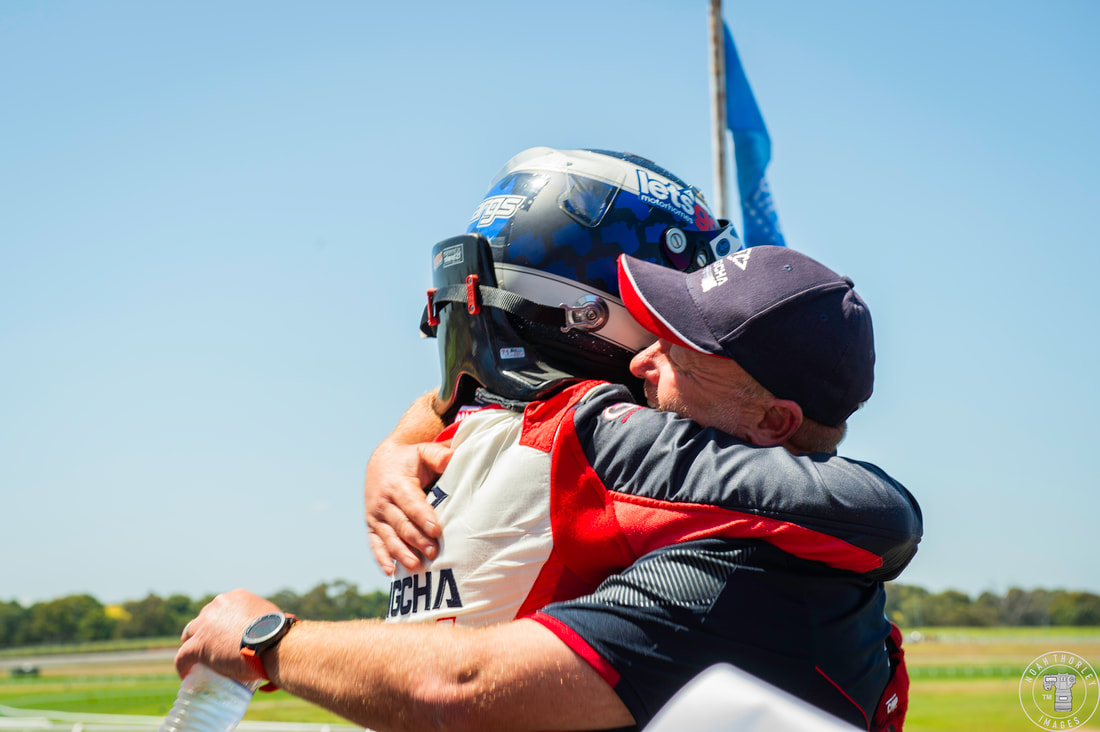 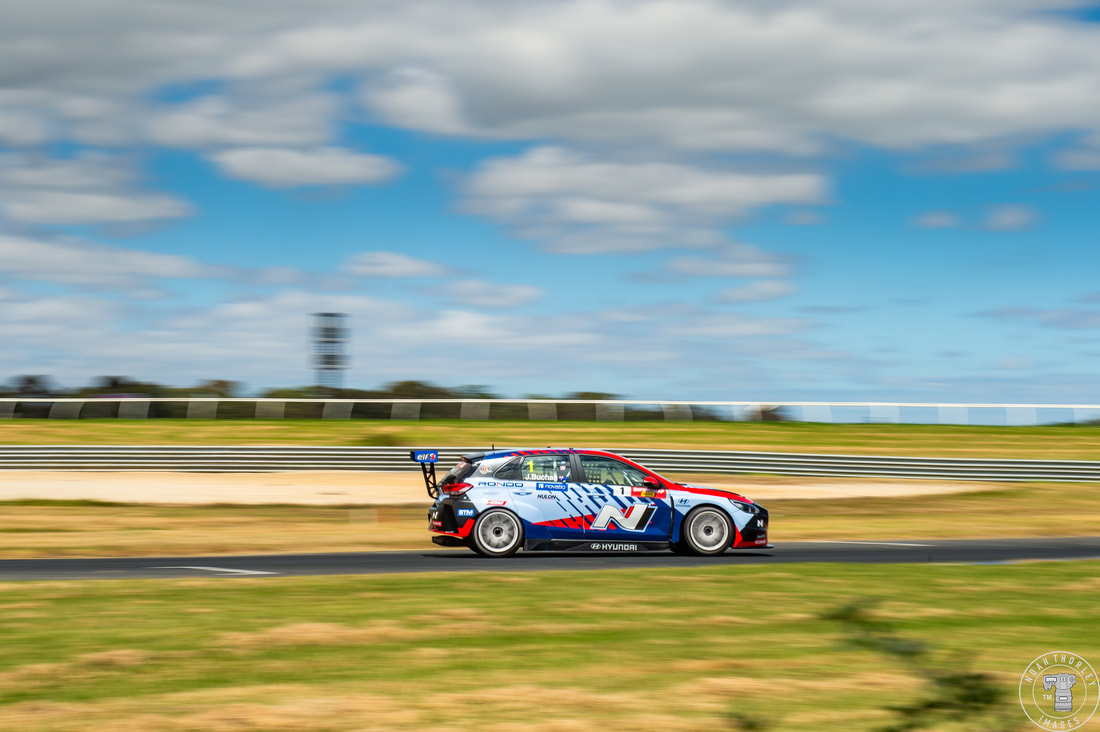 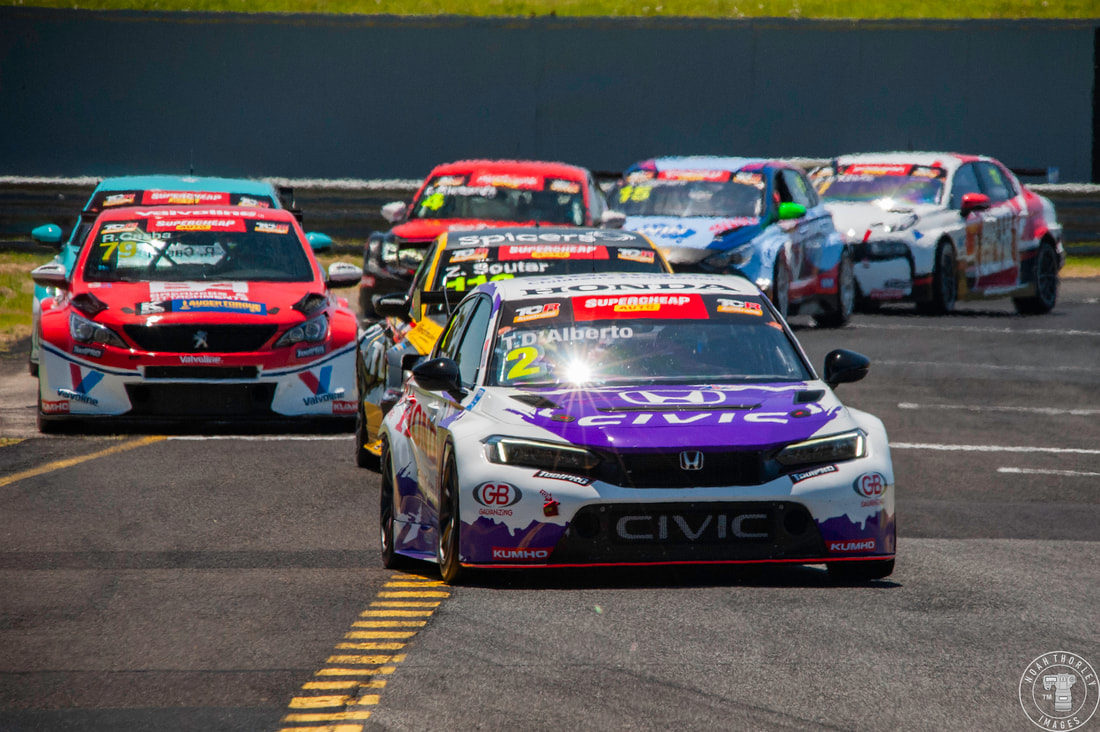 Tom Oliphant and John Martin would have a fierce battle for tenth place, as it would be pole position for Race 2. Up the front however, Ben Bargwanna would take the victory followed by Josh Buchan and Tony D’Alberto. 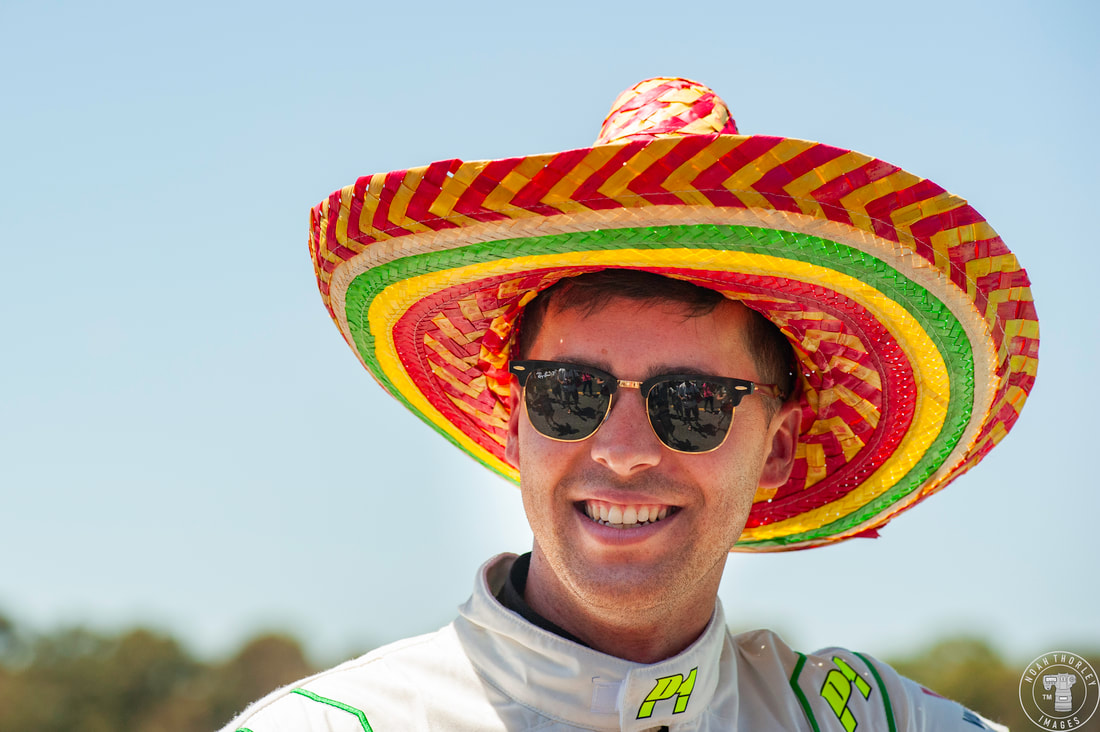 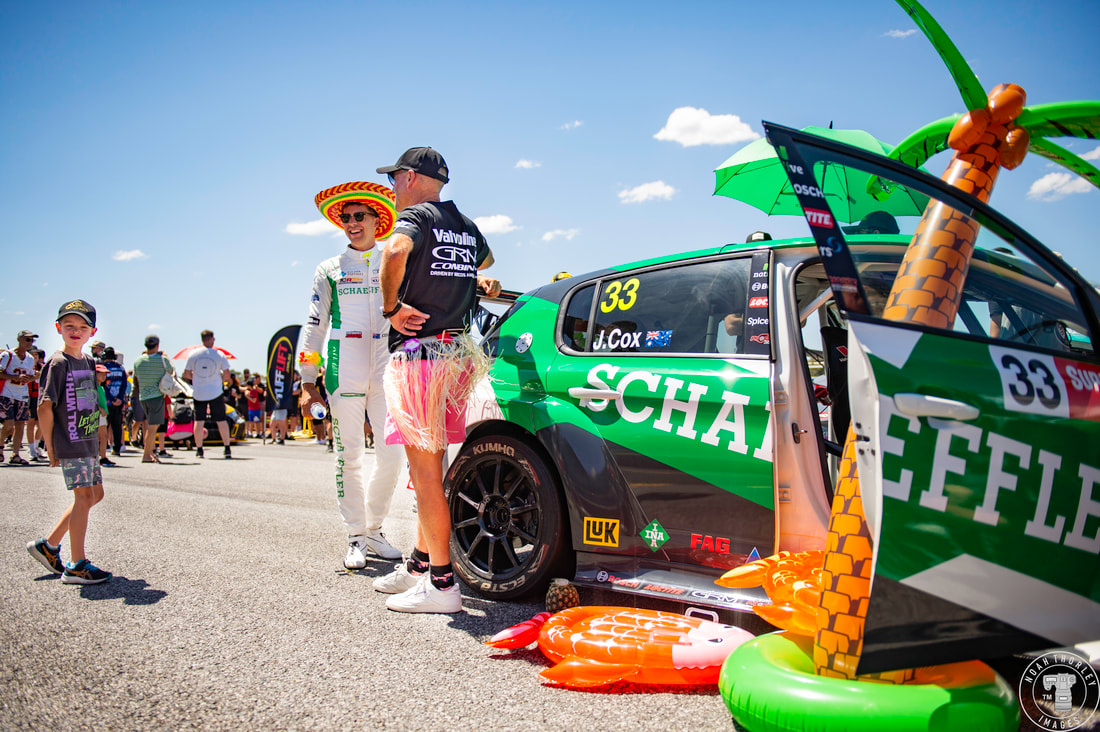 Before the start of Race 2, spectators would be able to come onto the grid and get up close to their favourite cars and drivers. Jordan Cox was recently married, so I believe the fancy dress and inflatables were to celebrate his honeymoon, although I think Garry Rogers wanted to come along as well. 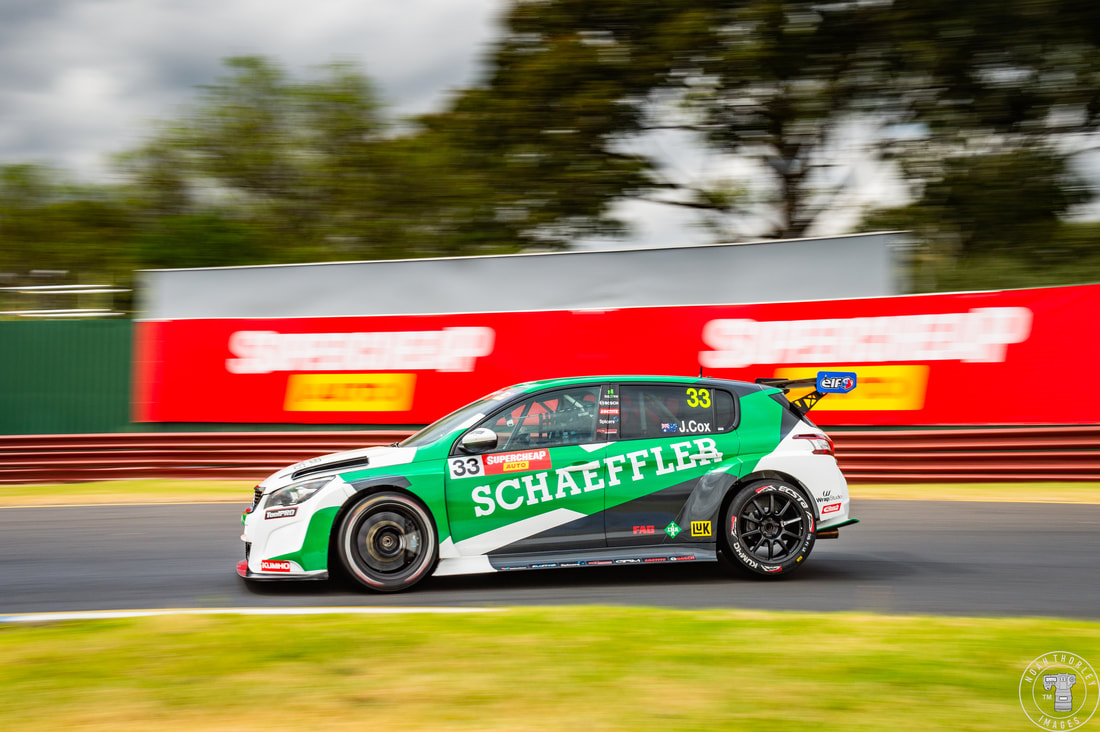 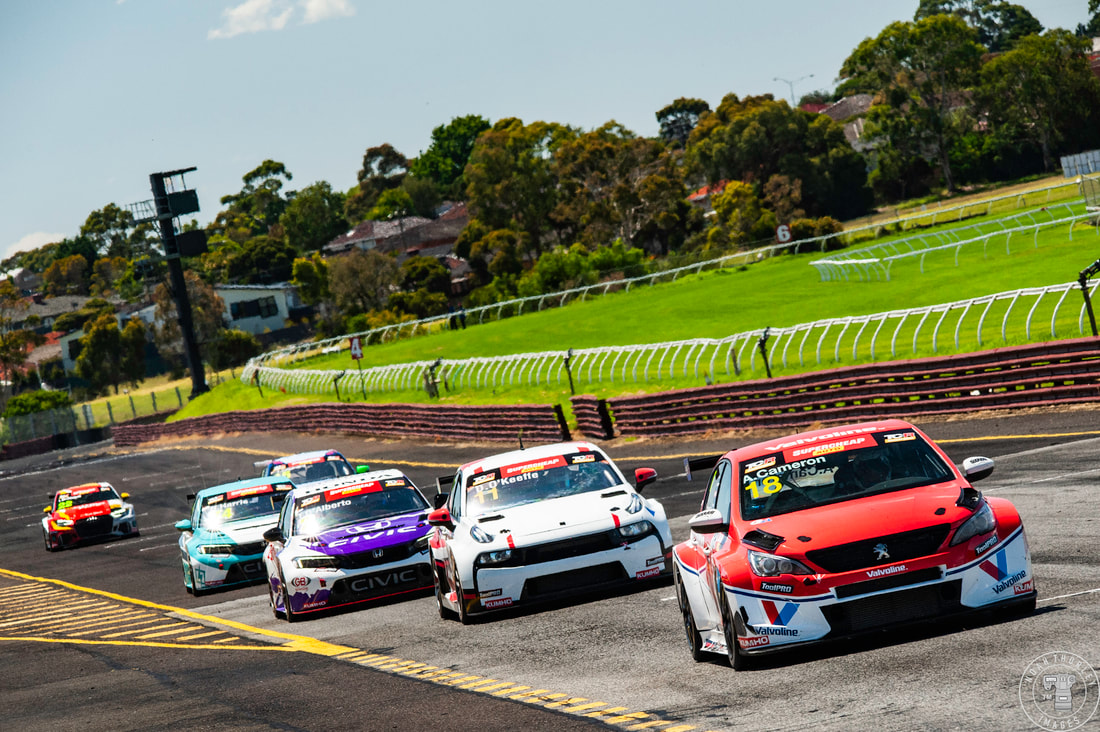 Honeymoon ready Jordan Cox came from sixth place to grab the lead early, as Clay Richards slotted in behind and the front row of John Martin and Dylan O’Keefe fell through the field. 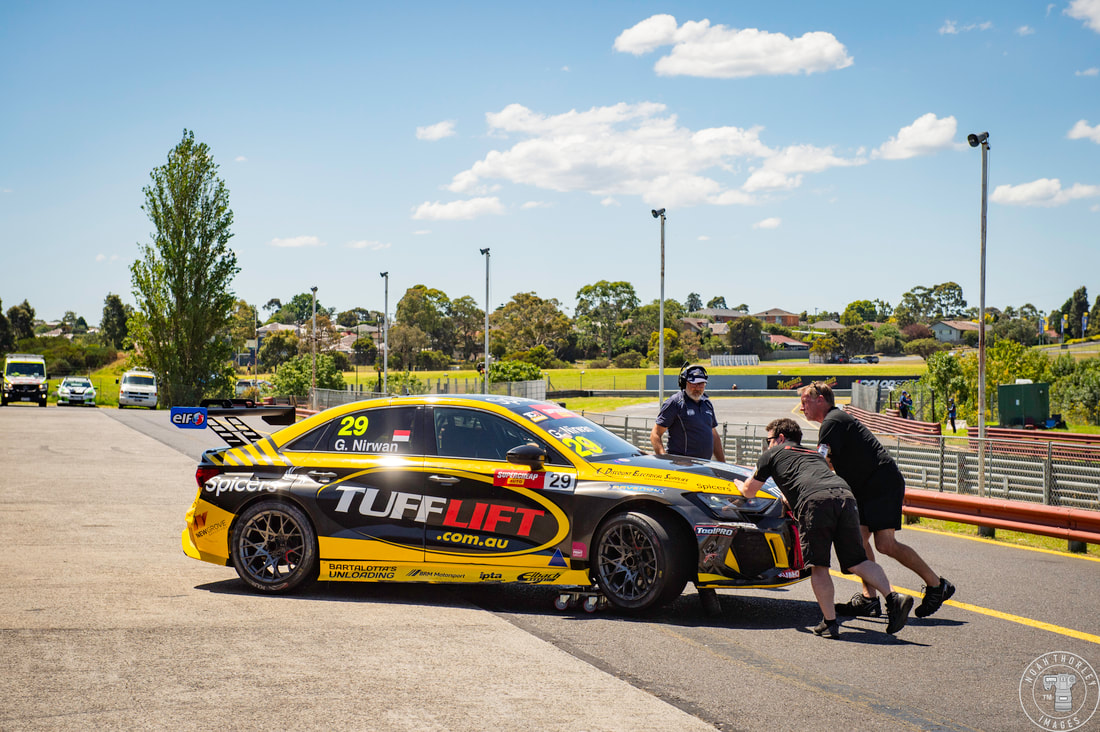 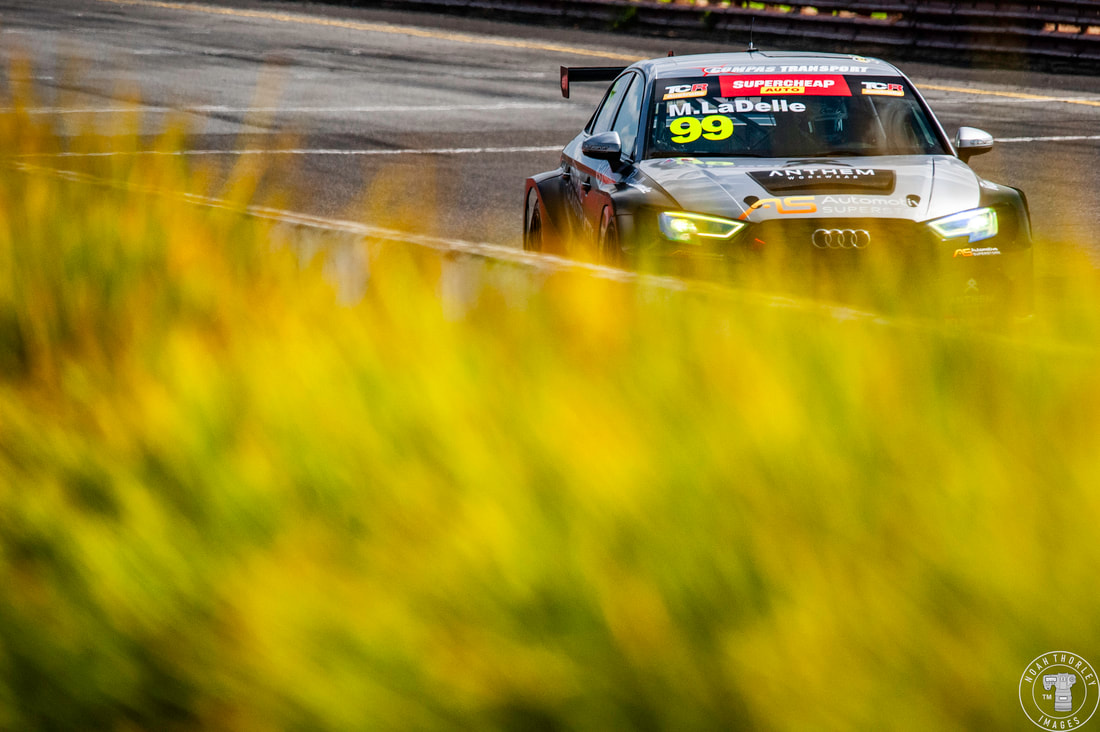 The two Audi’s of Glenn Nirwan and Marcus LaDelle would come together and get stranded on track after Nirwan bounced off the Turn 4 kerb, collecting LaDelle. 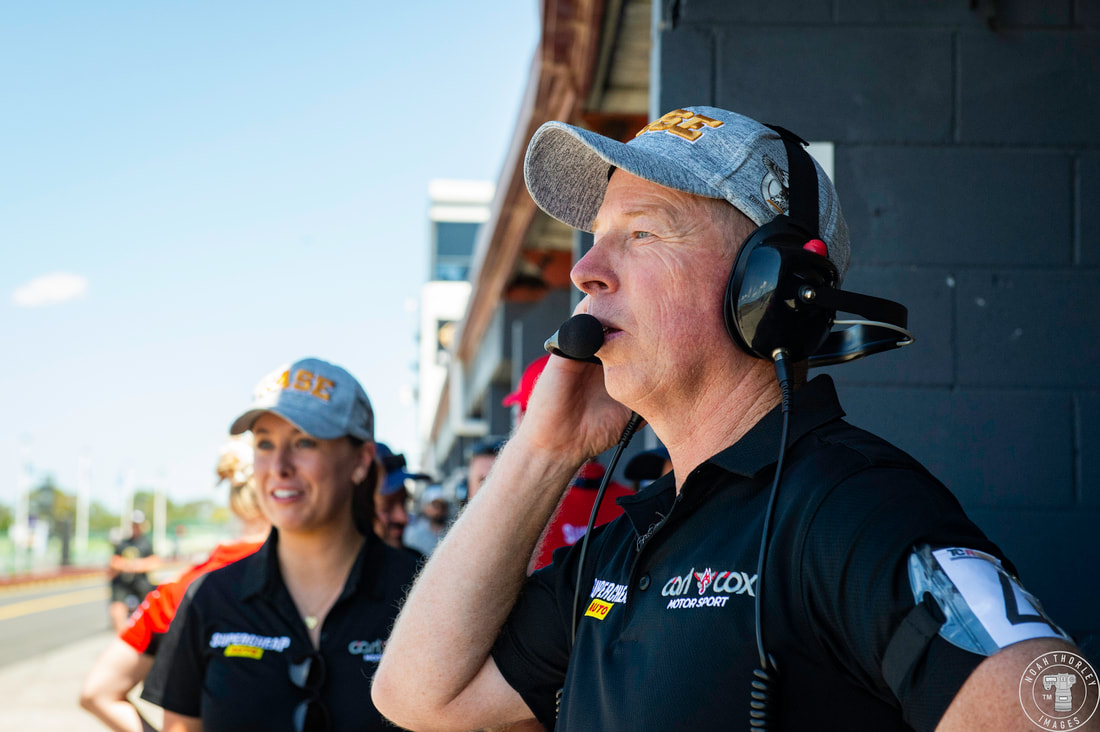 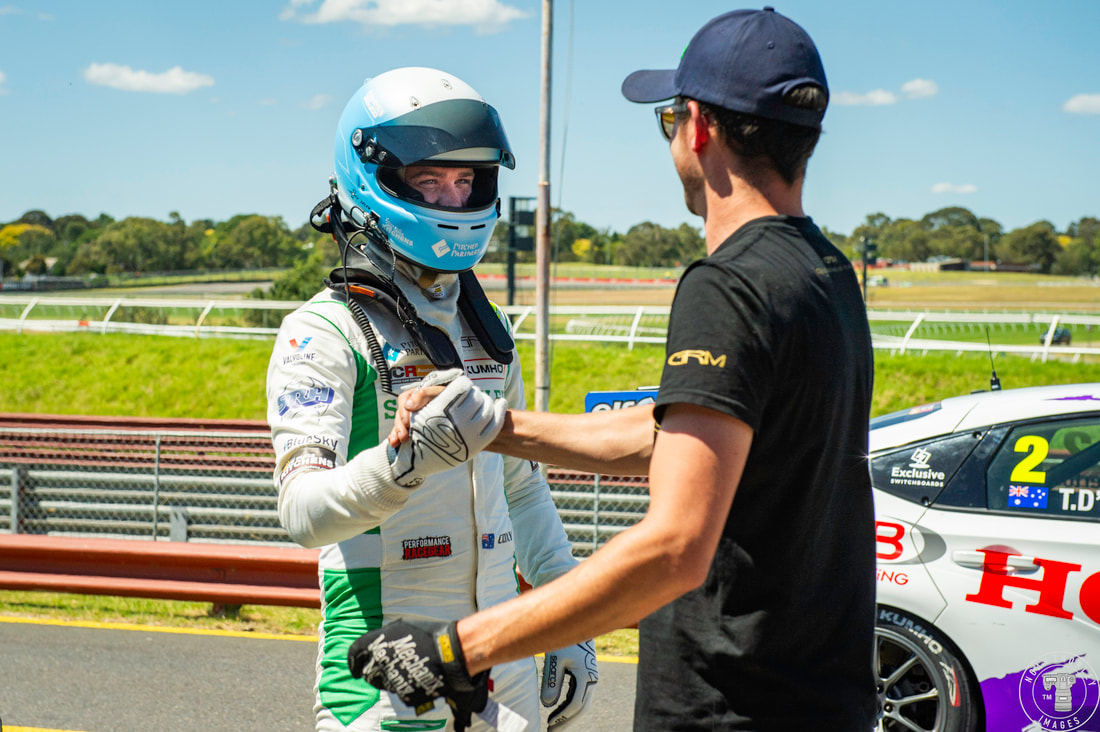 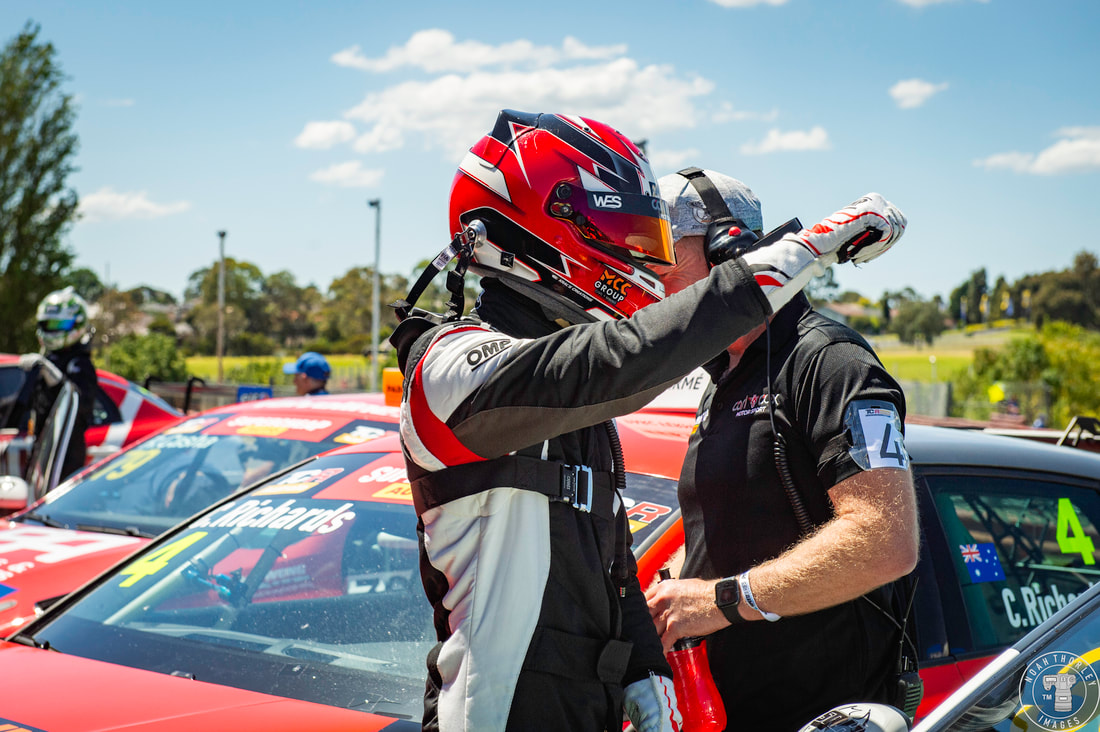 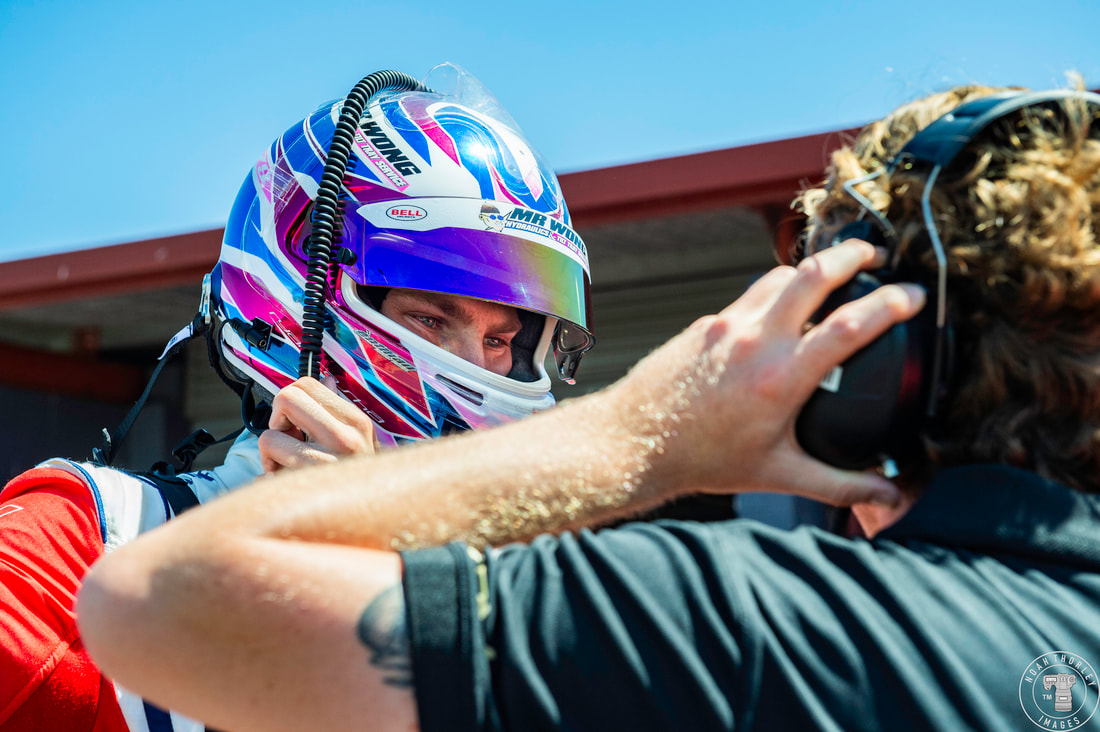 After the safety car, it was a moment of deja vu, Jordan Cox versus the Cupra, a throwback to Phillip Island last year and Michael Clemente’s first win. This time Jordan Cox wouldn’t succumb to the pressure and grab the win ahead of Richards as Ryan Casha would nab his first podium in third. 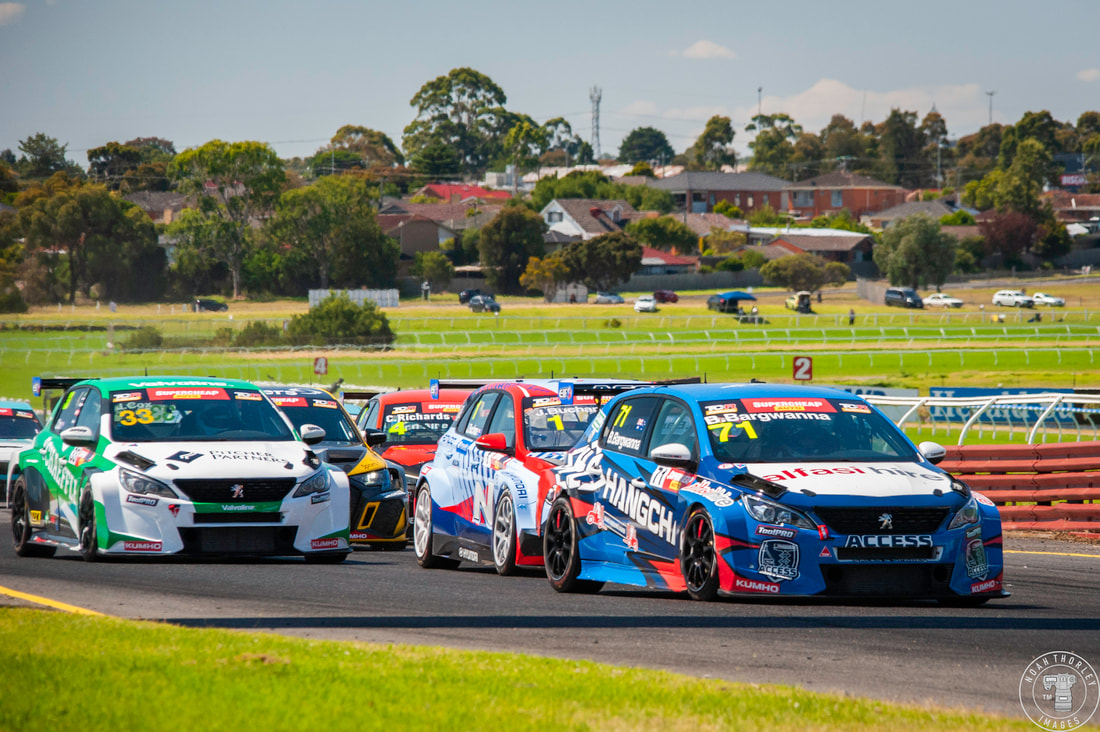 For the final race, Josh Buchan would be on pole, with Ben Bargwanna alongside, who would get the jump at the start. 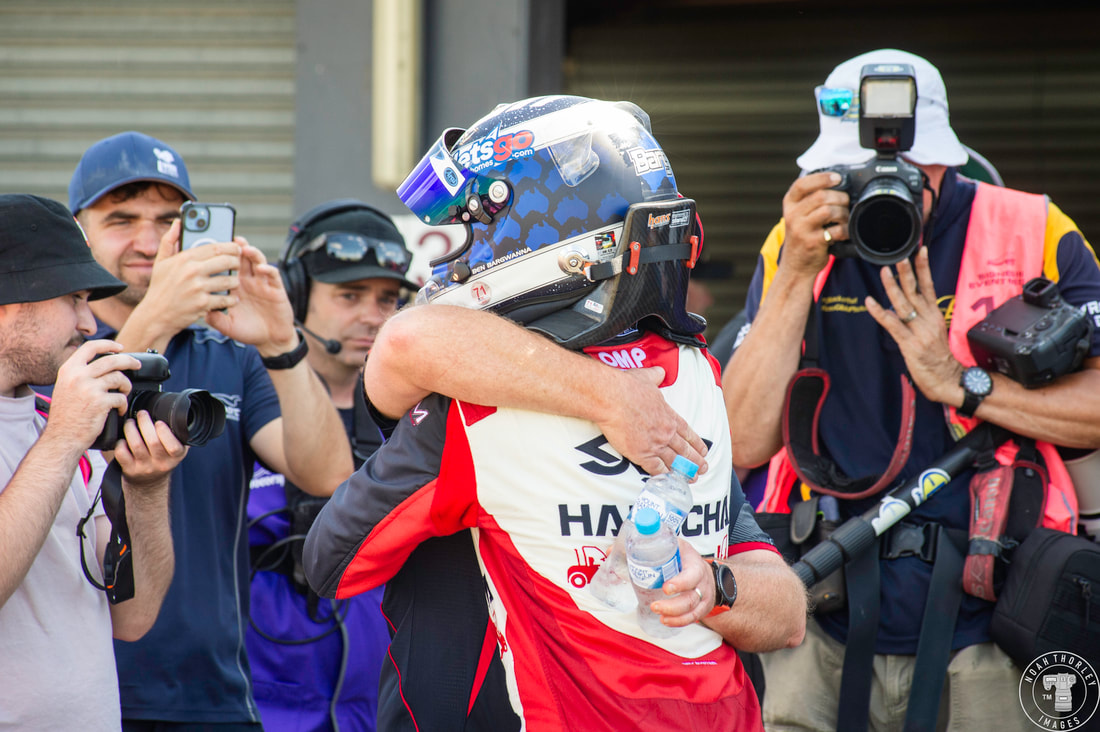 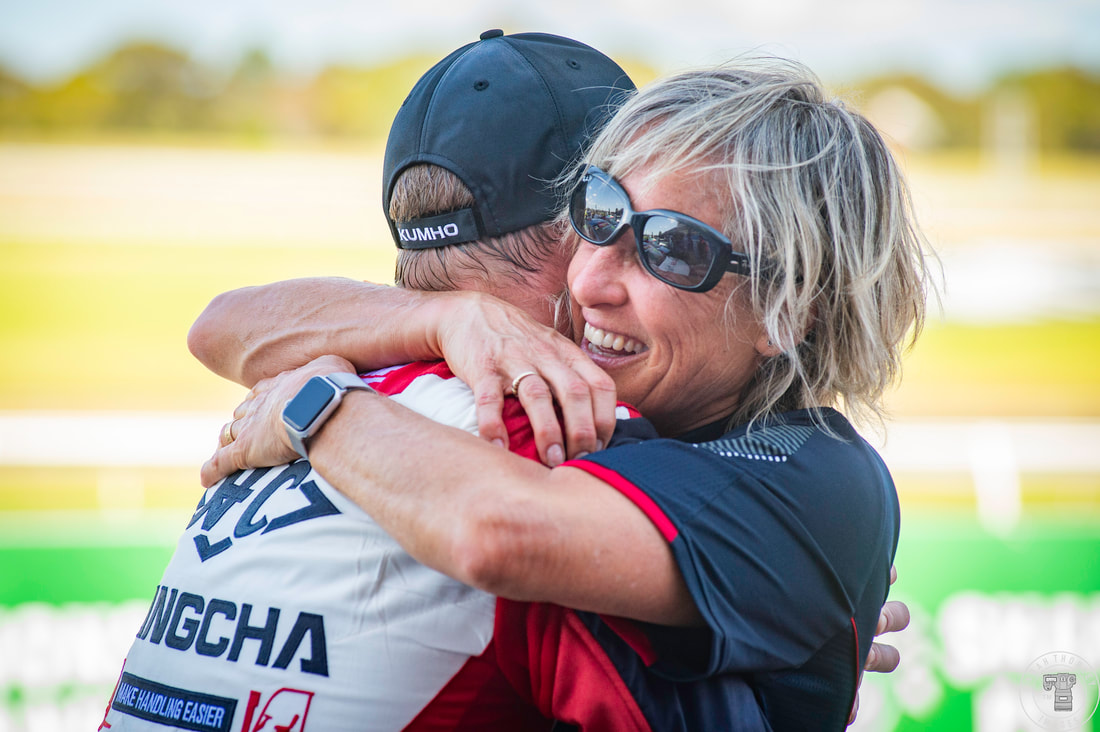 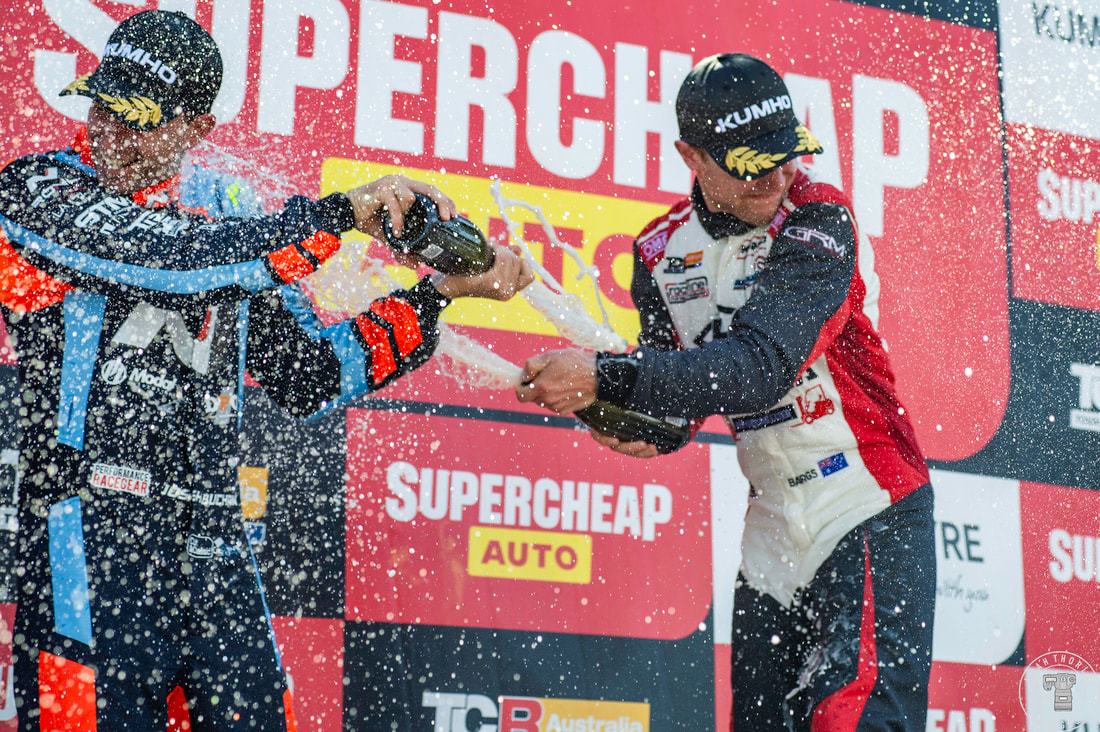 The front pair would break away from the pack and Bargwanna would take the chequered flag and another emotional win ahead of Josh Buchan and Jordan Cox. 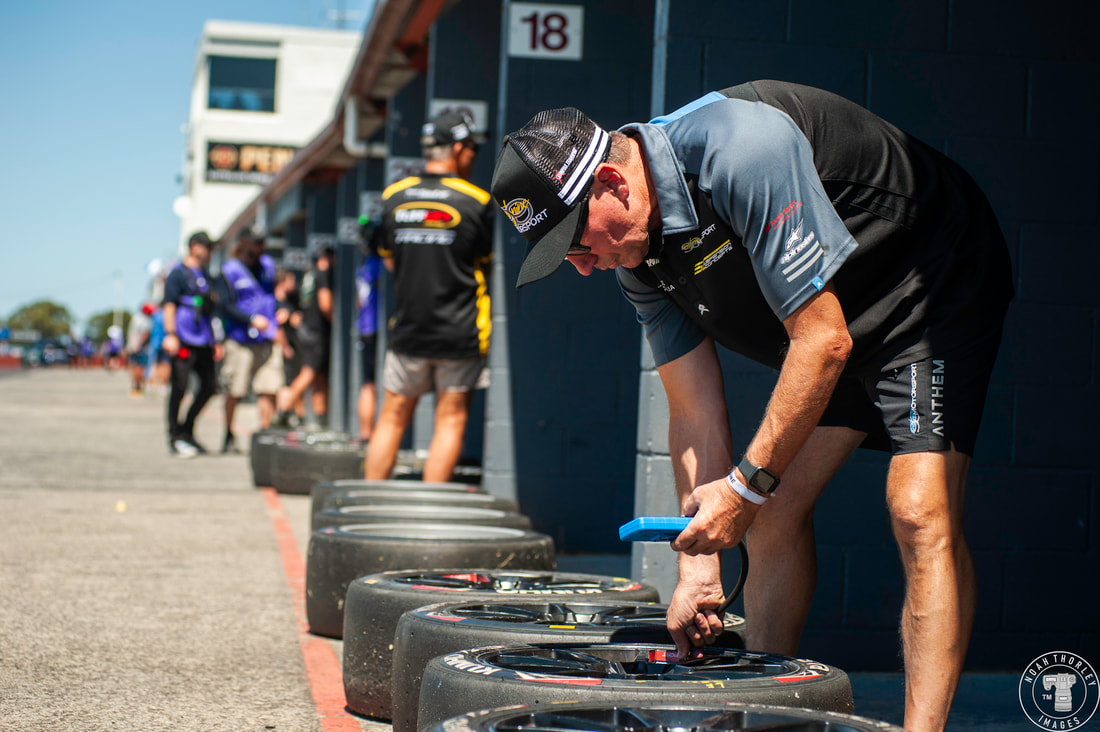  TCR Australia will now head to Symmons Plains in Tasmania with the rest of the Speed Series spectacle. There we will see if Ben Bargwanna can continue with his winning form and who will rise for an early championship fight. Bonus Gallery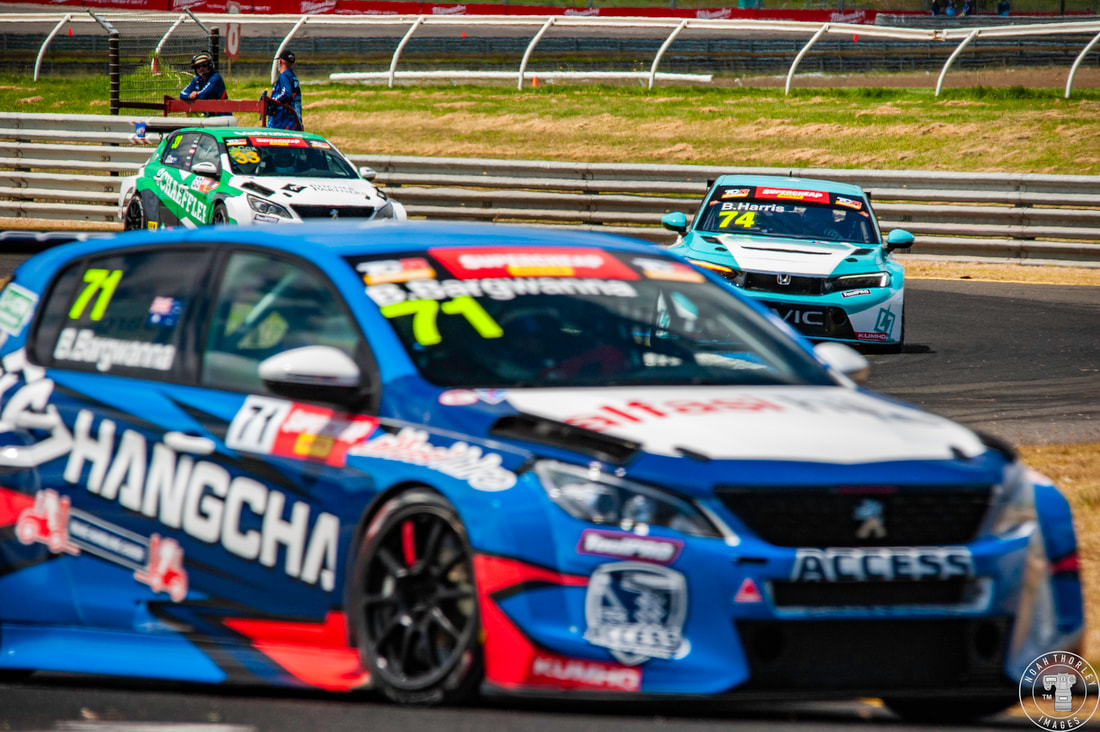 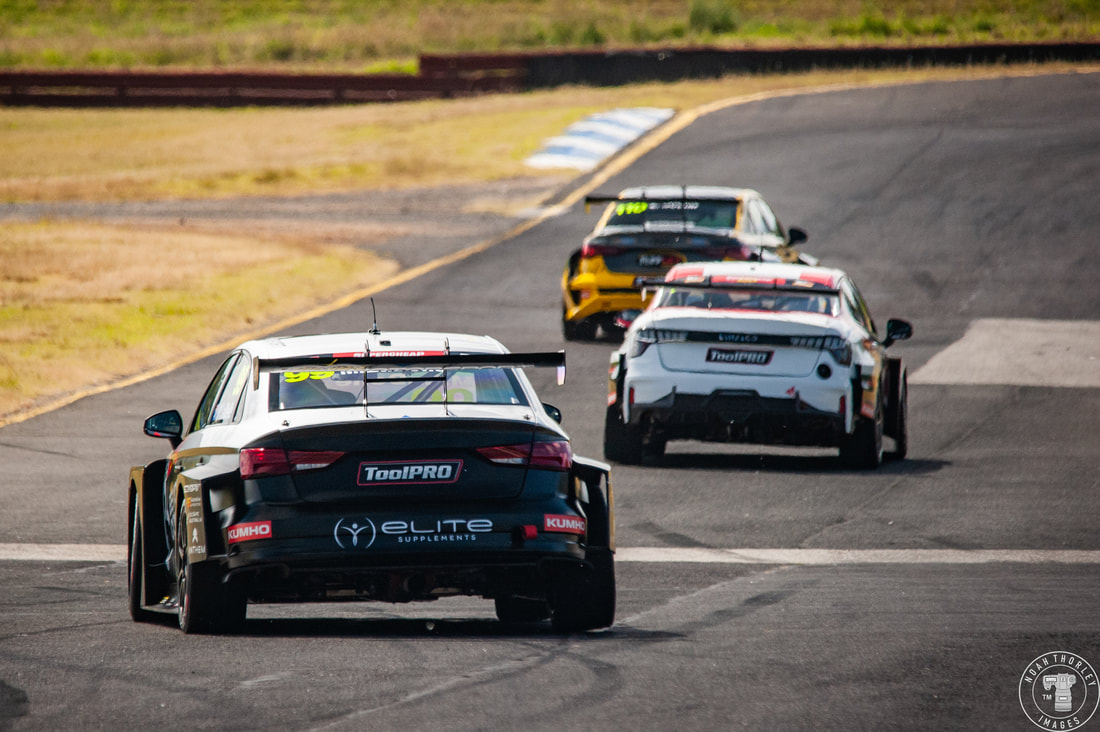 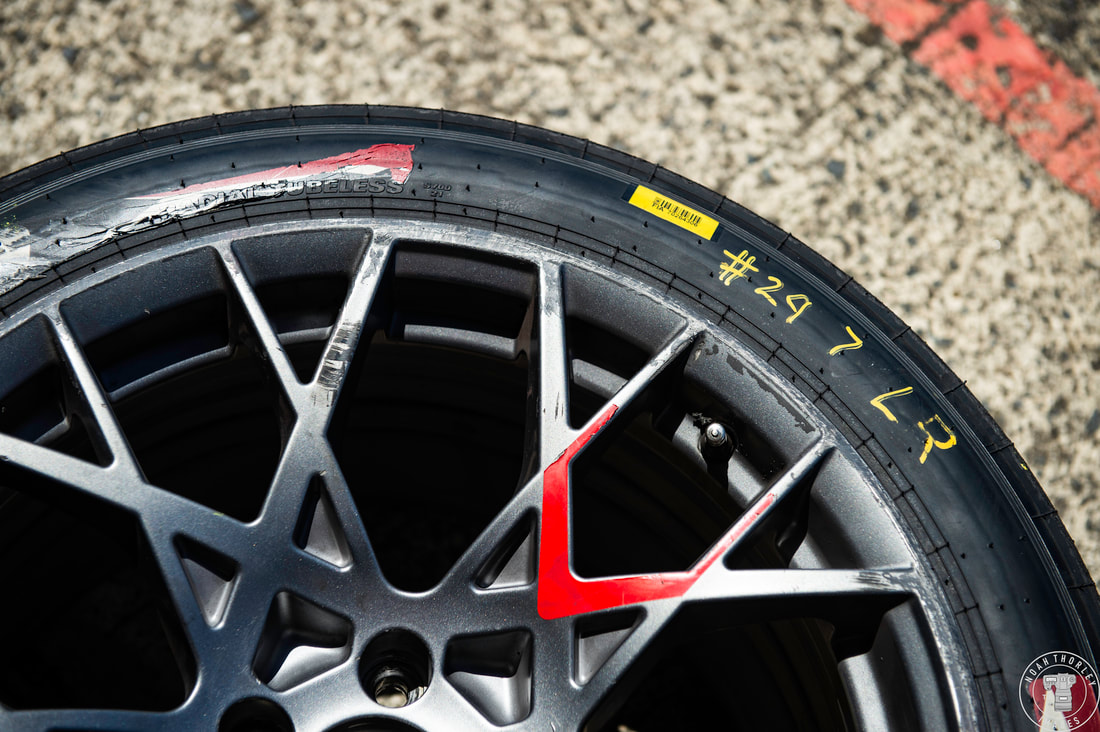 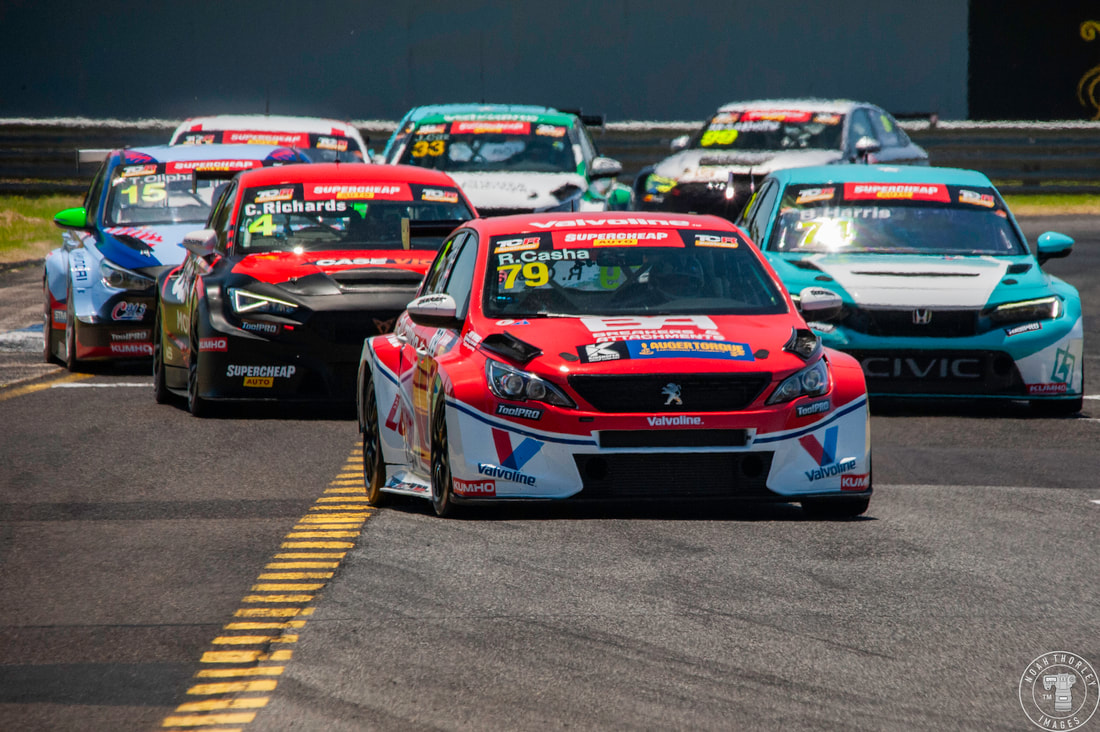 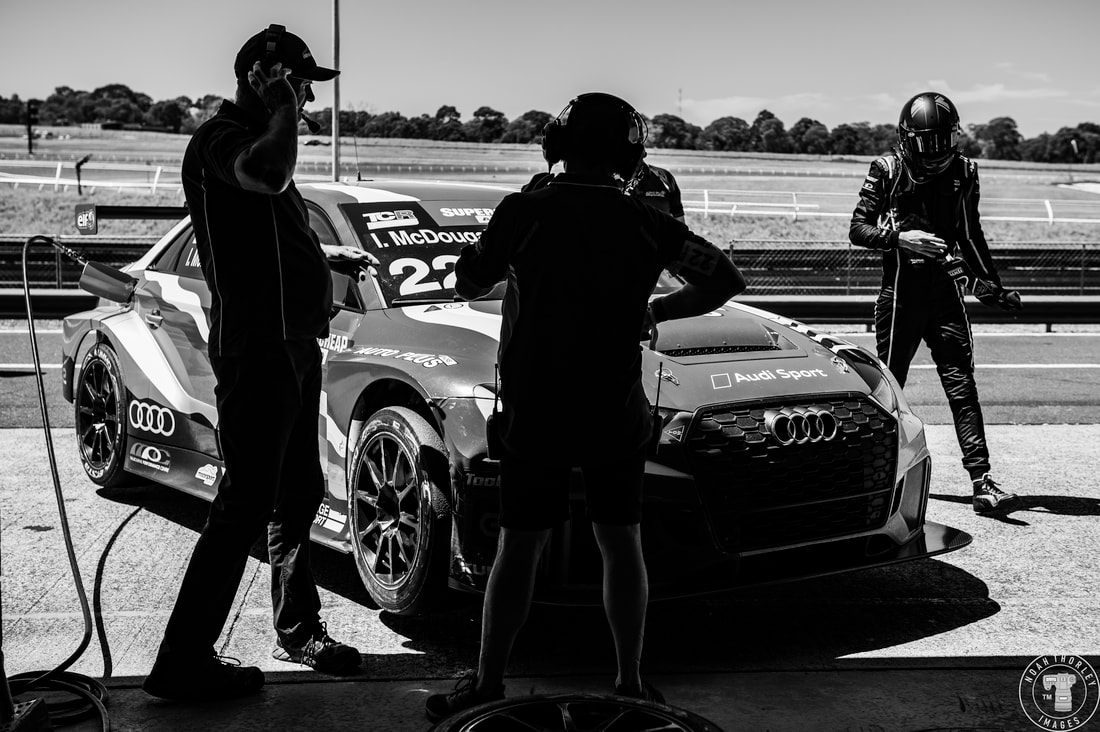 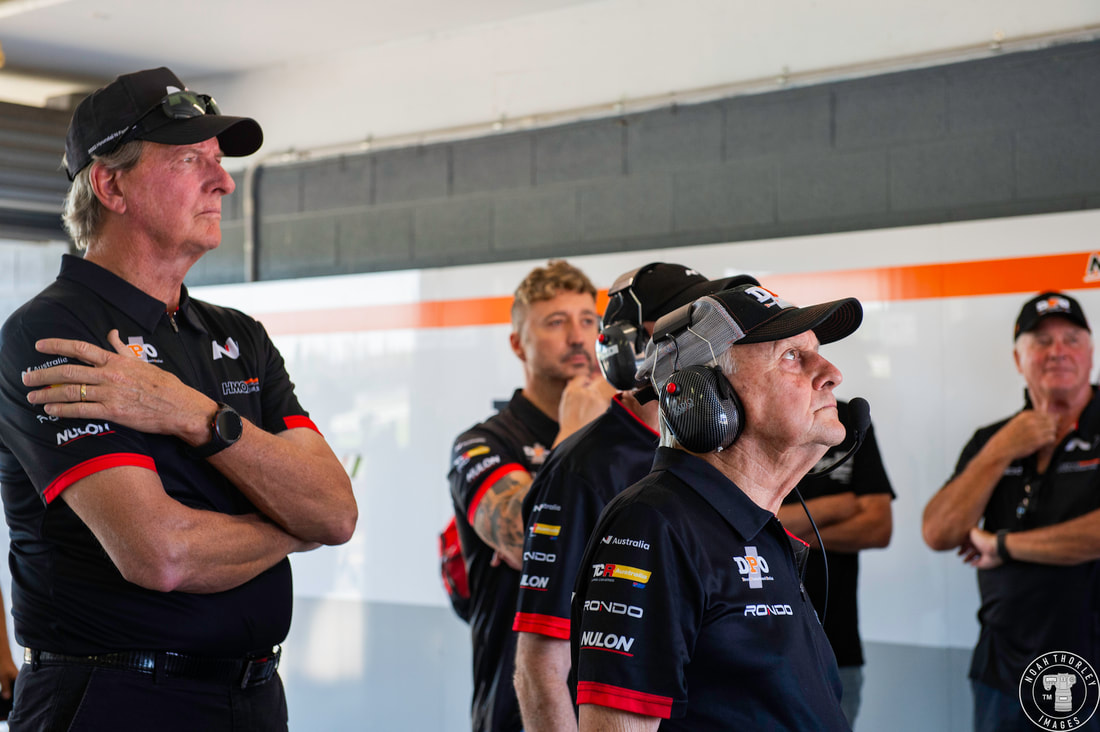 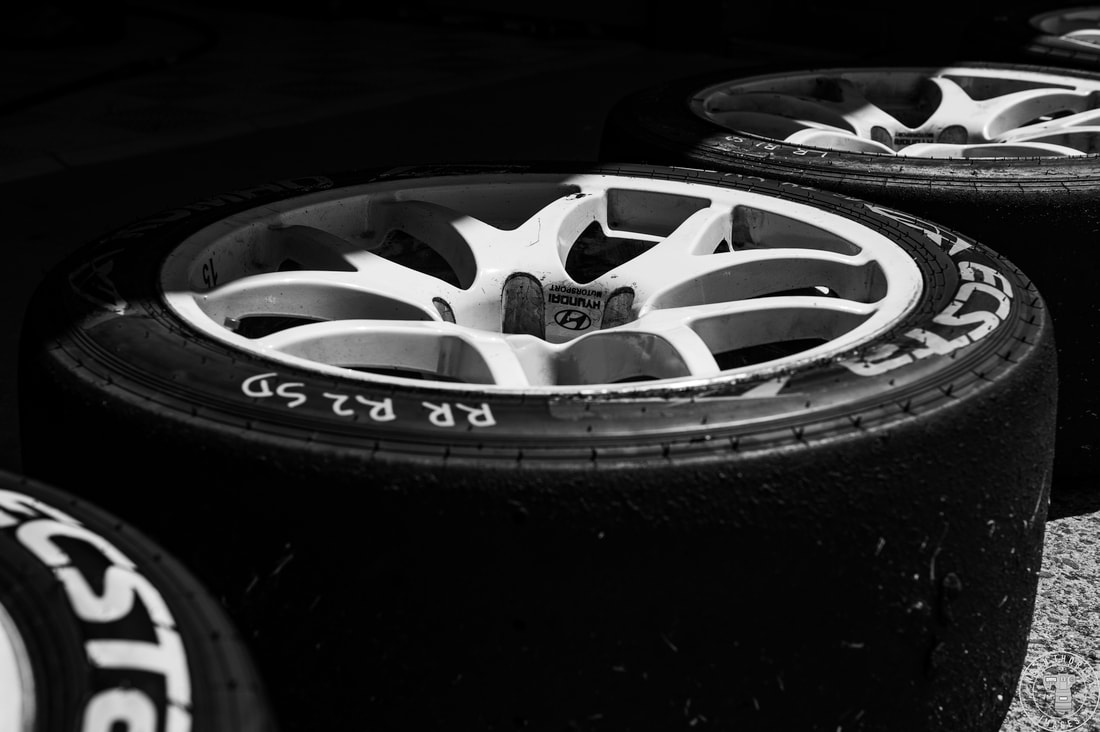 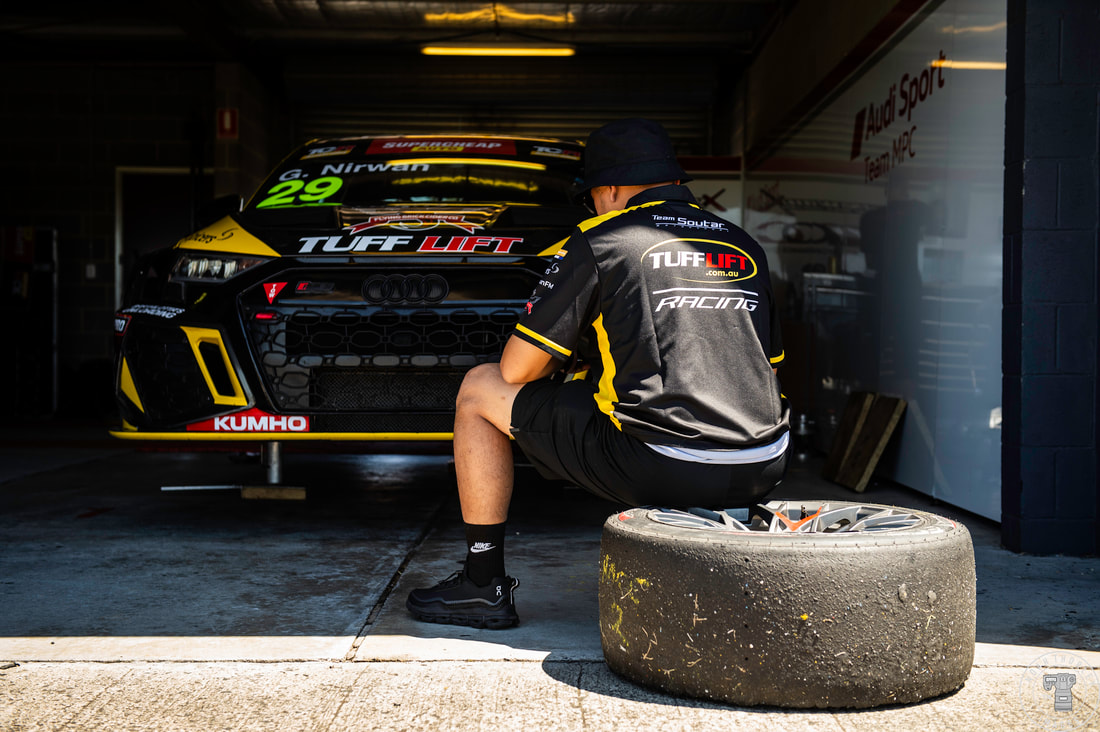 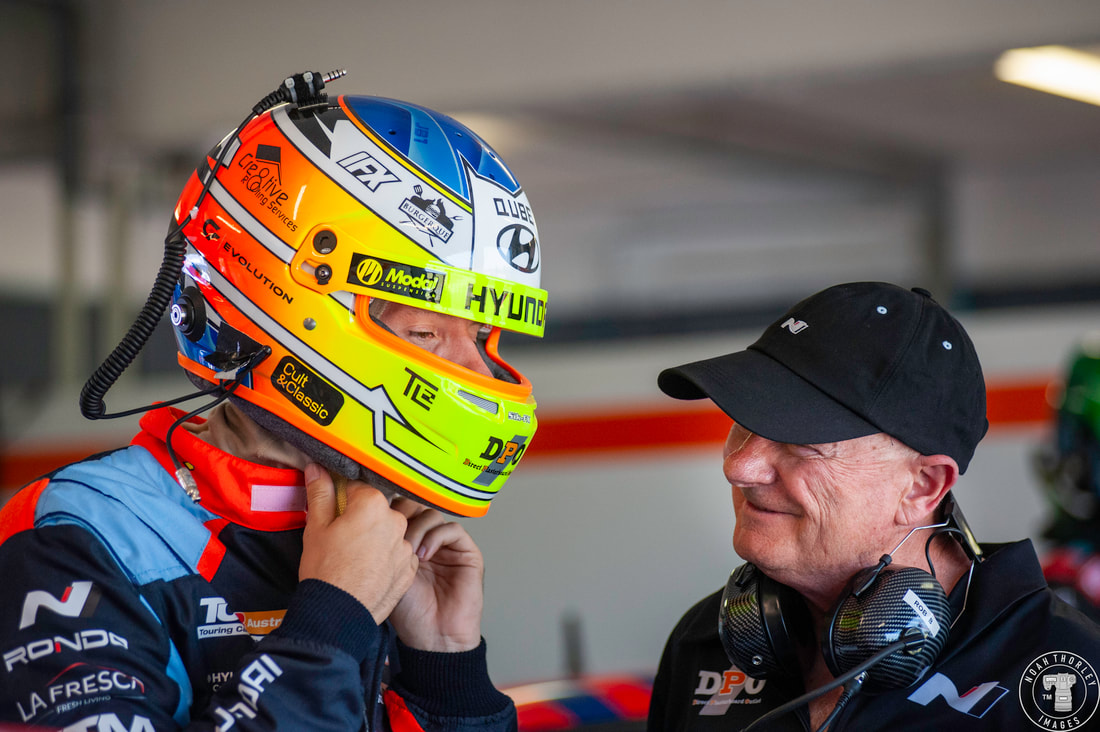 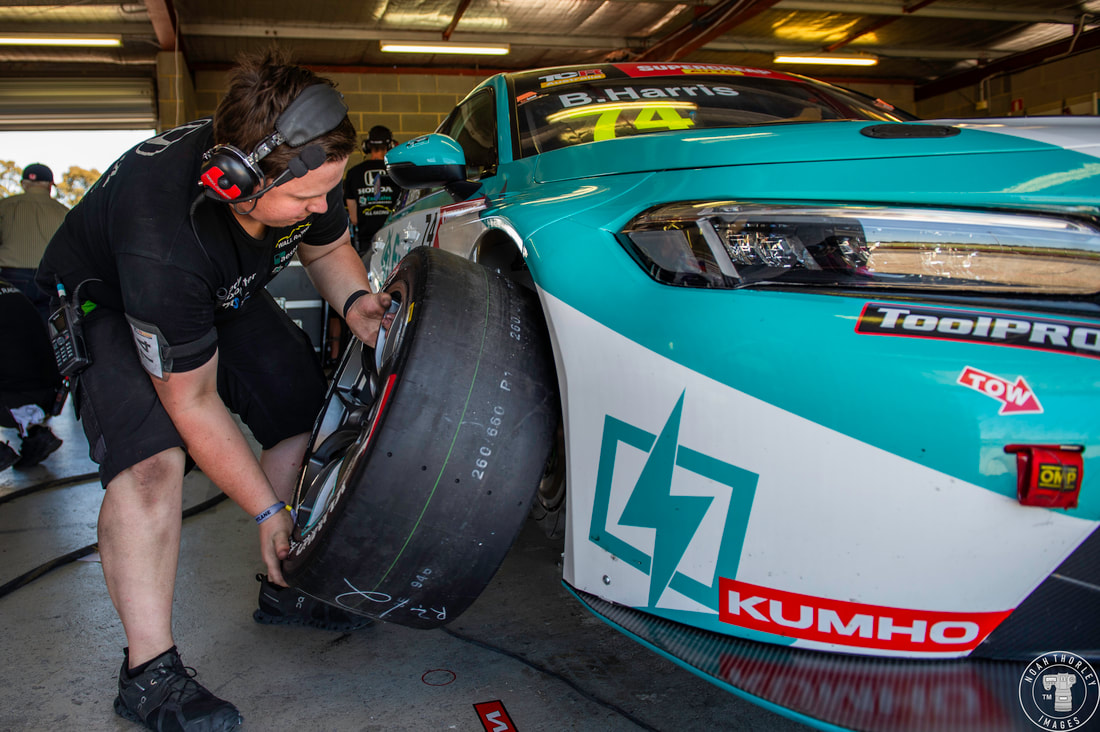 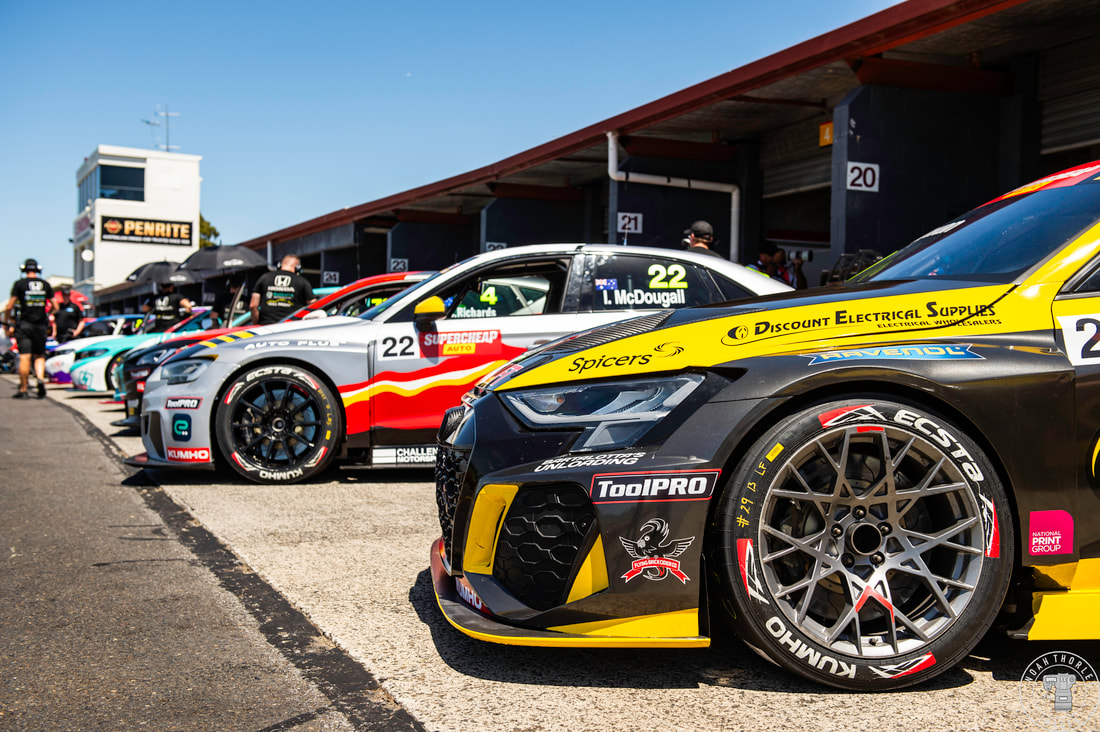
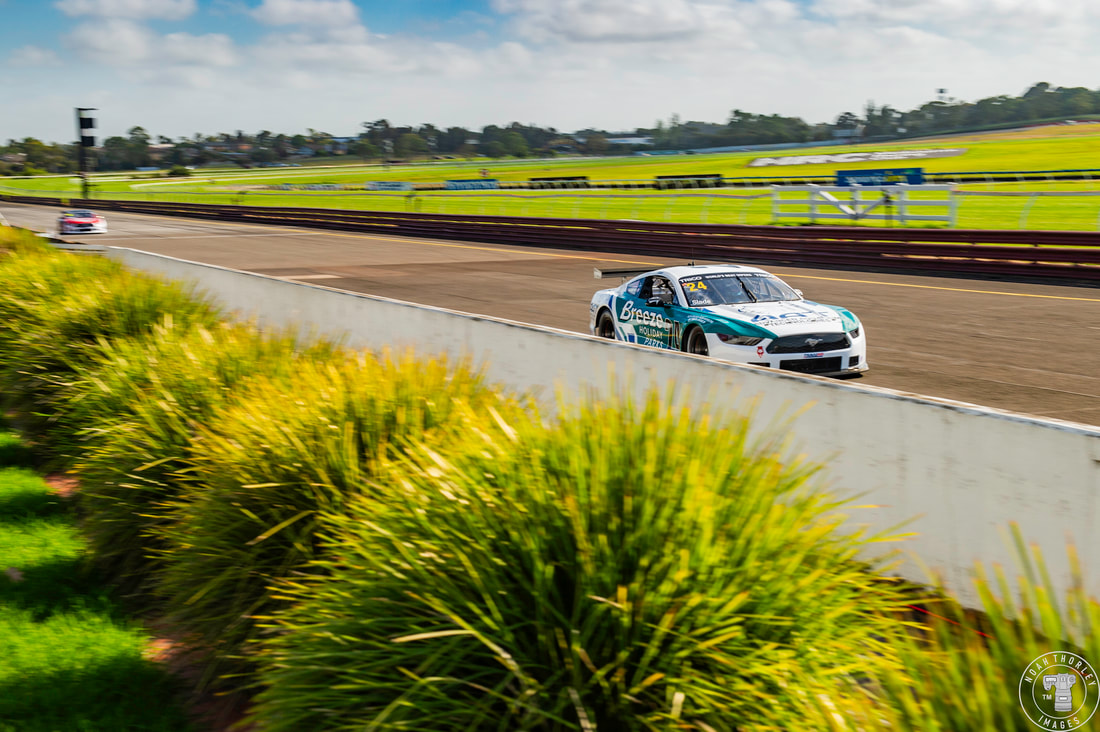
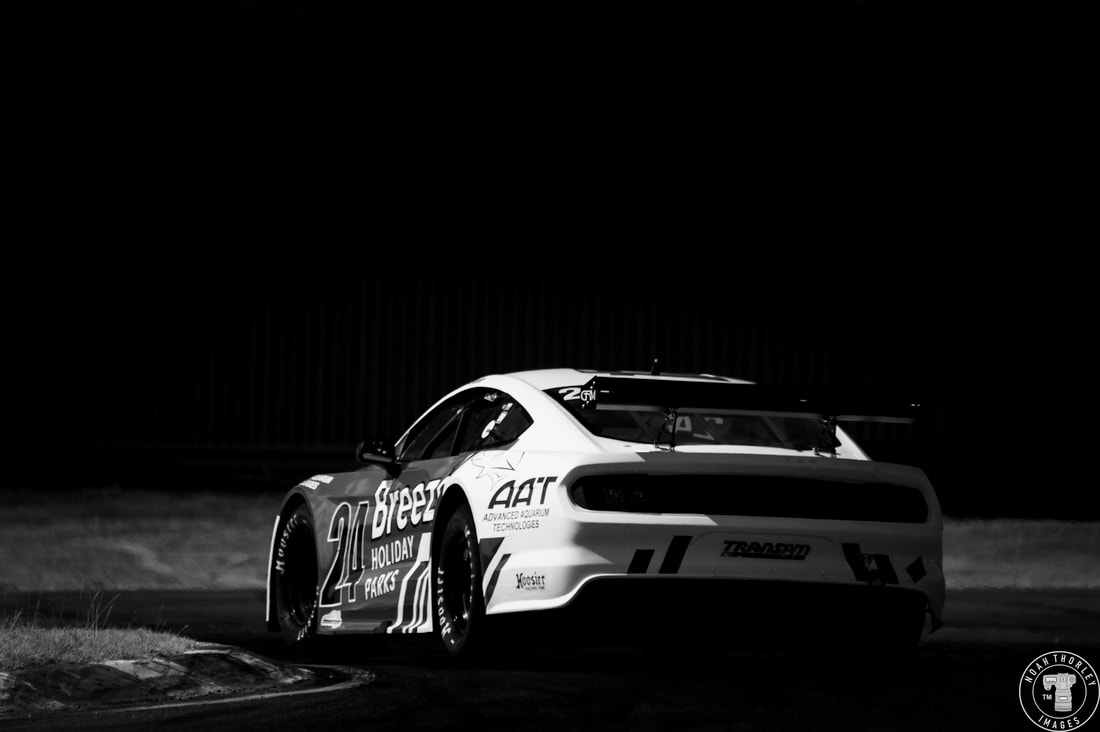
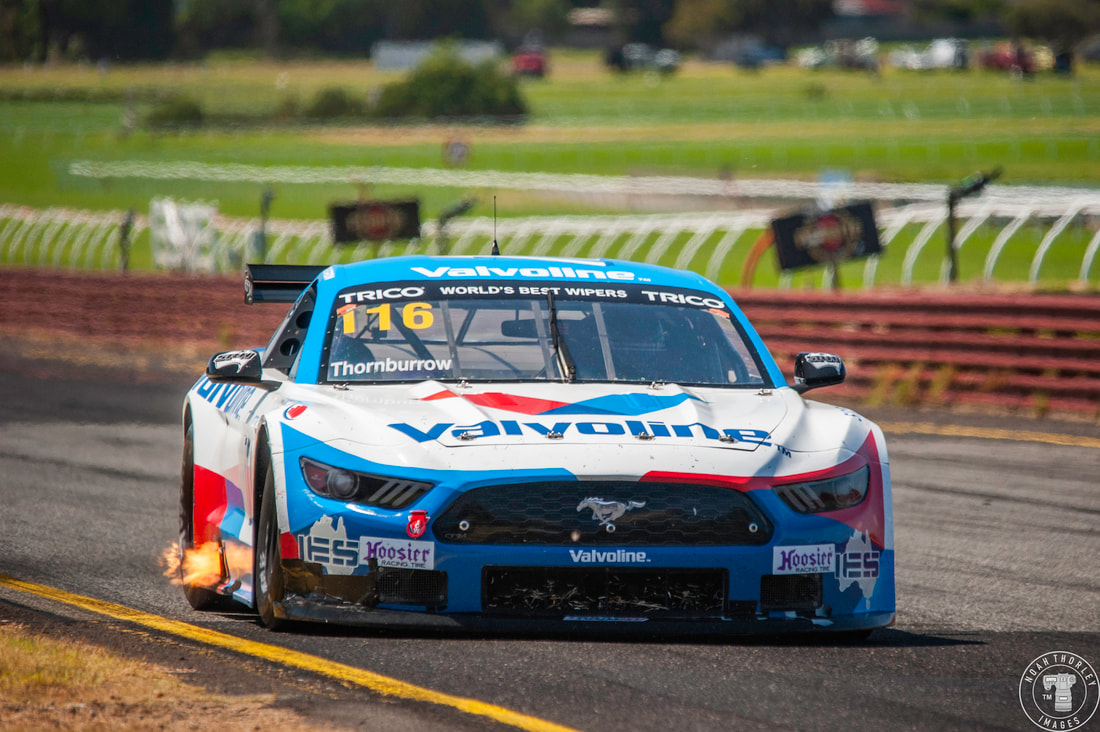
   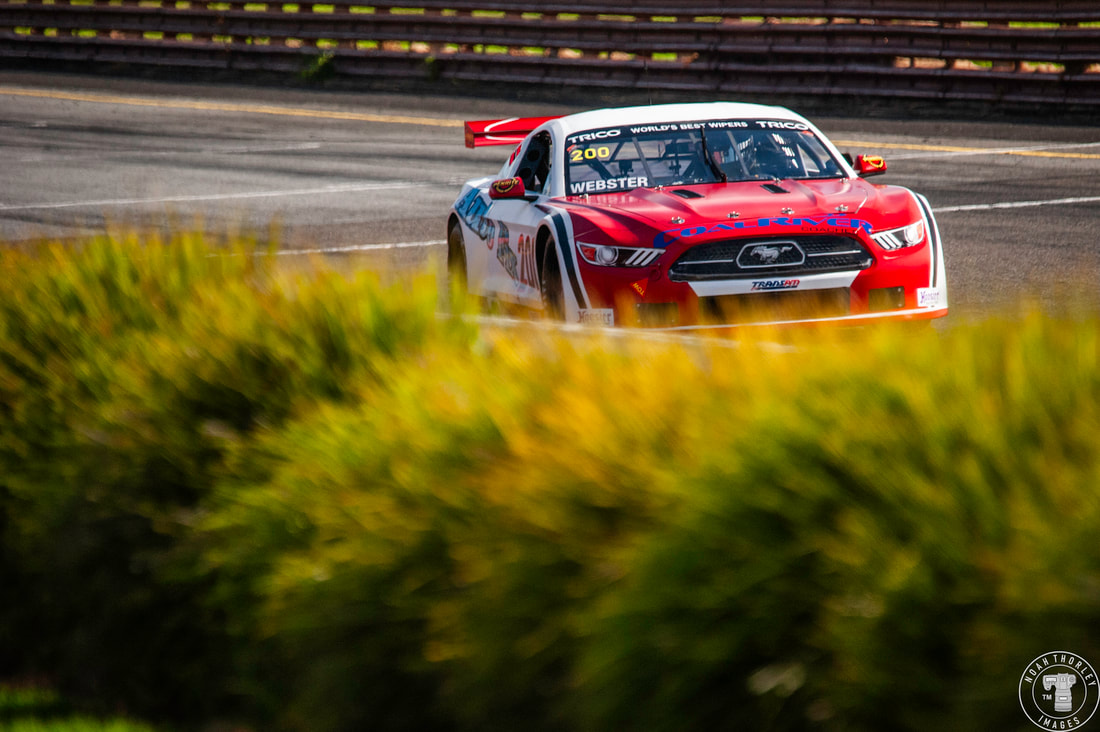 The Home of Horsepower would hold the opening round of the loud and proud Trans-Am series. These low downforce V8 monsters are some of the most entertaining circuit racers in the country, and they would prove that again during Speed Series at Sandown. 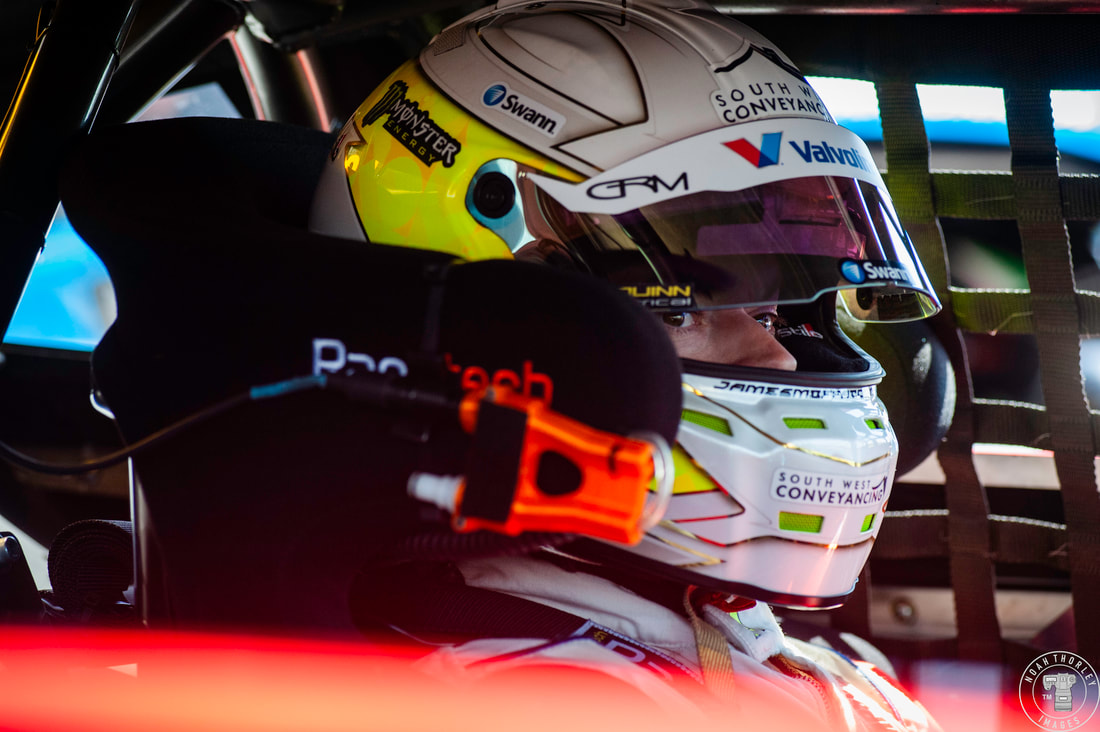 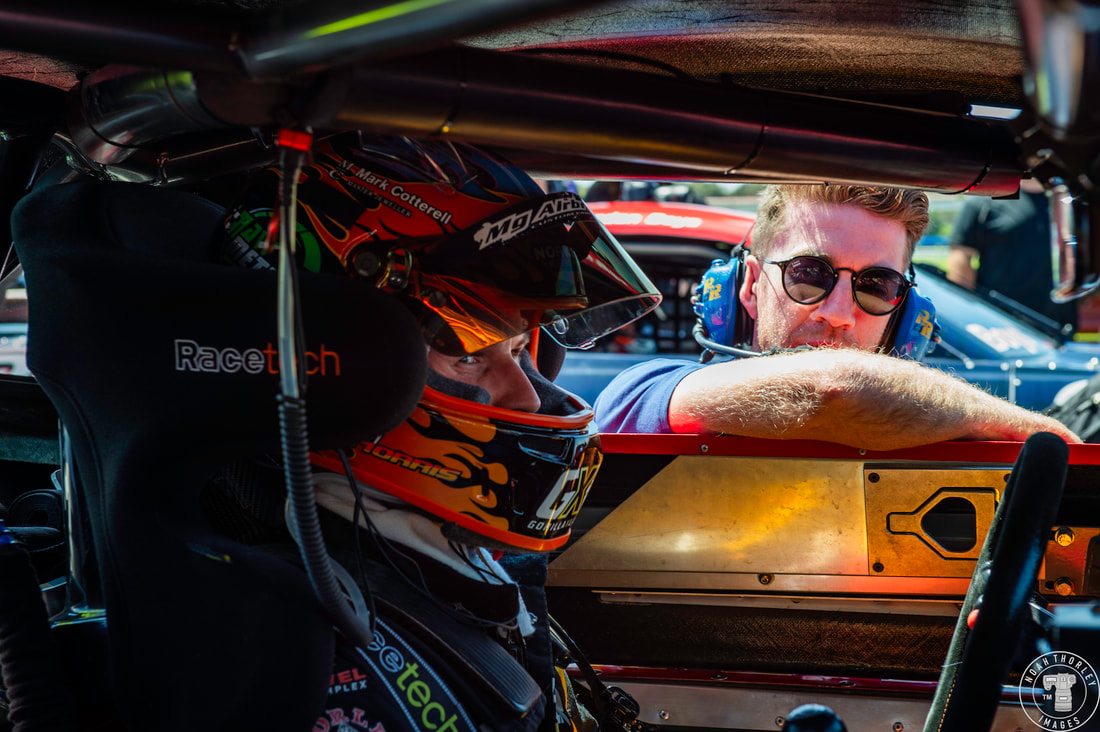 Reigning champion James Moffat would be looking to defend his title, but will certainly be put under pressure by many including Nash Morris and many new faces on the grid. 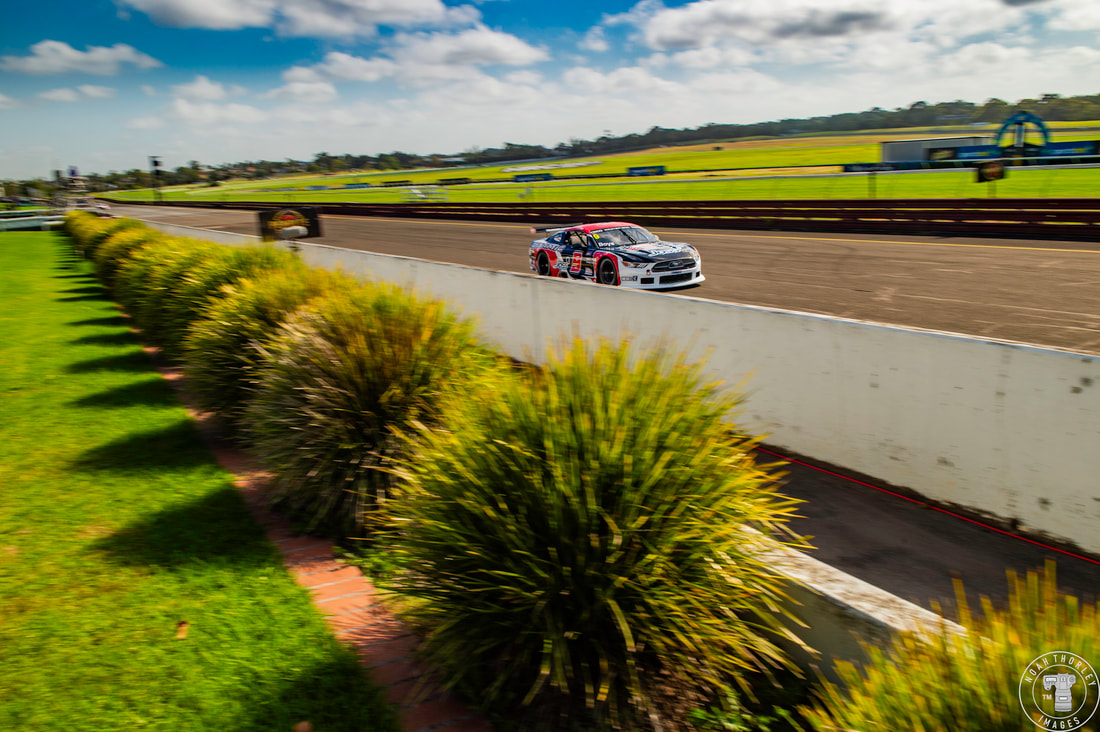 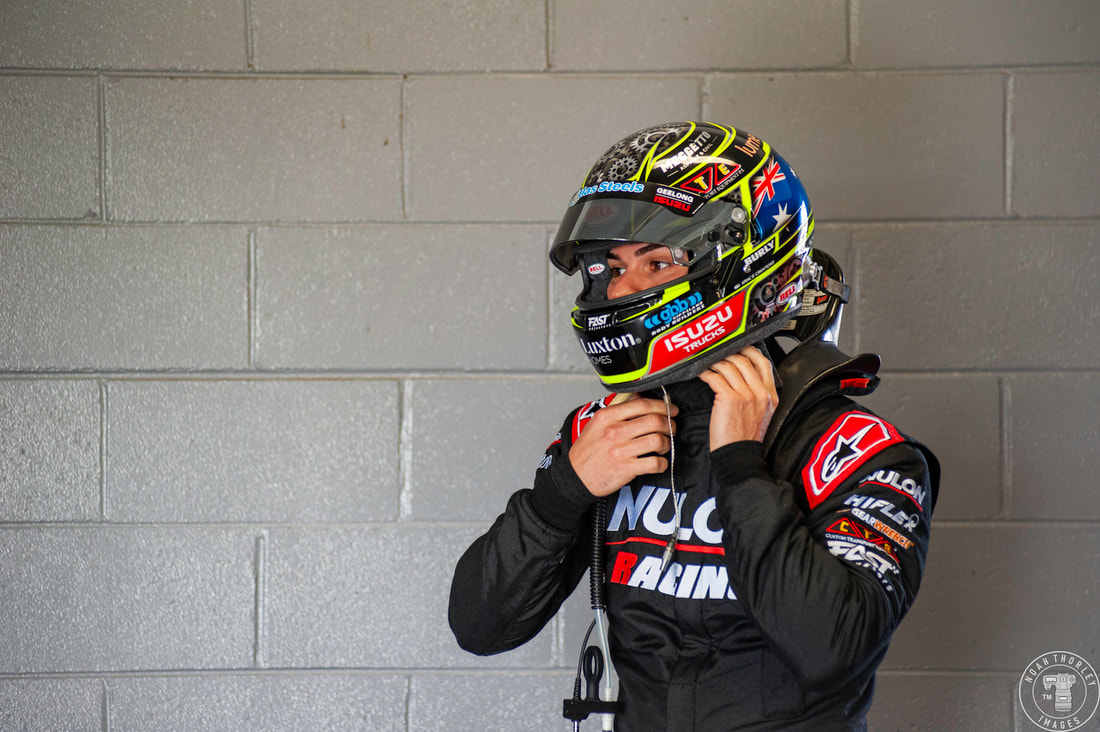 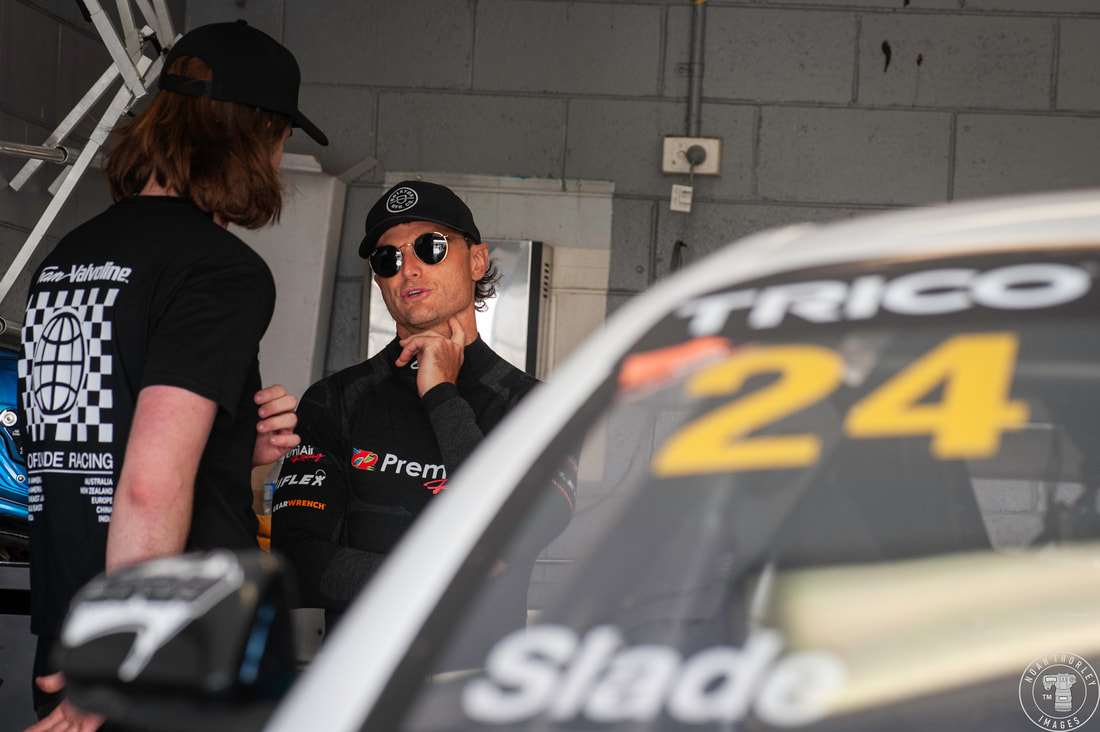 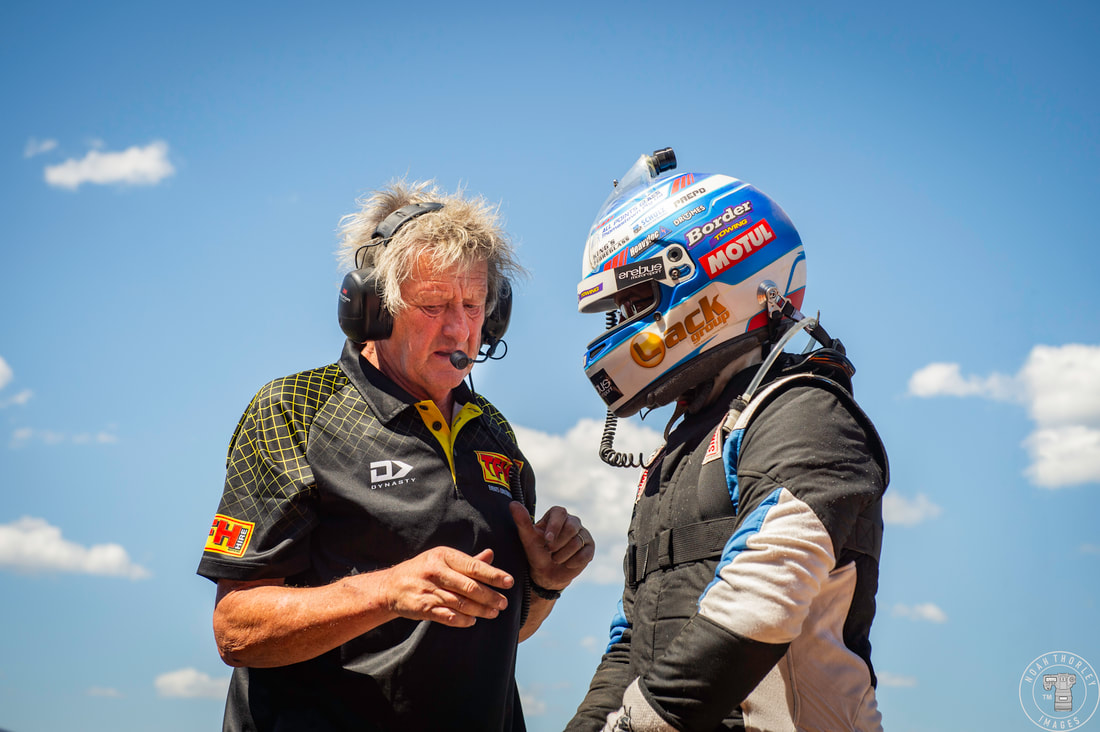 Jordan Boys and V8 Supercar driver James Golding would both come from S5000 to compete in Trans-Am, as big names such as Tim Slade and Todd Hazelwood joined too. 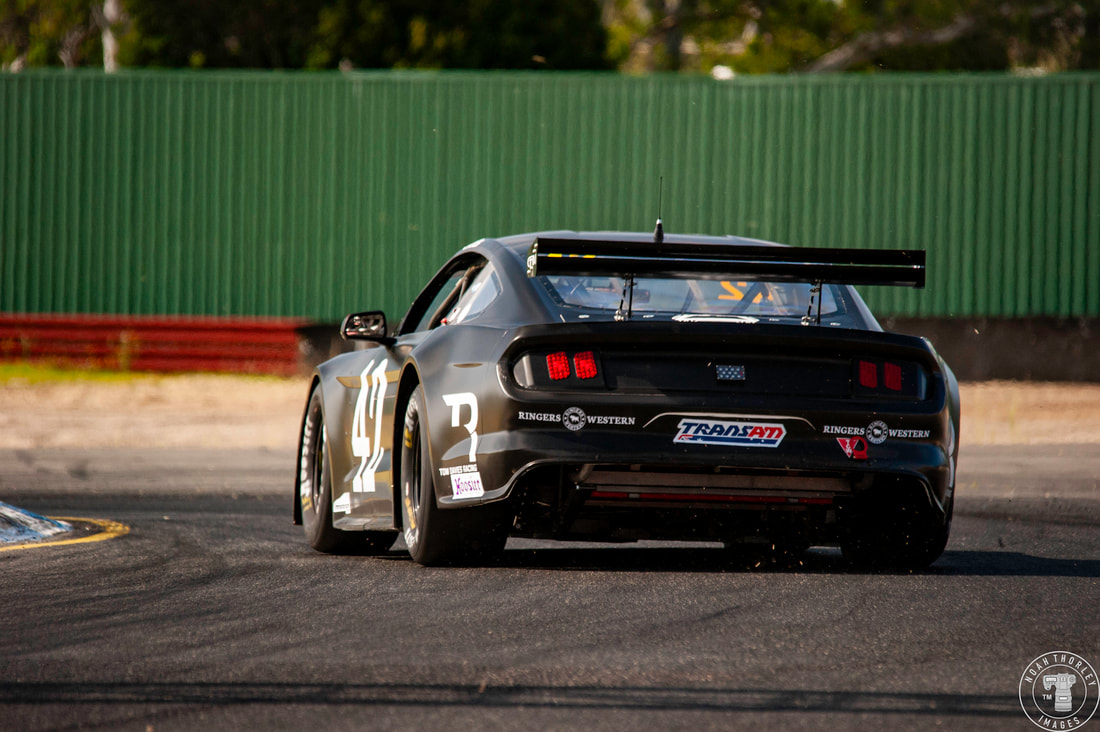 21-year-old Tom Davies would make the switch from the Toyota 86 series to race with double the cylinders in another GRM backed Trans-Am. 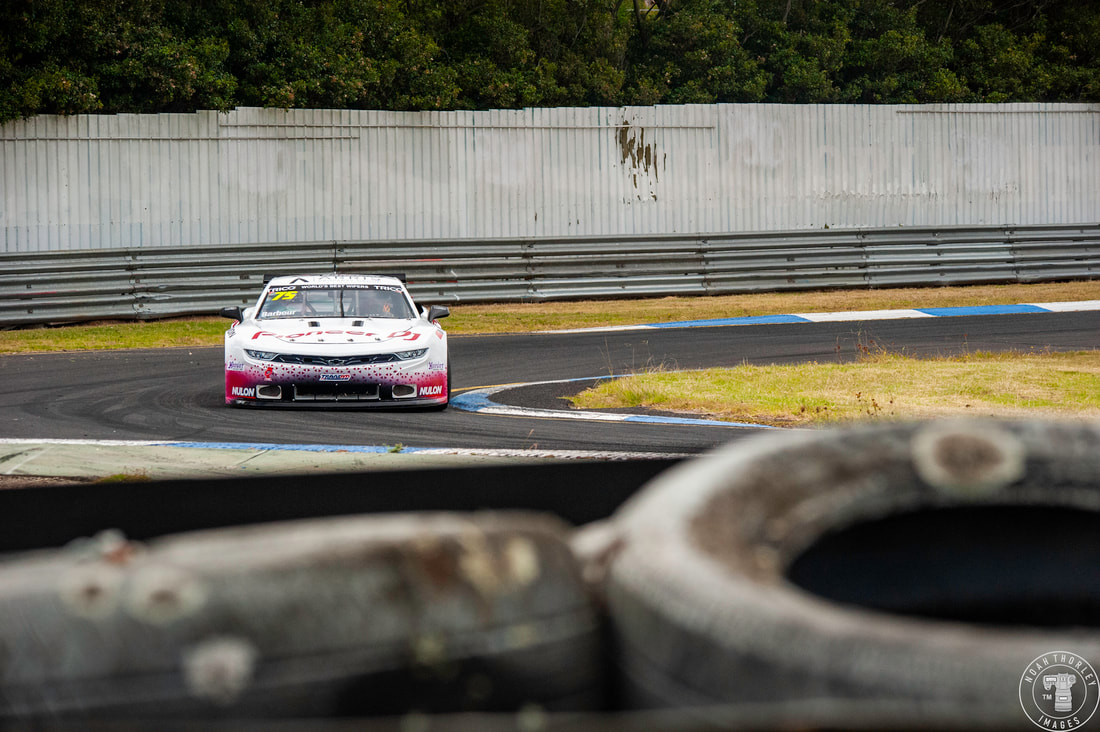 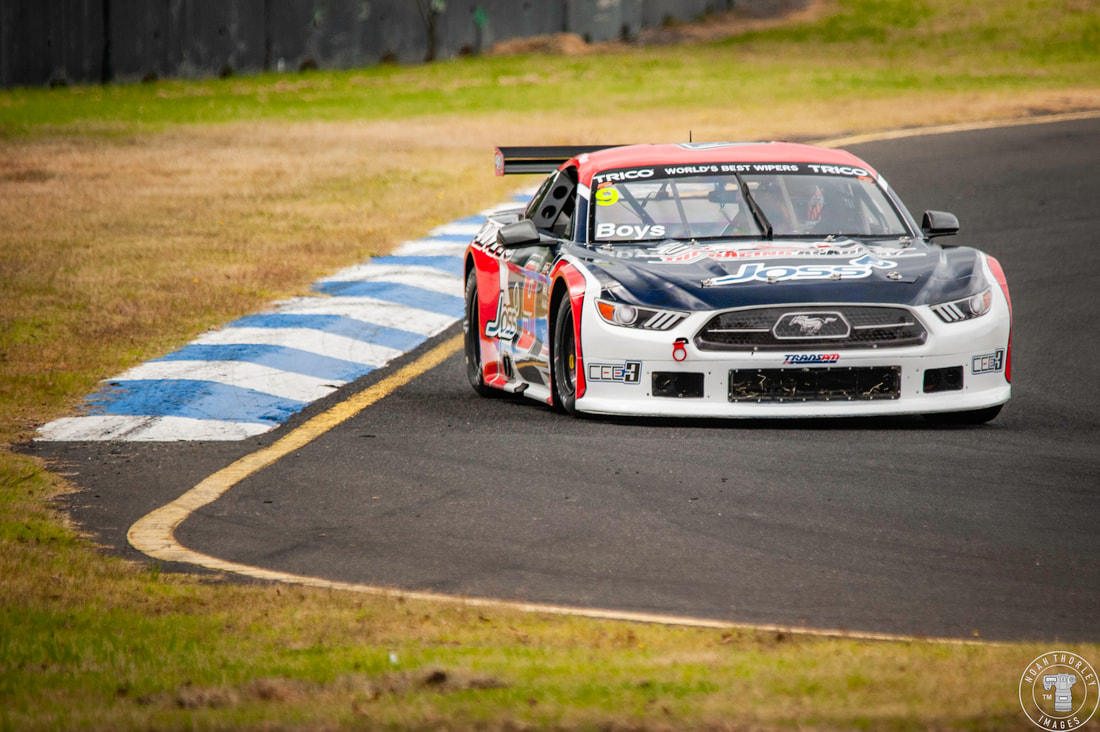 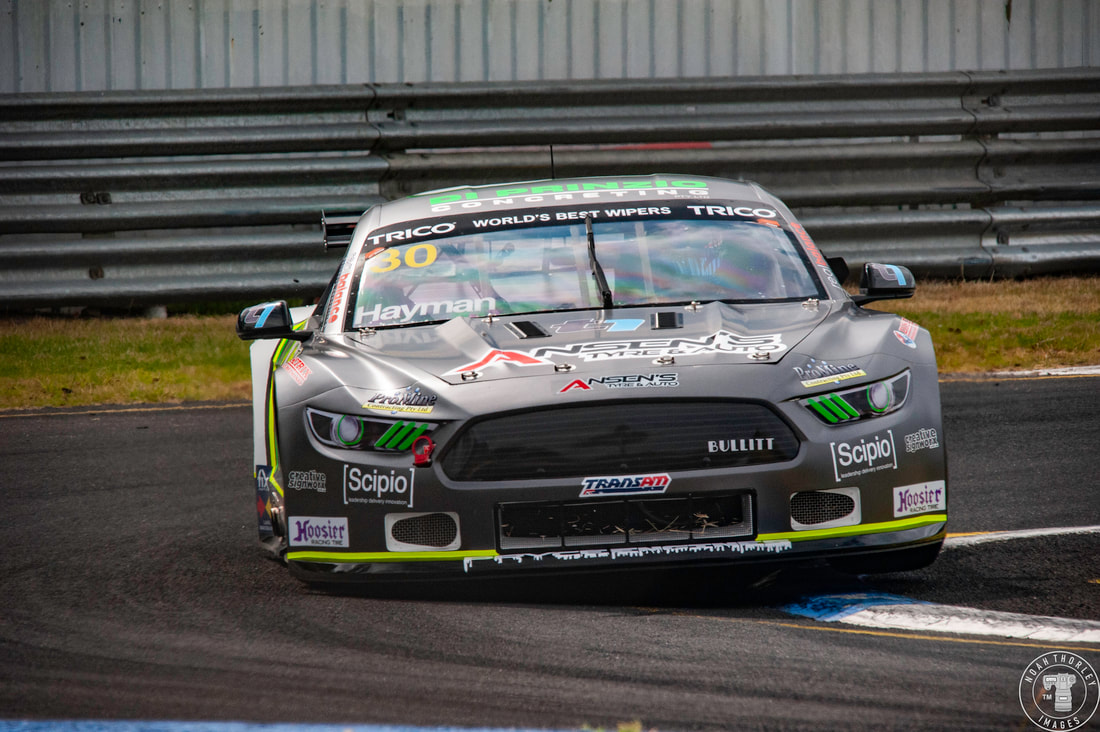 Elliot Barbour would top the first practice session with 1:11.932 lap time as debutant Jordan Boys finished second, trailing by 5 hundredths of a second 1:11.982). Tom Hayman would be a further two tenths behind in third (1:12.21.30) 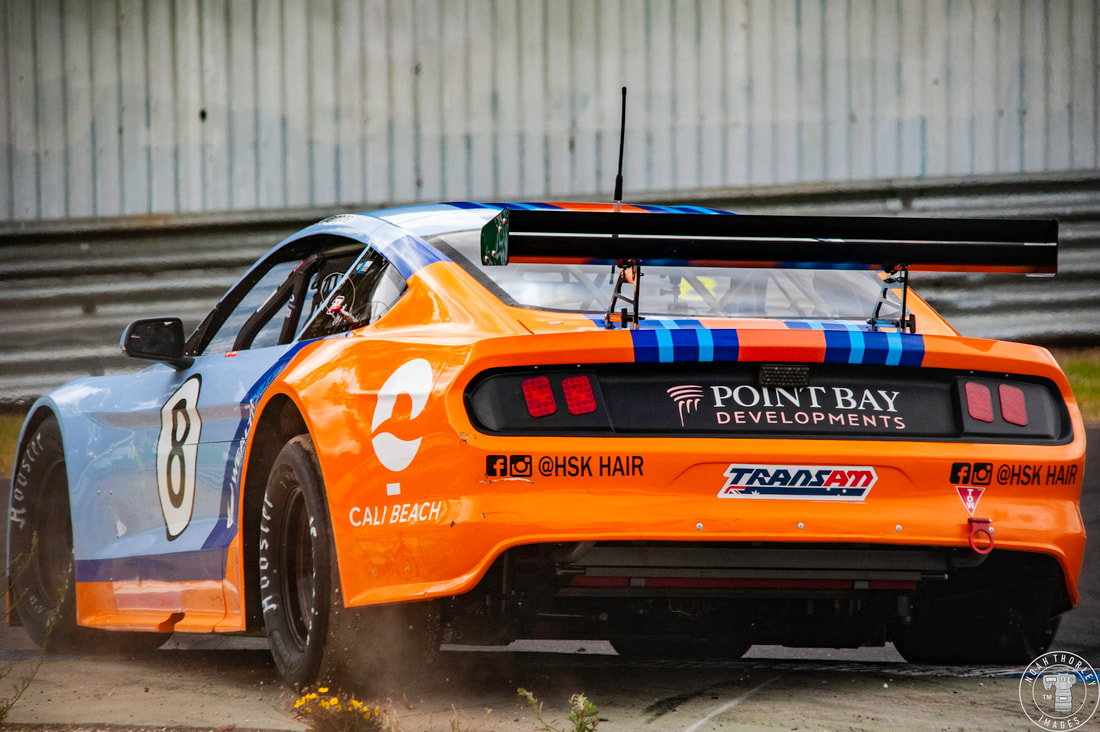 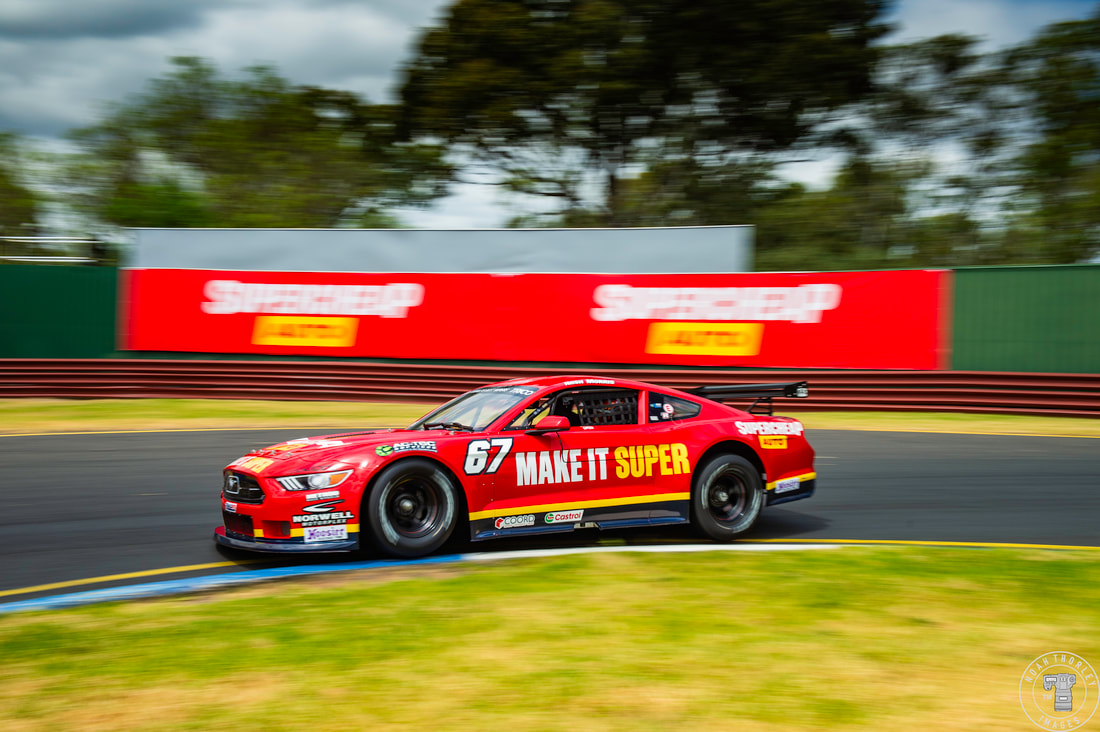 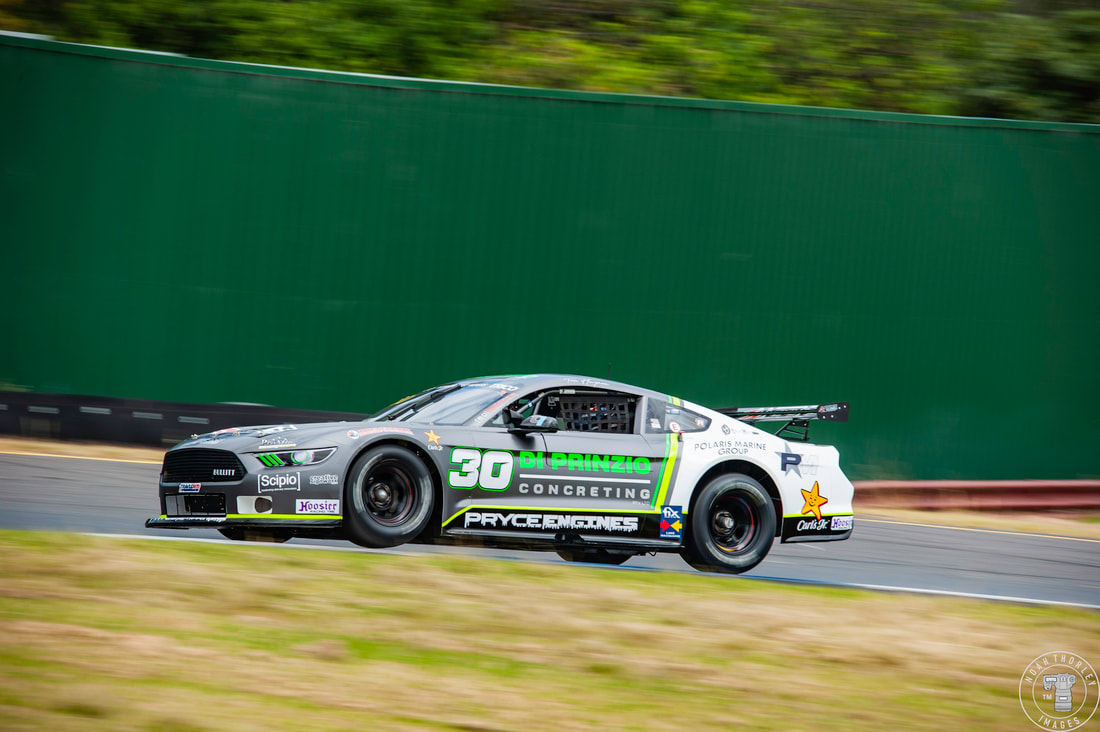 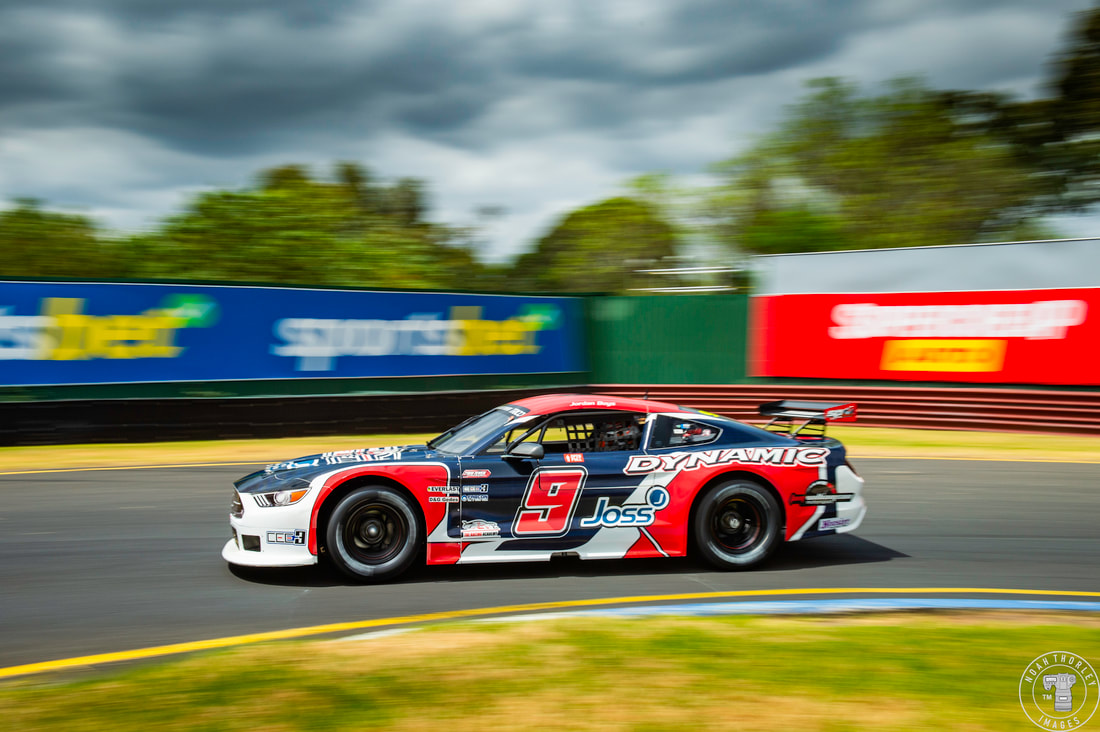 Chris Pappas, who had a spin in Practice 1, would suffer mechanical issues in Practice 2, stopping on track and bringing out the red flag. When the track was clear, Nash Morris would go fastest with a 1:12.154 lap, pipping James Golding by two tenths (1:12.358) as Jordan Boys showed consistency placing third (1:12.487). 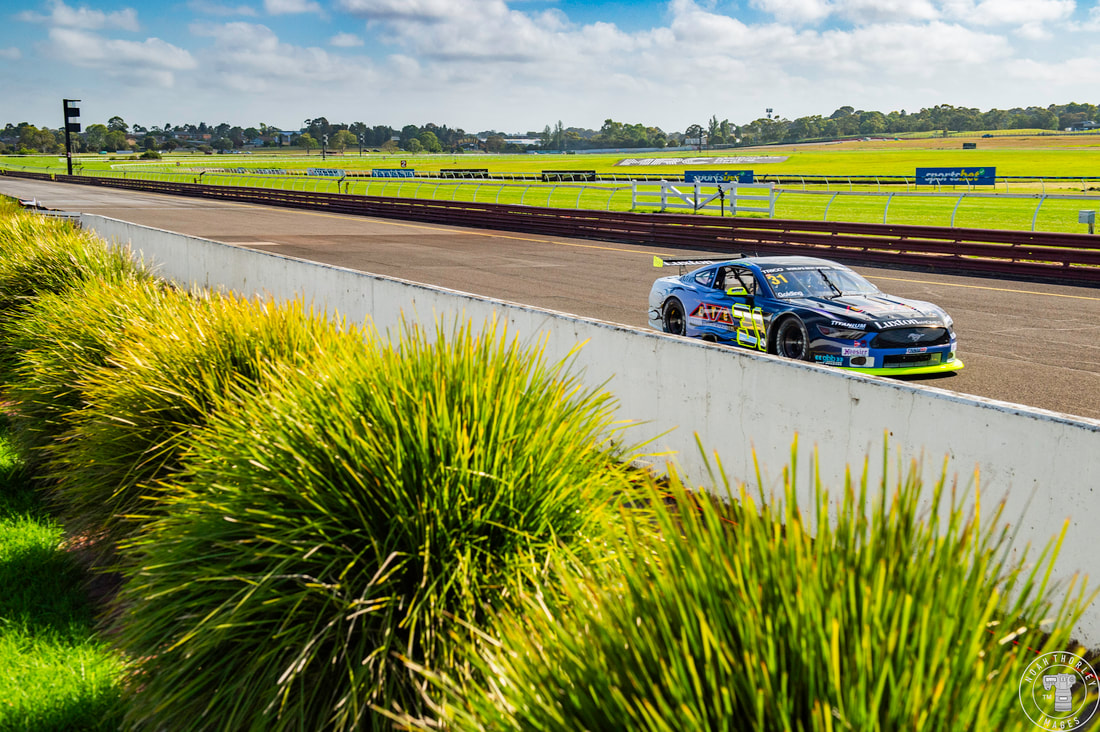 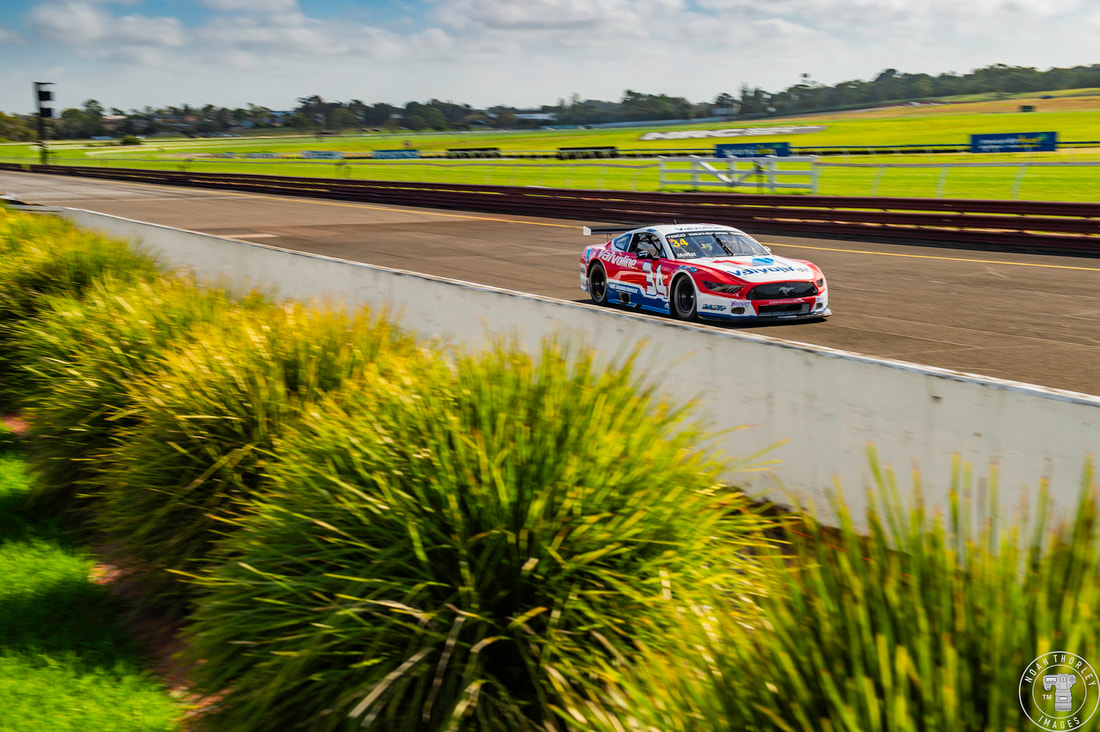 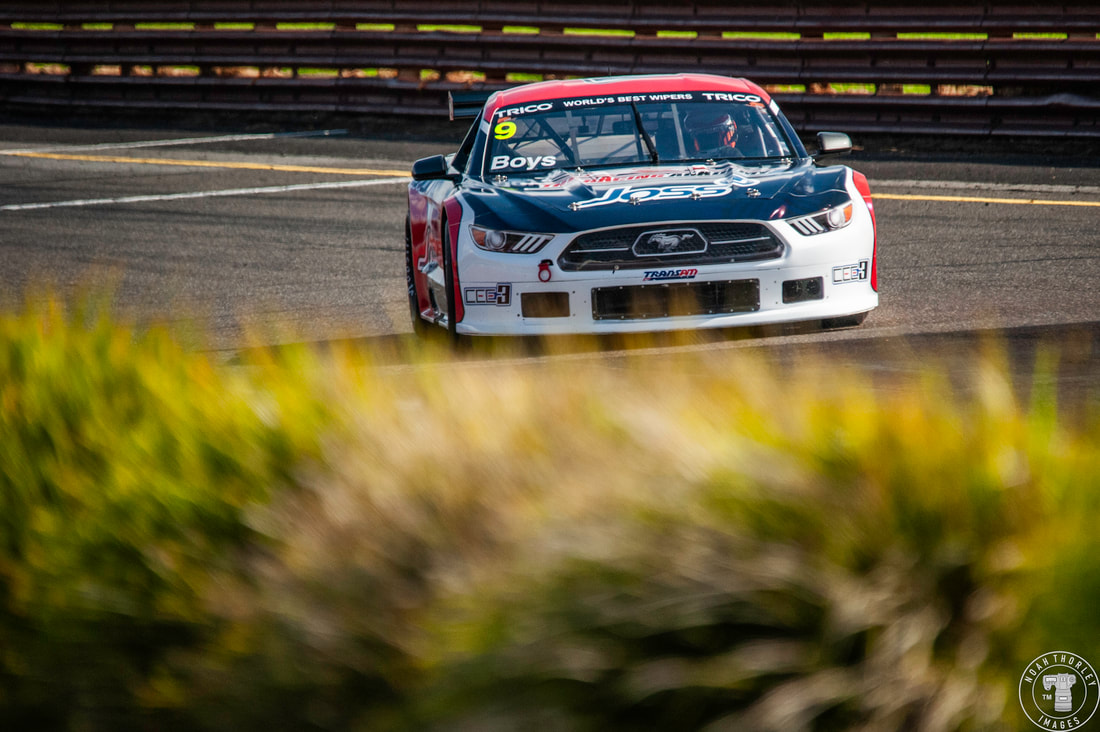 In an extremely close qualifying, that included pitstops midway through the session for adjustments, rookie James Golding (1:11.370) would snatch the pole from James Moffat by twelve hundredths (1:11.497). Jordan Boys would grid up in third place with a time of 1:11.512. 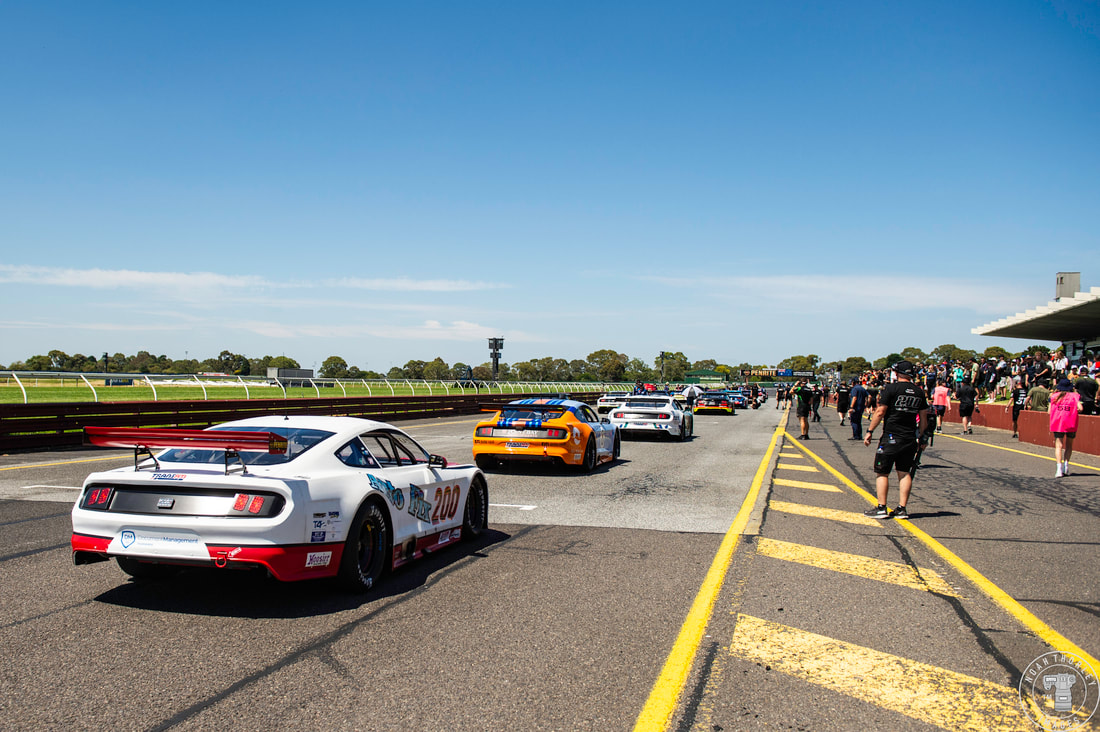 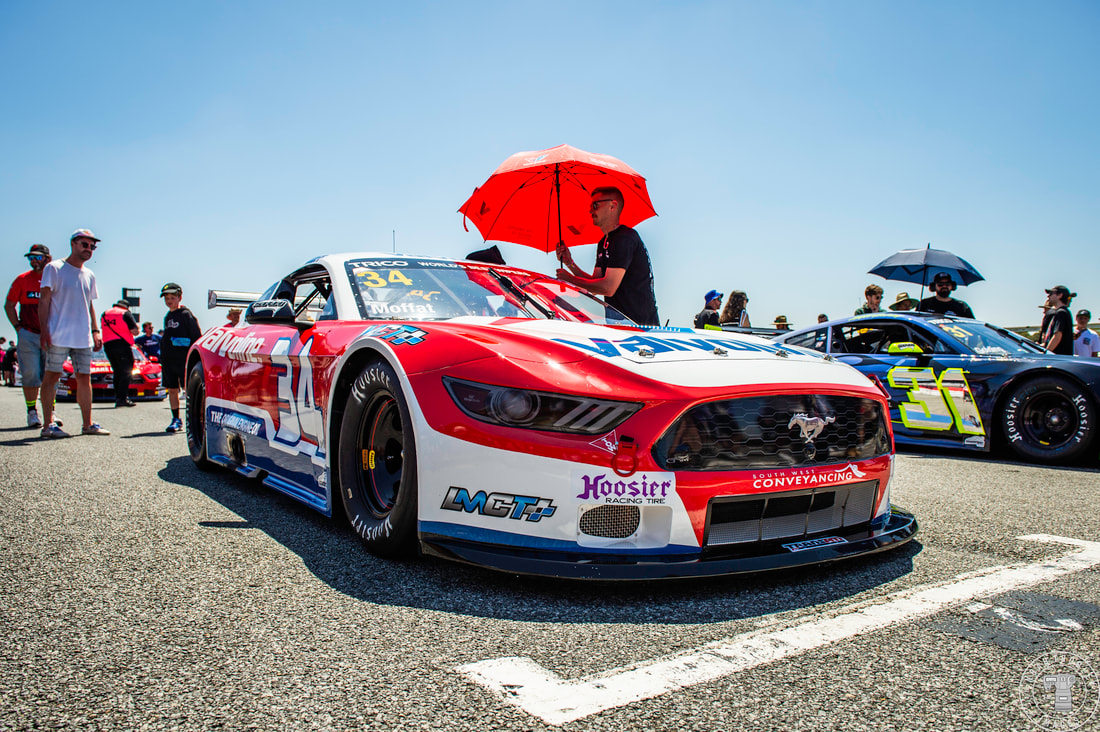 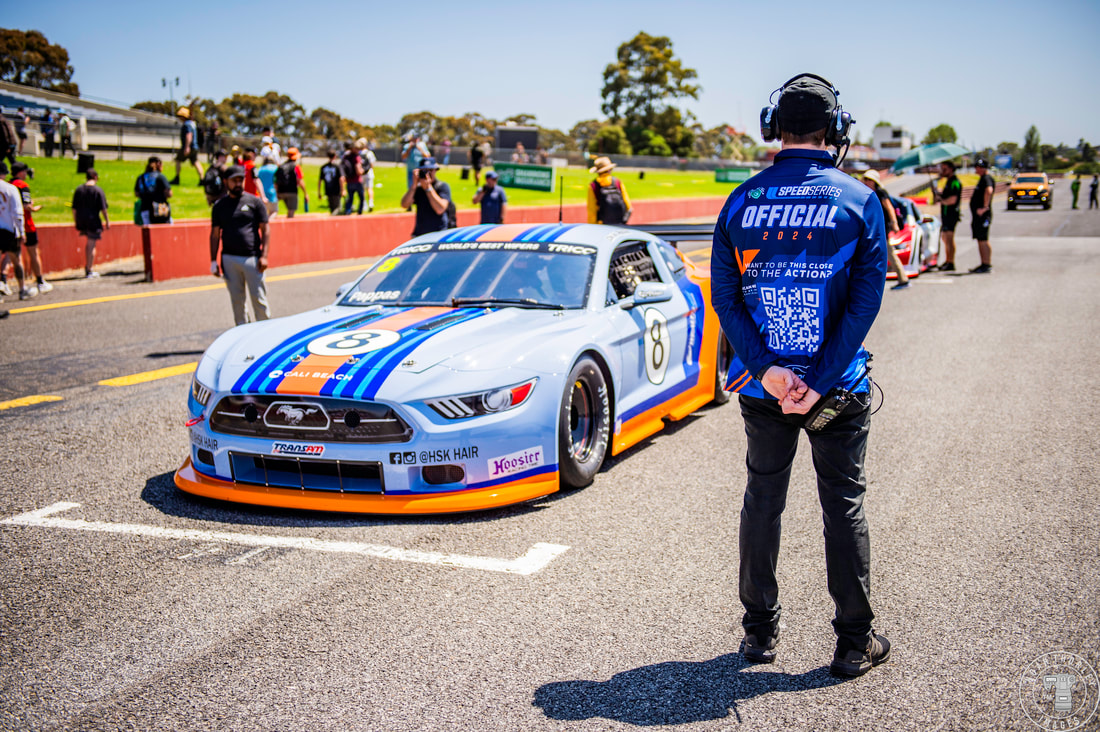 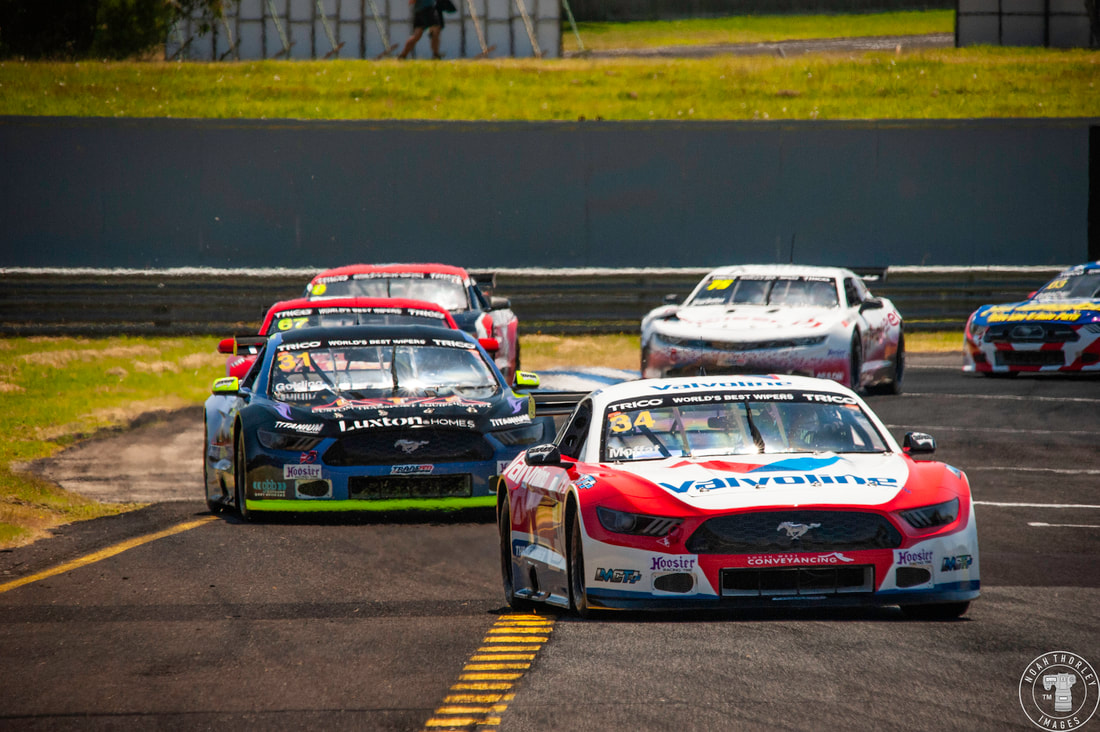 After the Trans-Am Grid walk that was open to all ticket holders, the race would begin with a rolling start and Moffat edging out Golding for the lead. 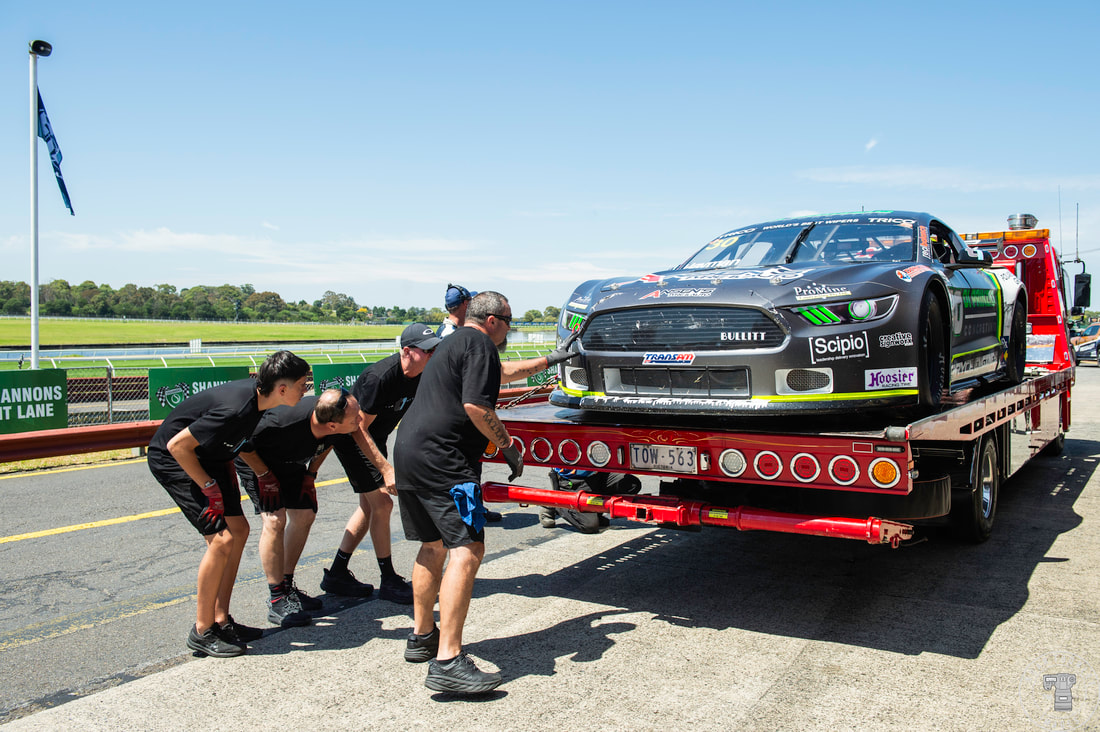 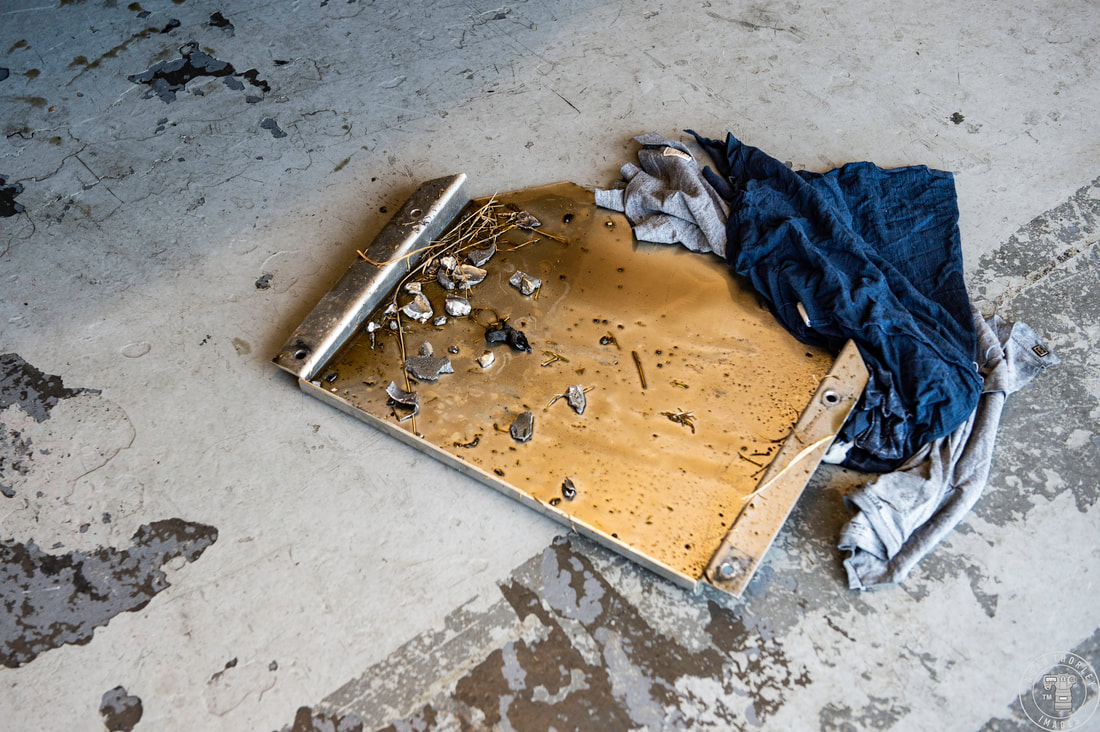 Four time Trans-Am race winner Tom Hayman would slide to a stop on the backstretch and be brought to the pits on the back of a truck, as the first yellow flag flew. The family backed team discovered that one of the pistons had gone through the engine block, forcing them to pack up early and unfortunately head home. 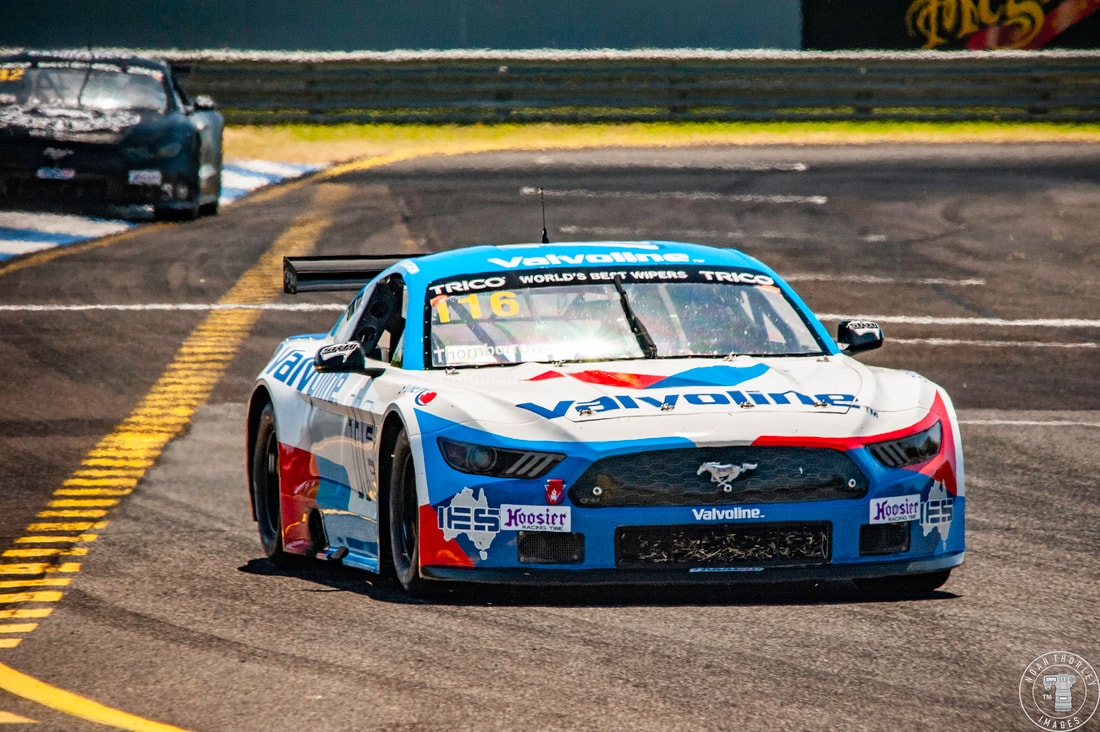 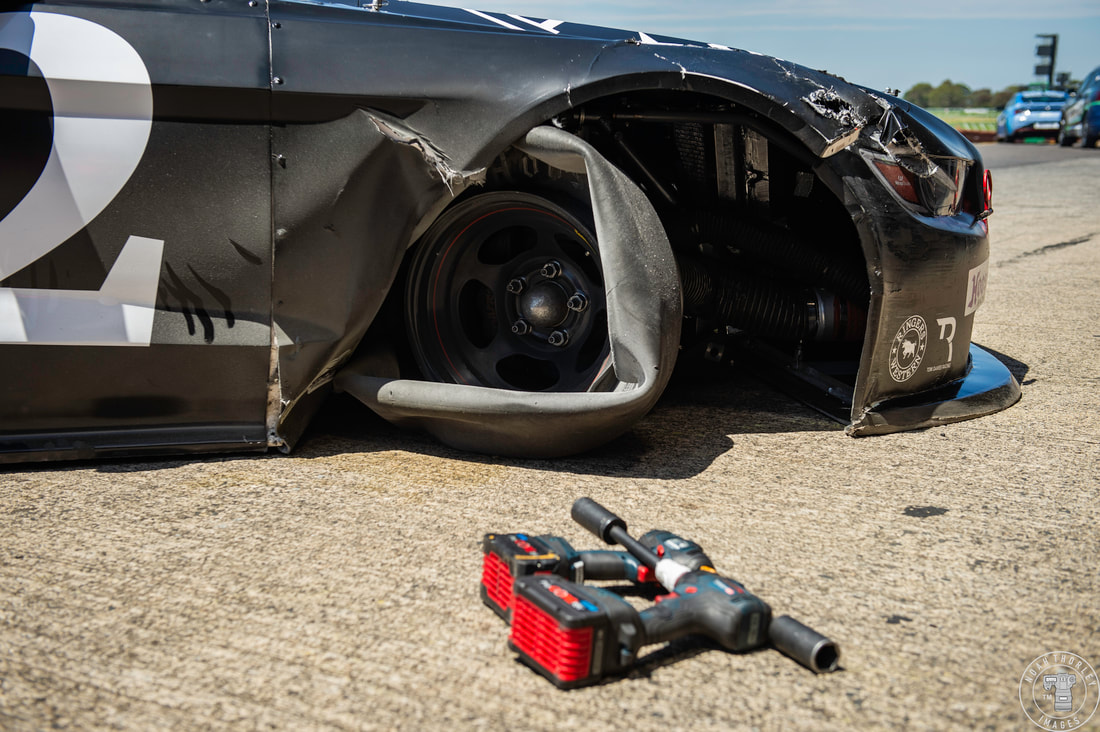 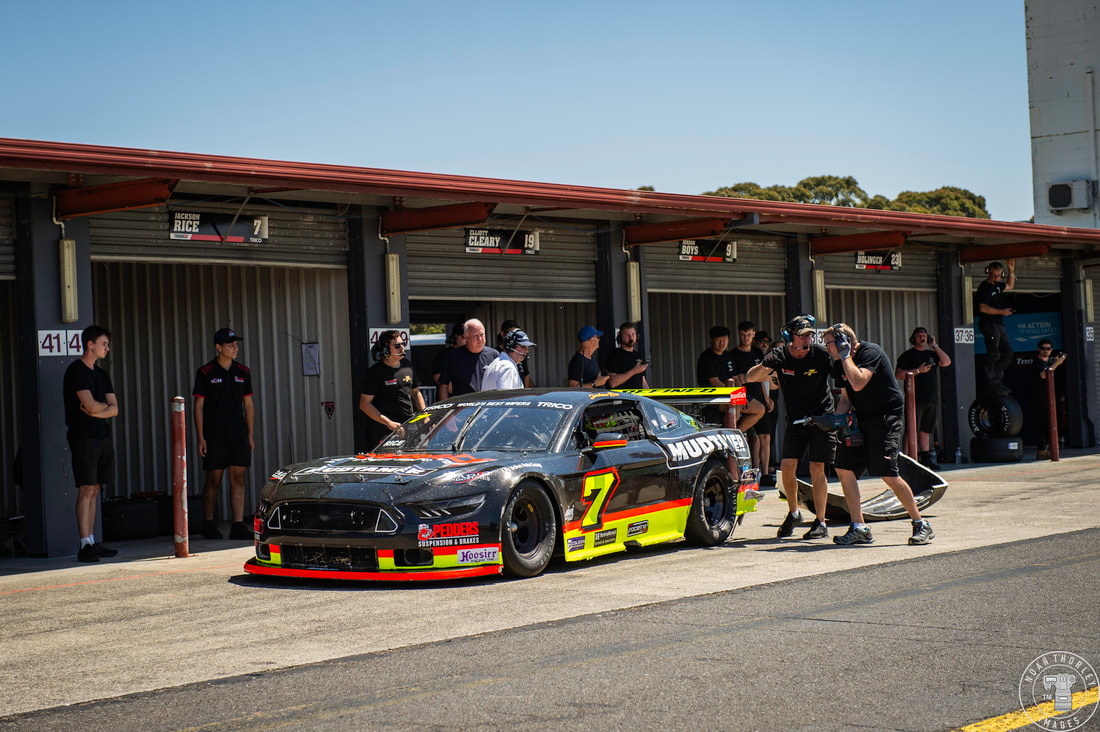 Eon Thornburrow in the beautiful Valvoline Mustang would lock up and run into the back of Jackson Rice, as Tom Davies would have nowhere to go, making contact with both cars. Eon Thornburrow would be given a 15-second time penalty as Davies would be left with front left suspension damage as Jackson Rice pitted to remove his flailing rear bumper. 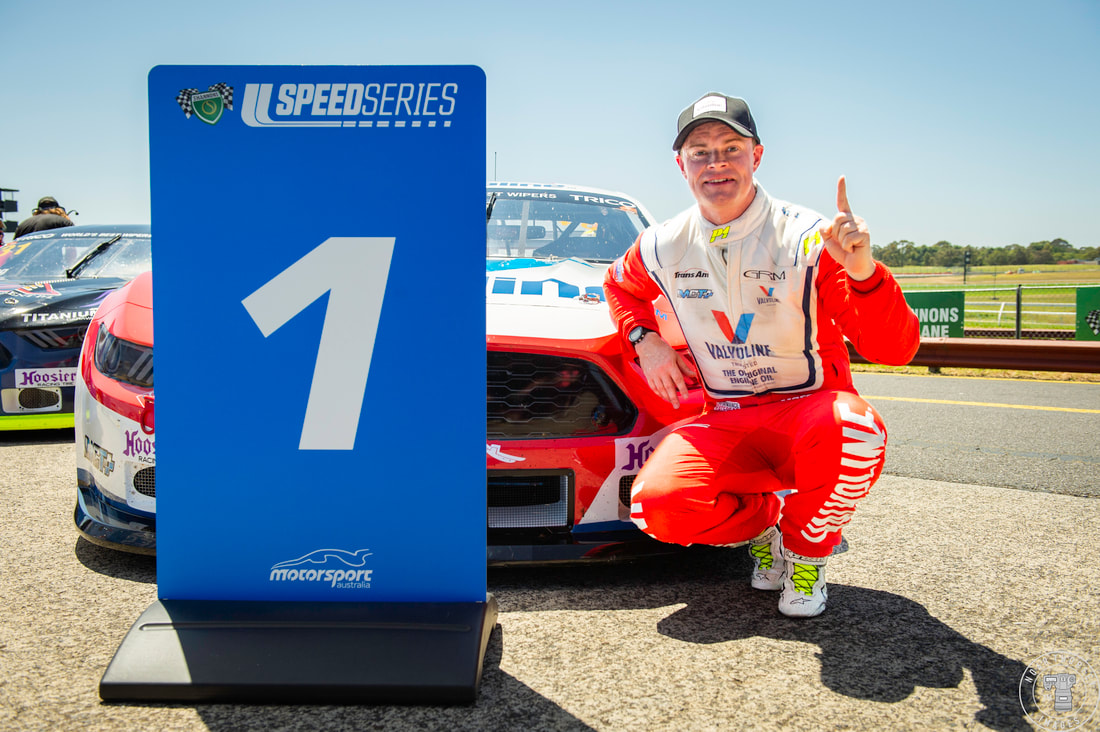 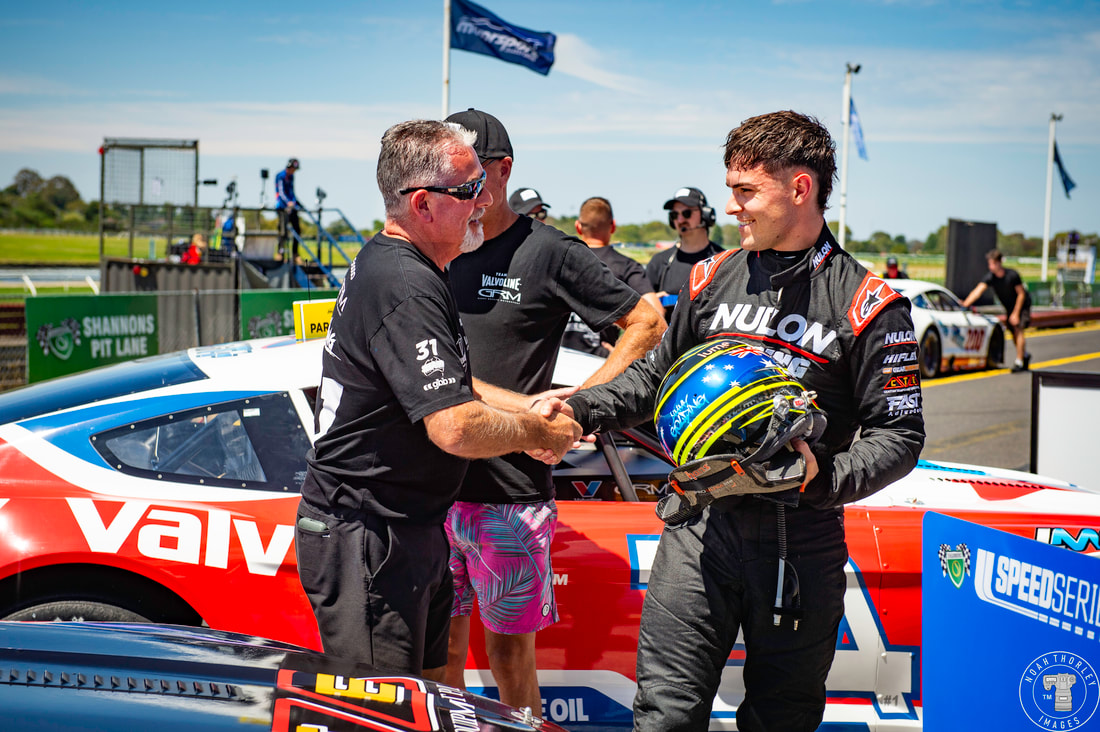 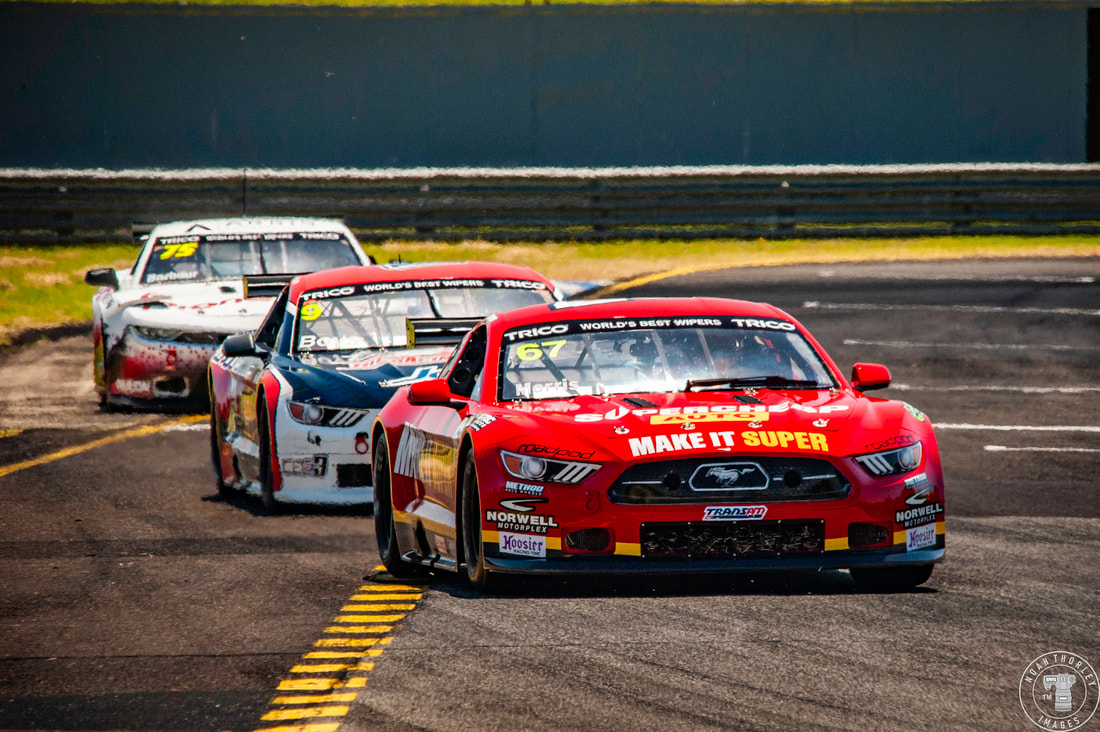 James Moffat would take the victory as James Golding finished second in his first Trans-Am race, as Nash Morris clinched third. 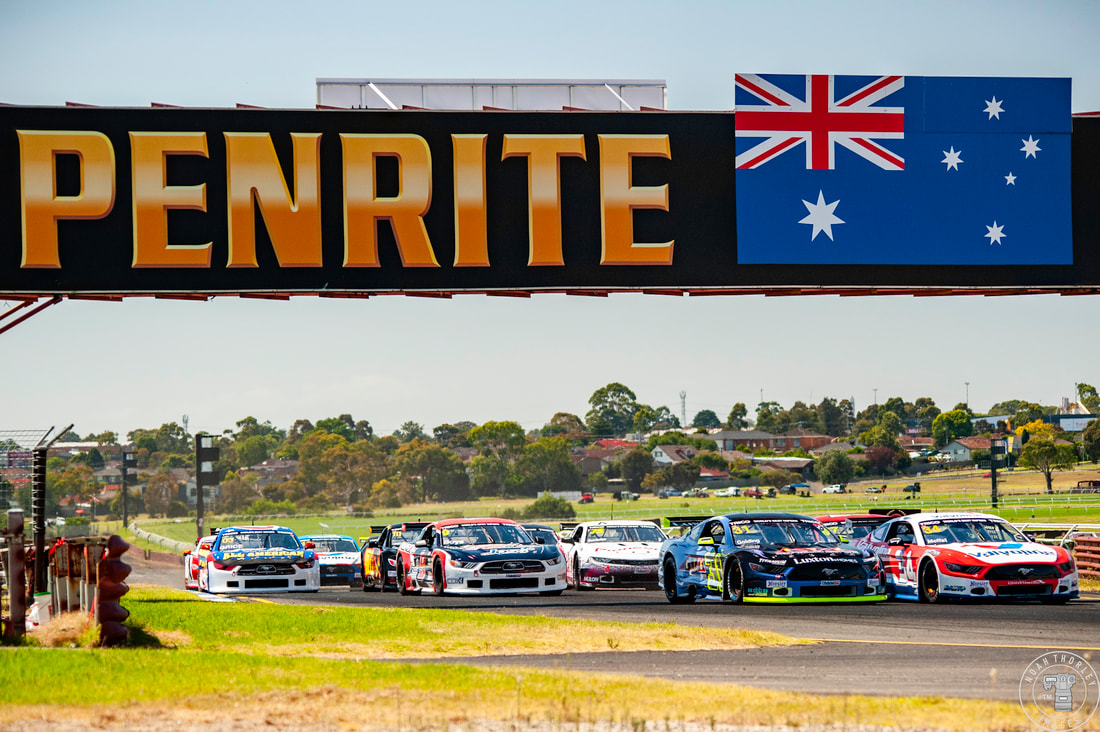 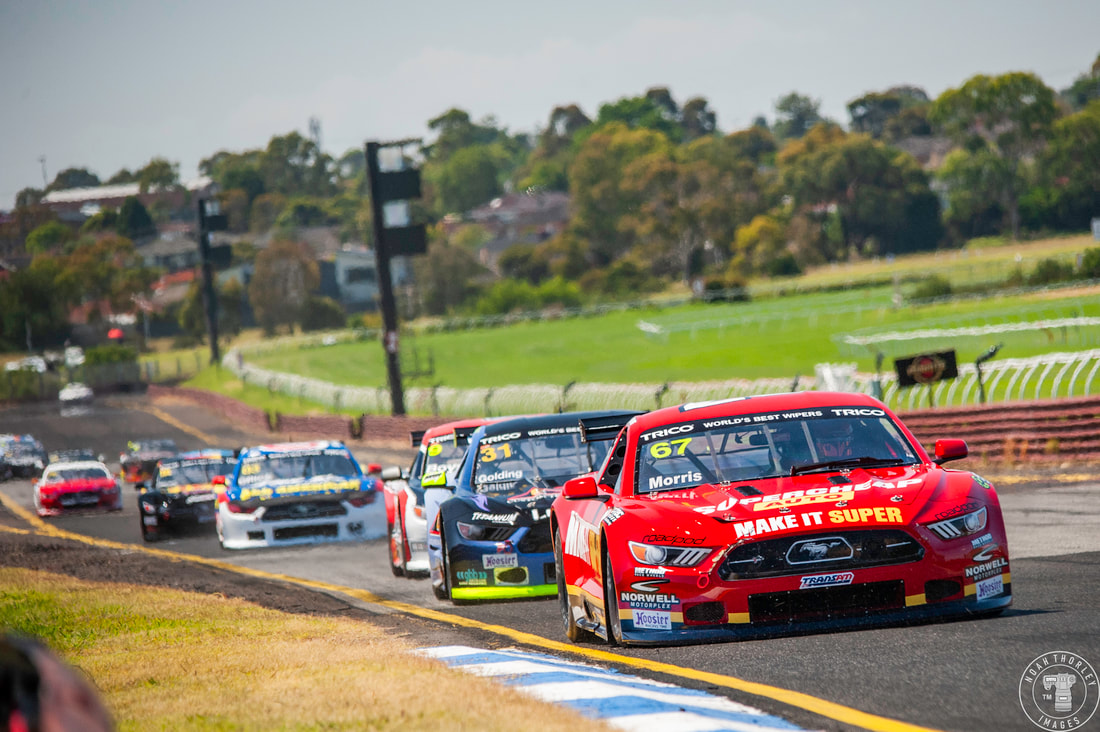 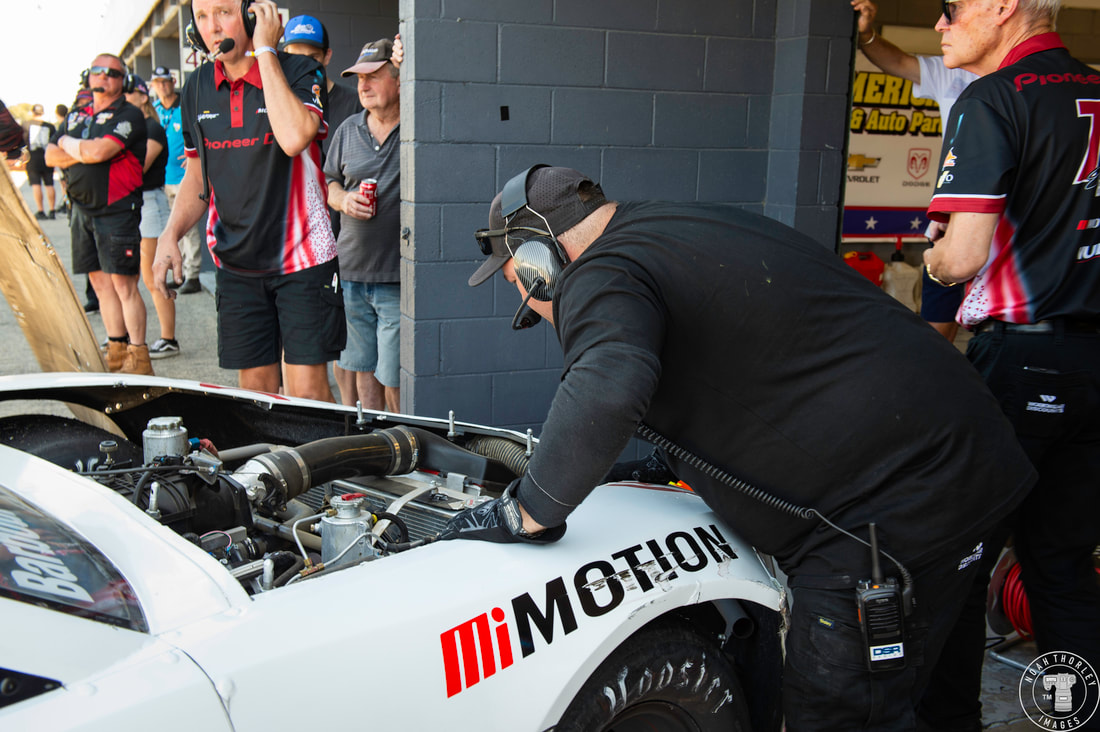 Moffat would lead the field to green at the start of Race 2 and stay there. Elliot Barbour would fly through the grass at Turn 3, grazing the wall and would retire with 3 laps to go. Morris would fight his way past James Golding, who would return to the pits with a puncture, but Nash Morris would later have problems of his own as he limped to the chequered flag. 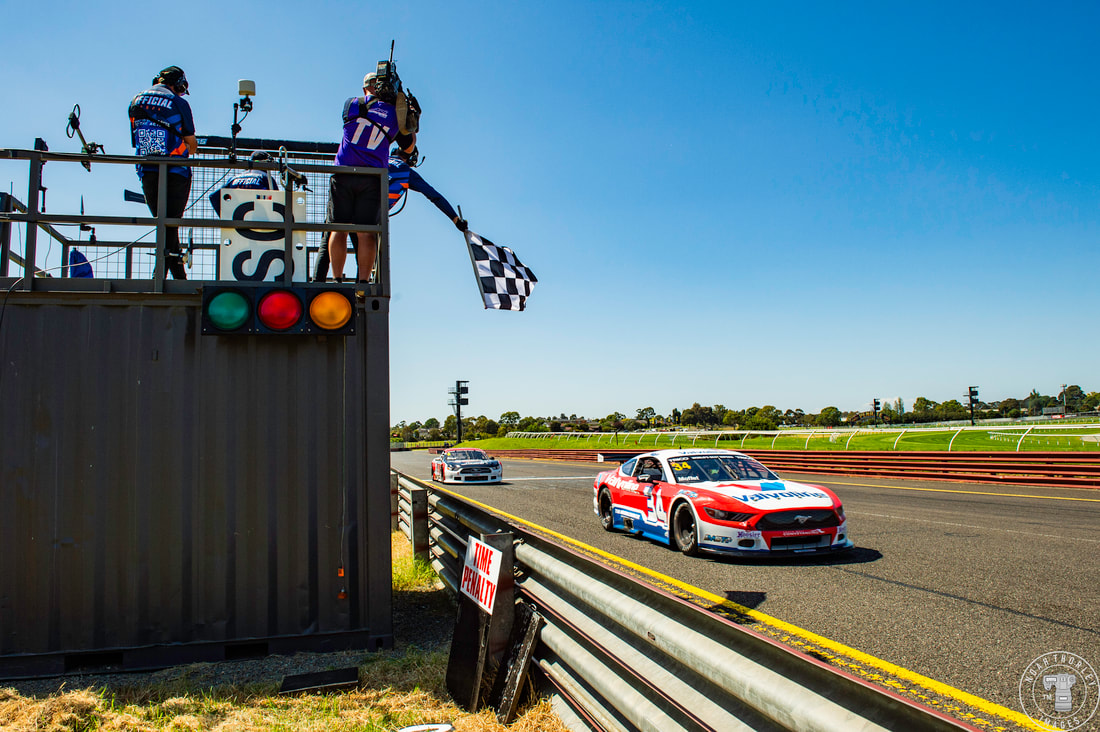 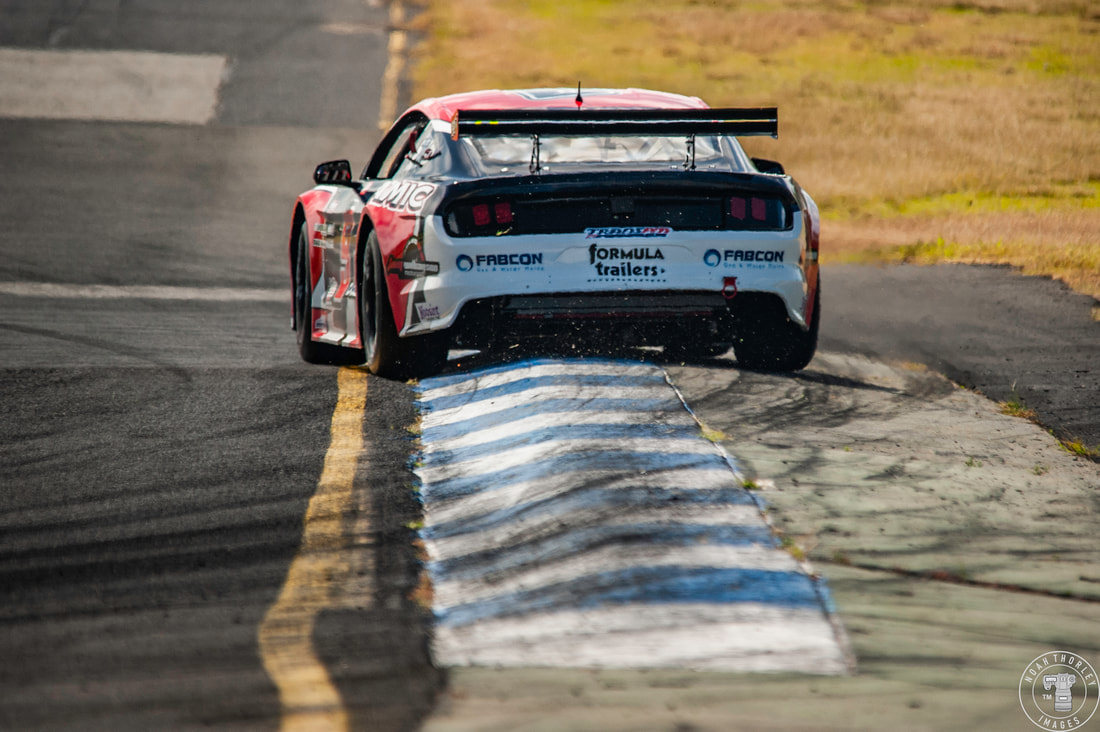
Jordan Boys would pick up second behind winner James Moffat, as we had a photo finish for third, with Todd Hazelwood edging out Tim Slade. 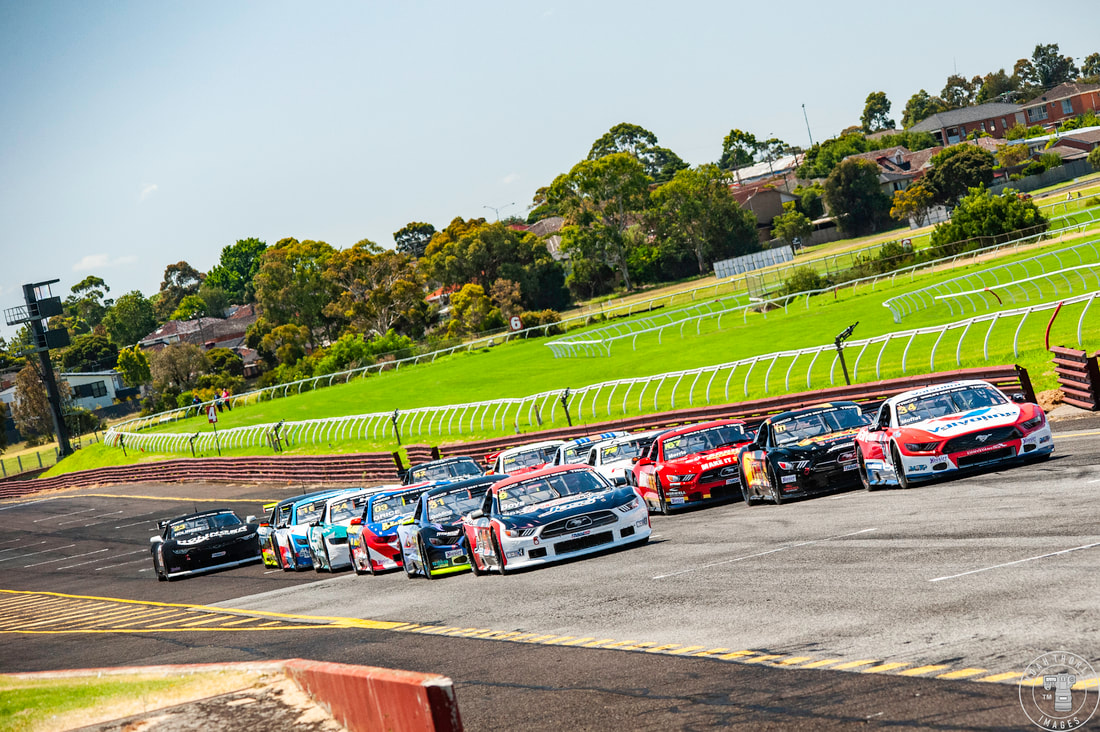 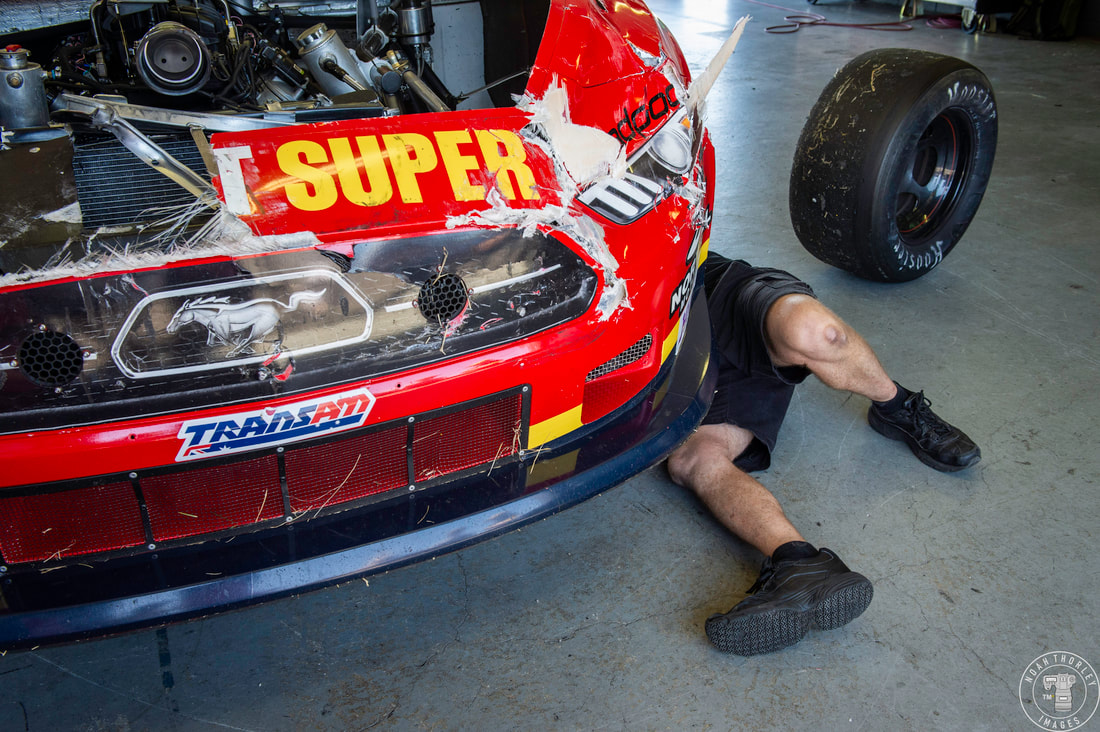 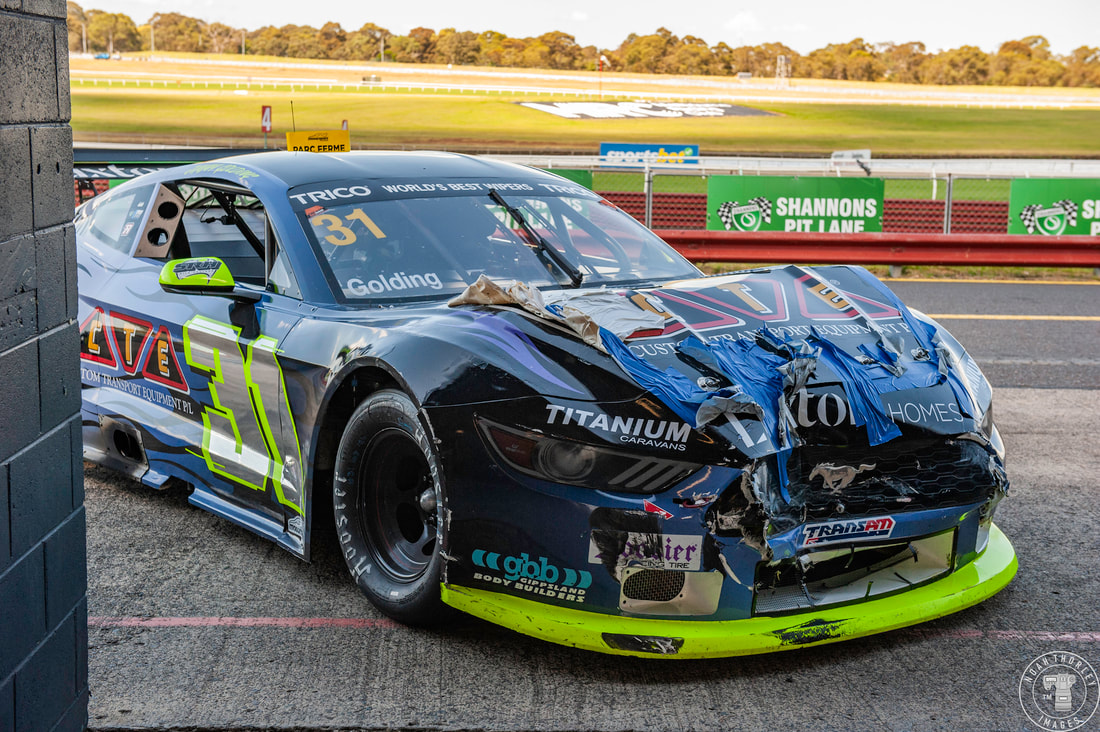 At the start of Race 3, I was positioned at the second marshal point on the front straight. I knew something big had happened when the cars went through Turn 4 as shock and awe was heard from the crowd and the safety car boards and flags were swiftly brought out. All I knew was that something big had happened as only a few cars came back around, with others coming back with damage. Nine cars got together and had blocked the track at the exit of Turn 4. James Golding made a late lunge into Todd Hazelwood, which in turn tagged the rear of Jordan Boys. Boys would spin and the rest would pile up with Nash Morris and Elliot Barbour becoming the worst off. 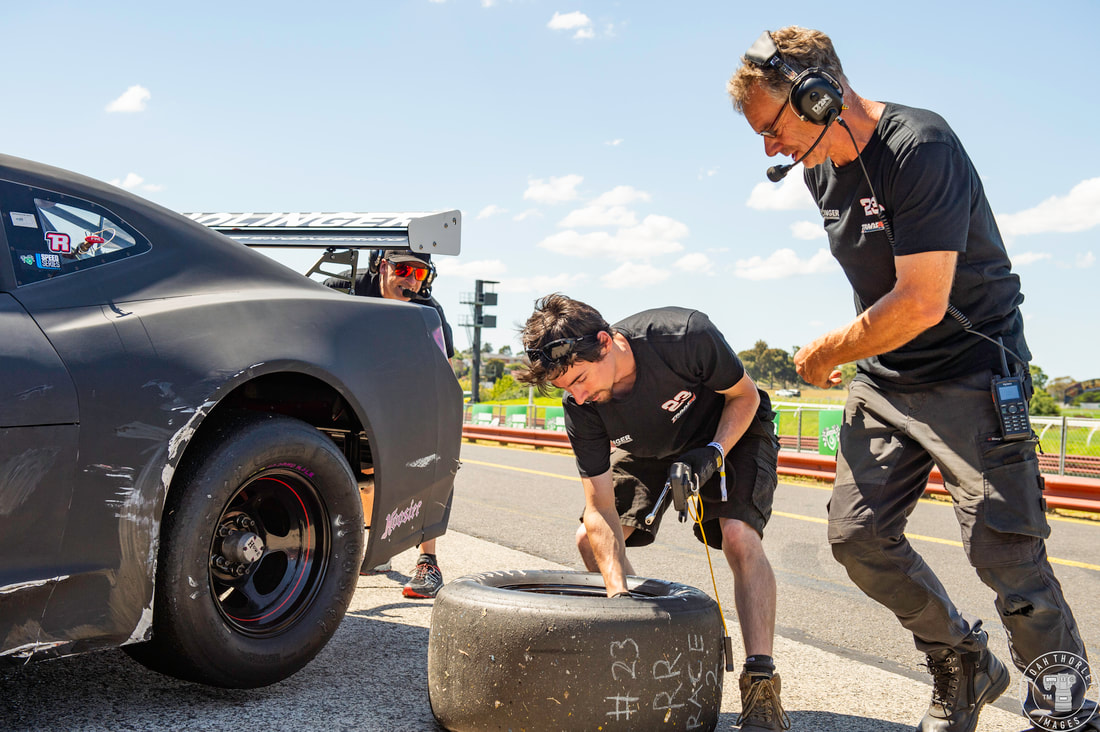 John Holinger would suffer a late puncture calling for a quick tyre change from his team. There would be one last twist in the race, as Todd Hazelwood suffered from a stuck throttle and beached himself in the Turn 9 kitty litter. When the safety car came in, it would be a one lap dash to the finish. 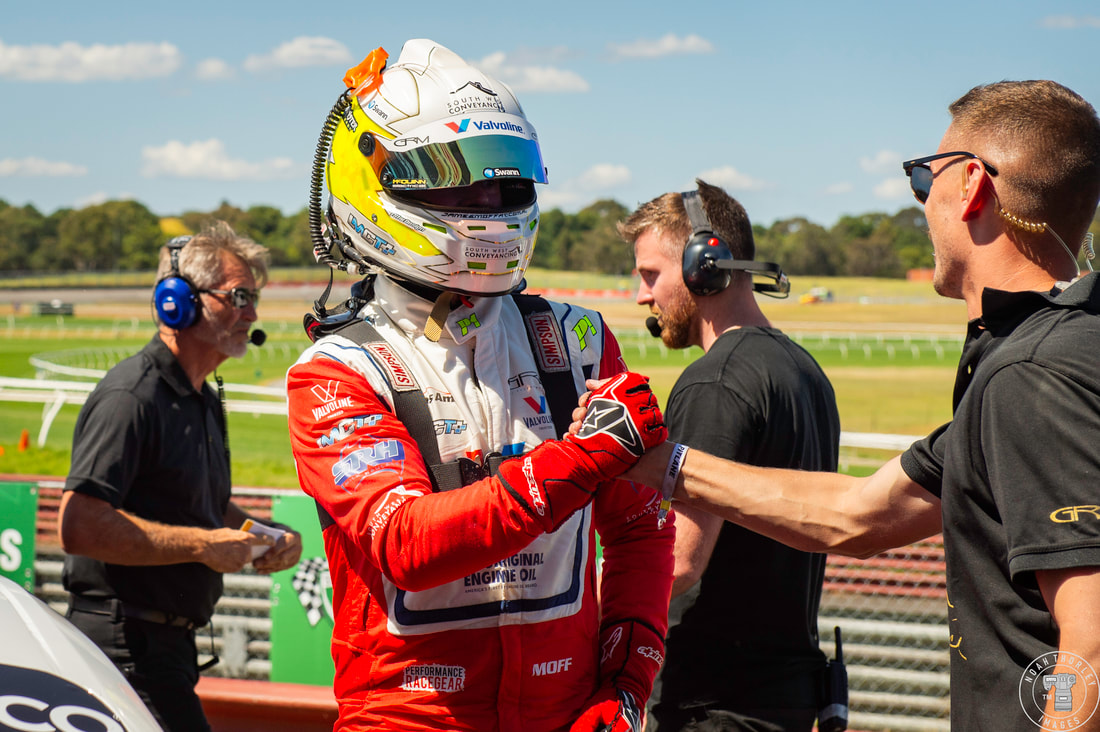 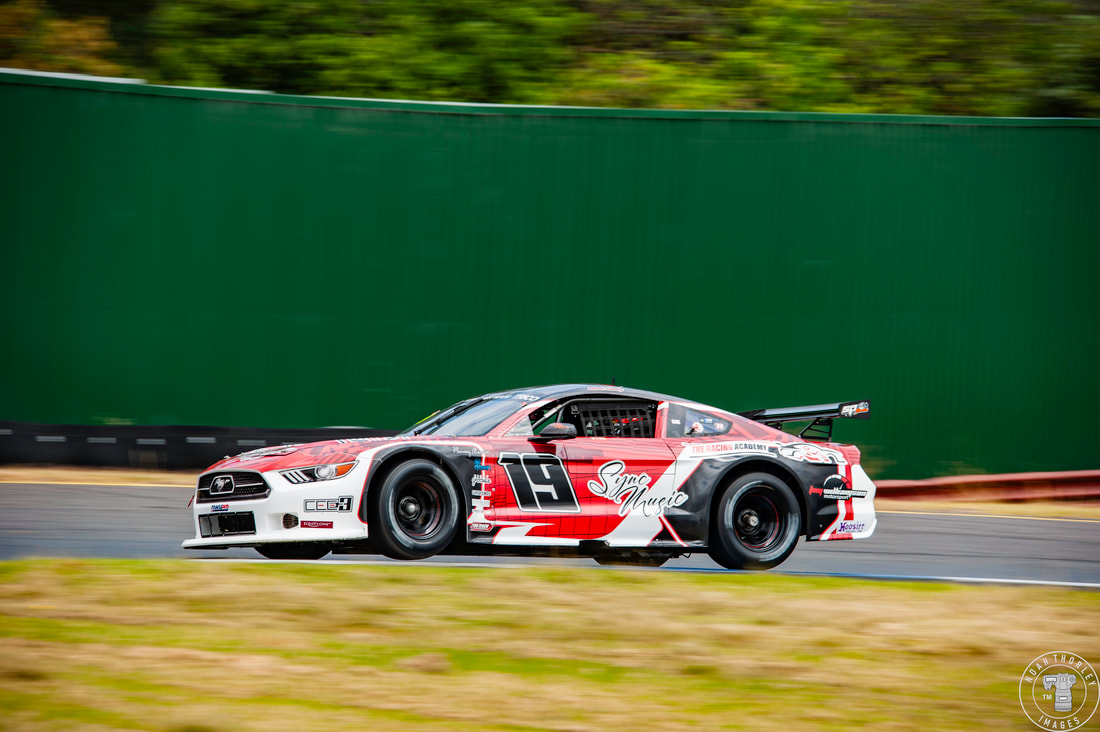 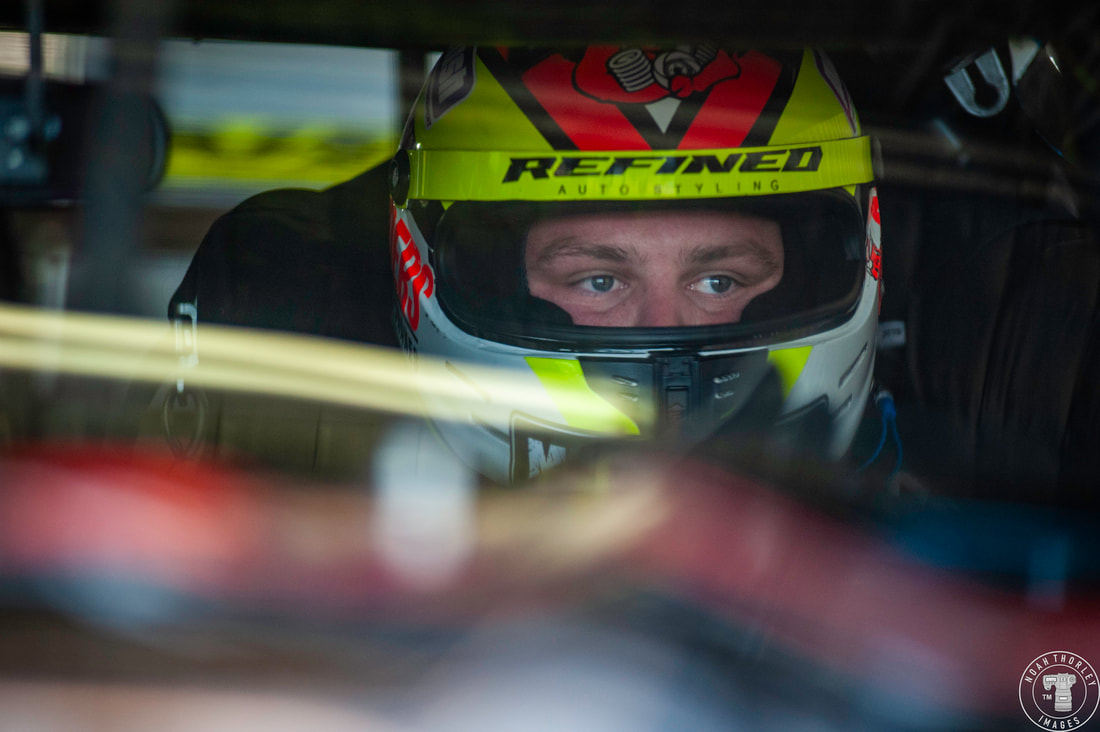 No one could touch James Moffat however. Not in Race 3, or all weekend as Elliot Cleary claimed second and Jackson Rice survived to finish on the final step of the podium. 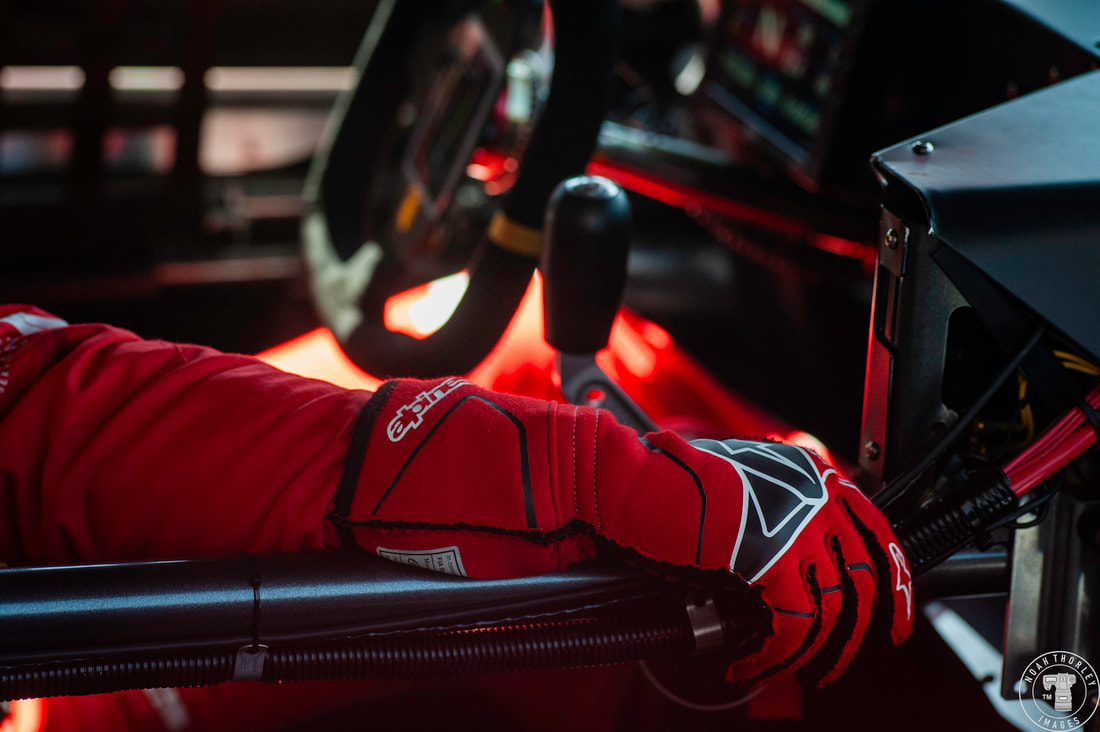 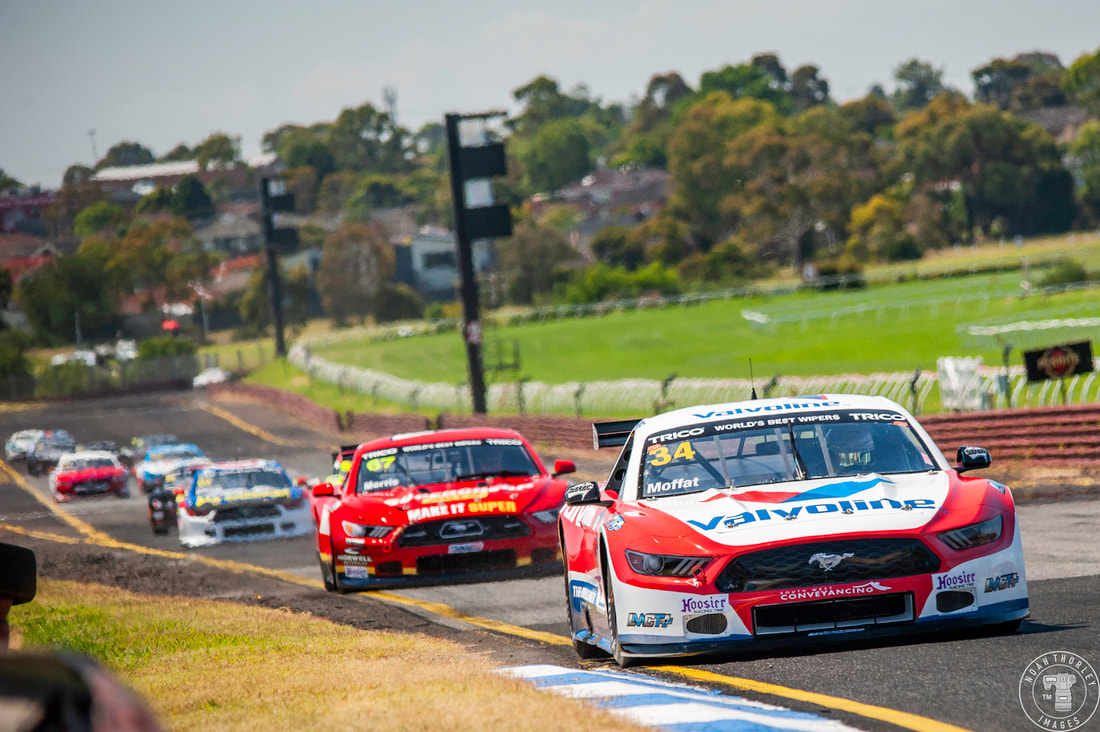 As the series head to Tasmania for round 2, it looks like it will be hard to beat James Moffat. Sandown showed there are plenty of fast drivers, but keeping your nose clean in this category is easier said than done. Bonus Gallery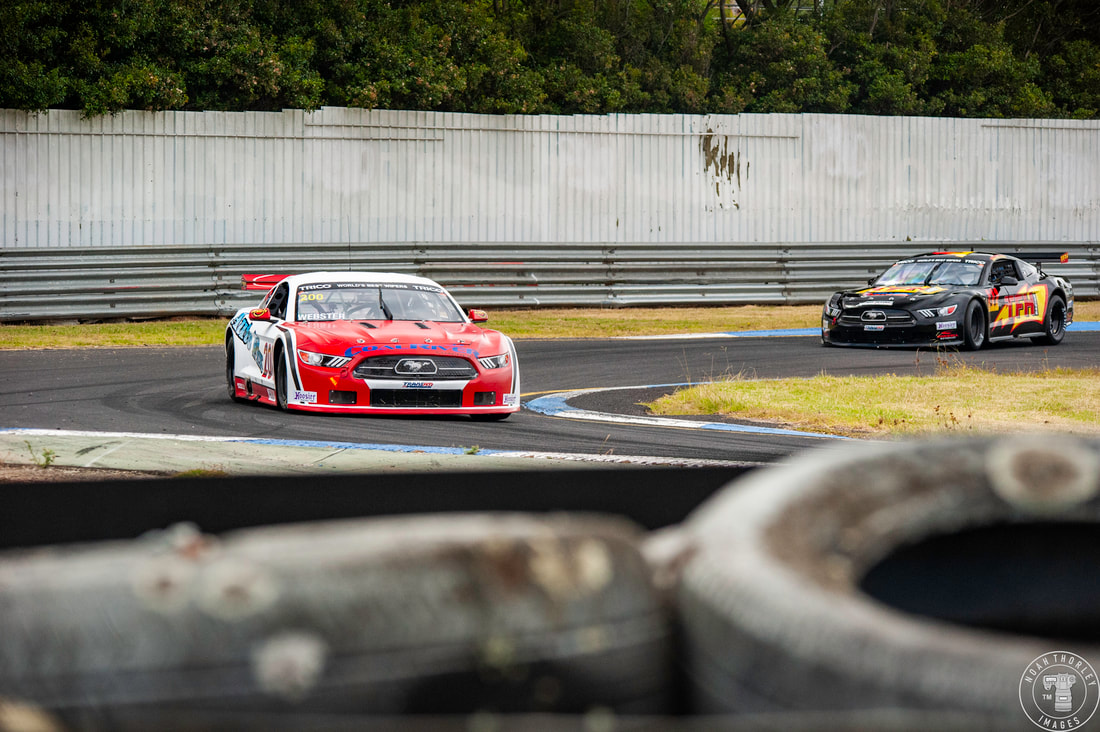 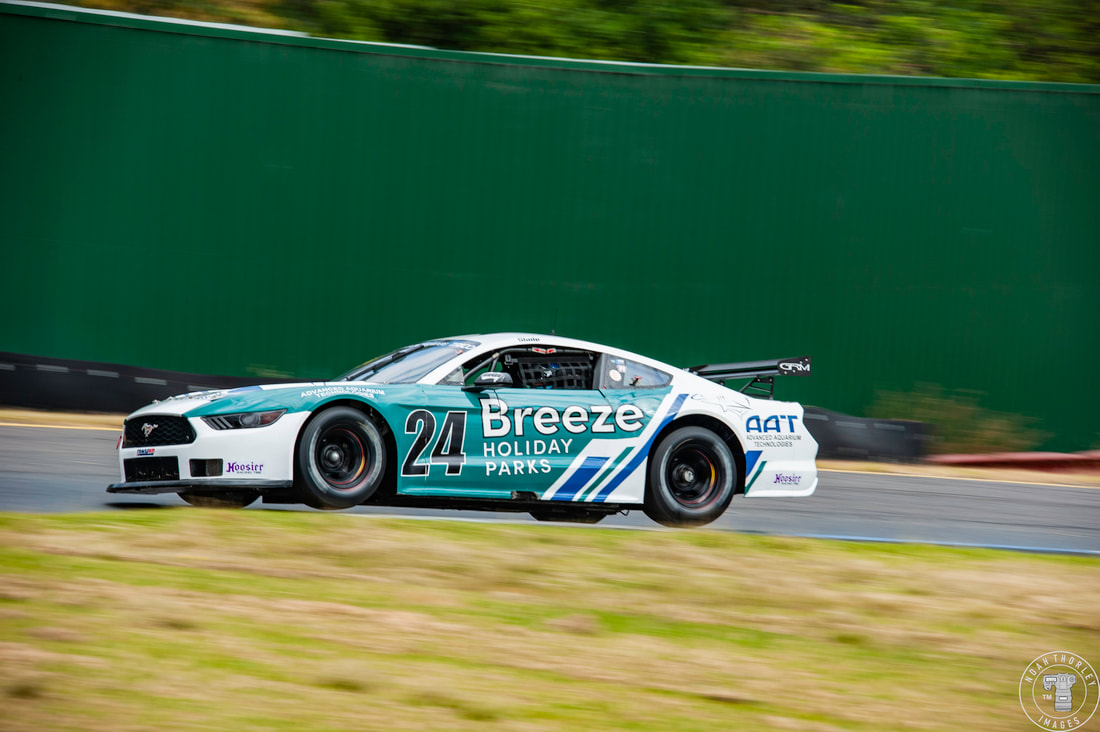   
             |
AuthorMy name is Noah Thorley. I'm a motorsport and car culture photojournalist based in Melbourne Australia. I document and tell visual stories for the current and next generation of car enthusiasts. 
|